Wise Owl Note Cards!

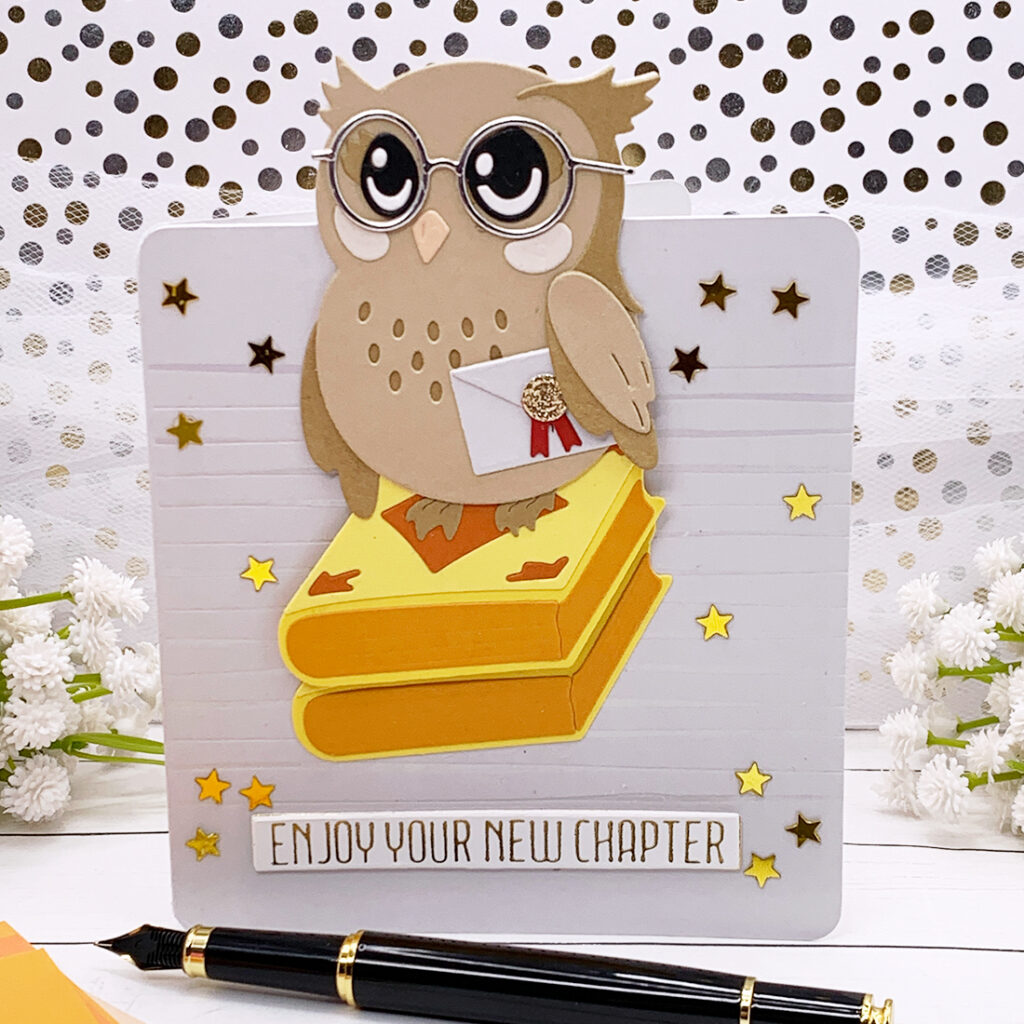
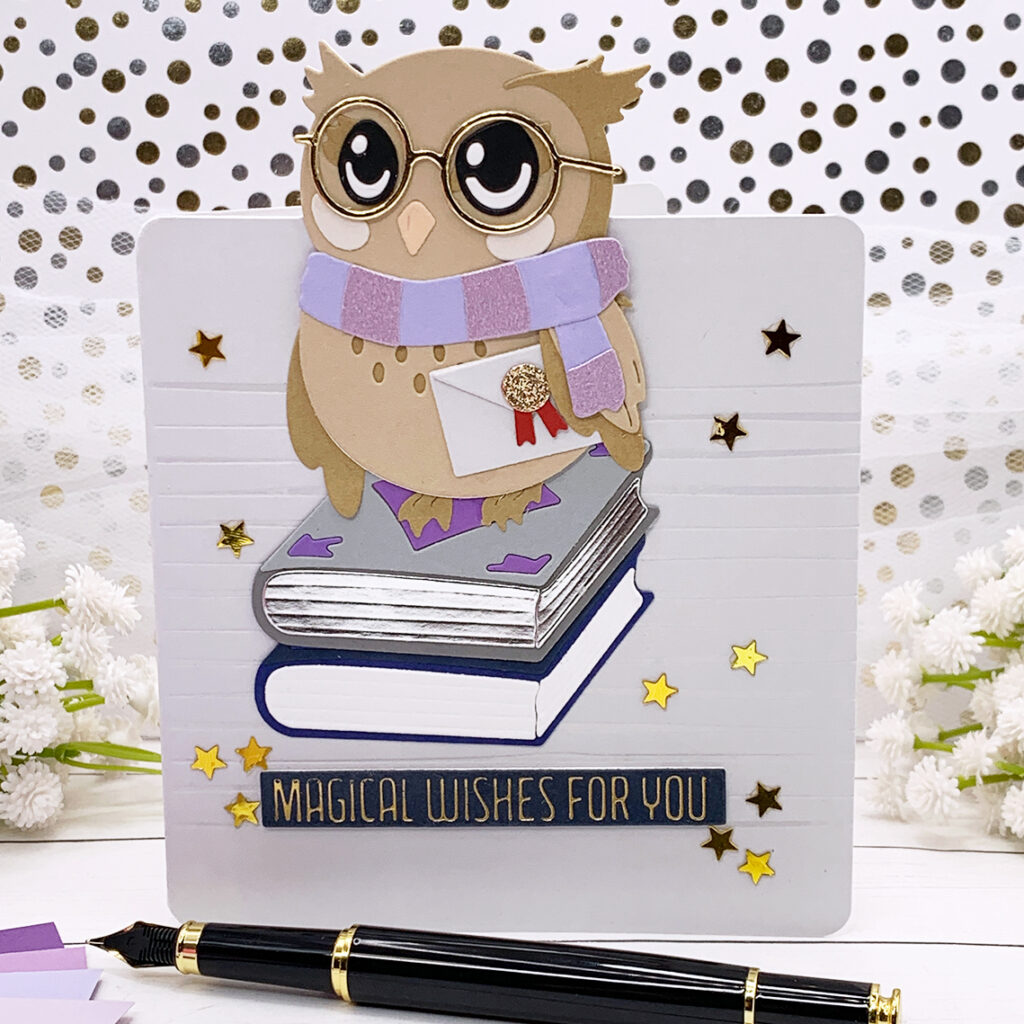
Hello crafters! Today I have lots of card examples to share with you, featuring the adorable Spellbinders “Wise Owl” die set! All of these note cards measure 5 ½” tall by 4 ¼” wide and can go inside A2 size envelopes.
I began by die cutting all of the needed pieces at once to assemble each owl. I assembled each owl slightly differently because I couldn’t decide which way I liked better. They look adorable either way! However I think that a pair of glasses is definitely a must! To cut out these pieces, I used mostly cardstock scraps. To cut out the body parts, I used Spellbinders cardstock in the color “Dune”, along with a slightly darker shade of brown cardstock by Recollections, included in the pack “Nostalgia”. To cut out the cheeks, I used Spellbinders cardstock in the color “Barely peach”, and to cut out the beaks I used the cardstock color “Peach Sorbet”.
To adhere the die cut pieces I used the Bearly Art glue and I also used a pair of self lock tweezers to help me hold the small die cuts as I added glue in the back. It was also helpful to use a wax pencil to pick up the tiny pieces as I did the die cut inlay technique for the owls’ eyes.
To hot foil the sentiments in English, I used the Spellbinders “Sketched Lines” hot foil plates set. I used my Glimmer machine to do so, and a piece of golden foil. However, because I can not find plates with sentiments in Portuguese, I created my own by printing these sentiments with my laser printer, and then running it through my laminator with a piece of golden Deco Foil!
To create the card bases, I used Spellbinder cardstock in the color “Fog”. I began by creating regular A2 size side folding note cards. To do the partial die cutting, I first drew a horizontal pencil line one inch from the top, then I taped the owl metal plate in the center against the top edge of the note card. Everything above that pencil is what we need to die cut out, so when creating the die cutting sandwich make sure to leave everything below the pencil line hanging so you do not die cut it! Also make sure to keep the note card folded so you can cut through both layers at once (the front and back of the note card).
After doing the partial die cutting, we will need to cut along that pencil line, but only between the partially cut owl. To do so I used the Fiskars Sure Cut paper trimmer. However, if you do not have a similar trimmer you can also use a crafts knife and a ruler to do so!
To add some interest to the background I hot-foiled each note card with a hot foil plate included in the “Sketched Lines”set and pieces of foil in the color “Opal” by Spellbinders. I did add white panels inside the note cards to create a bright space to write a personal message and I assembled stacks of die cut books to create a place for each owl to stand at. The metal plates used to cut out the pieces for these stacks of books are also included in the “Wise Owl” die set! I used liquid adhesive to adhere the owl on top of each stack of books and then to the front of the note card, aligned with the partially die cut owl.
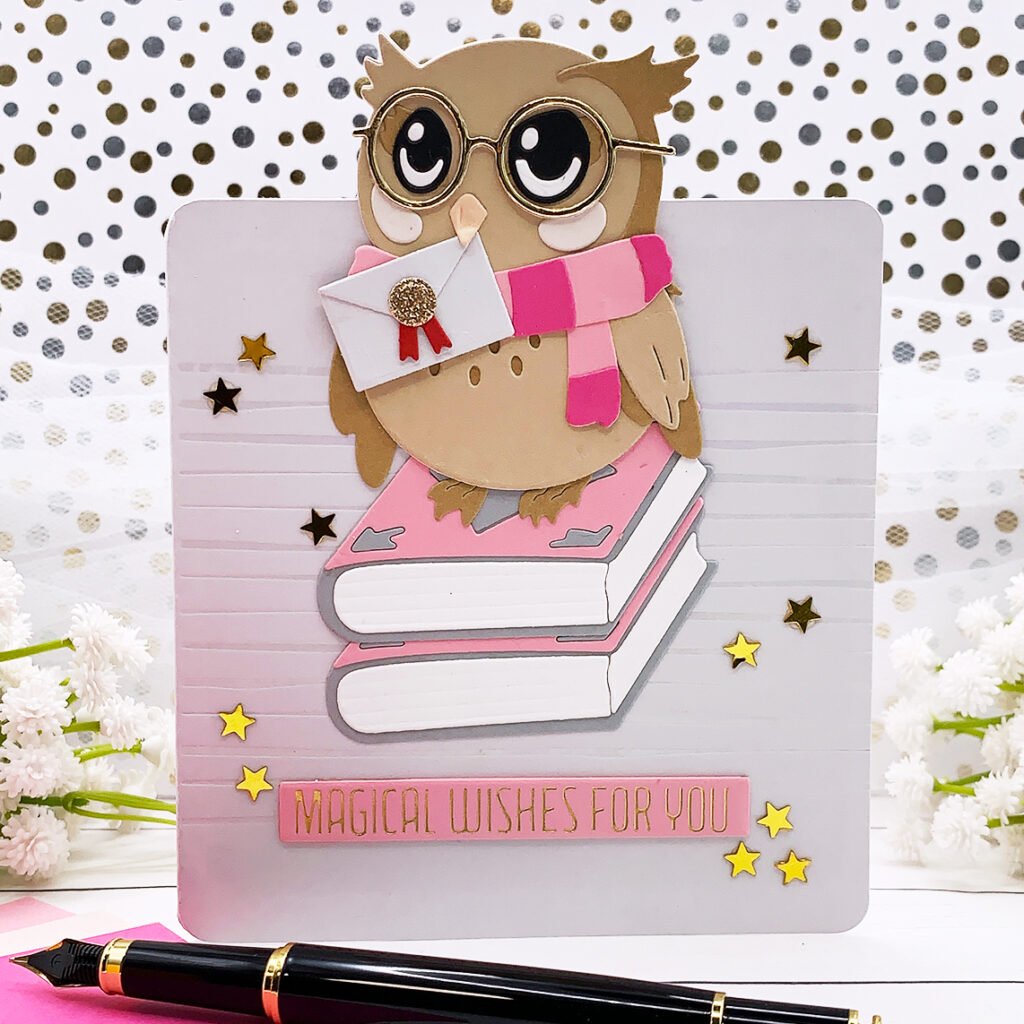
I placed each sentiment strip below the stack of books, and as a final touch I adde star sequins to the background of each card. I also went over the owls’ cheeks with a shimmer pend to add some sparkle. I used kraft colored envelopes to match the note cards and to add some color to each envelope I adhered a thin cardstock strip to the flat of each one!

At the end of this post there is a list of all supplies used to make these cards. You can click here to watch my creation process! I had a blast creating these note cards and I hope you felt inspired. I appreciate you stopping by today and I hope you have an amazing day! Take care and happy crafting!
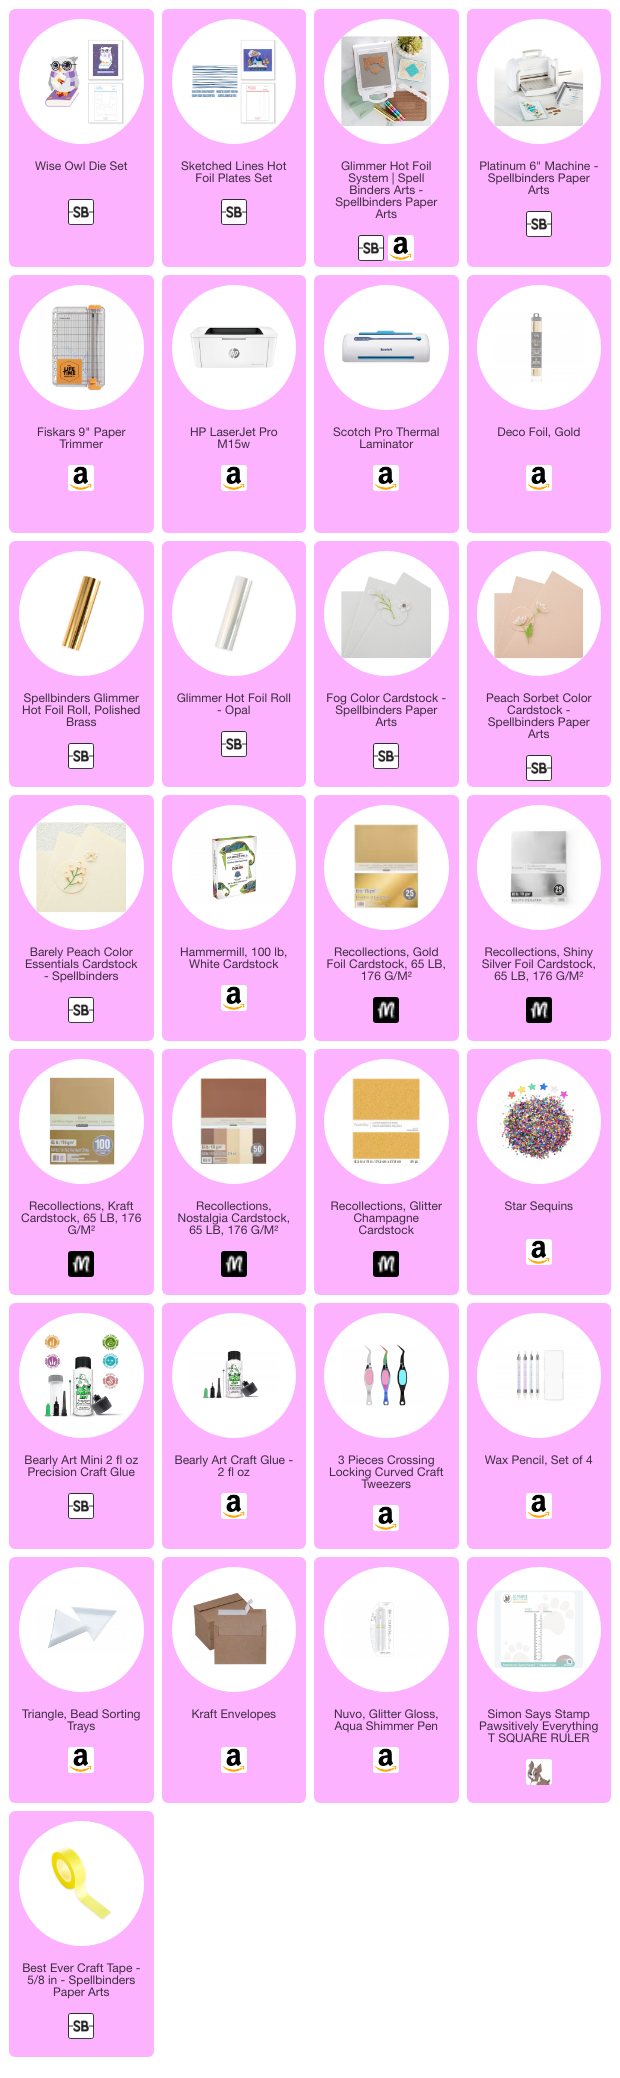
SUPPLIES
I have listed below all of the products that I used to make today’s note cards. Compensated affiliate links may be used at no cost to you, and I only use and recommend products that I love! As always, thank you for your support!
-
-
9 months
Tagged Spellbinders October 2025 Clubs