Stitched Note cards!
Creating With Spellbinders April 2024 Stitching Die Club


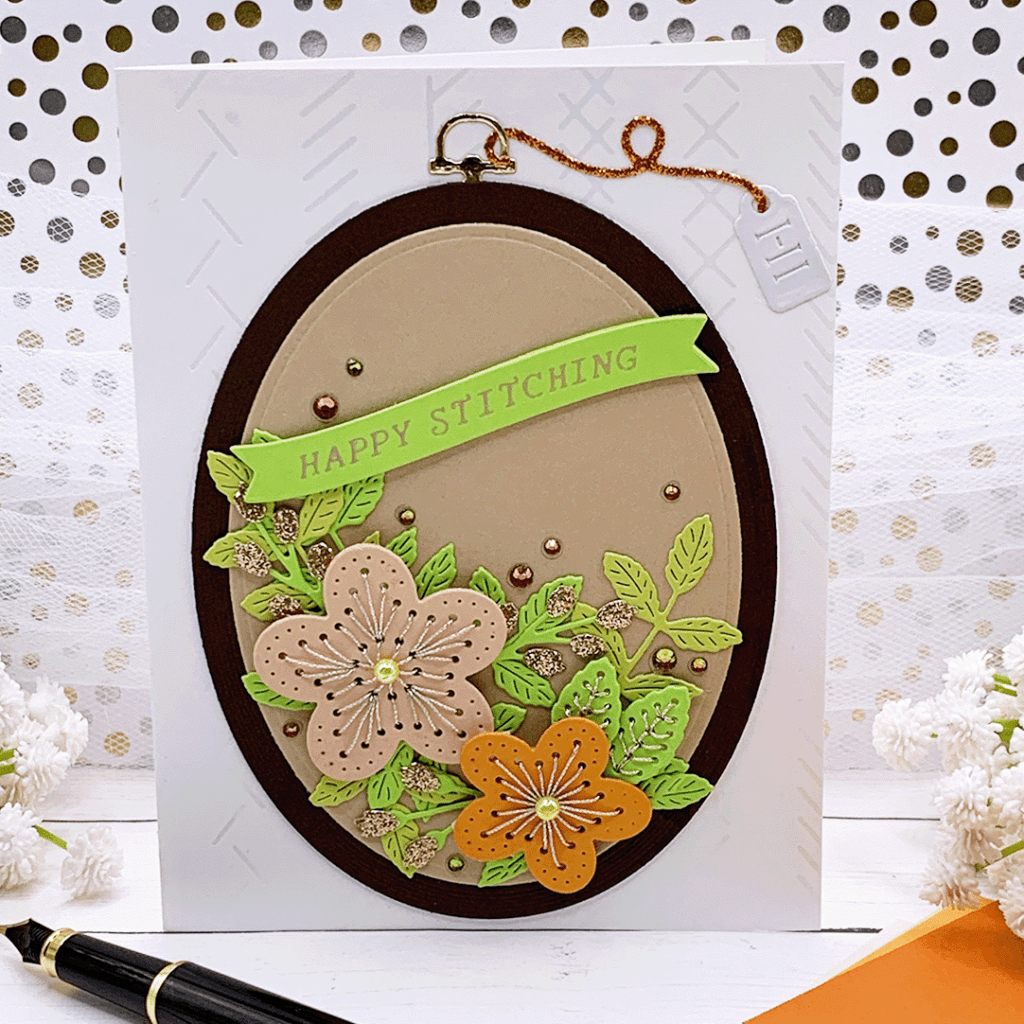
Hello crafters! In this post I will be sharing a few note cards that I created with the Spellbinders “Stitched Wall Hanging” die set. Spellbinders offers many different club subscriptions and I have been having a lot of fun with some of these clubs, especially the Stitching Die of The Month kits!
Even though the metal plates cut out pieces that are meant to be stitched on, the die cut pieces actually look gorgeous without the stitching, thanks to the patterns that the metal plates create on the cardstock. So stitching is definitely optional and it’s just a matter of what you feel like!
I decided to do the stitching today since I had the time and I absolutely love it! To do so I used a tapestry needle and 5283 DMC floss which is a stunning metallic pearl color! I stitched enough flowers and leaves to create three top folding A2 size note cards. Once I finished stitching each piece, I used a small piece of strong adhesive to tape the floss in place in the back. To adhere each stitched die cut to my note card I used pieces of foam adhesive to add some dimension, and I simply used the Bearly Art glue to adhere the other die cut pieces to the front panel.

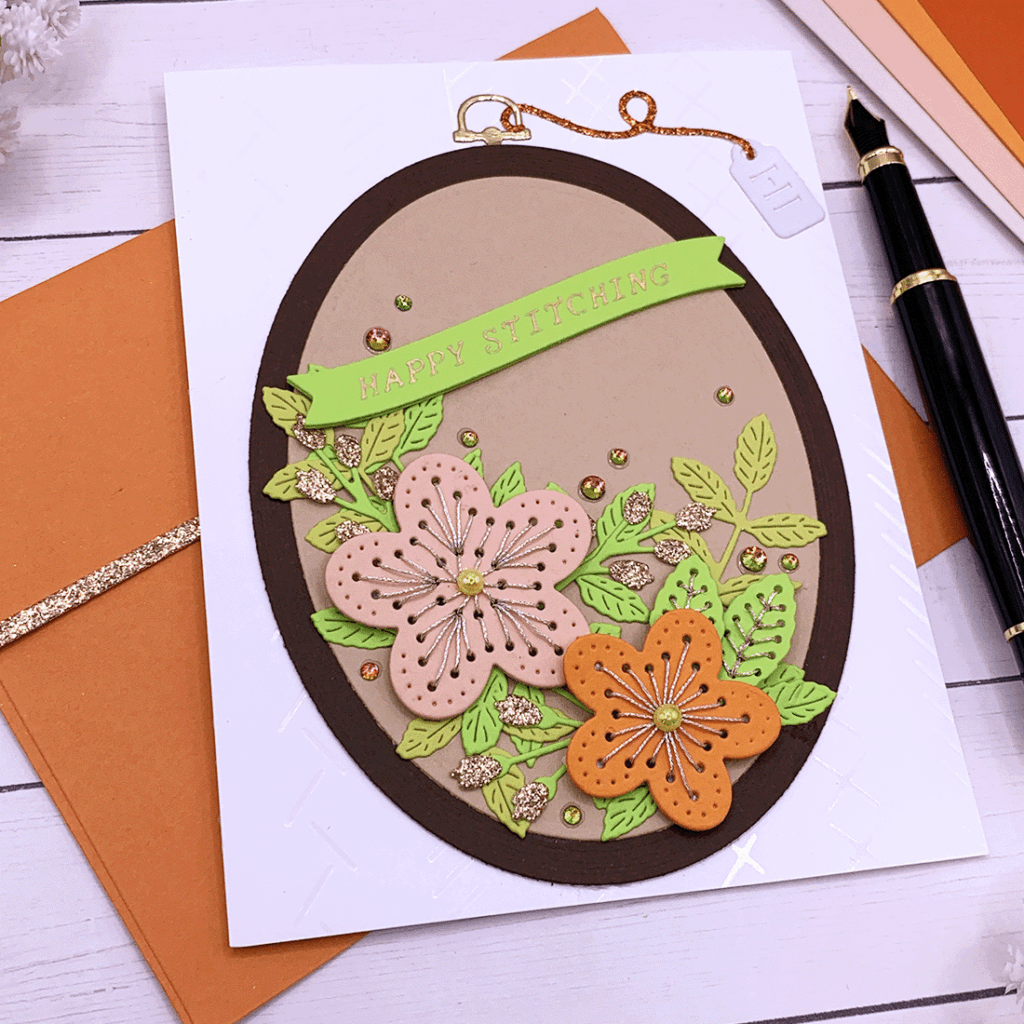
To create foiled sentiment banners, I used hot foil plates and the coordinating die cut plate included in the Spellbinders “Sew Amazing” set. To make the sentiment banner in Portuguese (Happy Mother’s Day) I simply printed it on white cardstock and used that same banner die plate to cut it out!
To hot foil the white background panel of each note card, I used hot foil plates included in the “Sew Amazing” set. To do the foiling on the “You are Sew Amazing” note card, I used a piece of foil in the color Aura which is simply gorgeous in person! And, to hot foil the background panel for the other two cards I used foil pieces in the color Opal which is very subtle but still just as beautiful!
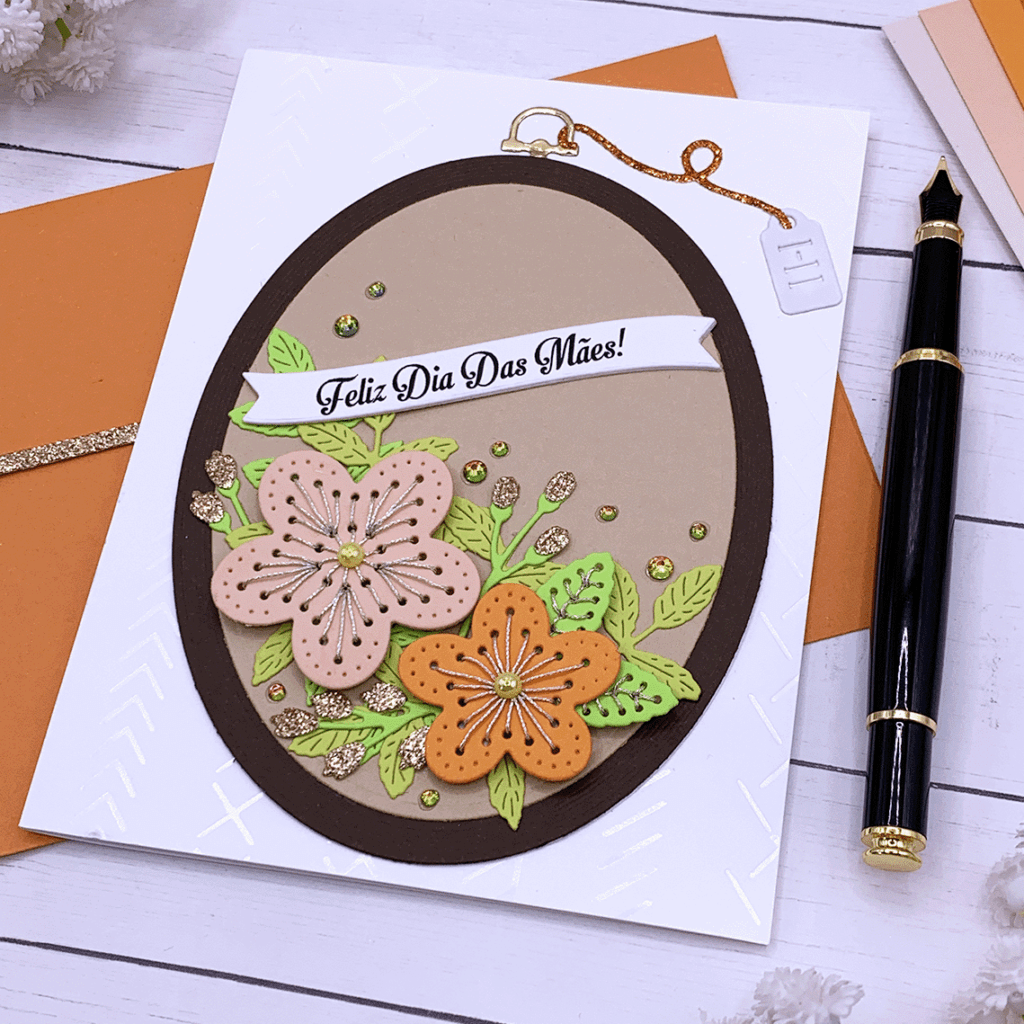
As a final touch, I added either silver or yellow flat back beads in the center of each flower and a few flat back rhinestones in the background! Make sure to click here to get a closer look at these note cards! If you’re interested, at the end of this post there is a list of all supplies used to make these cards. I appreciate you visiting my blog today, take care and happy crafting!
SUPPLIES
I have listed below all of the products that I used to make today’s note cards. Compensated affiliate links may be used at no cost to you, and I only use and recommend products that I love! As always, thank you for your support!

-
-
2 weeks
Tagged Spellbinders Classic Road 2.0 Collection