Stitched-Note Note Cards!
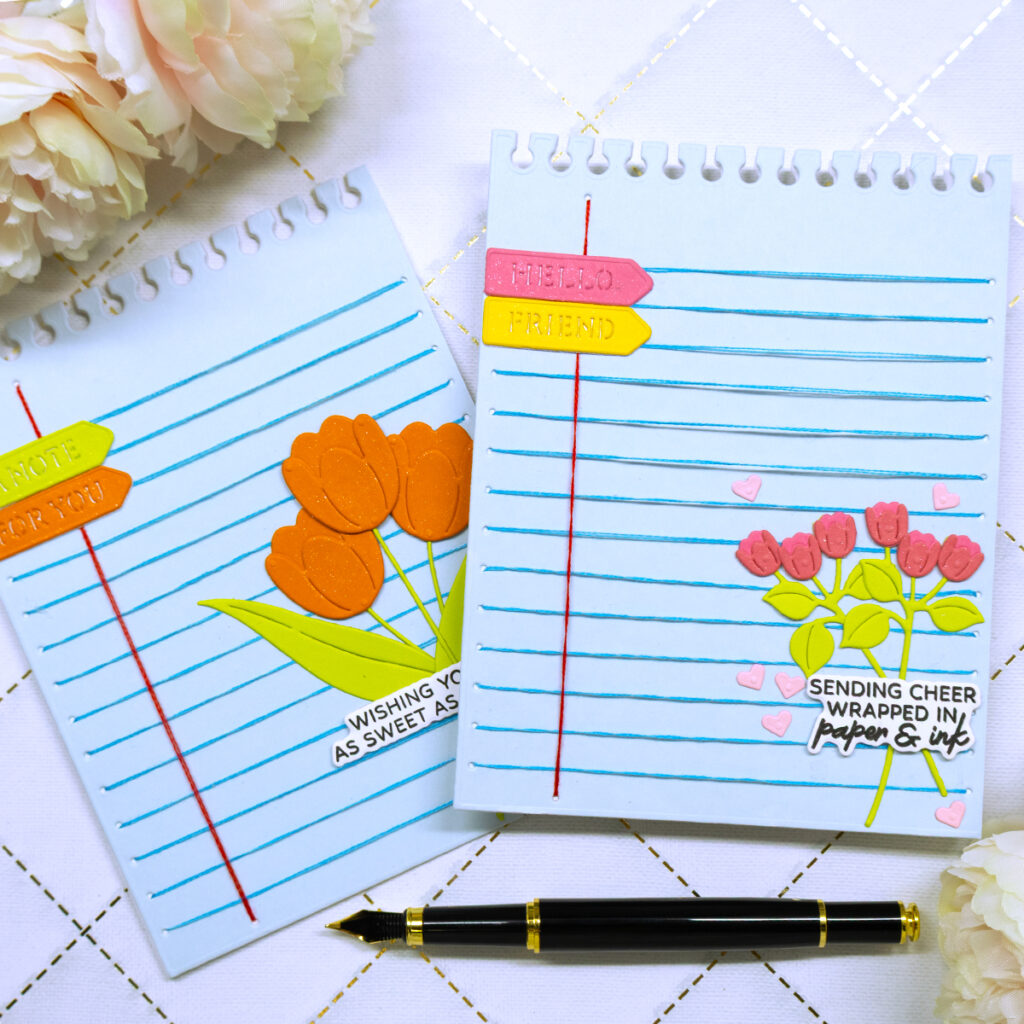
Hello crafters! In this post I have two card designs featuring a few more of Spellbinders April 2025 clubs. Today’s star of the show is the Stitching die club named “Stitched Taking Notes”. This is a great set that we can use to create many wonderful projects!
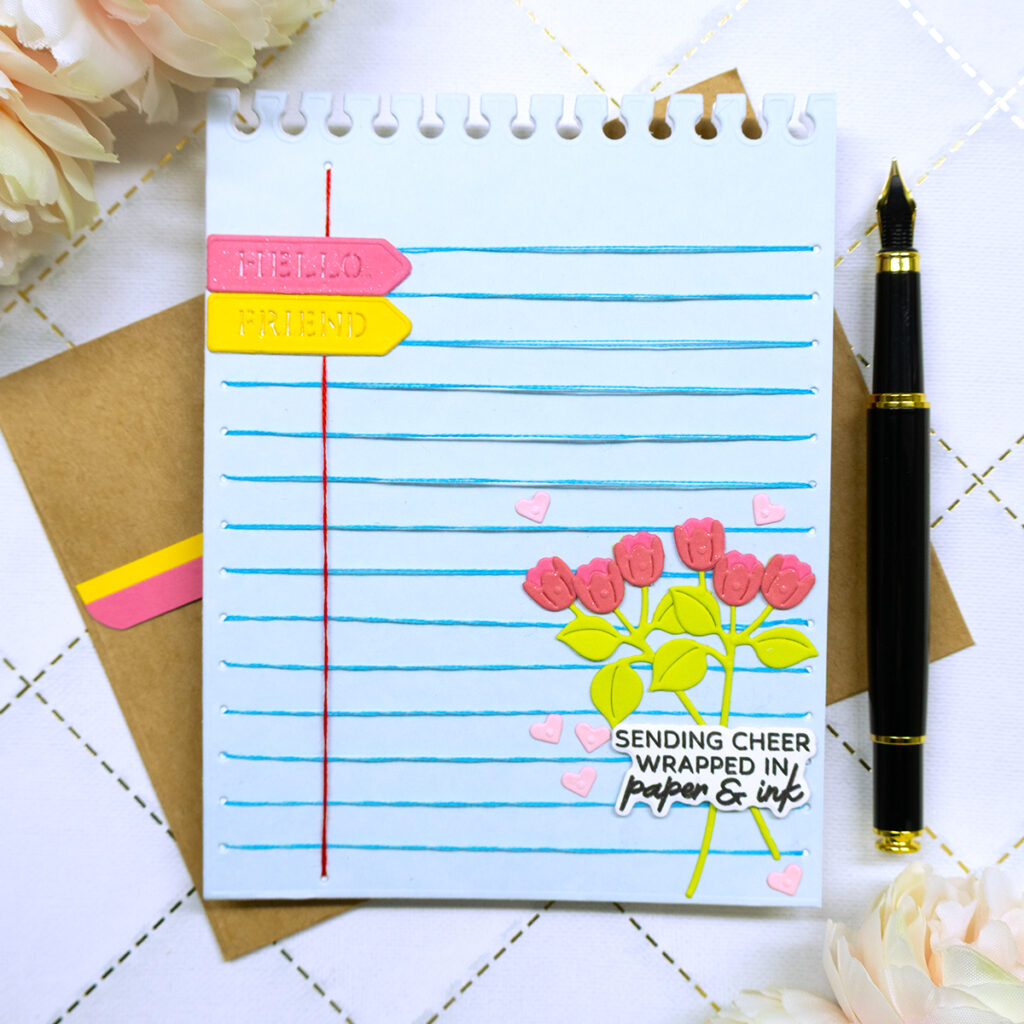
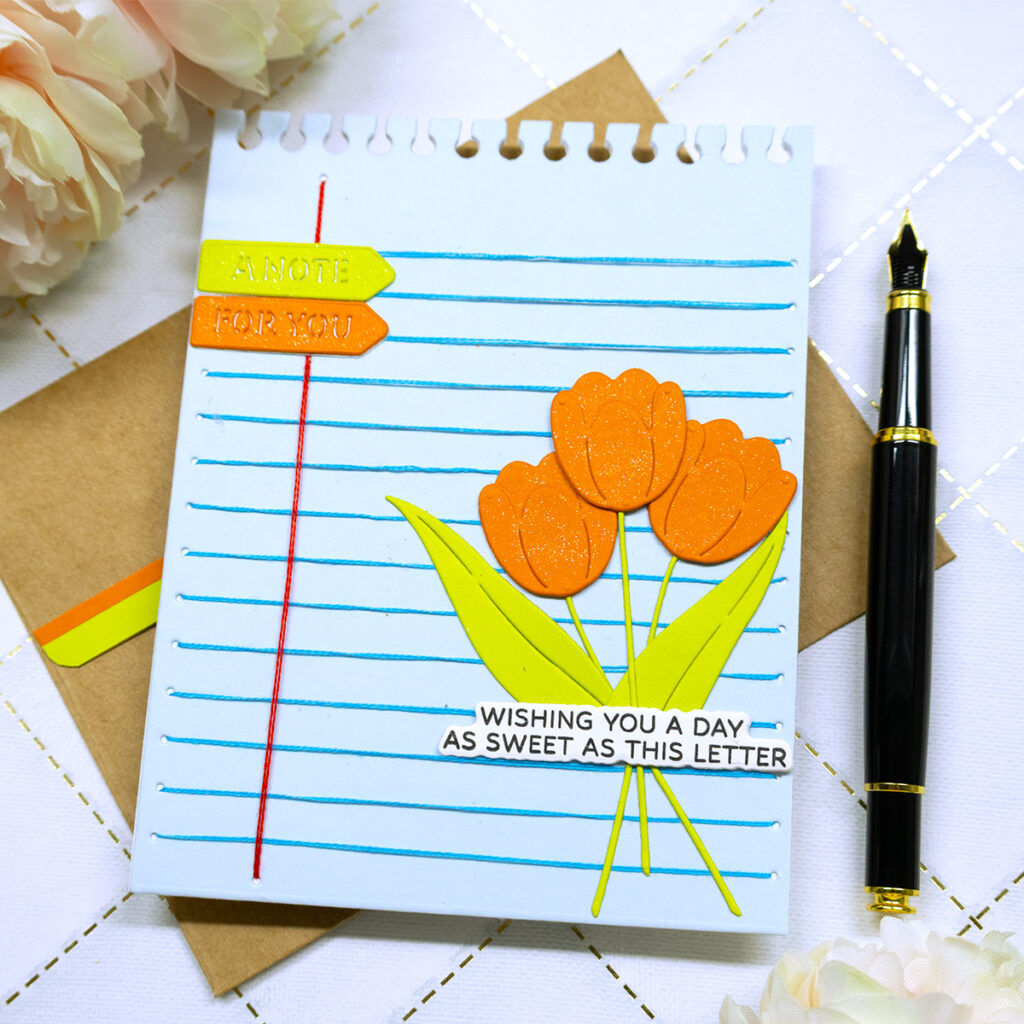
- Using the largest plate included in the Spellbinders “Stitched Taking Notes” set, cut out a fun note-shaped note card, by offsetting the metal plate on the folded side of an A2 size, side folding white note card.
- Using the two largest plates included in the Spellbinders “Stitched Taking Notes” die set, die cut the stitching panel from Spellbinders cardstock in the color “Glacier”. Use DMC 6 strands floss in the colors #996 and #666 to do the stitching.
- Using strong liquid adhesive, adhere the stitched panel to the front of the note-shaped note card.
- For the stamped sentiment, use the Spellbinders “Send & Seal” stamp and die set.
- To die cut the blooms, use metal plates included in the Spellbinders “Snail Mail Post” and “Lock & Key Mailbox” die set.
- Enjoy!
Tips:
- Tip 01: Add shimmer to the die cut blooms by going over them with a shimmer pen.
- Tip 02: Use a glue eraser to remove any excess glue (dried) without damaging the cardstock.
I hope you felt inspired and some of this information was helpful to you! If you create something inspired by this post, make sure to tag me on instagram! Thank you for visiting and happy crafting!
SUPPLIES
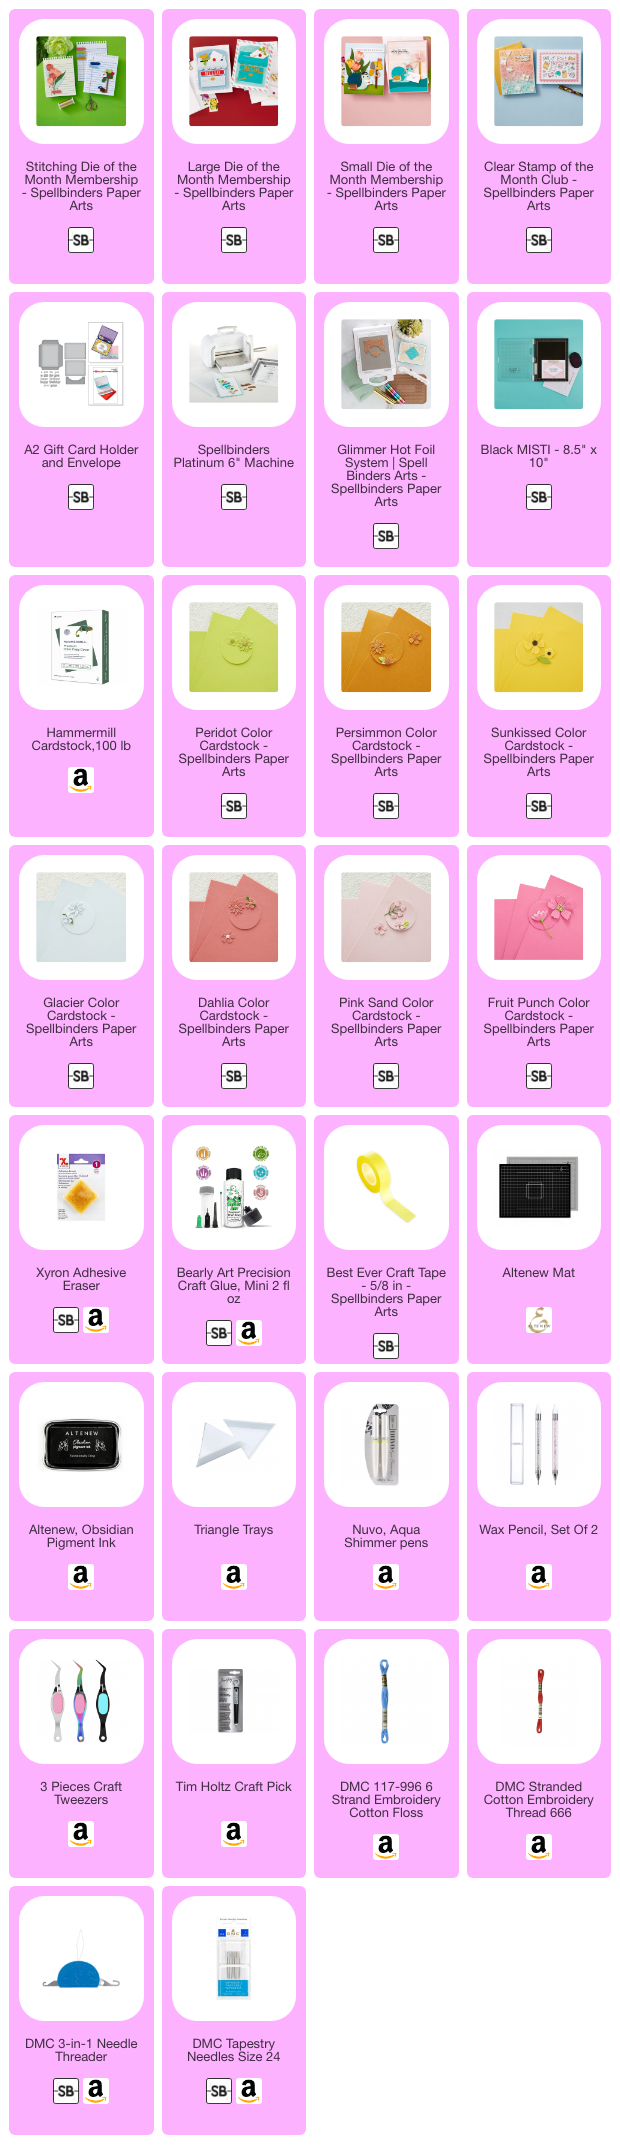
I have listed below all of the products that I used to make today’s note cards. Compensated affiliate links may be used at no cost to you, and I only use and recommend products that I love! As always, thank you for your support!
-
-
4 weeks
Tagged Spelbinders January 2026 Clubs