Spellbinders April 2024 Embossing Folder Of The Month!
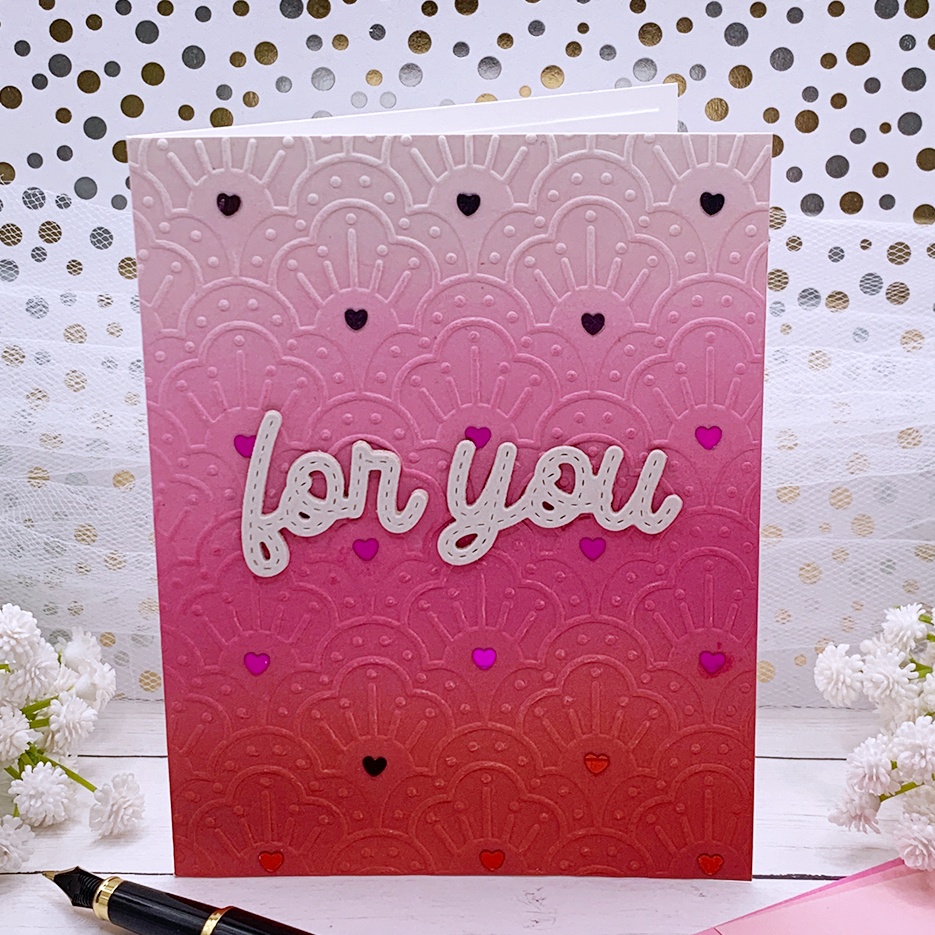
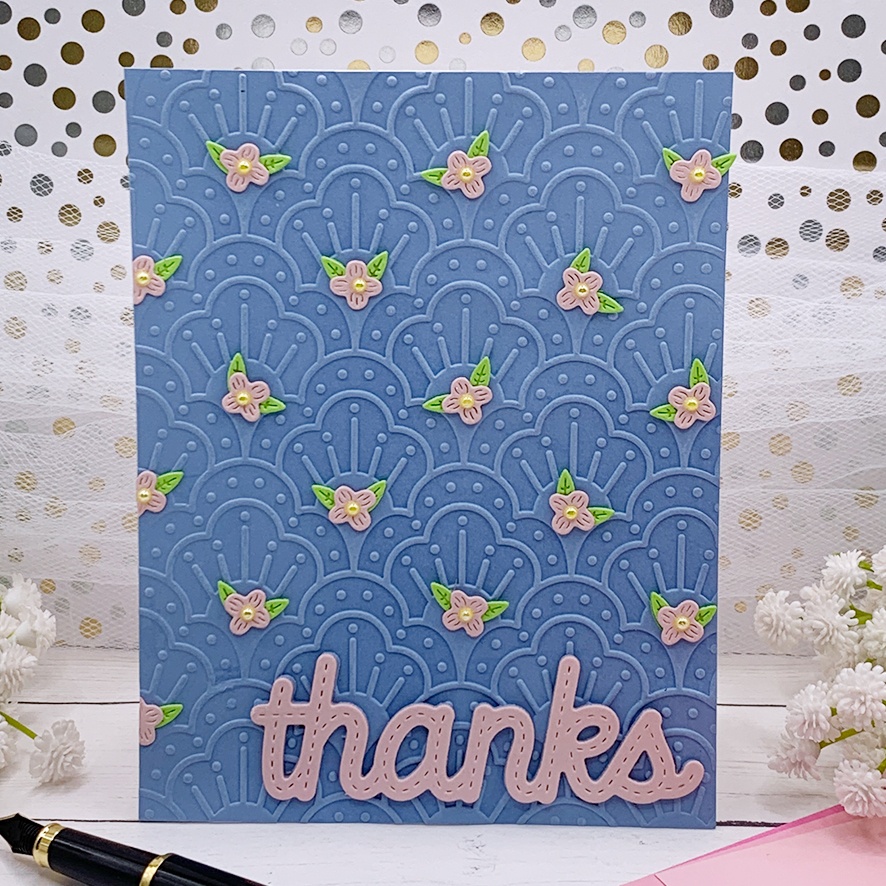

Hello crafters! Today we will be creating beautiful note cards with the Spellbinders “Faux Stitched Petal” embossing folder. All of these note cards measure 5 ½” by 4 ¼” and can go inside A2 size envelopes!
I began by dry embossing the front panels that I cut to 5 ¾” x 4 ½” . I like to cut the cardstock bigger than what I need when dry embossing because this technique will shrink the paper a little bit. After dry embossing my panel I will adhere each one to the front of a card base and trim off the excess!
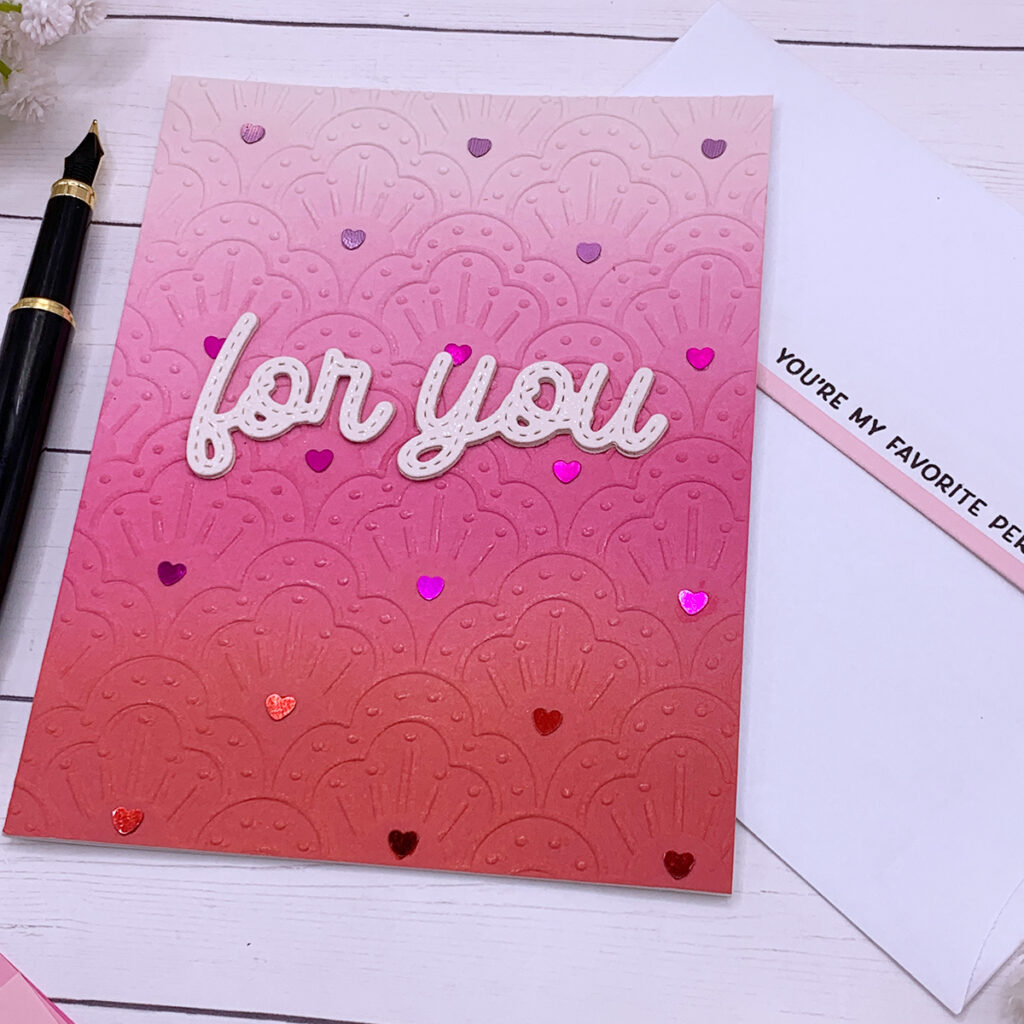
For the green and blue panels I used pieces of cardstock by Recollections. To create the gradient pink and red panel, I ink blended a piece of white cardstock with Distress Oxide ink pads in the colors “Spun Sugar” “Kitsch Flamingo” and “Barn Door”.
To create the die cut sentiments, I used metal plates included in the Spellbinders “Faux Stitched Sentiments and Floss” die set. I stack 3 die cut pieces so each sentiment would stand out more!

To add some interest to the dry embossed panels, I added die cut flowers and leaves to the “Hello” and “Thanks” note cards, and I added heart shaped sequins to the “For You” note card!
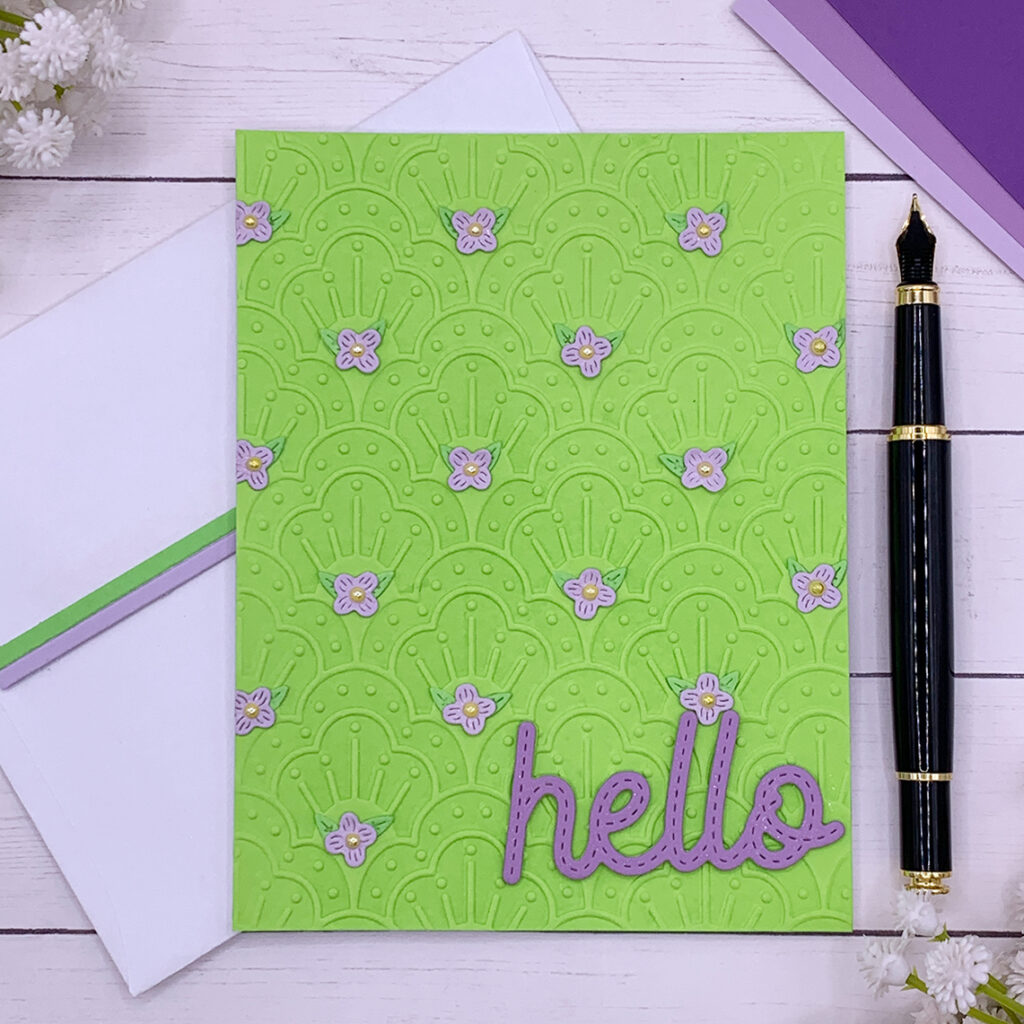
To finish it off I went over the die cut sentiments with a shimmer pen and I stamped a sentiment inside each note card using an old stamp set! You can click here to watch a short video and get a closer look at these note cards! At the end of this post there is a list of all supplies used to make these cards. I appreciate you stopping by today and happy crafting!
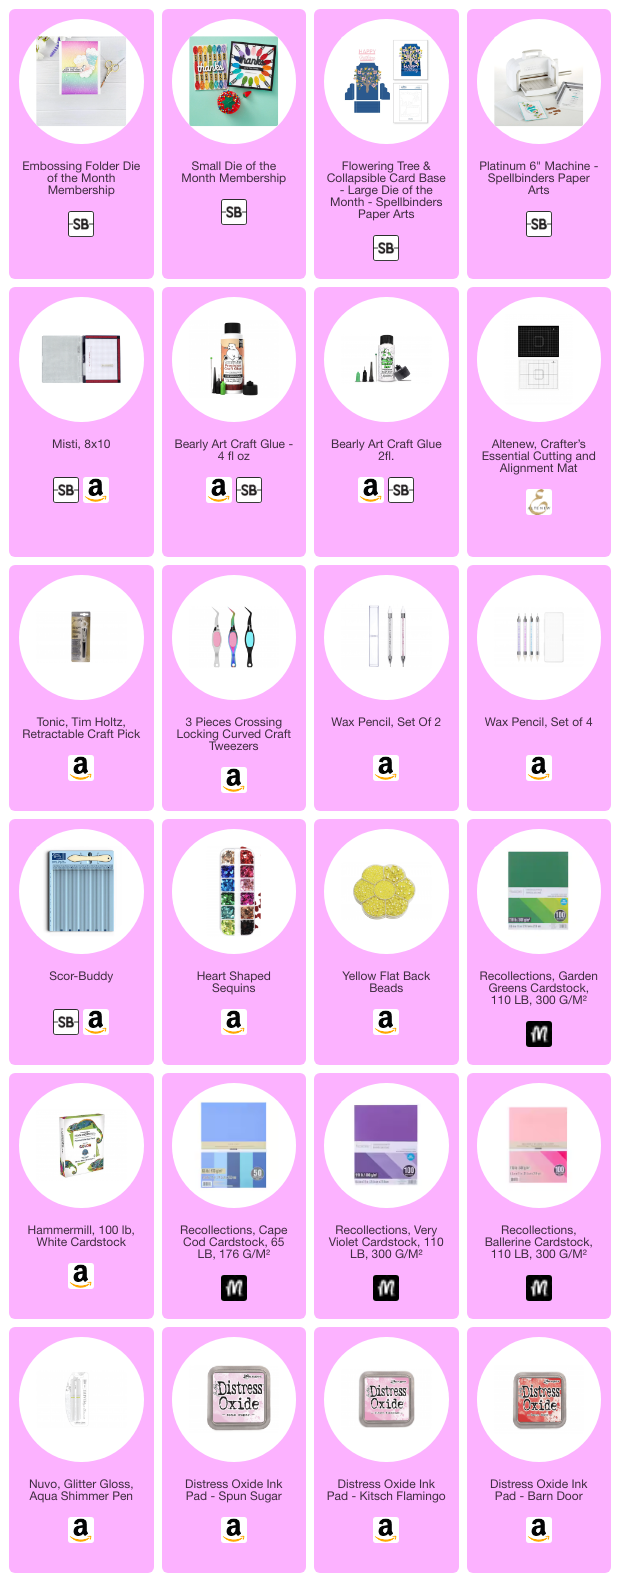
SUPPLIES
I have listed below all of the products that I used to make today’s note cards. Compensated affiliate links may be used at no cost to you, and I only use and recommend products that I love! As always, thank you for your support!
-
-
3 weeks
Tagged Spelbinders January 2026 Clubs