Simple Stenciled Note Cards
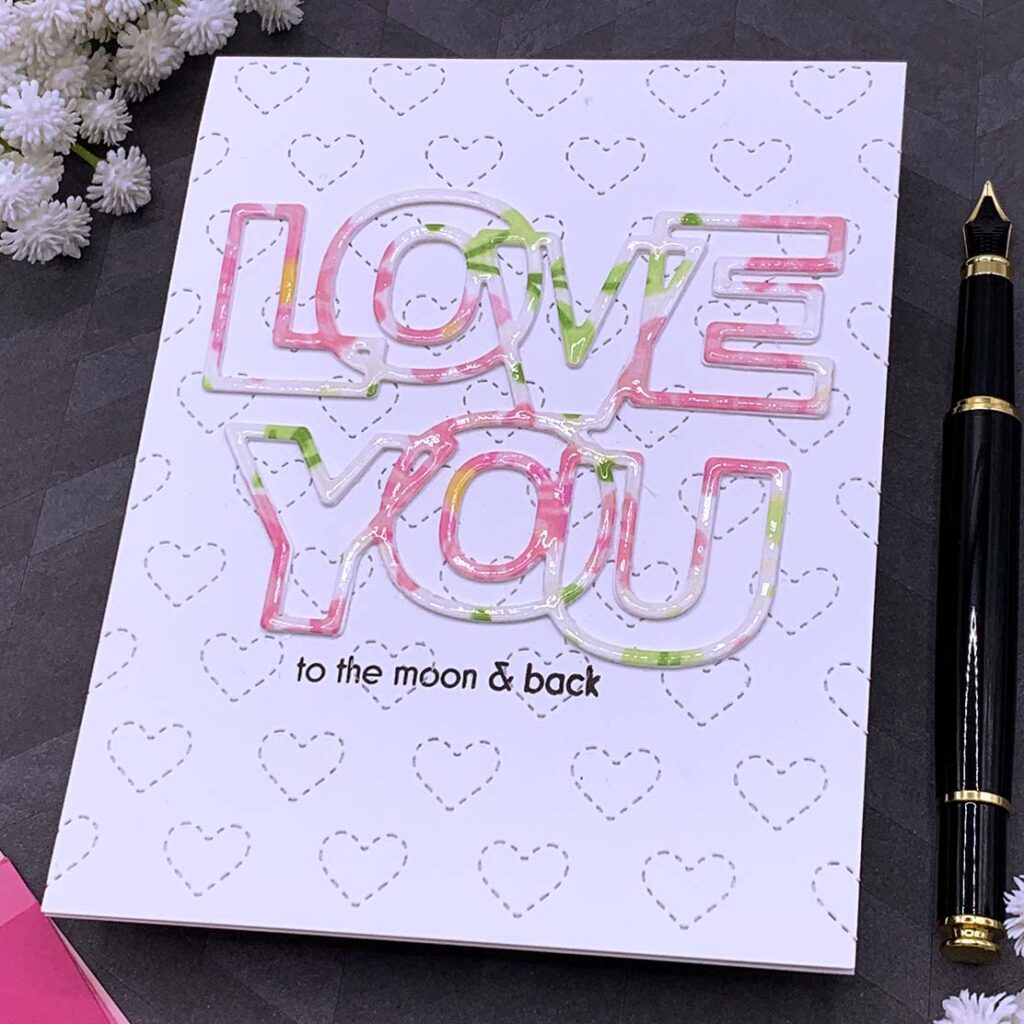
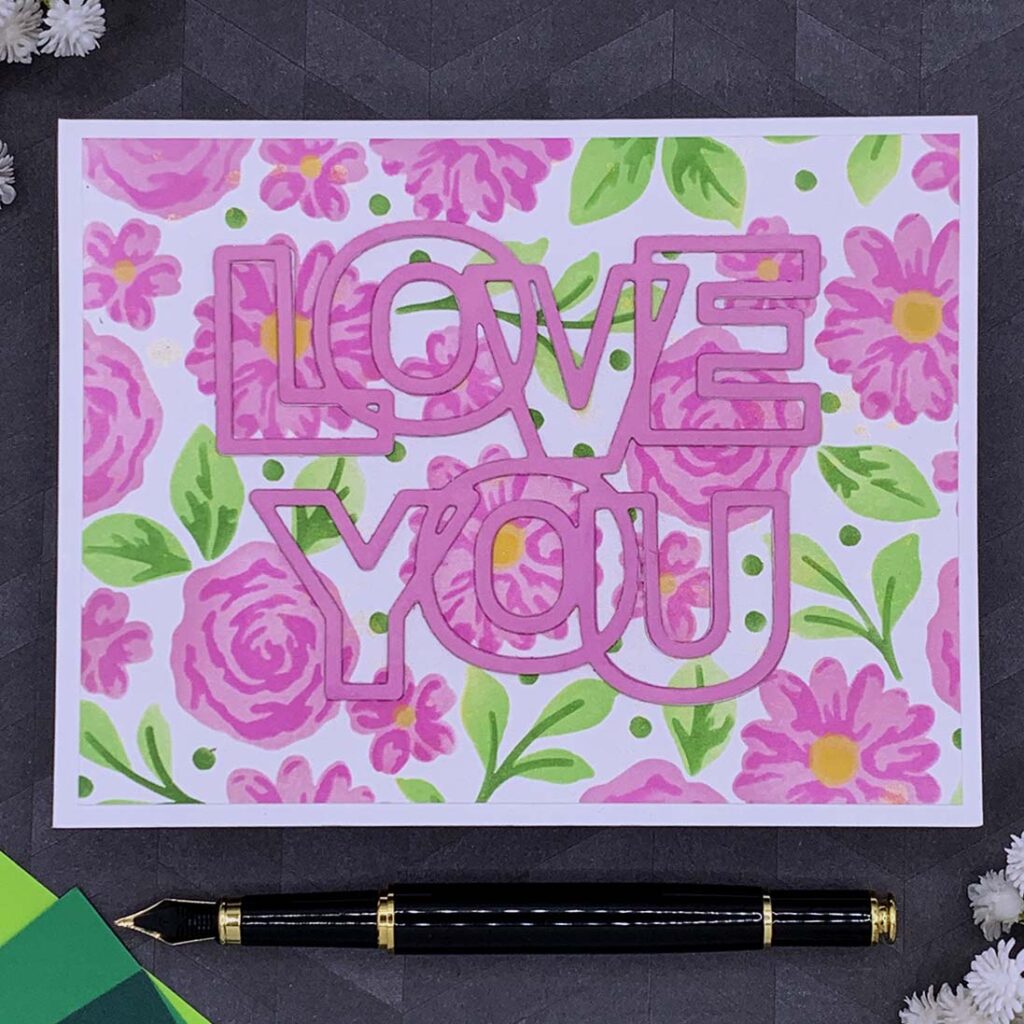
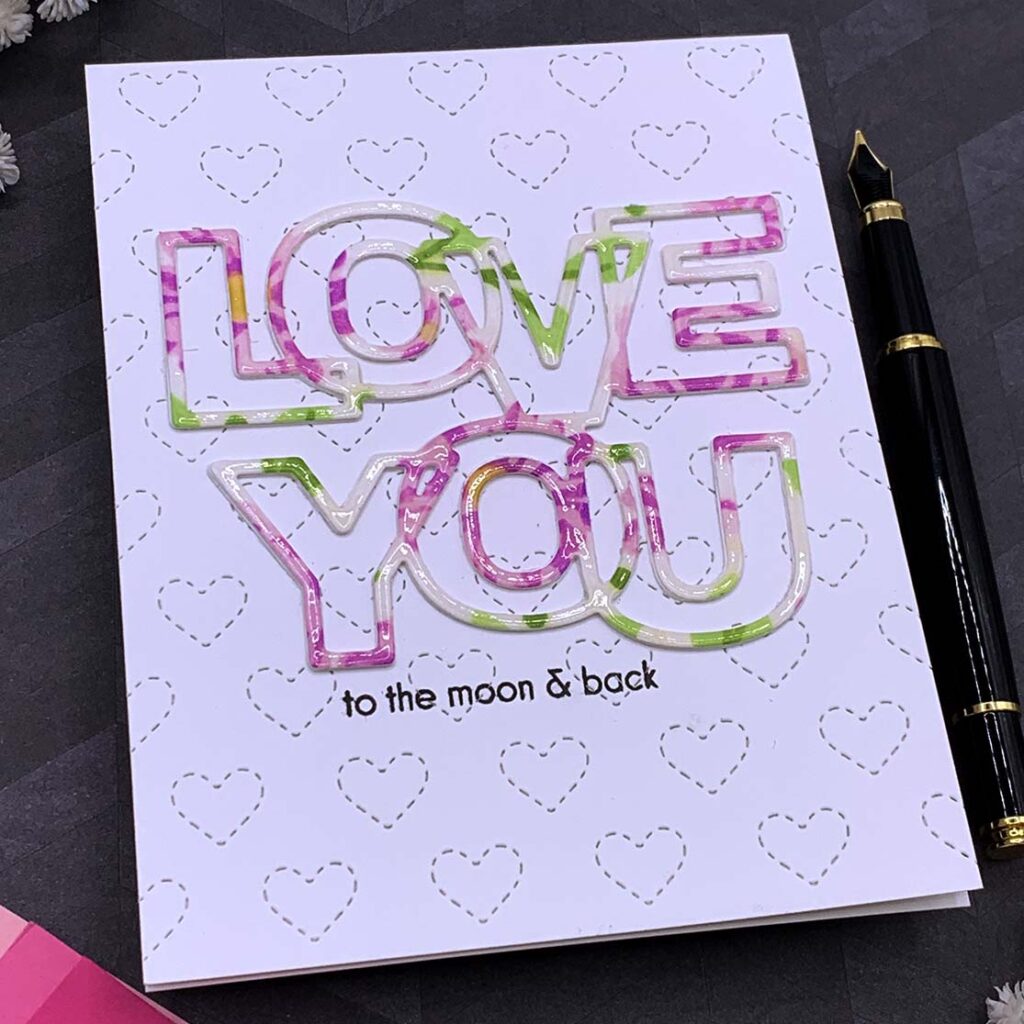
Hello crafters! Today I have some card designs to share with you featuring a gorgeous layering stencil set by Altenew. Stencils are very fun to use and great for creating background panels for note cards!
Note Cards With Stenciled Background Panels
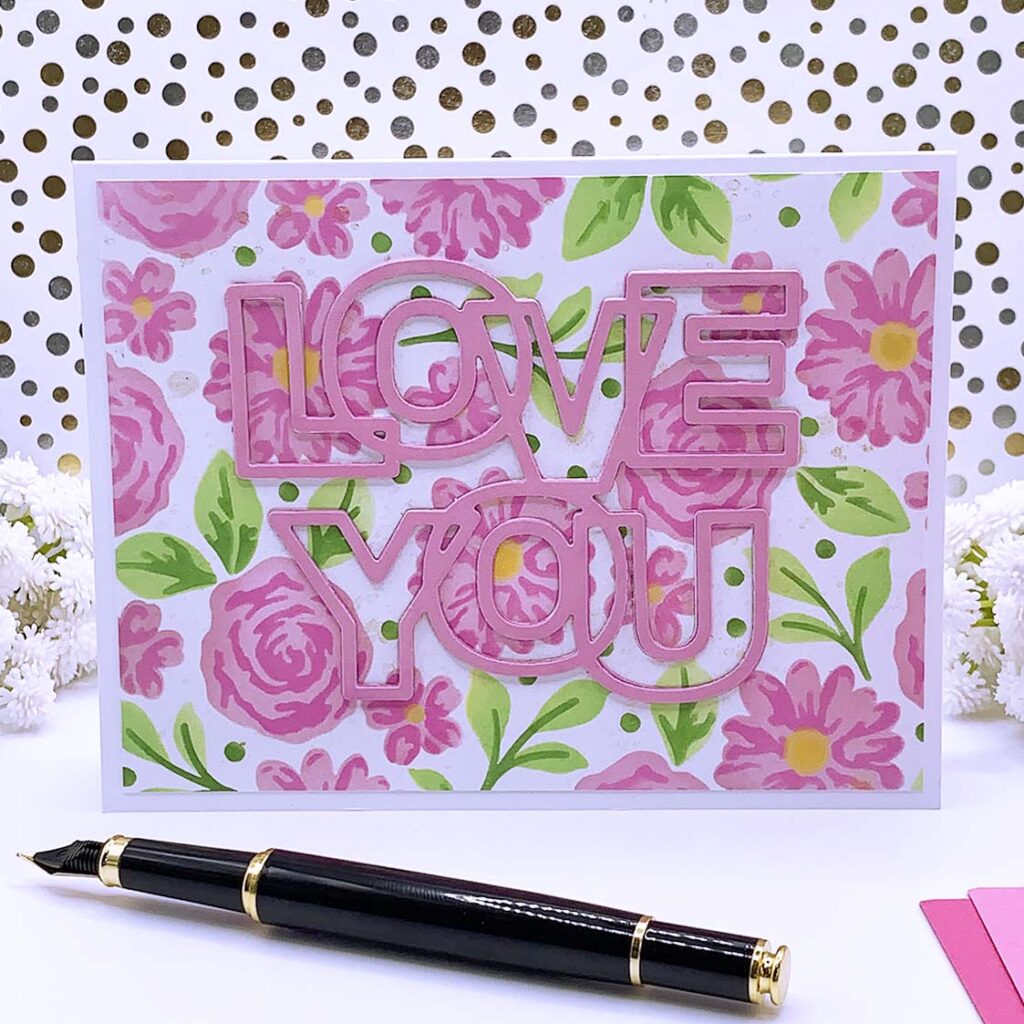
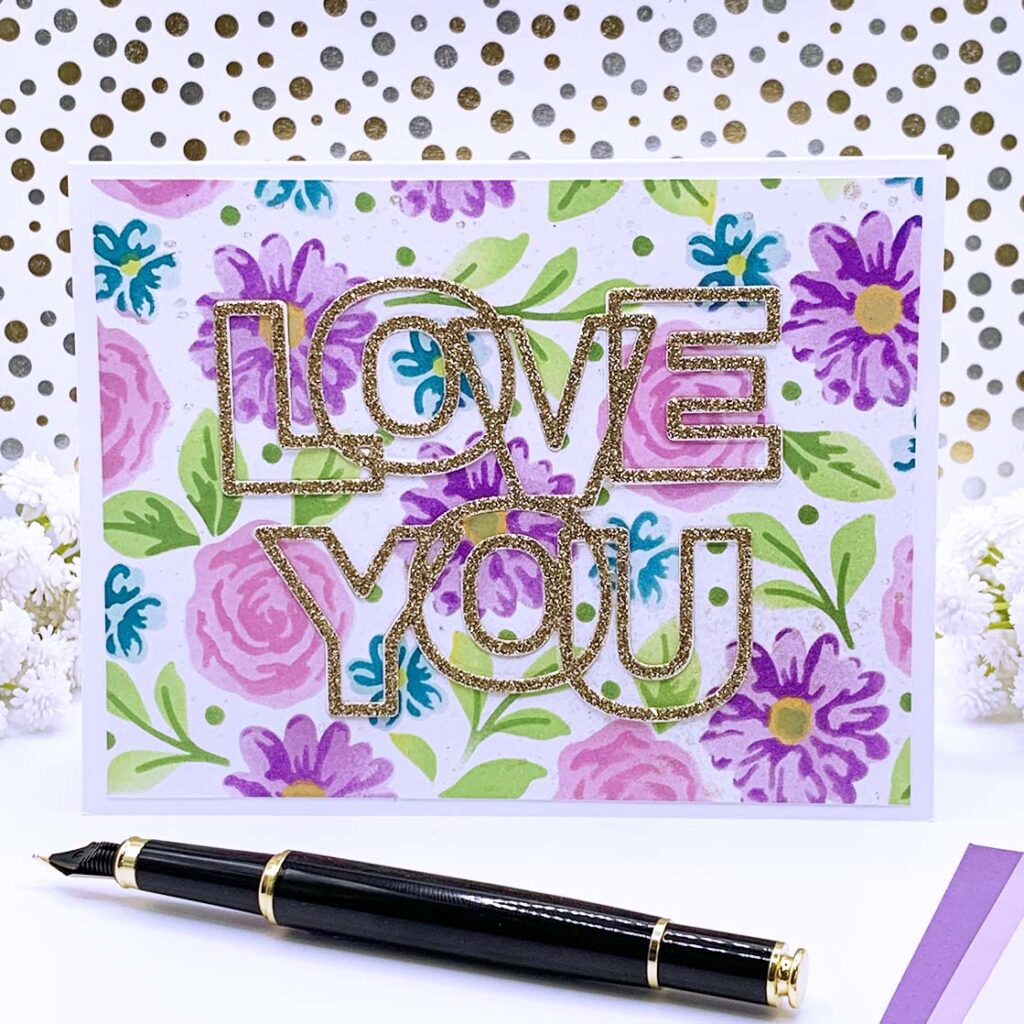
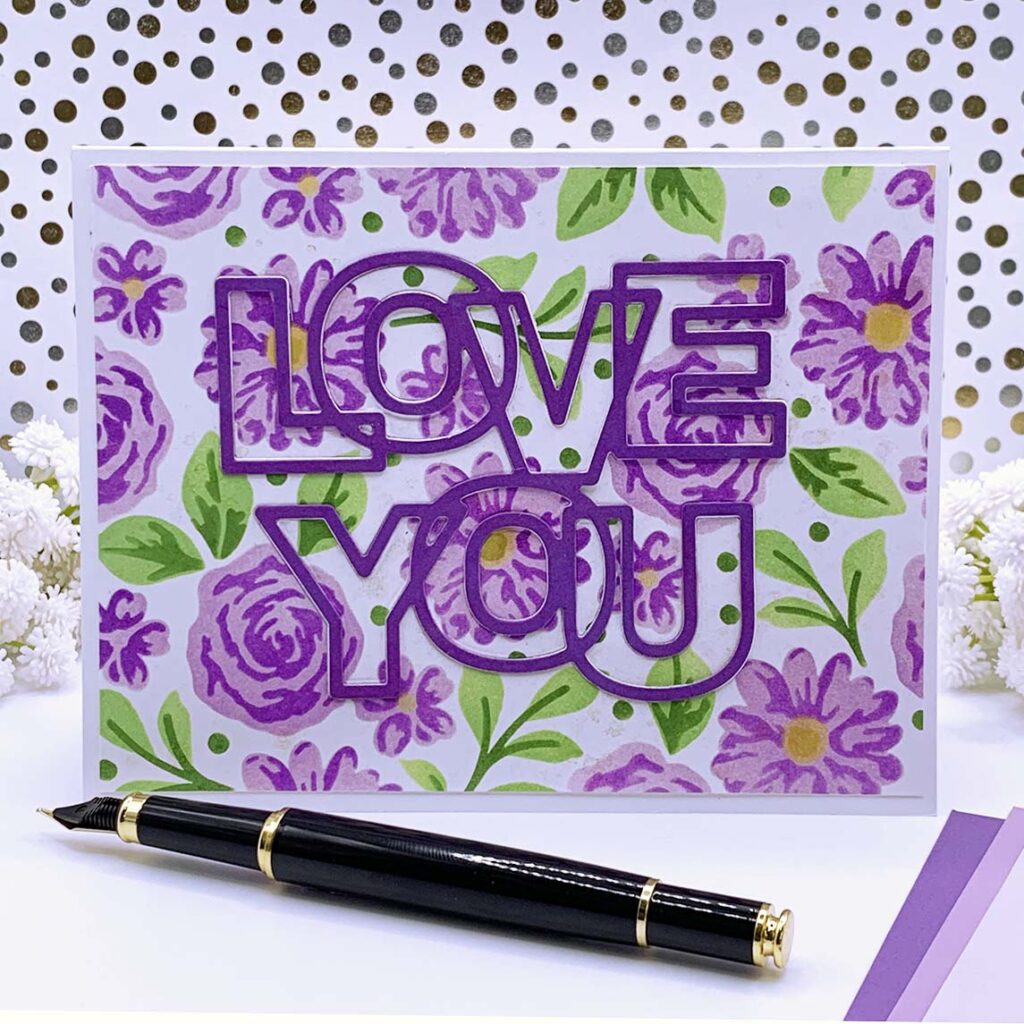
- Spray a 4” x 5 ¼” white panel with a golden shimmer spray and set it aside to dry.
- Stencil the 4” x 5 ¼” white panel with Altenew “Floral Radiance” layering stencil set.
- Using the Altenew “Outlined Love You” die set, cut out a sentiment from the center of the stenciled panel. Save all of the die cut pieces to do the die cutting inlay technique later.
- Adhere the stenciled panel, with the negative space in the center, to the front of an A2 size note card.
- Using the Altenew “Outlined Love You” die set, cut another sentiment out of a colored cardstock that matches the stenciled panel. Adhere the die cut sentiment in the negative space in the center of the stenciled panel. Then, adhere all of the small stenciled die cut pieces back in the negative spaces to cover all of the white spaces.
- Stamp a sub sentiment inside the note card with the Altenew “Love You” sentiments stamp set.
- Create a pocket shape envelope with metal plates included in the Stampendous “A2 Gift Card Holder & Envelope” die set.
Note Cards With Stenciled Die Cut Sentiments
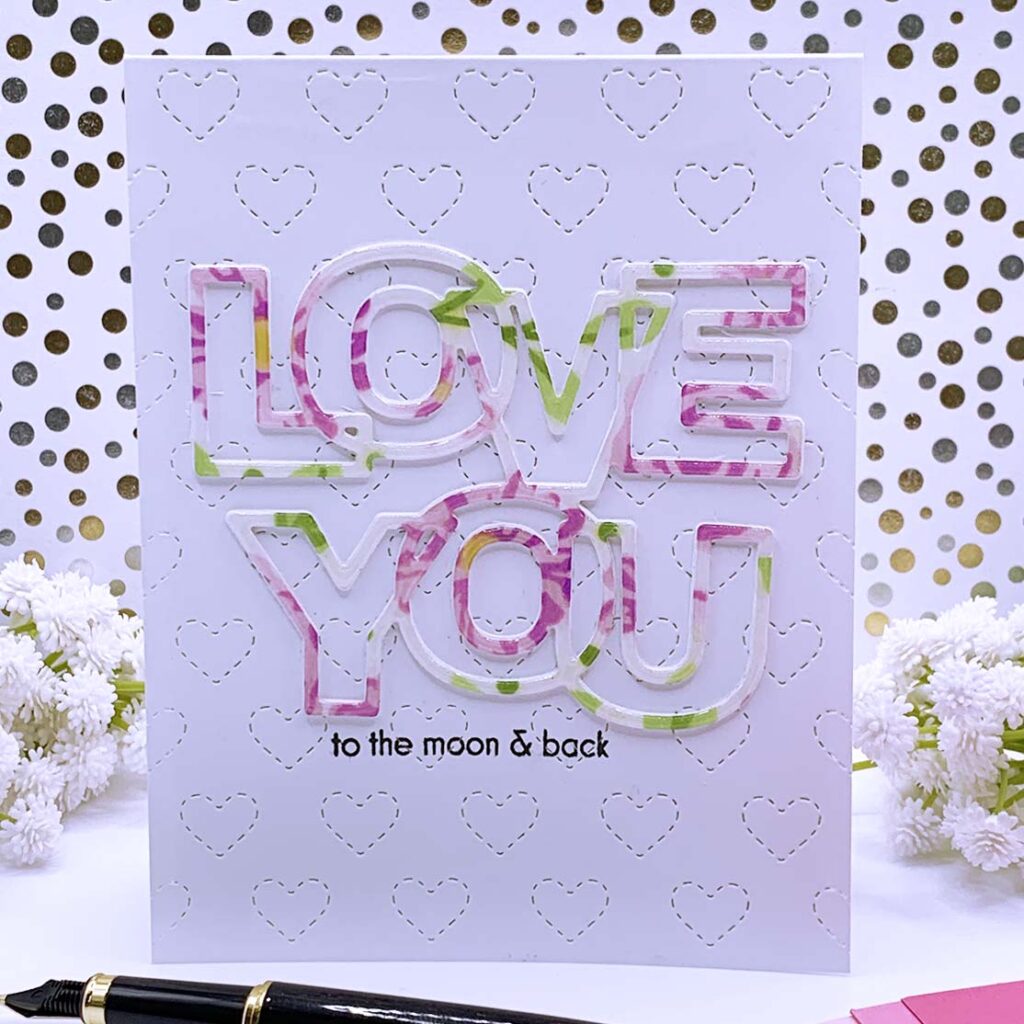
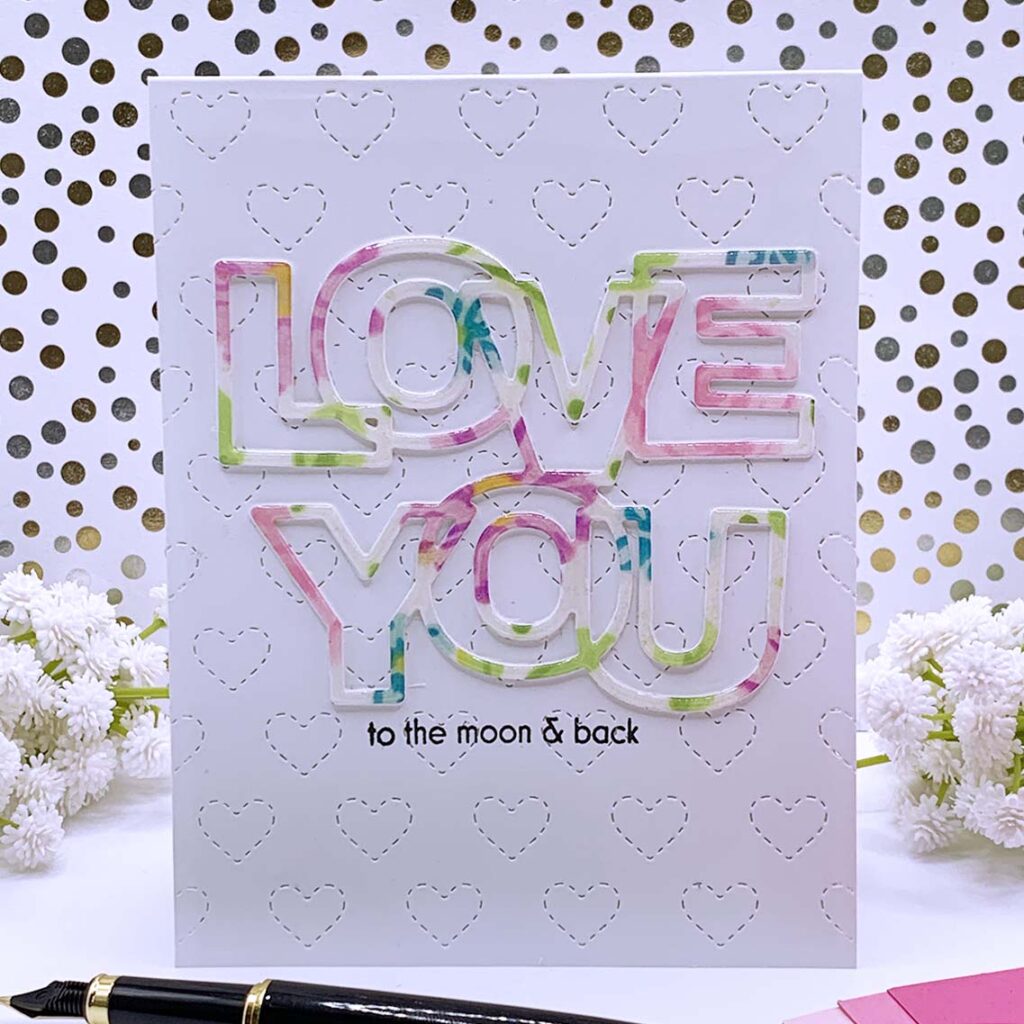
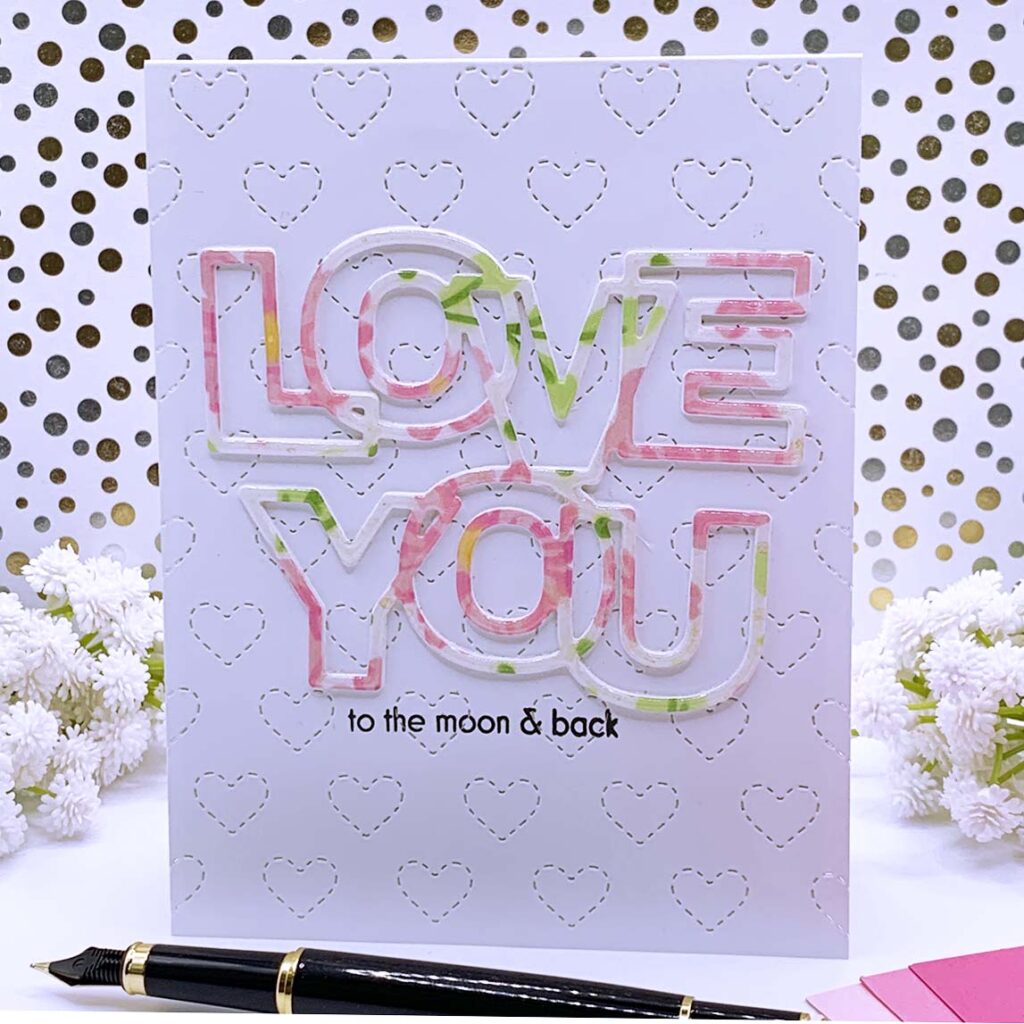
- Add stitched patterns to the front of an A2 size, top folding note card with the Concord and 9th “Stitched Hearts” die plate.
- Adhere the leftover stenciled die cut sentiment to the center of the front panel.
- Go over the die cut sentiment with Ranger Glossy Accents to make it glossy.
- Stamp a sub sentiment below the die cut sentiment with a stamp from the Altenew “Love You” sentiments stamp set.
- Create a pocket shape envelope with metal plates included in the Stampendous “A2 Gift Card Holder & Envelope” die set.
Tips:
- Tip 01: stack a few die cut sentiments for dimension.
- Tip 02: stamp the sub sentiment before adding the stitched patterns to the front panel for a flawless result (I forgot to do that!).
I hope you felt inspired and some of this information was helpful to you! If you create something inspired by this post, make sure to tag me on instagram! Thank you for visiting and happy crafting!
SUPPLIES
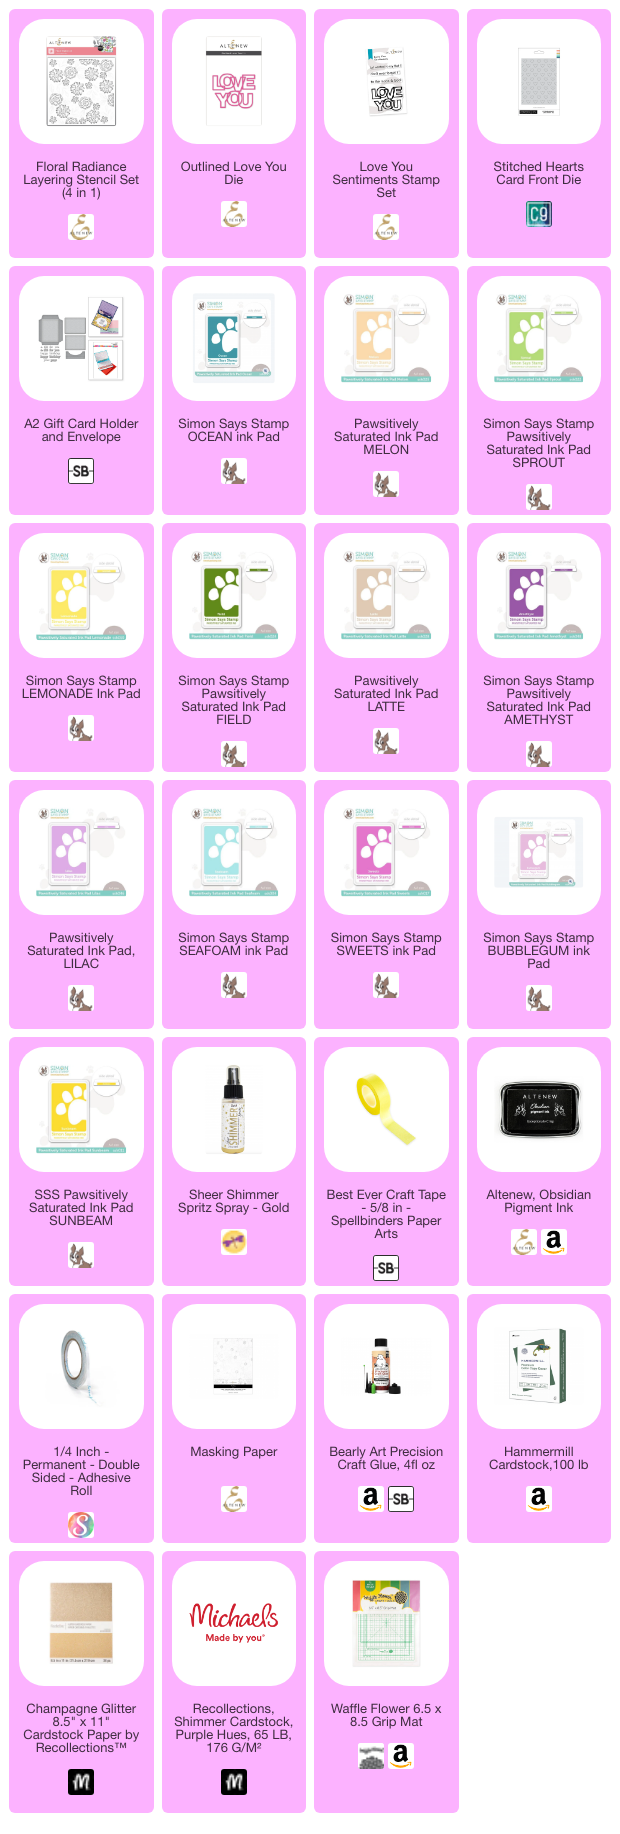
I have listed below all of the products that I used to make today’s note cards. Compensated affiliate links may be used at no cost to you, and I only use and recommend products that I love! As always, thank you for your support!

-
-
2 weeks
Tagged Note CArds for students, Spellbinders May 2025 Clubs