Simple Dry-Embossed Note Cards!

Hello carters! Today I have two card designs to share with you featuring two fun techniques: dry embossing and wax sealing! To dry emboss each panel, I used the Spellbinders “Leafy Helix” embossing folder. I used the Spellbinders colored cardstock in the colors “Waterfall” and “Pink Sand” to do so.
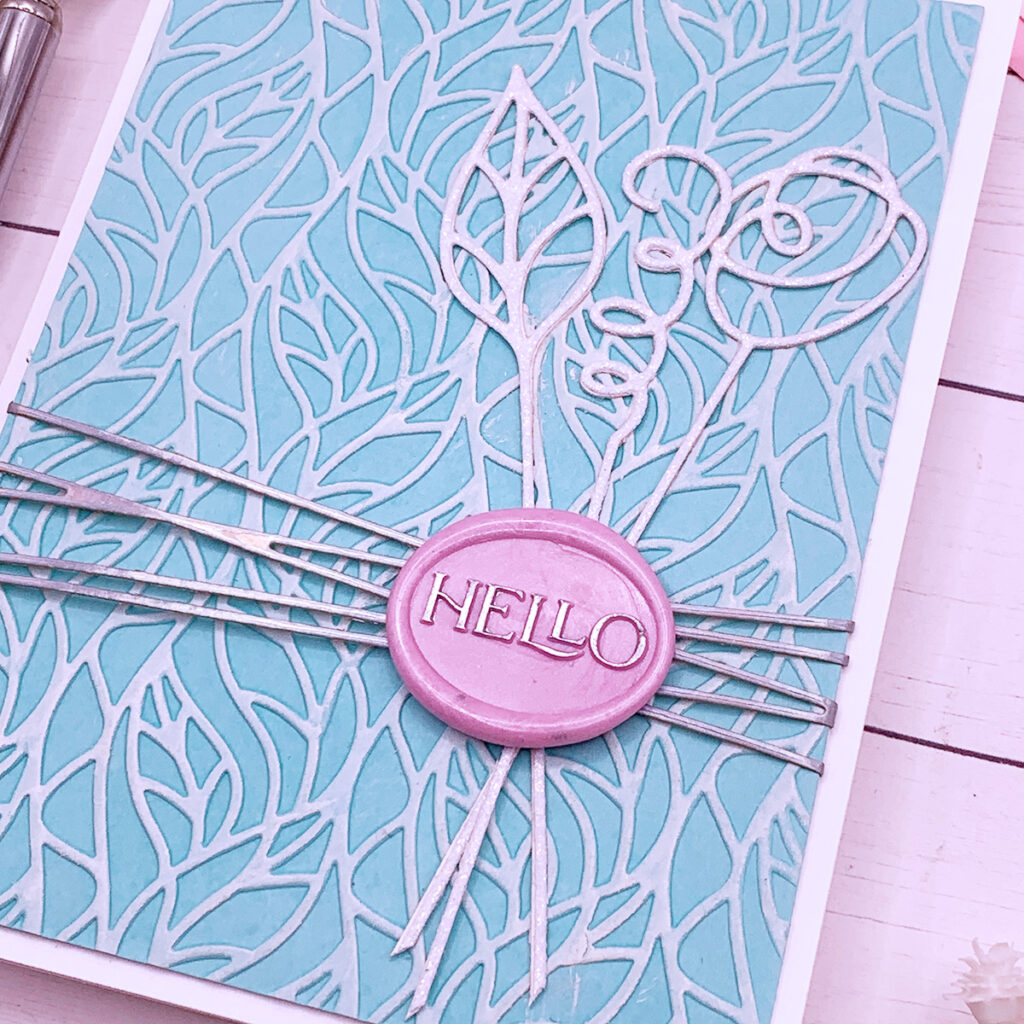
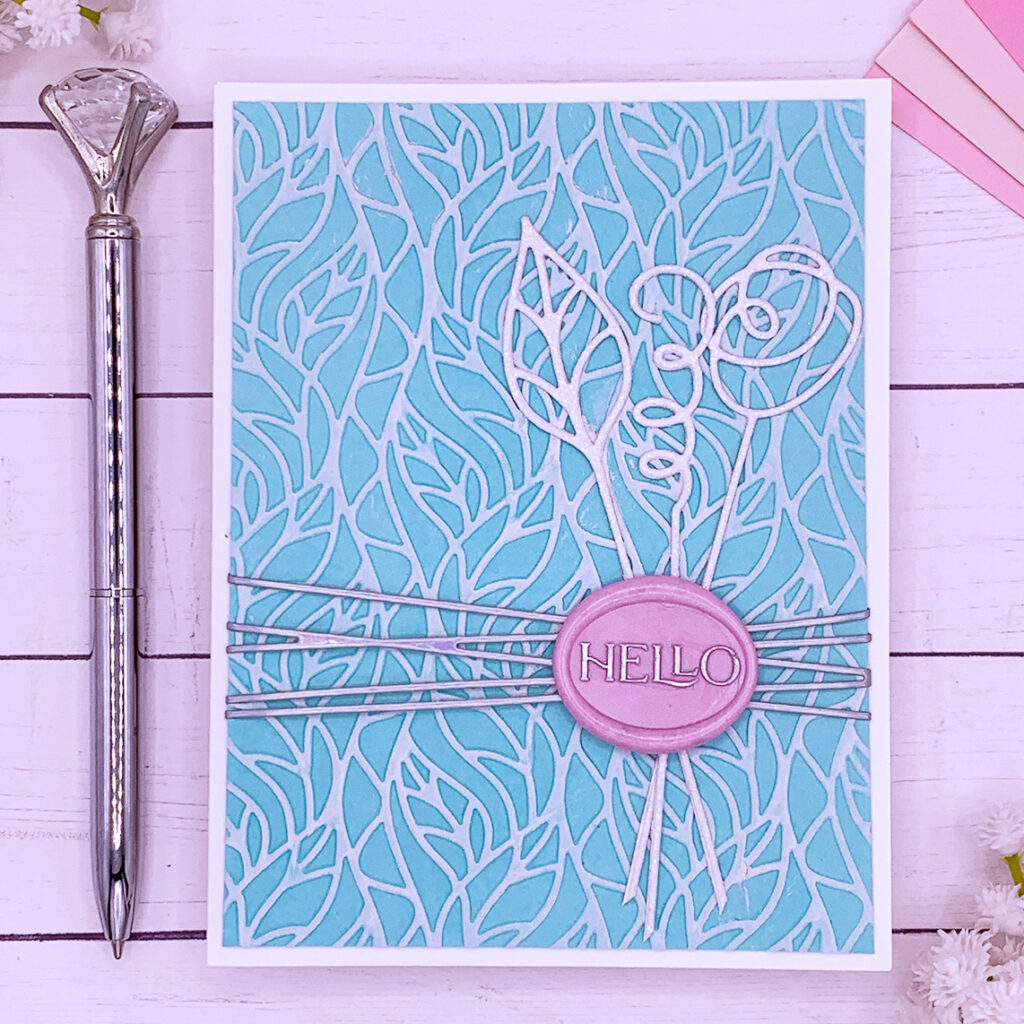
To make the dry embossed patterns stand out I applied white pigment ink over the raised portions of the cardstock. I used the embossed side of the “Waterfall” colored cardstock, and the backside of the “Pink Sand” colored cardstock, which goes to show you that we can get two different designs with one embossing folder!
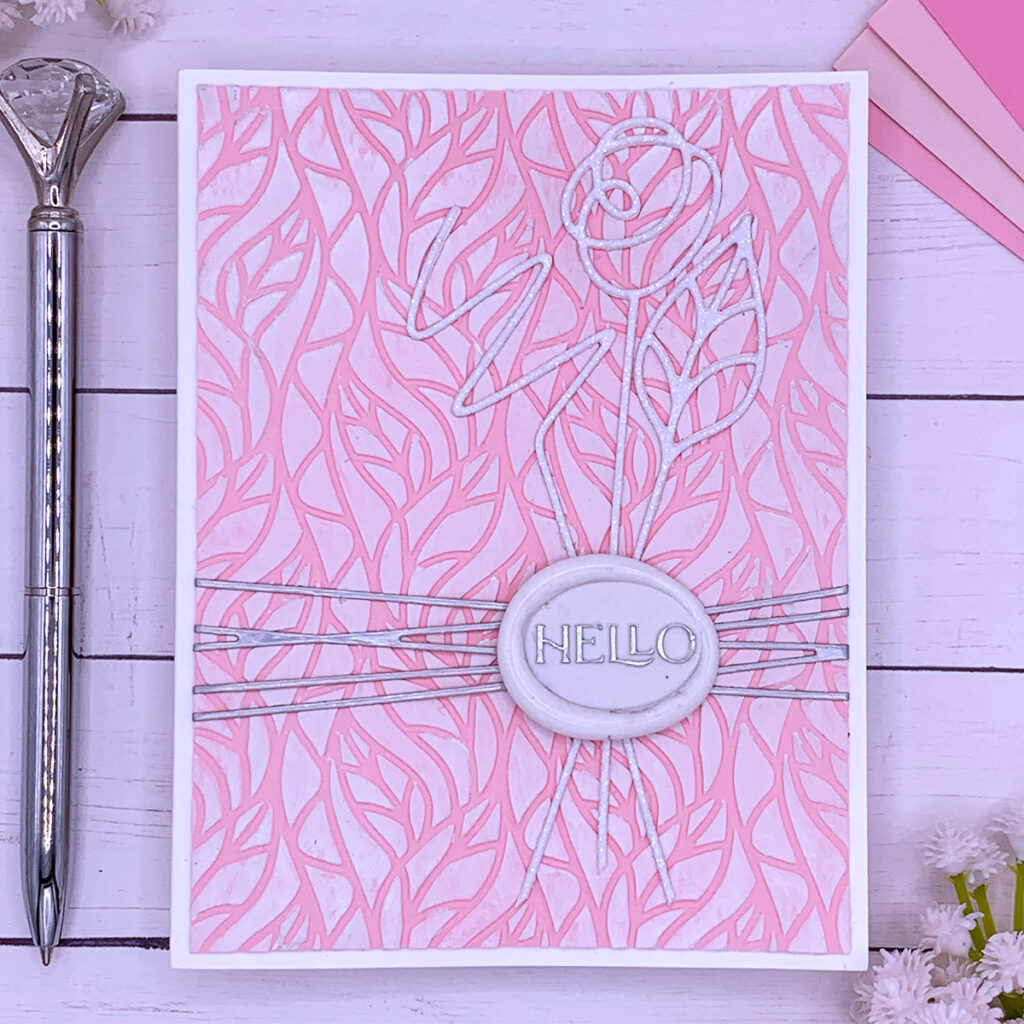
I trimmed each panel to 5 ¼” tall by 4” wide, and before I adhered each panel to an A2 size note card, I added some die cut elements created with the Spellbinders “Sealed Twine” and “Sealed Squiggles” die sets. To adhere these die cuts to each panel, l used the Bearly Art glue which is a strong glue that dries clear. Once my panels were ready I went ahead and glued them to the front of A2 size white note cards.
For the sentiment I decided to create wax seals using the Spellbinders “Oval Hello” wax seal stamp. To adhere each wax seal to the note cards, I used the Spellbinders wax seal adhesive circles. To make the word “Hello” stand out I went over it with a silver oil based paint marker!
For tips and more information make sure to watch this video! At the end of this post there is a list of all supplies used to make these cards. Thank you for visiting today and happy crafting!
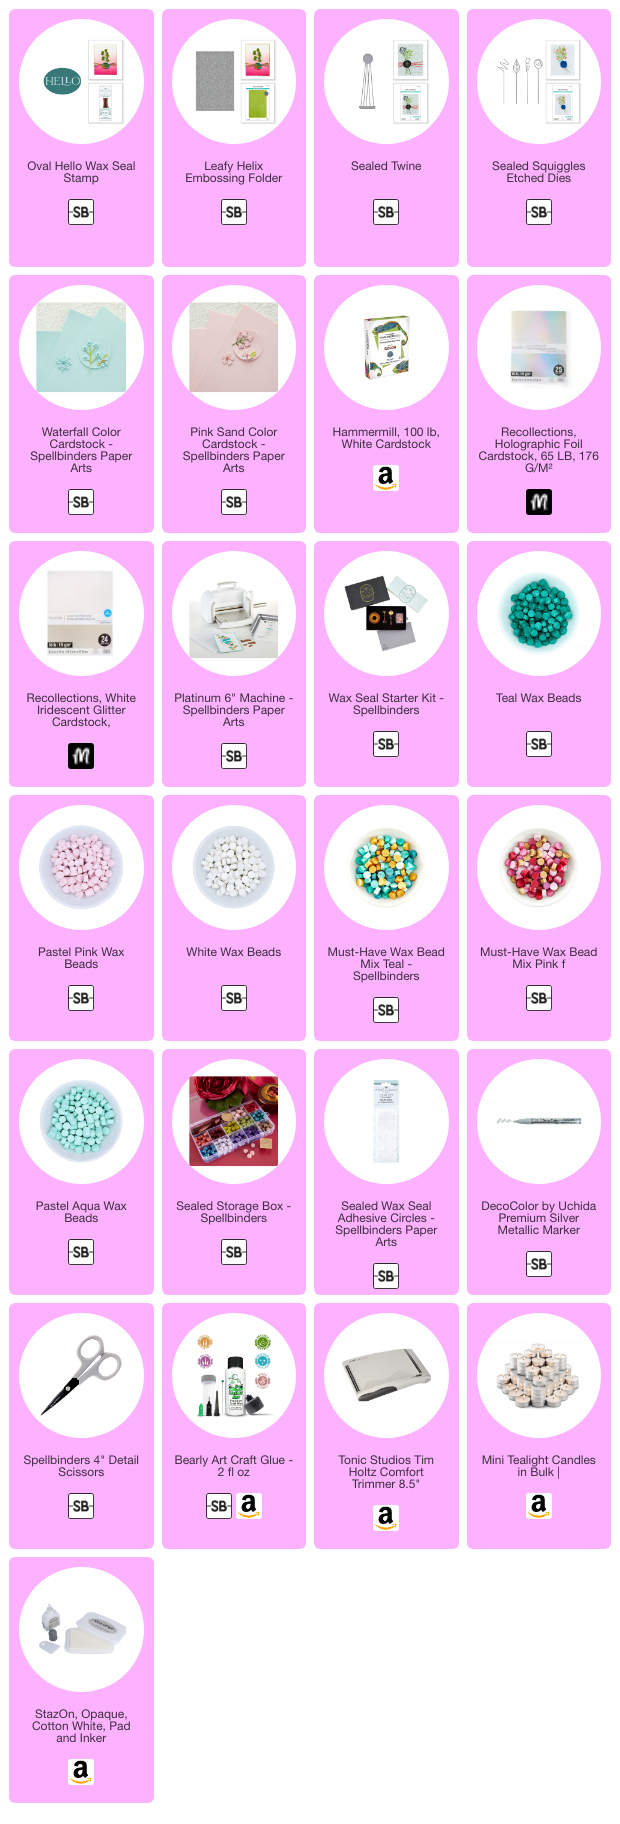
SUPPLIES
I have listed below all of the products that I used to make today’s note cards. Compensated affiliate links may be used at no cost to you, and I only use and recommend products that I love! As always, thank you for your support!
-
-
4 weeks
Tagged Spelbinders January 2026 Clubs