Santa’s Here!
Fun Shaped Note Cards
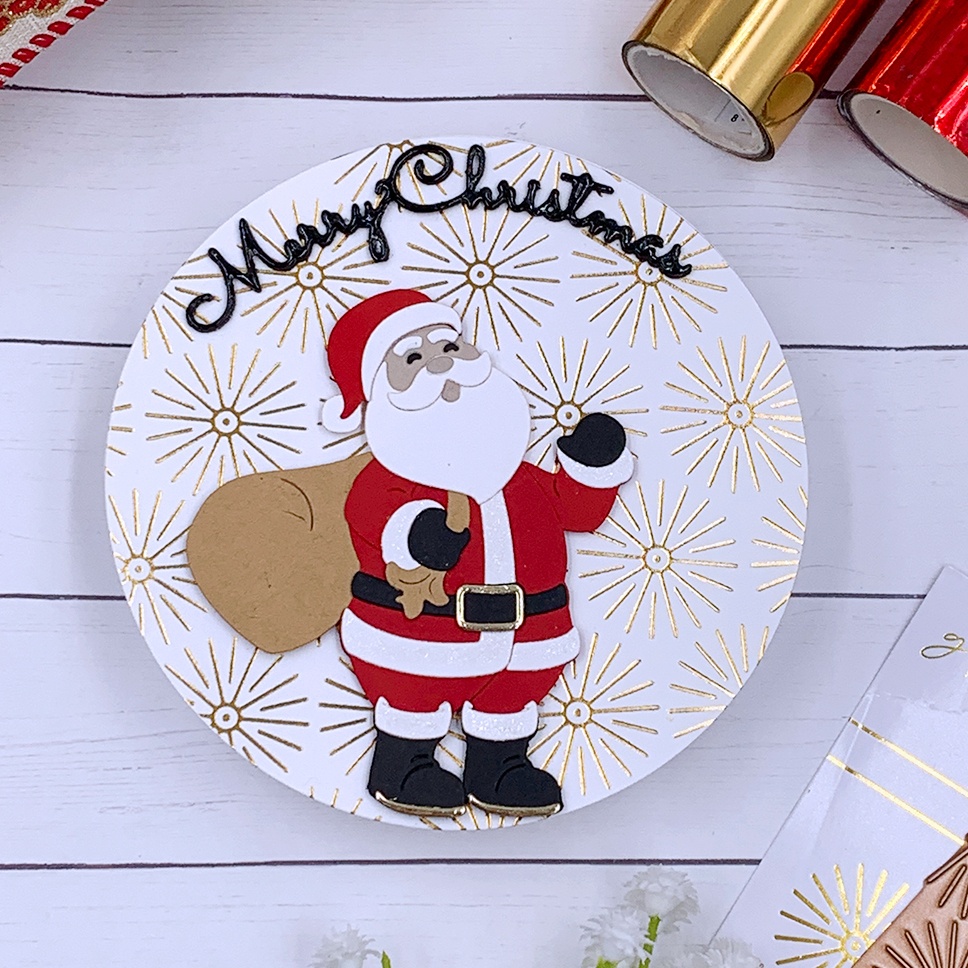
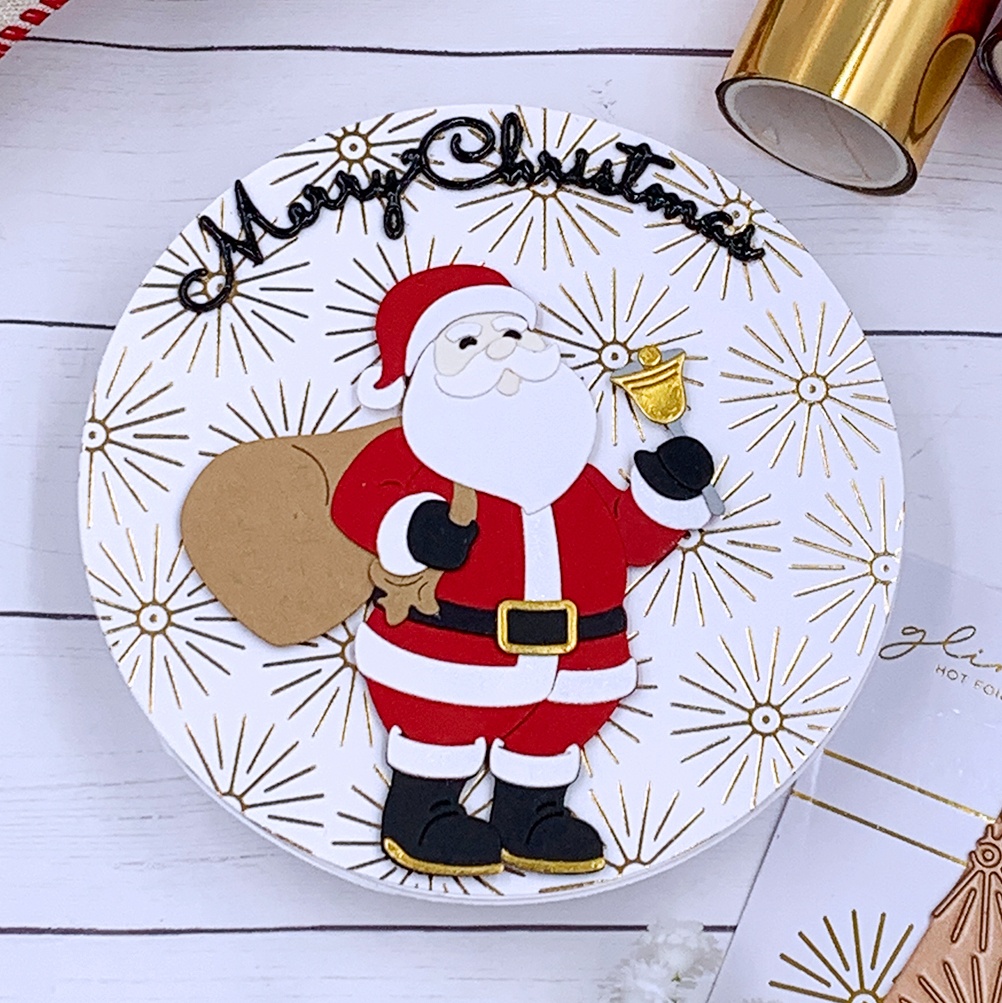
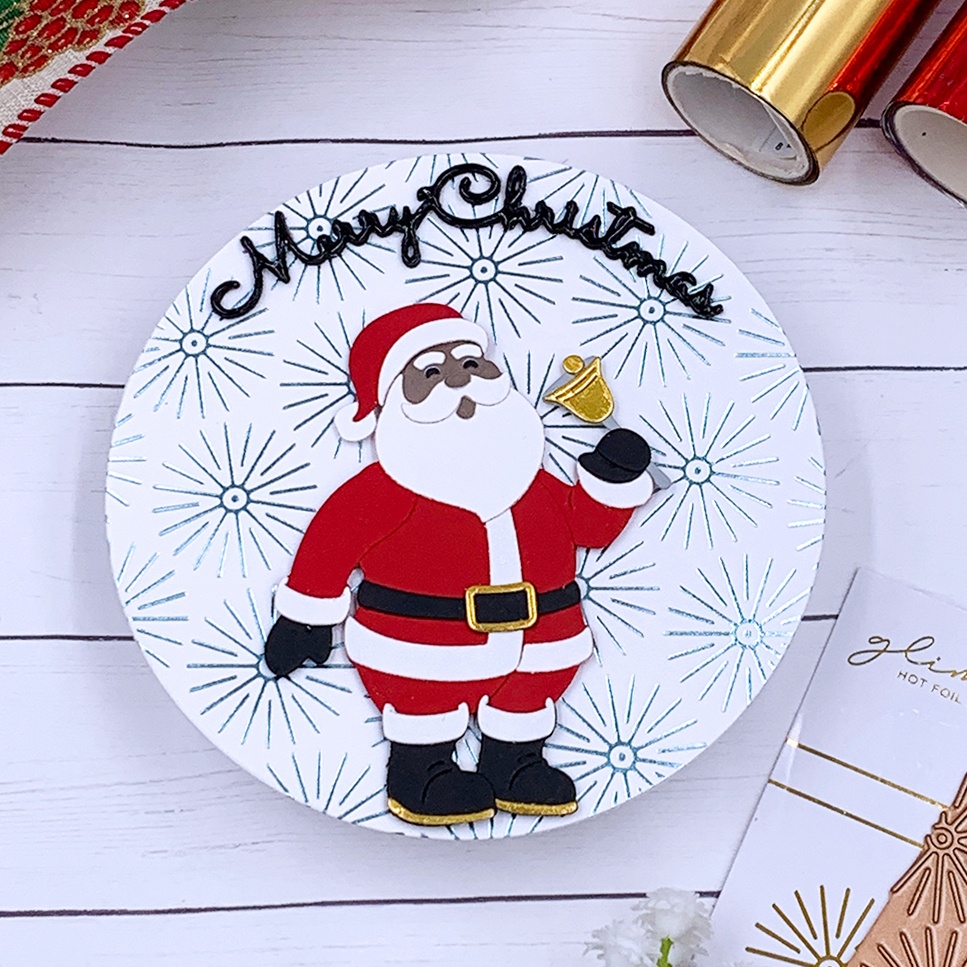
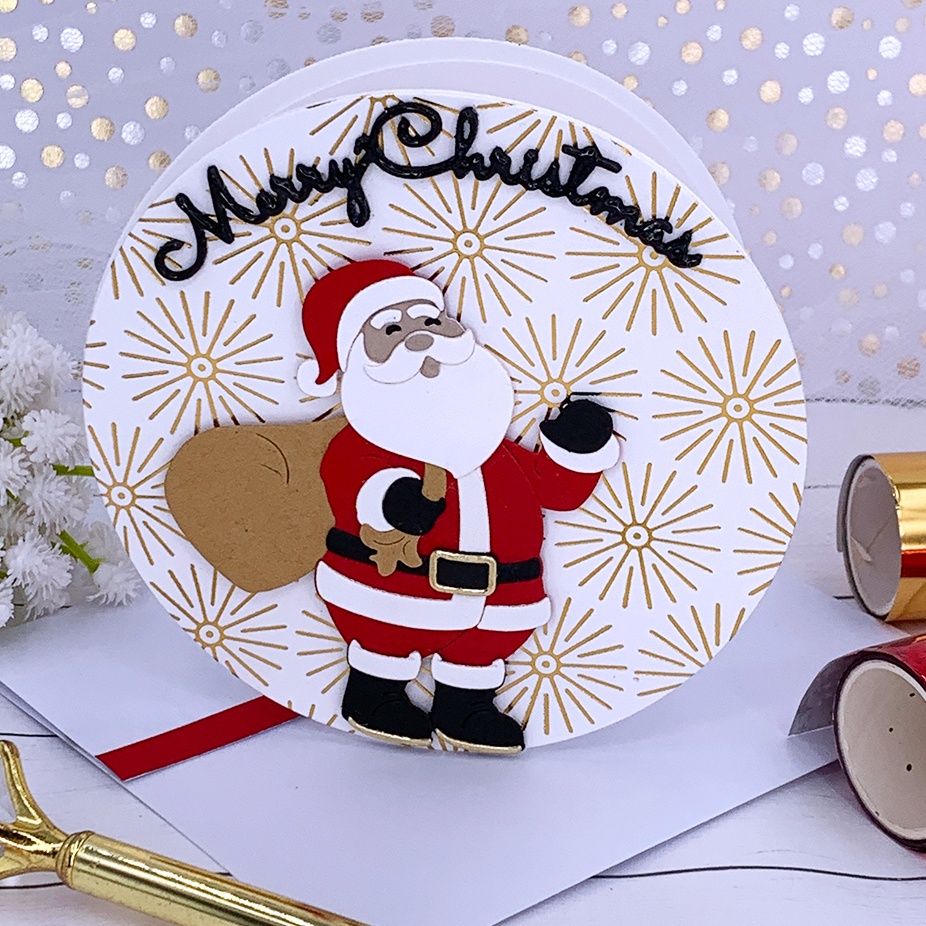
Hello crafters! Today I’m sharing round shaped note cards featuring the Spellbinders “Santa’s Here” die set, part of the Classic Christmas collection. With this set, we get 8 metal plates to create an adorable Santa! Since I like this set very much, I decided to mass produce and create lots of note cards at once!
When I’m mass-producing I like to break it into steps, so I can be more efficient, and you can click here to watch me creating these note cards! I began by die cutting all the pieces and assembling all the Santa die cuts at once! I used different shades for Santa’s skin color, and I love all the little details that we get to create with this die set, such as Santa’s belt, boots, bell, sack, his big eyebrows, and the many options for the arms positioning!
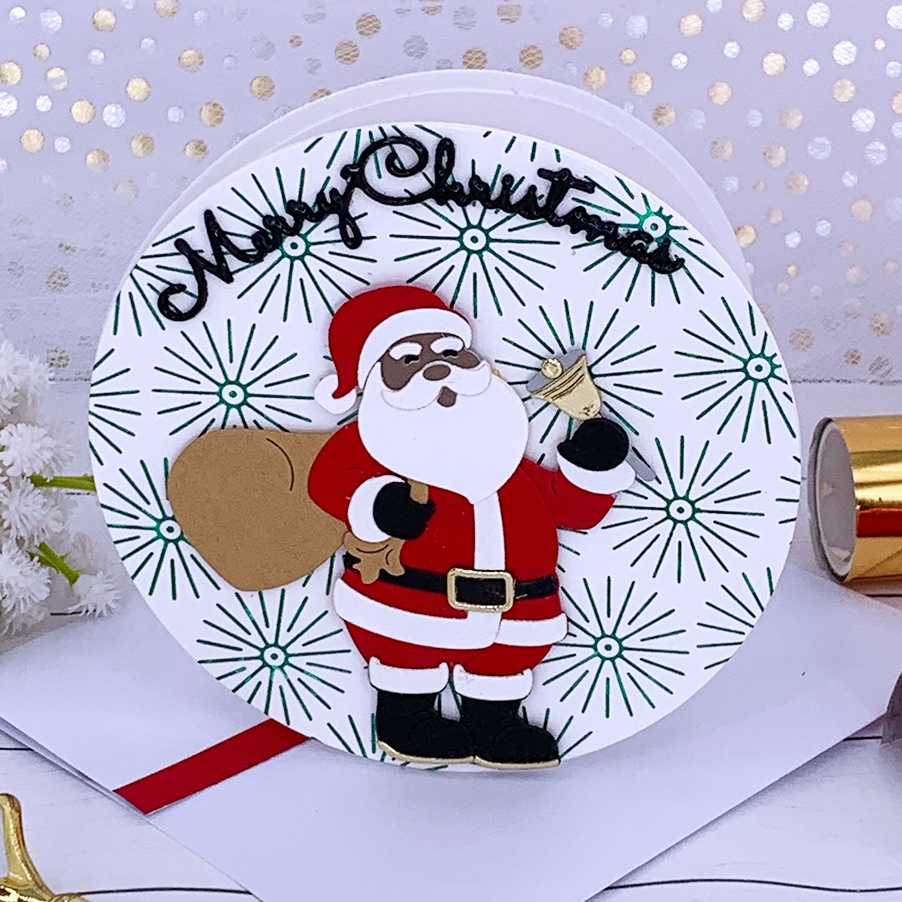
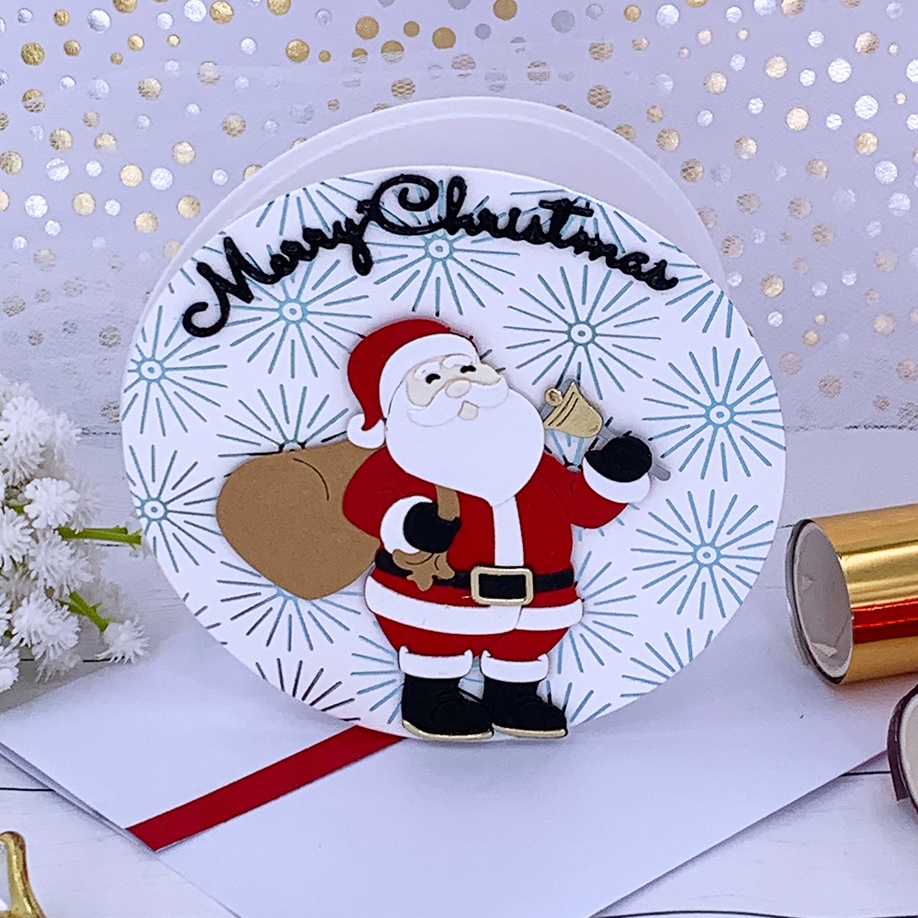
Once I finished assembling my Santa die cuts, I moved on to creating the round card bases. First, I created 5” x 7” note cards. Then, with a large circle die, I cut all the note cards into smaller, round shaped, side folding note card bases, by simply offsetting the circle metal plate a little bit on the folded side of each 5” x 7” card base.
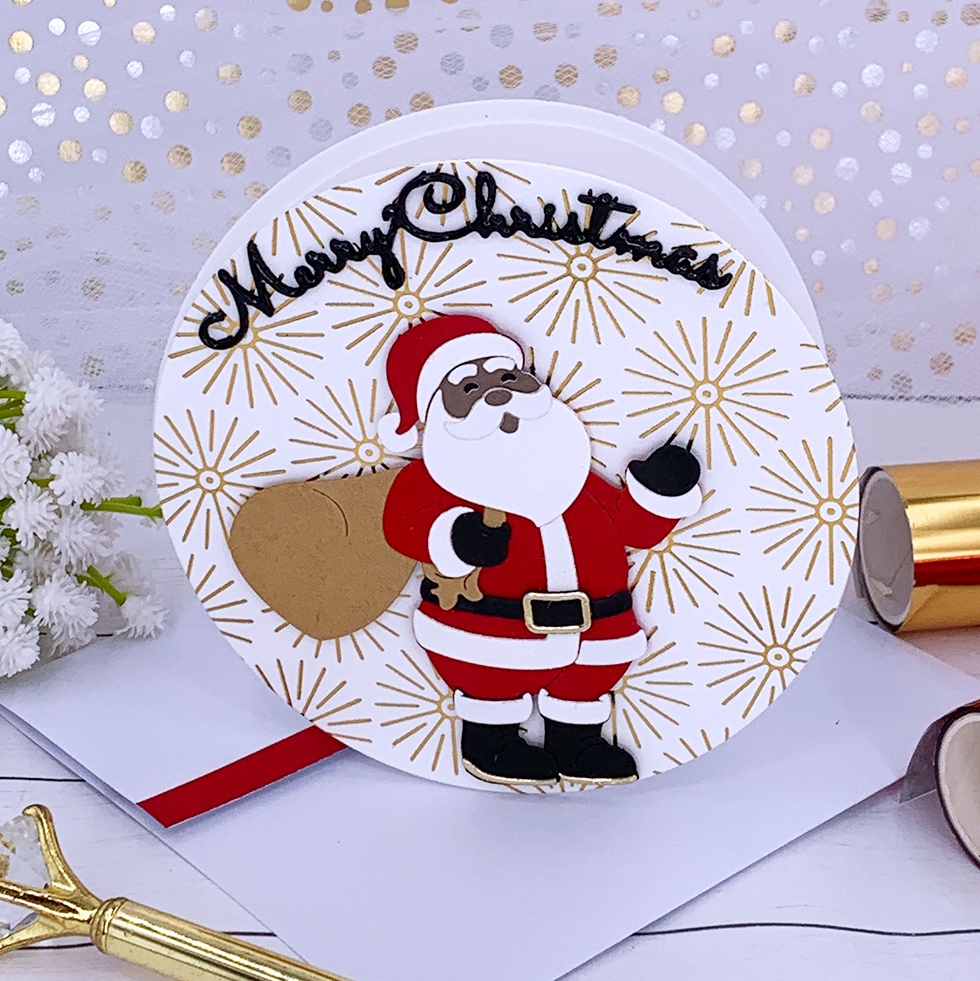
After that, I created my hot foiled background panels with the Spellbinders “Starburst” hot foil plate. I used foils in the colors Polish Brass, Skybright and Emerald Facets’. After hot foiling, I die cut each panel with that same round metal plate that I used to create the round card base.
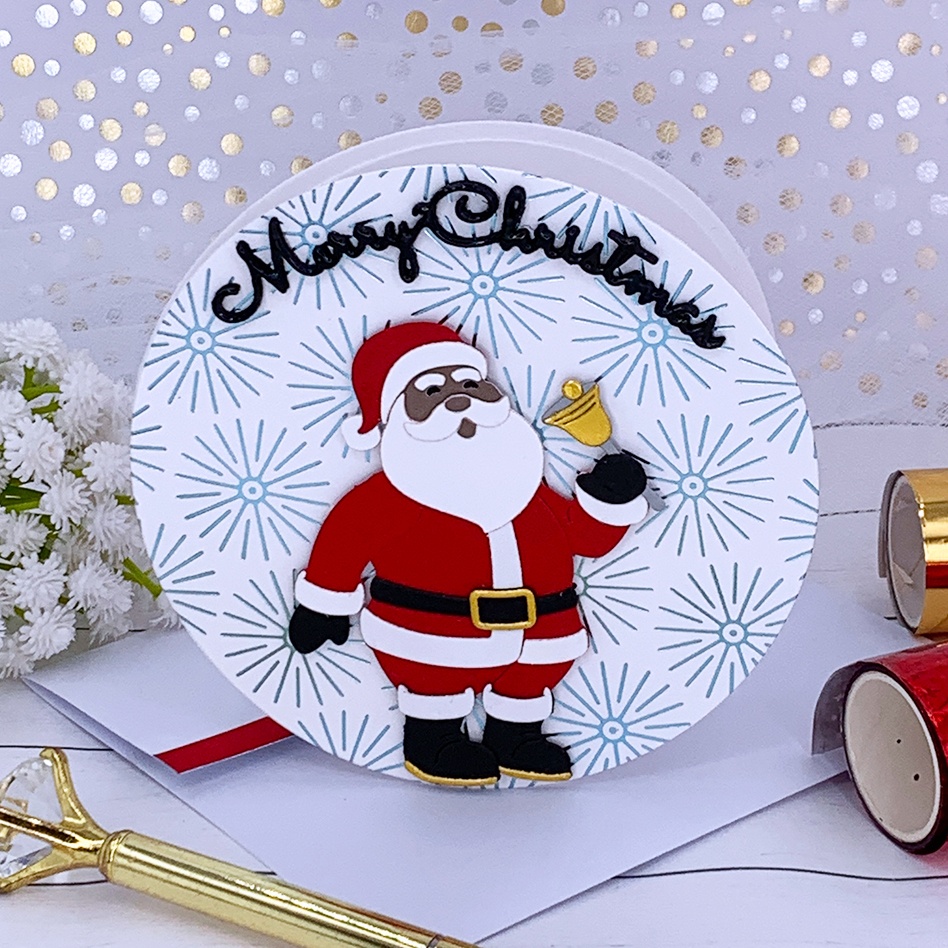
For the sentiment “Merry Christmas” I used a metal plate included in an old set by Spellbinders, called “Silent Night” from the Make a Scene Collection. I love the style of these letters! I die cut it out of black cardstock, and I stacked 3 sentiments for dimension. Then, I went over each die cut sentiment with Ranger Glossy Accents to make it very shiny and glossy. Since the die cut sentiments are very thin, I was able to curve them, so it would better fit my round card bases!
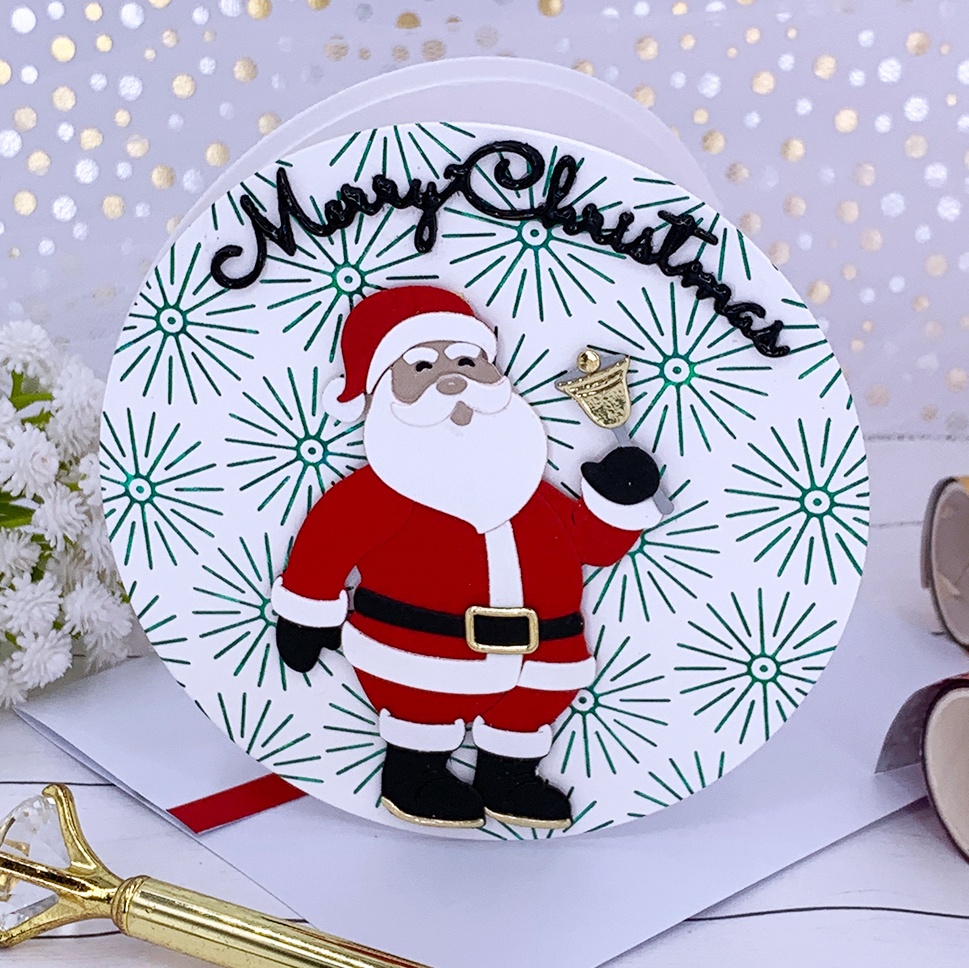
To adhere each Santa to my front panels, I used foam adhesive, so it also has a little bit of dimension. And, to make the envelope match, I simply added a thin strip of red cardstock to the flap of each envelope. I used A6 size envelopes and I trimmed them a bit on each side to better fit my round note cards!
I hope you enjoyed today’s note cards and felt inspired! At the end of this post, there is a list of all supplies used to make these cards! I appreciate you stopping by today and
Happy crafting!
SUPPLIES
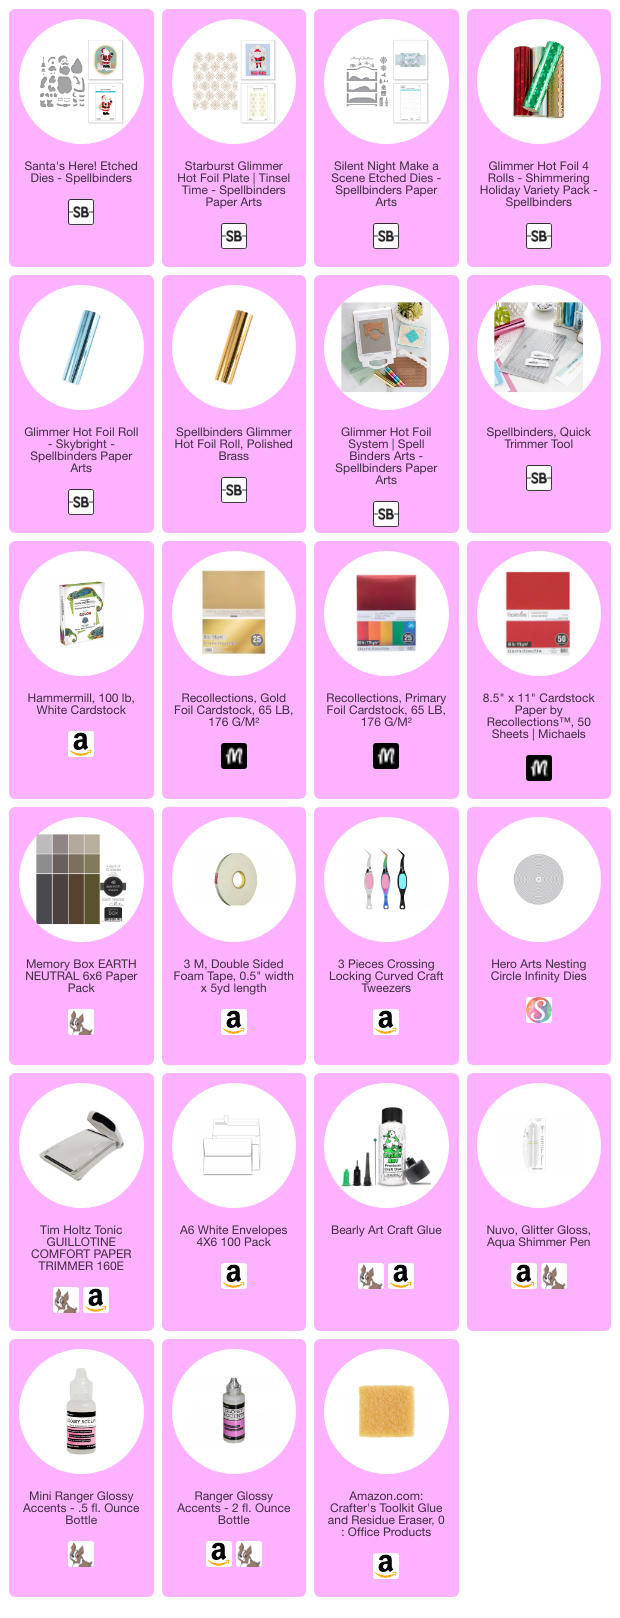
I have listed below all the products that I used to make today’s note cards. Compensated affiliate links may be used at no cost to you, and I only use and recommend products that I love! As always, thank you for your support!

-
-
9 months
Tagged letterpress technique, Spellbinders Home For The Holidays Collection