One Stencil, 3 Different Looks!
Hi there! Today I will be sharing some tips for creating different looks using only one stencil, so we can make the most out of it!
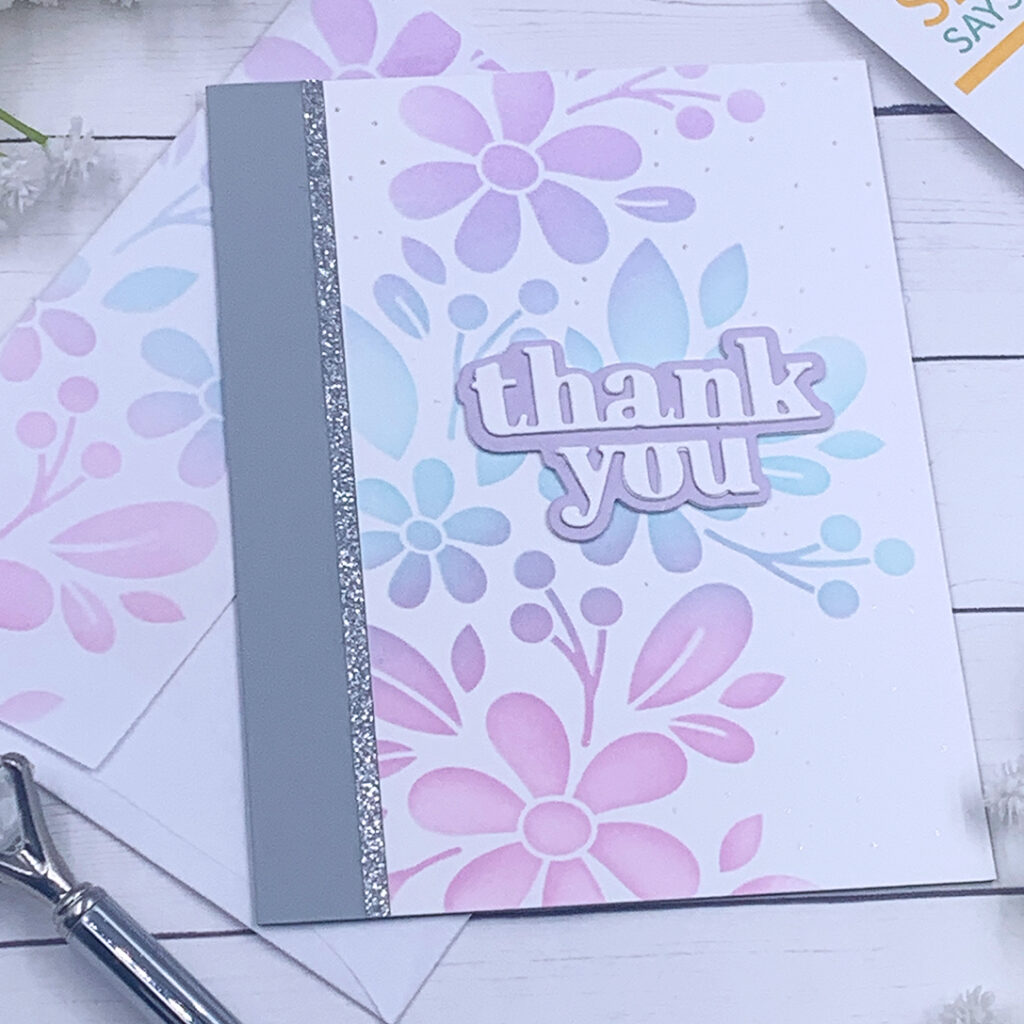
Today’s note card at A2 size side folding. I chose a gray color of cardstock for the card base, and since it is a very light weight cardstock, I added white panels inside. This will make it feel heavyweight and give me a nice bright spot inside, where I can write a personal message!
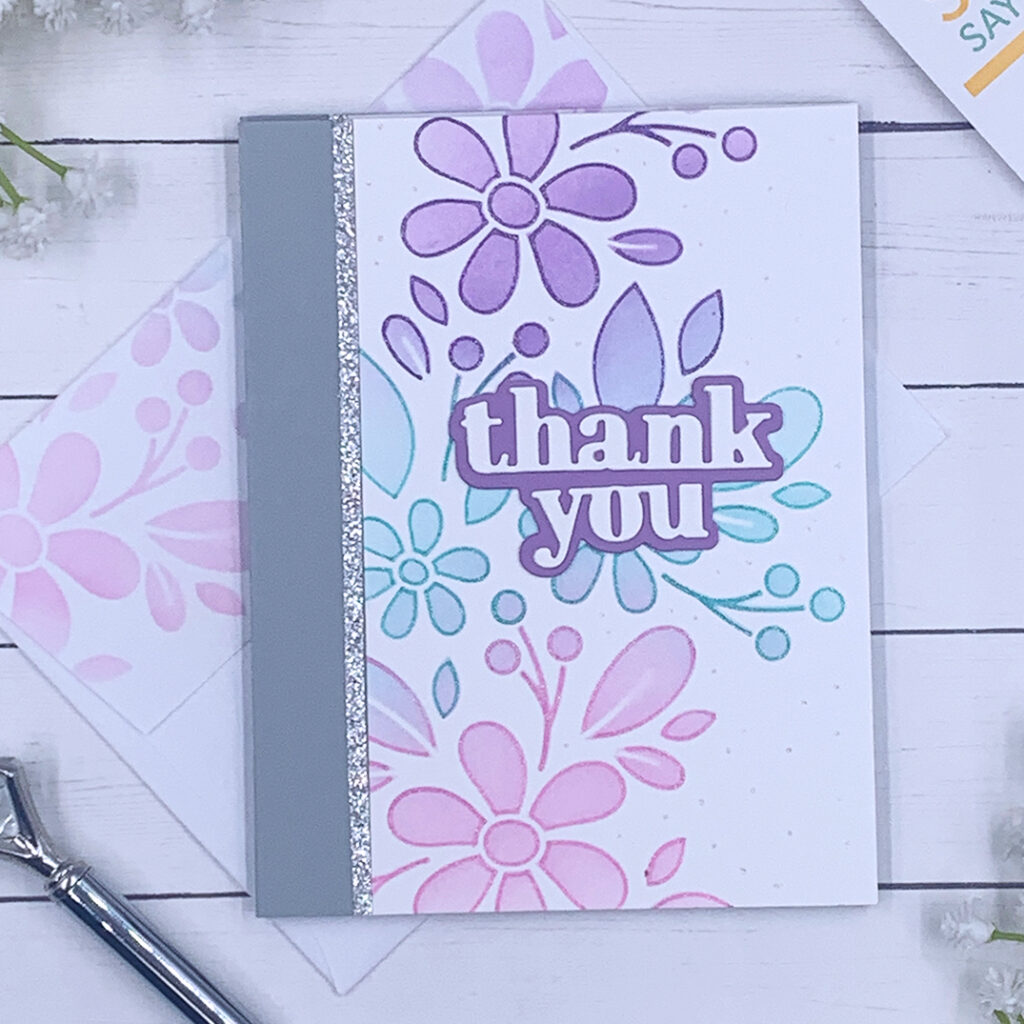
To create these beautiful floral panels I used the Simon Says Stamp “Fading Floral” stencil. To ink blend all of my panels, I used Simon Says Stamp Pawsitively saturated ink pads in the colors Lilac, Bubblegum and Seafoam.
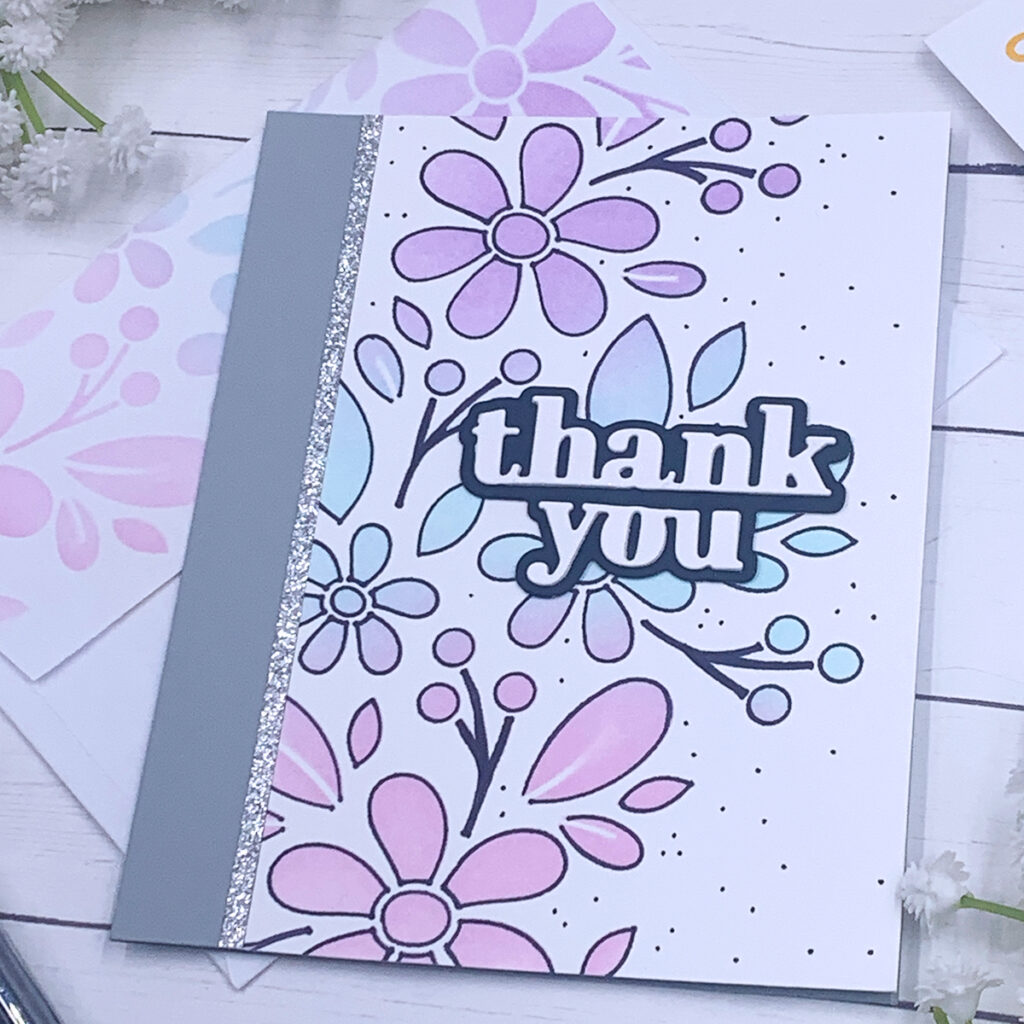
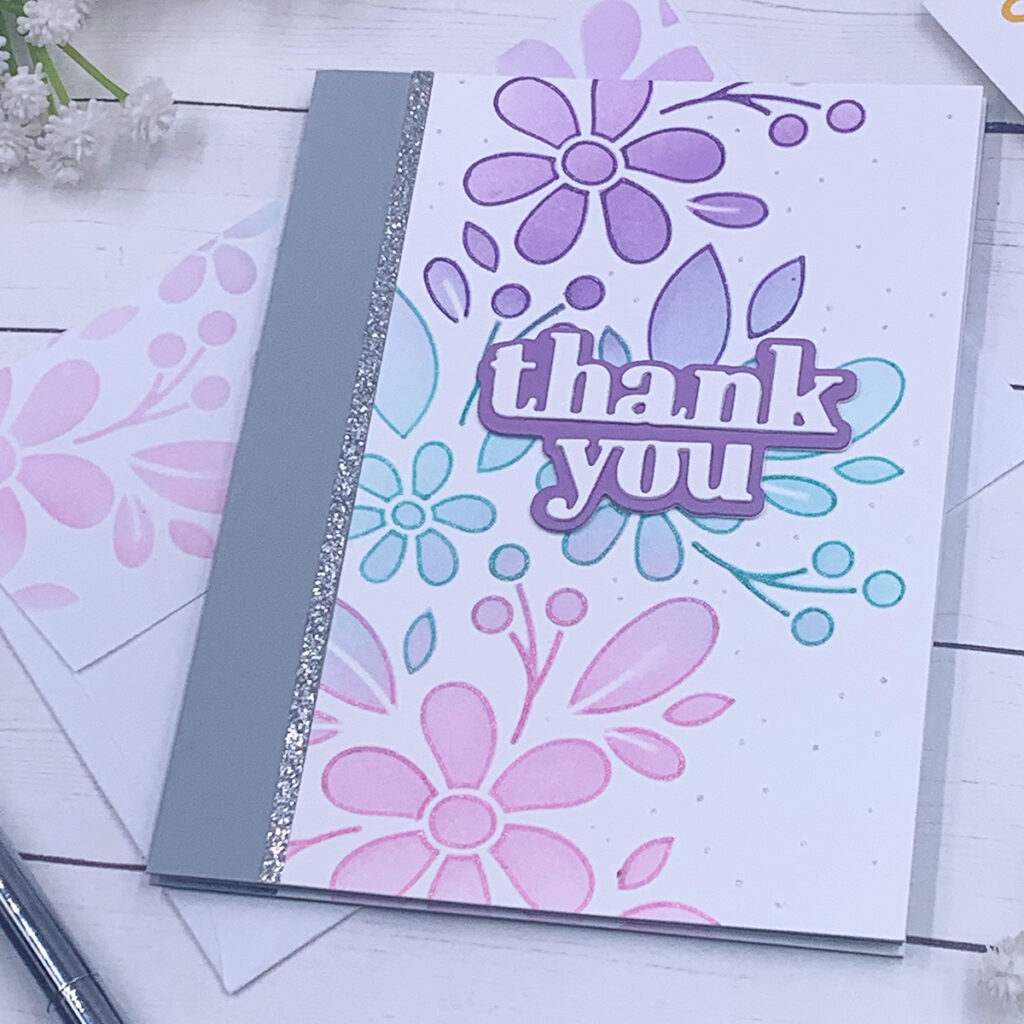
For the first note card, I used the stencil as it was meant to be used, by simply ink blending over the stencil with a blending brush. I made sure to overlap the colors a little bit, and at the end I got a really beautiful soft result! For the second note card, after I finished ink blending using those same colors, I traced the floral image with a fine tip black marker, which gave this panel a really bold look at the end! Last but not least, for the third panel, after I finished ink blending it, I traced the floral image again, but this time using Sakura gelly roll stardust pens, which gave this floral image a soft and shimmery outline!
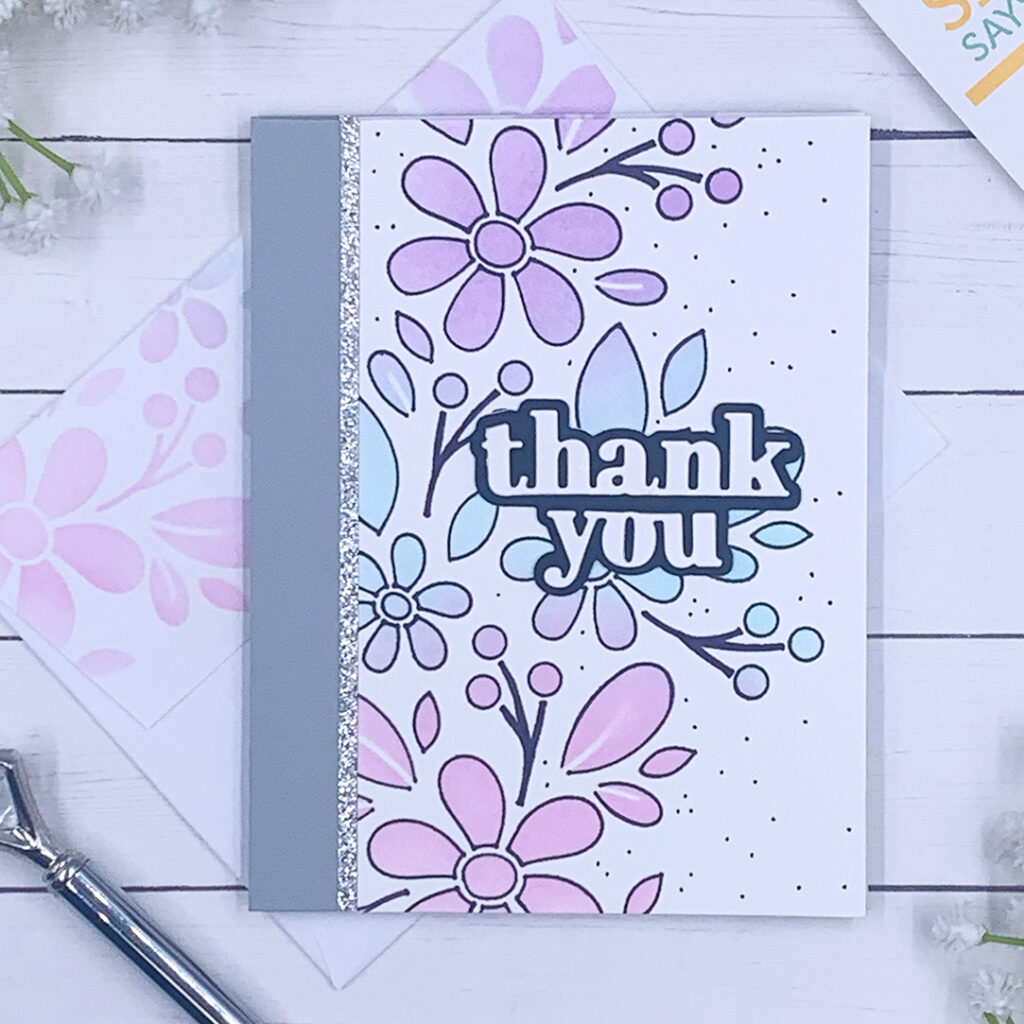
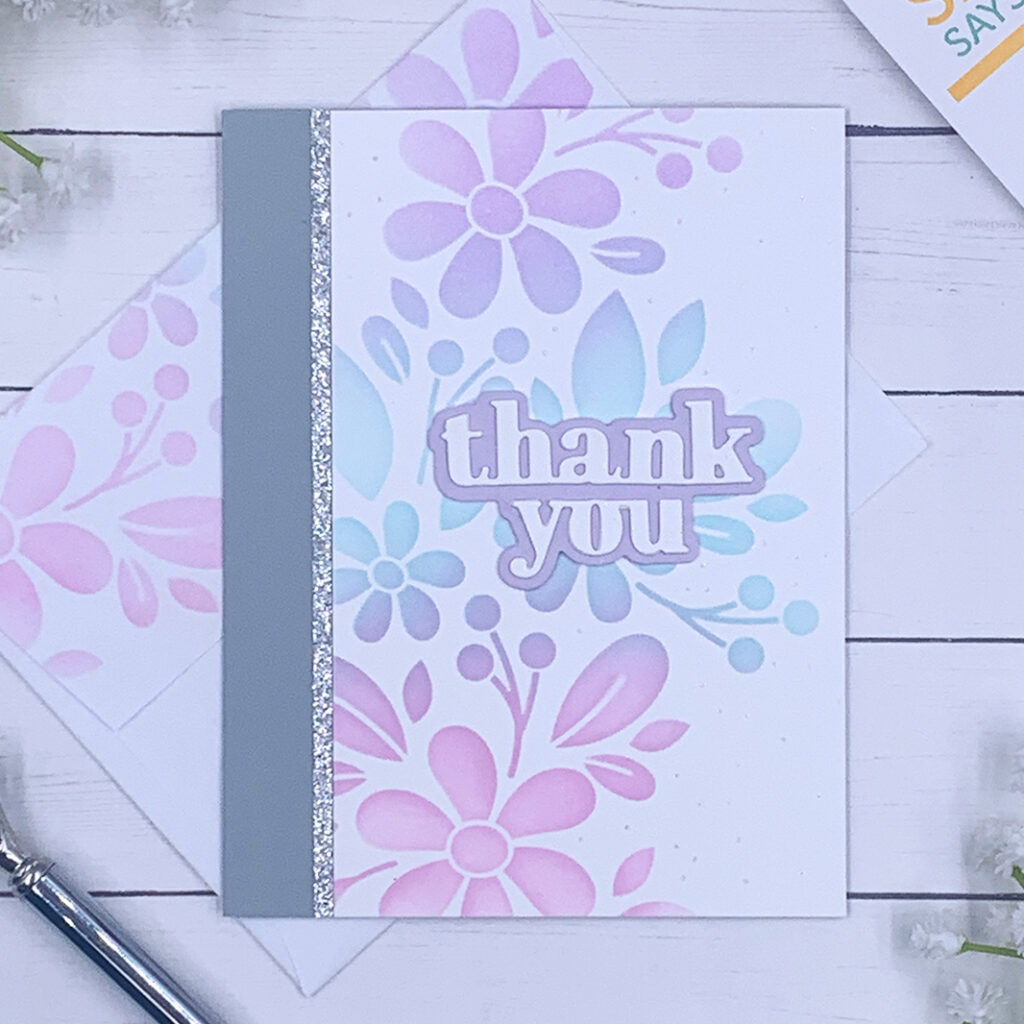
Once I finished creating these panels I trimmed them to 5 ½” x 3 ½” and adhered it to the front of my card bases using the Bearly Art Glue. To add some sparkle I adhered a thin strip of silver glitter cardstock on the left side of each floral panel. As a final touch, I added a few dots using either a black marker or a silver gelly roll pen to add interest to the background.
For the sentiment I used the “Simply Thank You” die set by Simon Says stamps. I used the shadow and the word die cuts and I stacked a few pieces for dimension! To make the envelope match I stenciled the floral image onto the flap of my envelopes using the same ink colors! At the end of this post there is a list of all supplies used to make these cards. I appreciate you visiting today and I hope you felt inspired! Happy crafting and have a great day!
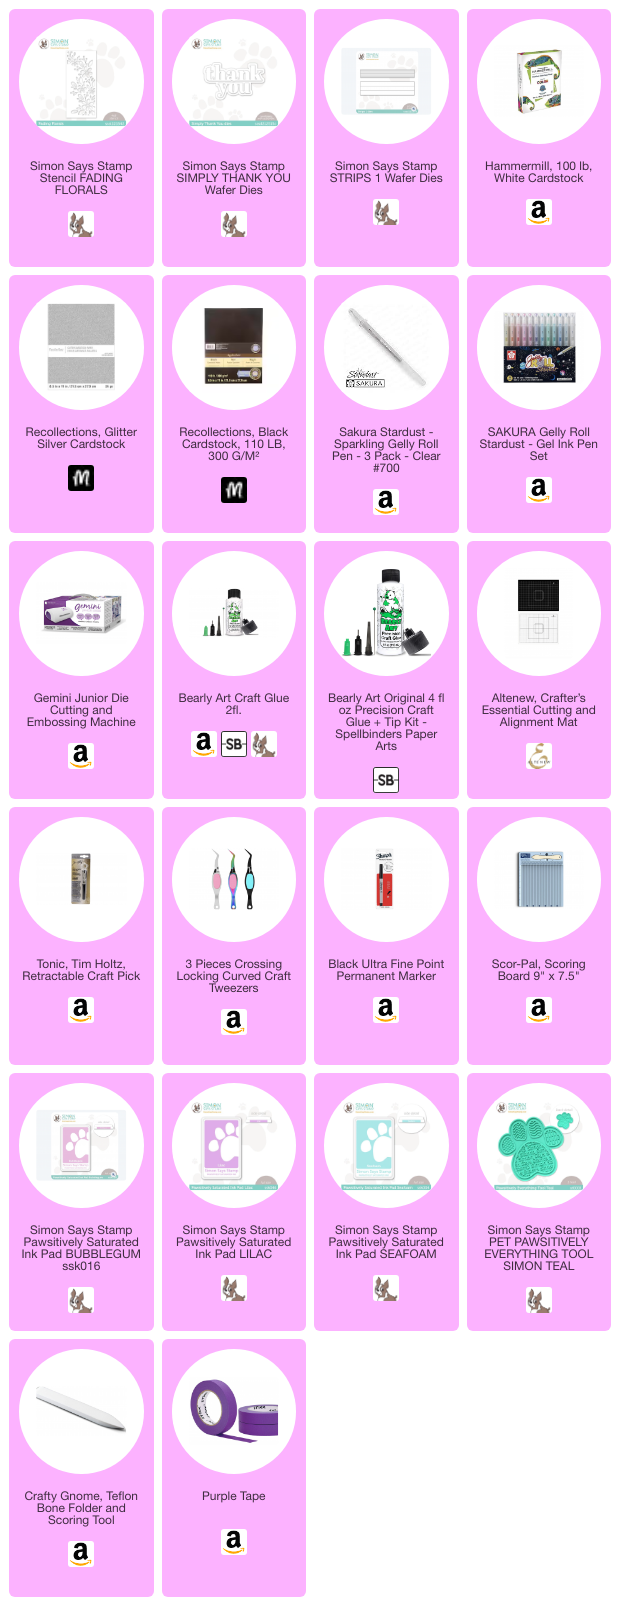
SUPPLIES
I have listed below all of the products that I used to make today’s note cards (if they are still available). Compensated affiliate links may be used at no cost to you, and I only use and recommend products that I love! As always, thank you for your support!
-
-
3 weeks
Tagged Spelbinders January 2026 Clubs