One Plate, Three Techniques!
Creating with a press plate
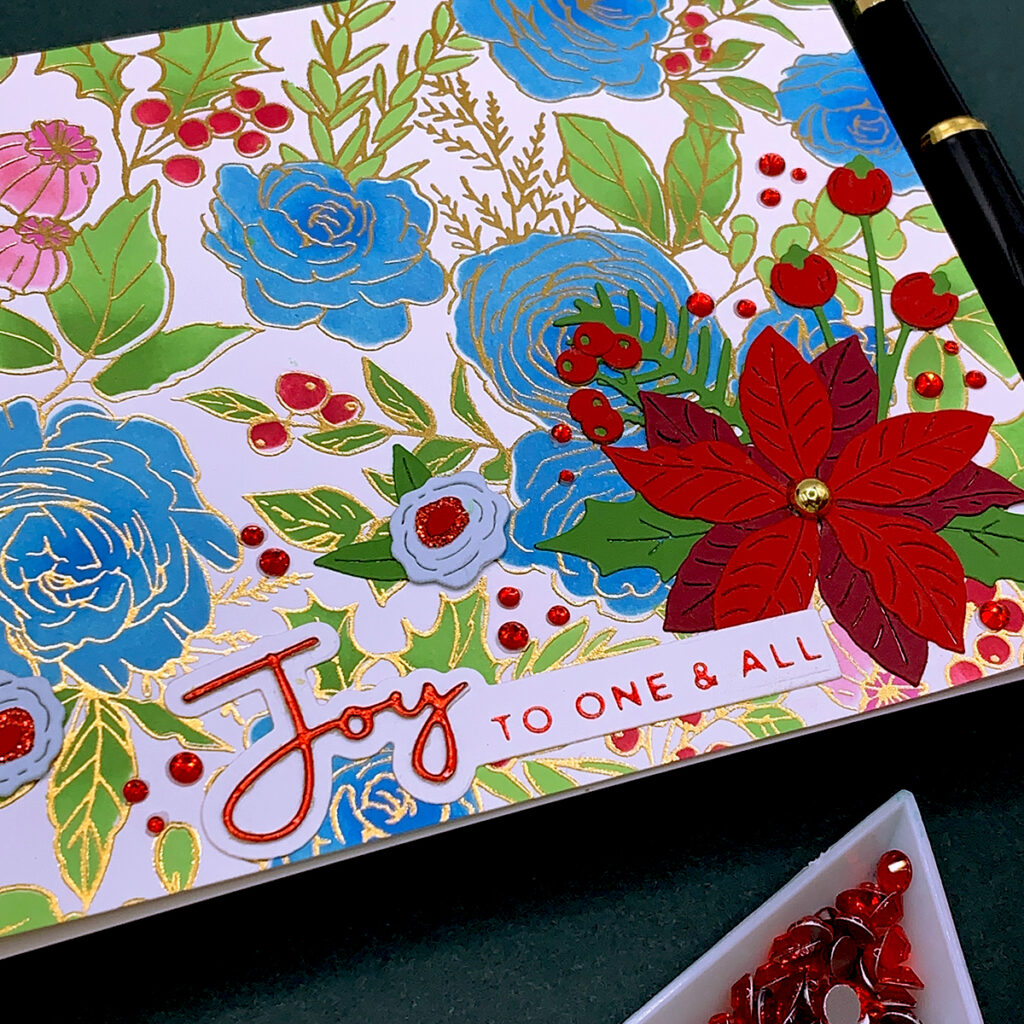
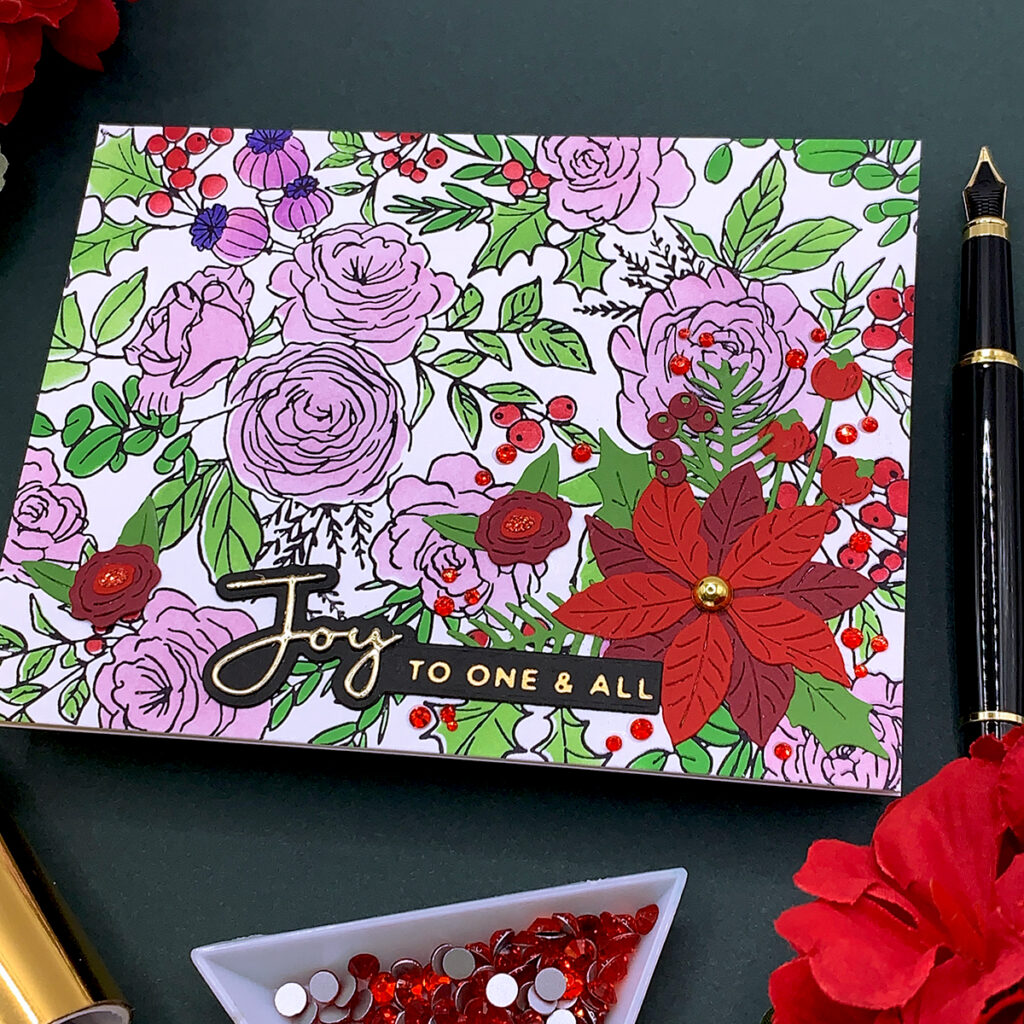
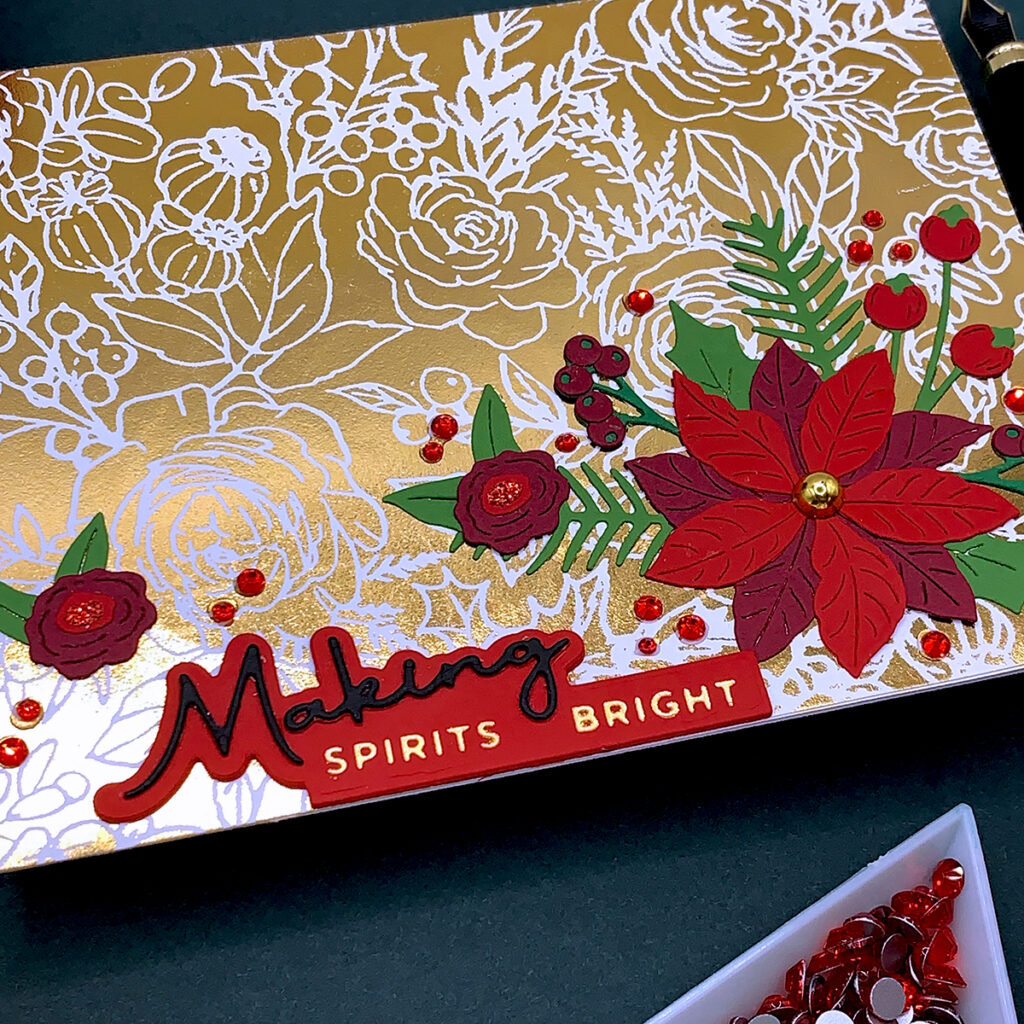
Hello crafters! Today I am sharing three different ways of creating with a press plate. Letterpress is a very fun technique that gives elegant results! And, the Spellbinders BetterPress system makes the process very easy! However, other than letterpressing we can also use press plates with the glimmer machine to do the hot foiling technique which is what I will also be showing today!
Letterpress Technique
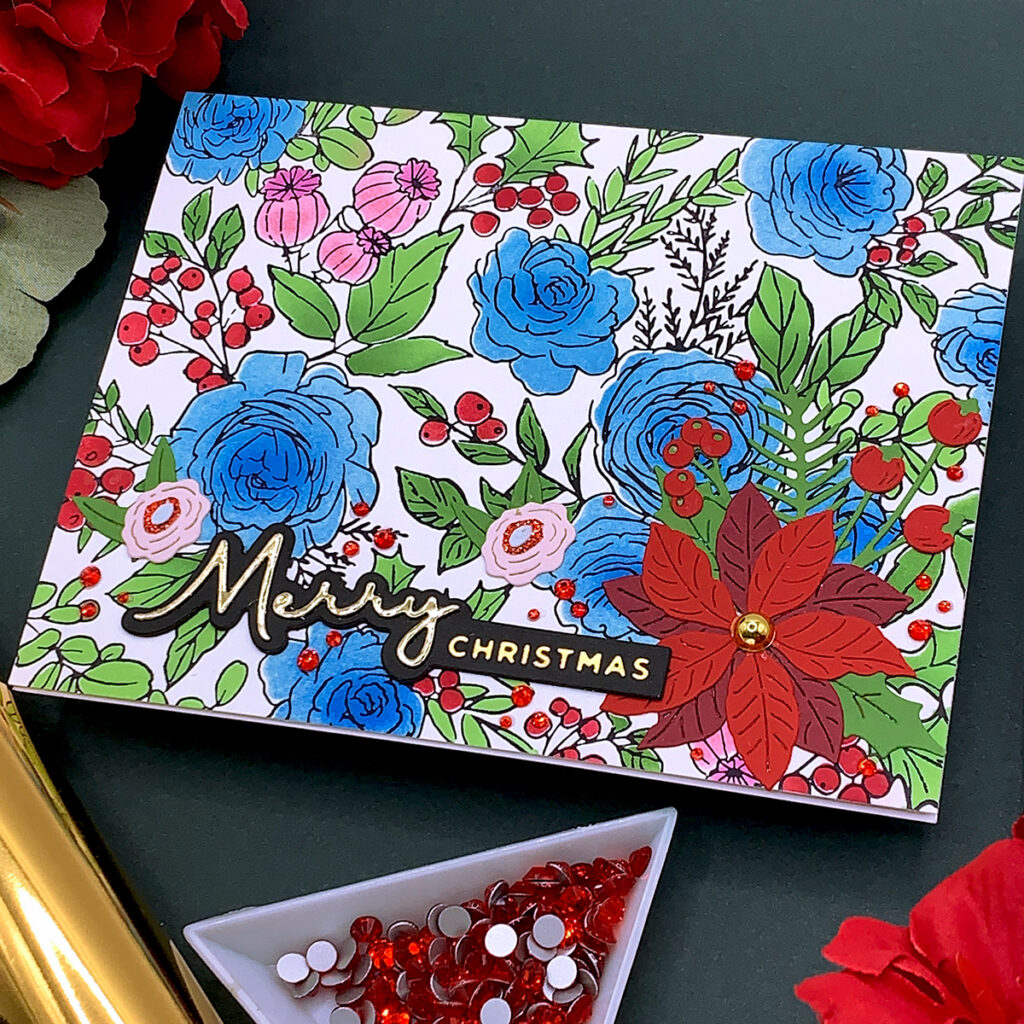

- Letter press a panel with Spellbinders “Winter Rose Background” press plate. Use Spellbinders Porcelain BetterPress cotton cardstock and BetterPress black ink pad.
- Using the coordinating stencils, add color to the roses, berries and leaves with your favorite colors of ink!
- Adhere the panel to a top folding note card that is 5 ½” wide by 4 ¼” tall.
- Add die cut flowers and branches created with the Spellbinders “Skating Into The Holidays” die set.
- Create a die cut and hot foiled sentiment with the Spellbinders “Christmas Die and Glimmer” hot foil plate and die set.
Tip: For better results use a cardstock meant for the letterpress technique. I highly recommend Spellbinders betterpress cotton cardstock!
Foiling Technique With Press Plates

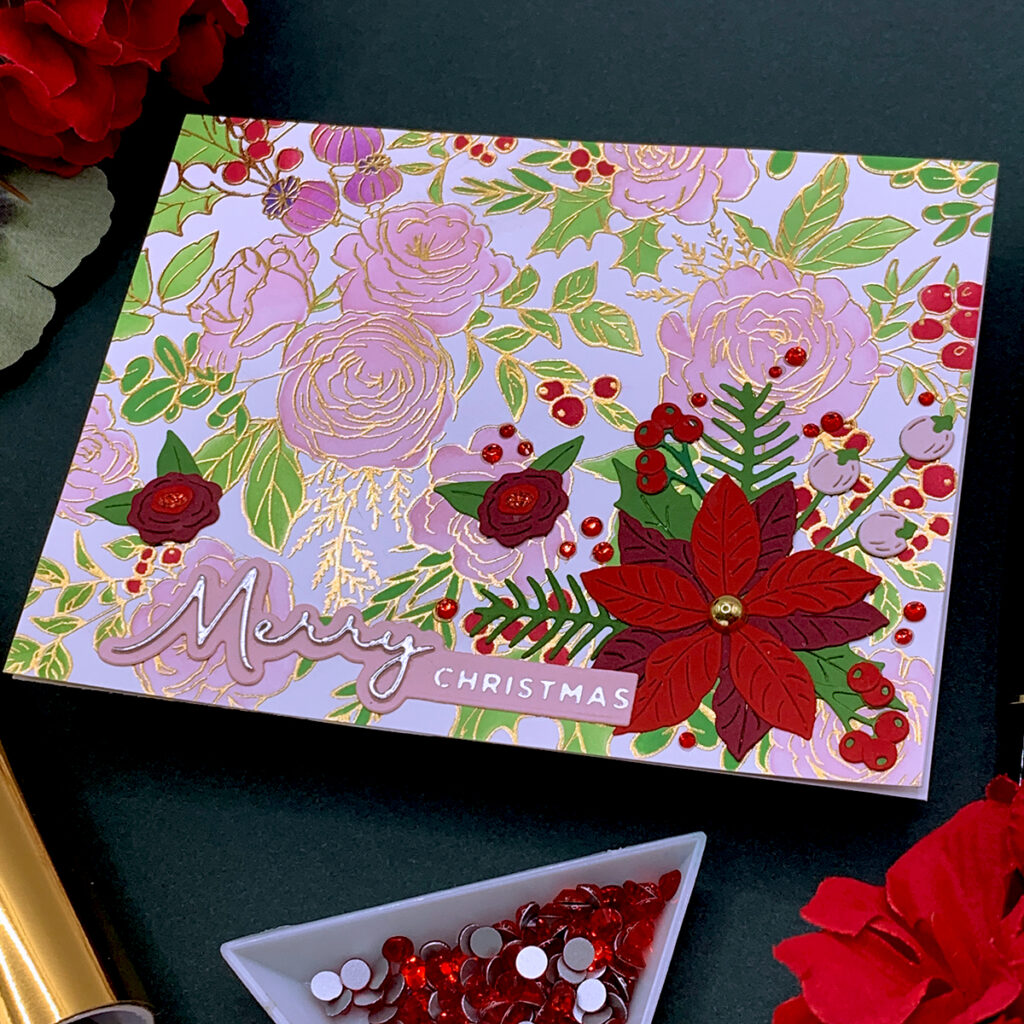
- Using the Spellbinders “Winter Rose Background” press plate, hot foil a 5 ½” x 4 ¼” white panel with golden foil. Make sure to use smooth cardstock.
- Use a sand eraser to remove any over-foiling!
- Using the coordinating stencils, add color to the roses, berries and leaves with your favorite colors of ink! Make sure to immediately wipe off the panel with a clean cloth to remove the ink that is on top of the foil outline to bring its shine back!
- Adhere the panel to a top folding note card that is 5 ½” wide by 4 ¼” tall.
- Add die cut flowers and branches created with the Spellbinders “Skating Into The Holidays” die set
- Create a die cut and hot foiled sentiment with the Spellbinders “Christmas Die and Glimmer” hot foil plate and die set.
Reverse Foiling Technique

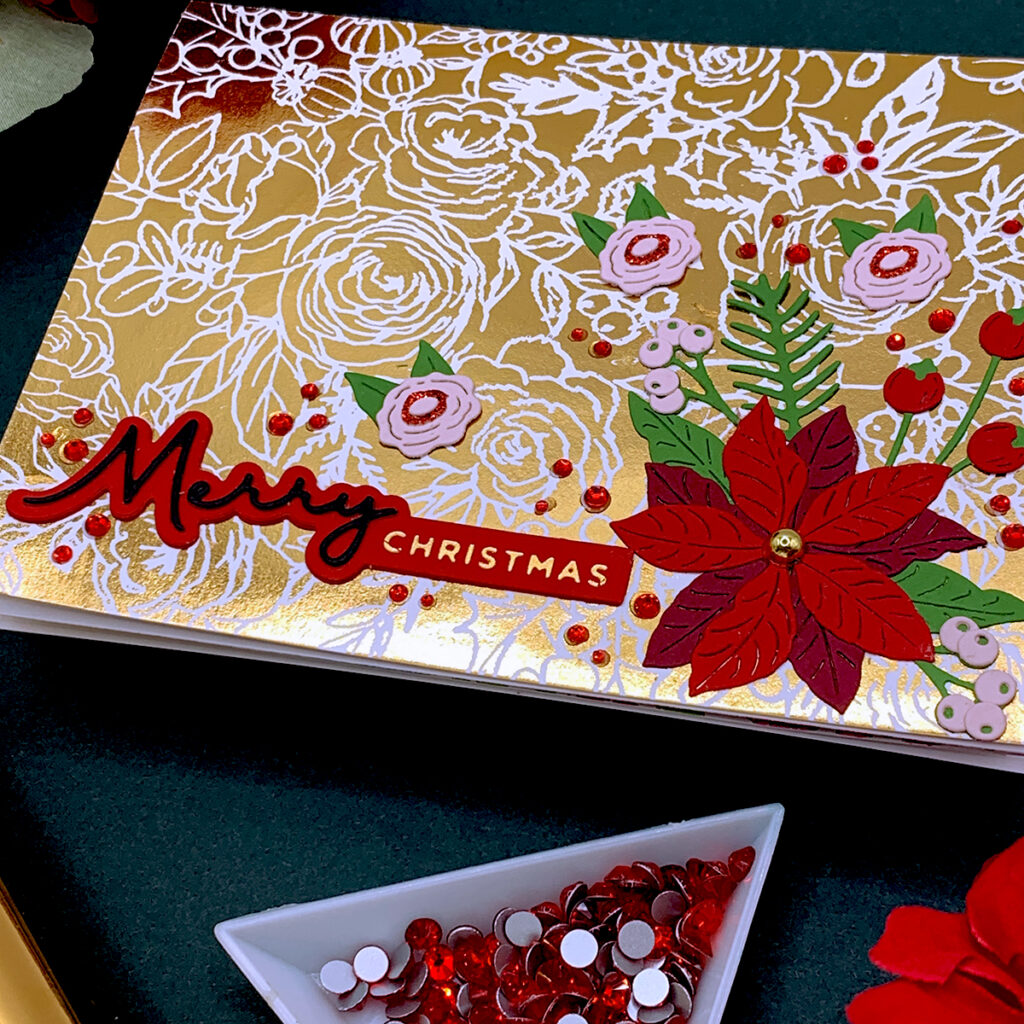
- Do the reverse foiling technique with a large solid shaped hot foil plate, and the leftover pieces of foil from the hot foiling technique! Leave the hot foil sandwich on the glimmer machine for about 5 minutes.
- Adhere the panel to a top folding note card that is 5 ½” wide by 4 ¼” tall.
- Add die cut flowers and branches created with the Spellbinders “Skating Into The Holidays” die set.
- Create a die cut and hot foiled sentiment with the Spellbinders “Christmas Die and Glimmer” hot foil plate and die set.
I hope you felt inspired and some of this information was helpful to you! If you create something inspired by this post, make sure to tag me on instagram! Thank you for visiting and happy crafting!
SUPPLIES
I have listed below all of the products that I used to make today’s note cards. Compensated affiliate links may be used at no cost to you, and I only use and recommend products that I love! As always, thank you for your support!


-
-
9 months
Tagged letterpress technique, Spellbinders Home For The Holidays Collection