Mailbox Note Cards


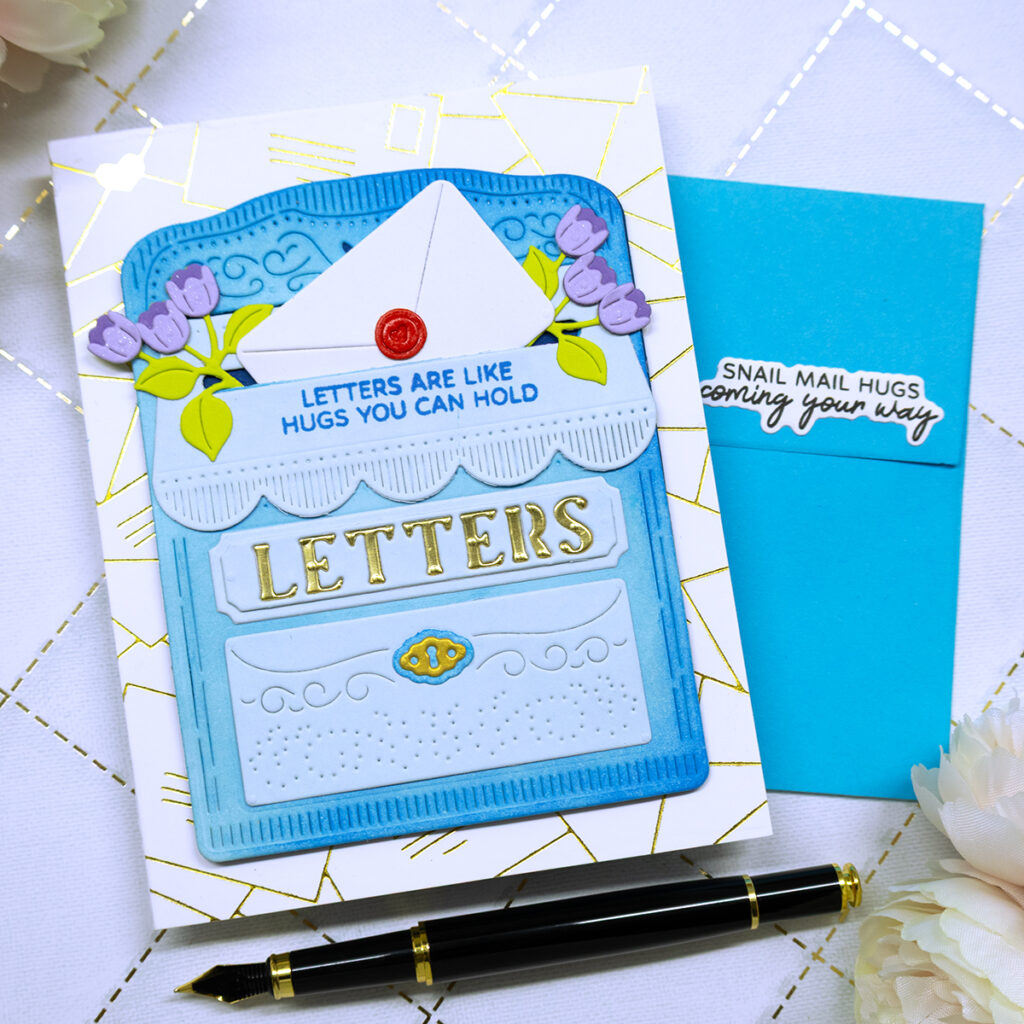
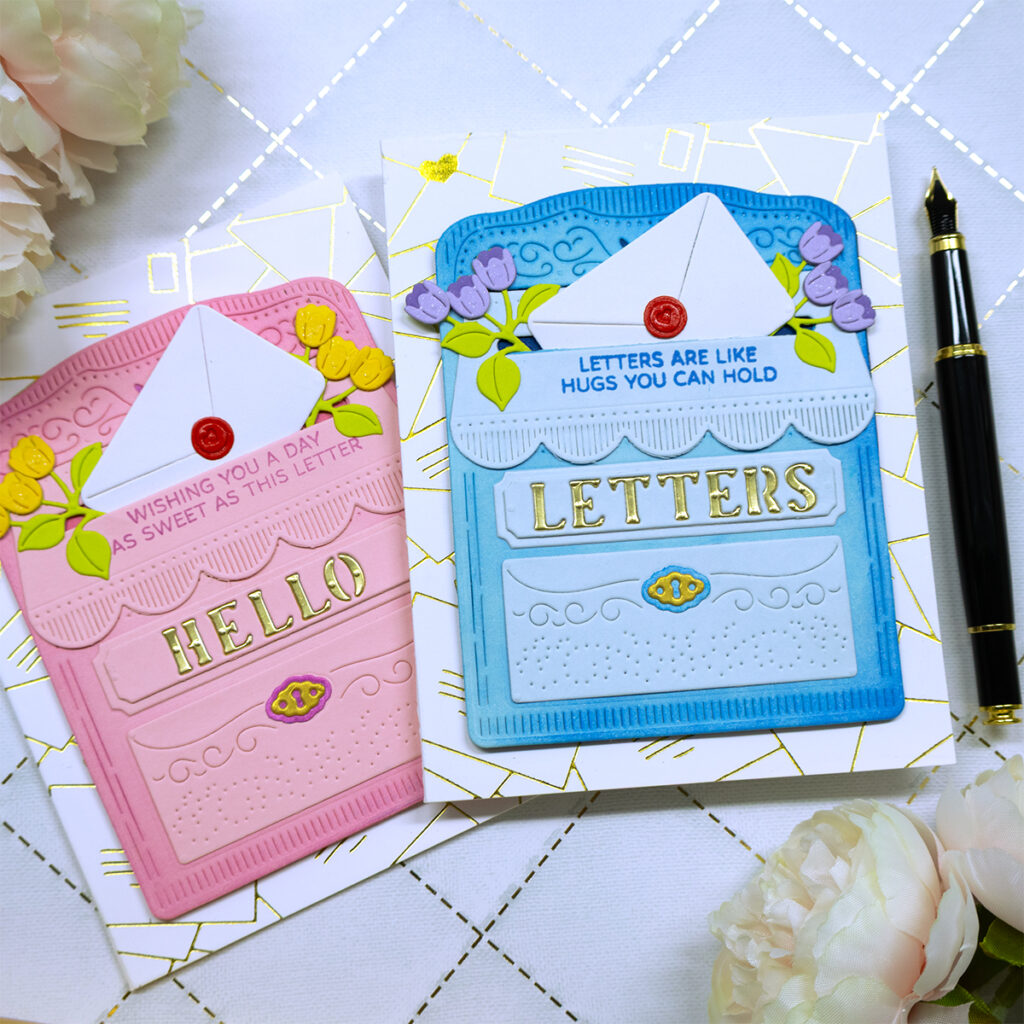
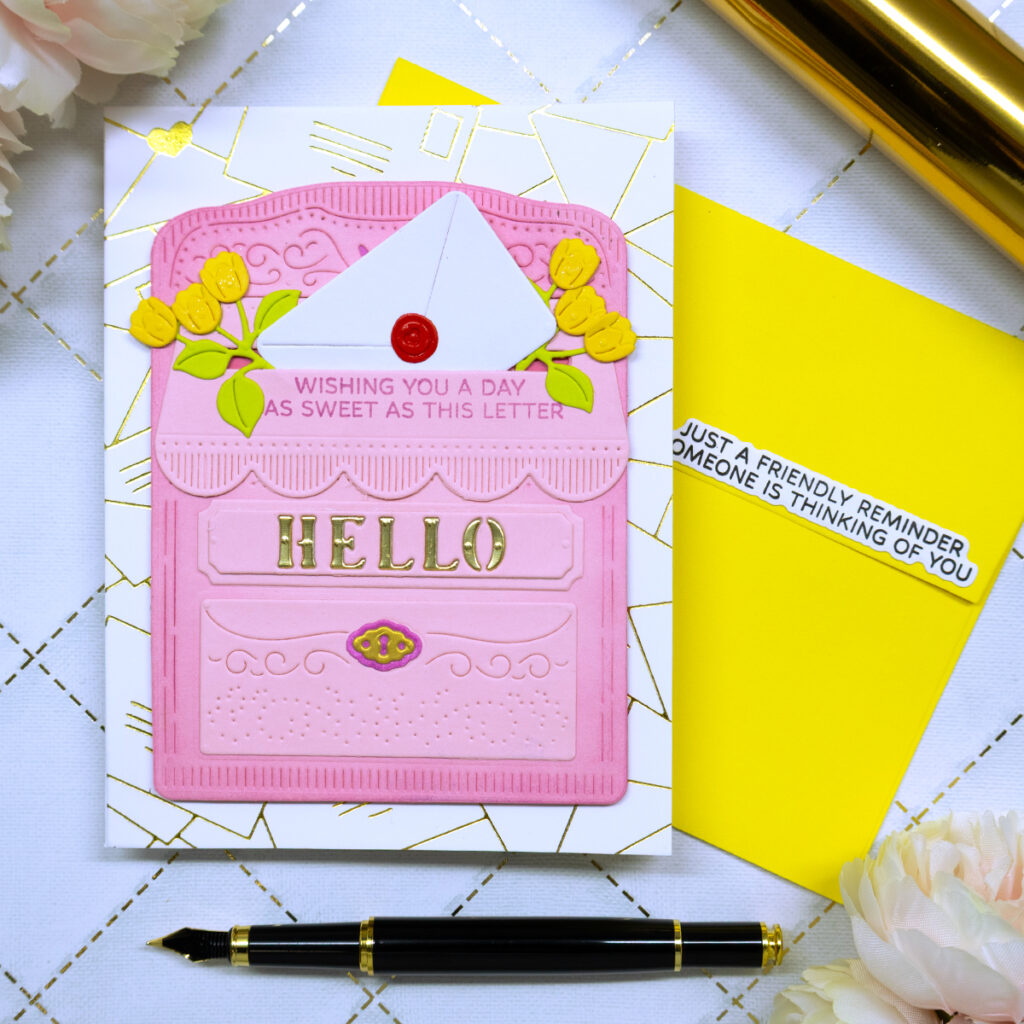
Hello crafters! Today I’m sharing two card designs featuring some of Spellbinders April 2025 clubs, which are simply amazing! I can’t believe it is already Spring and April’s clubs are such a fun way to celebrate and enjoy this wonderful season even more!

- Hot foil a 4 ¼” x 5 ½” white panel with Spellbinders “Scattered Letters” hot foil set and a piece of golden foil. Then, adhere it to the front of an A2 size note card.
- Die cut and assemble the mail boxes using metal plates included in the Spellbinders “Lock & Key Mailbox” die set. I used Spellbinders cardstock in the color “Pink Sand” for the pink mailbox and “Glacier” for the blue mailbox.
- Add some shading to the edges of the mailboxes with a darker color of ink. I used Simon Says Stamp ink pads in the color “Taffy” for the pink mailbox and “Cadette” for the blue one.
- Stamp a sentiment onto each mailbox using clear stamps included in the Spellbinders “Send & Seal” stamp set.
- Adhere the mailbox to the font of the note card using foam squares so it has some dimension!
- Add sparkle to the die cut blooms with a shimmer pen.

Tips:
- Tip 01: Use a sand eraser to remove any over-foiling.
- Tip 02: Use a glue eraser to remove any excess glue (dried).
I hope you felt inspired and some of this information was helpful to you! If you create something inspired by this post, make sure to tag me on instagram! Thank you for visiting and happy crafting!
SUPPLIES
I have listed below all of the products that I used to make today’s note cards. Compensated affiliate links may be used at no cost to you, and I only use and recommend products that I love! As always, thank you for your support!


-
-
2 weeks
Tagged Note CArds for students, Spellbinders May 2025 Clubs