Magic Slider Note Card!
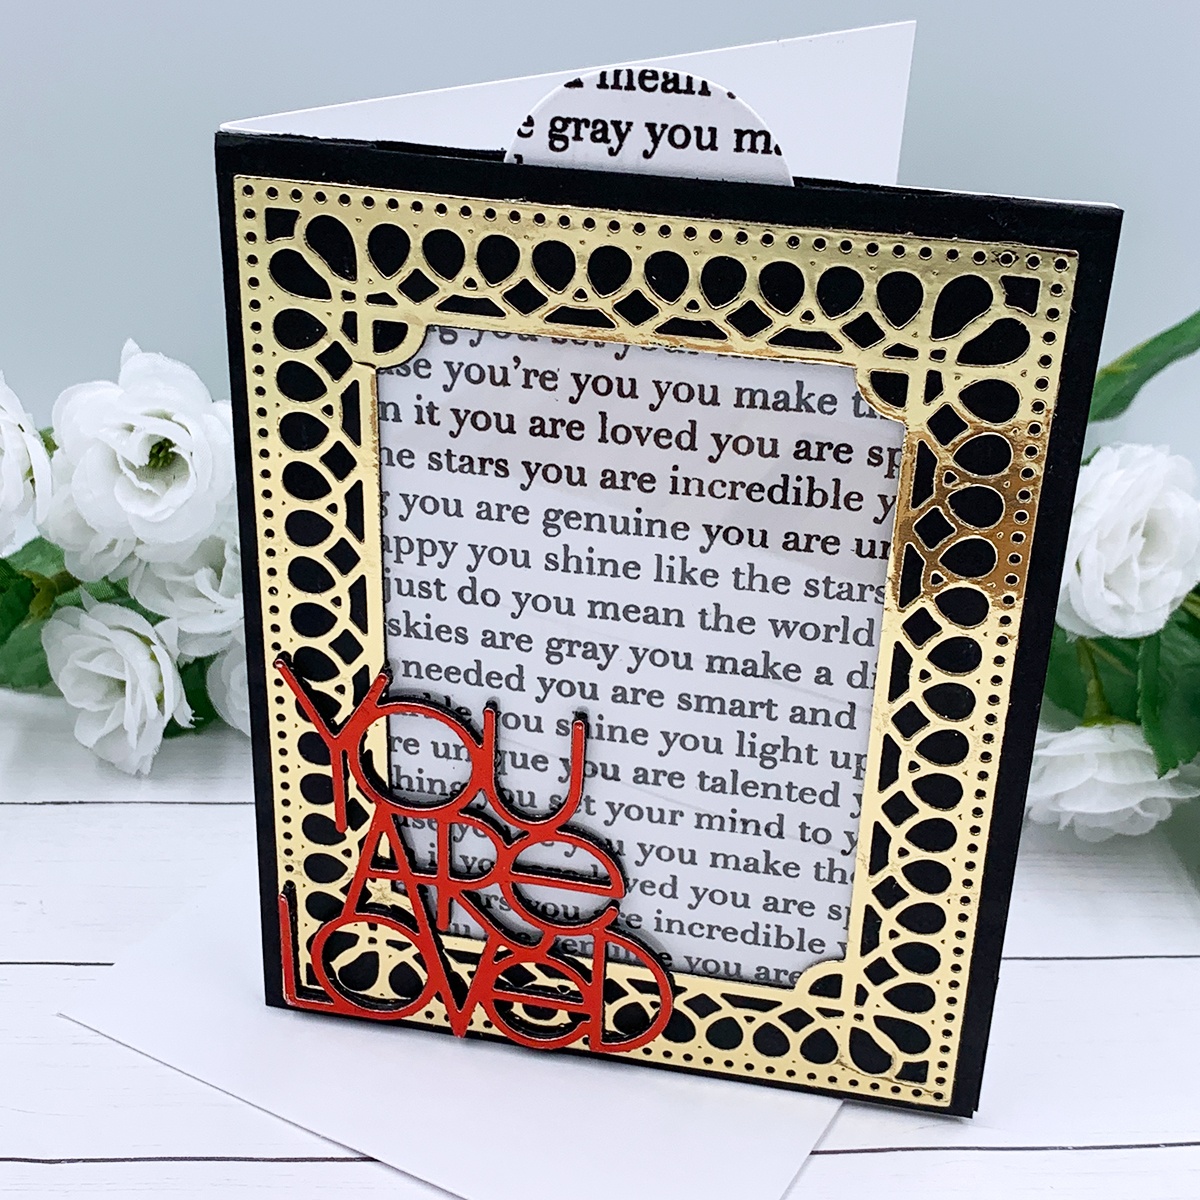

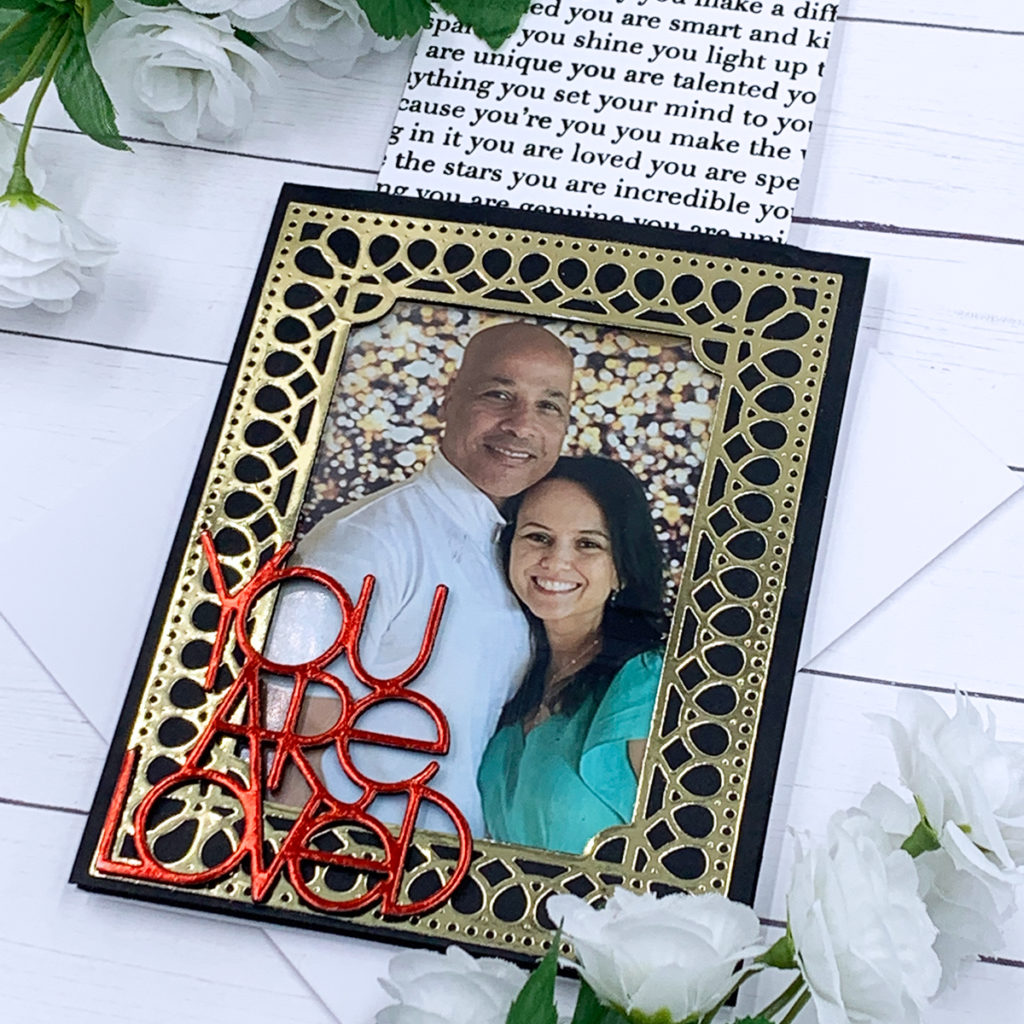
Hello crafters! Today I’m sharing the first magic slider notecard that I have ever made! This type of note card is very easy to make and a fun surprise for the recipient. I chose to add a photo as a surprise element, but you could also stamp images instead!

To create the magic slider panel I started with an A2 size top folding note card. On this note card I cut out a window on one side, so the picture that I will place inside shows. Then, with a craft knife, I made a slit along the folding line of this note card in order to be able to slide a white panel up and down, revealing the picture.
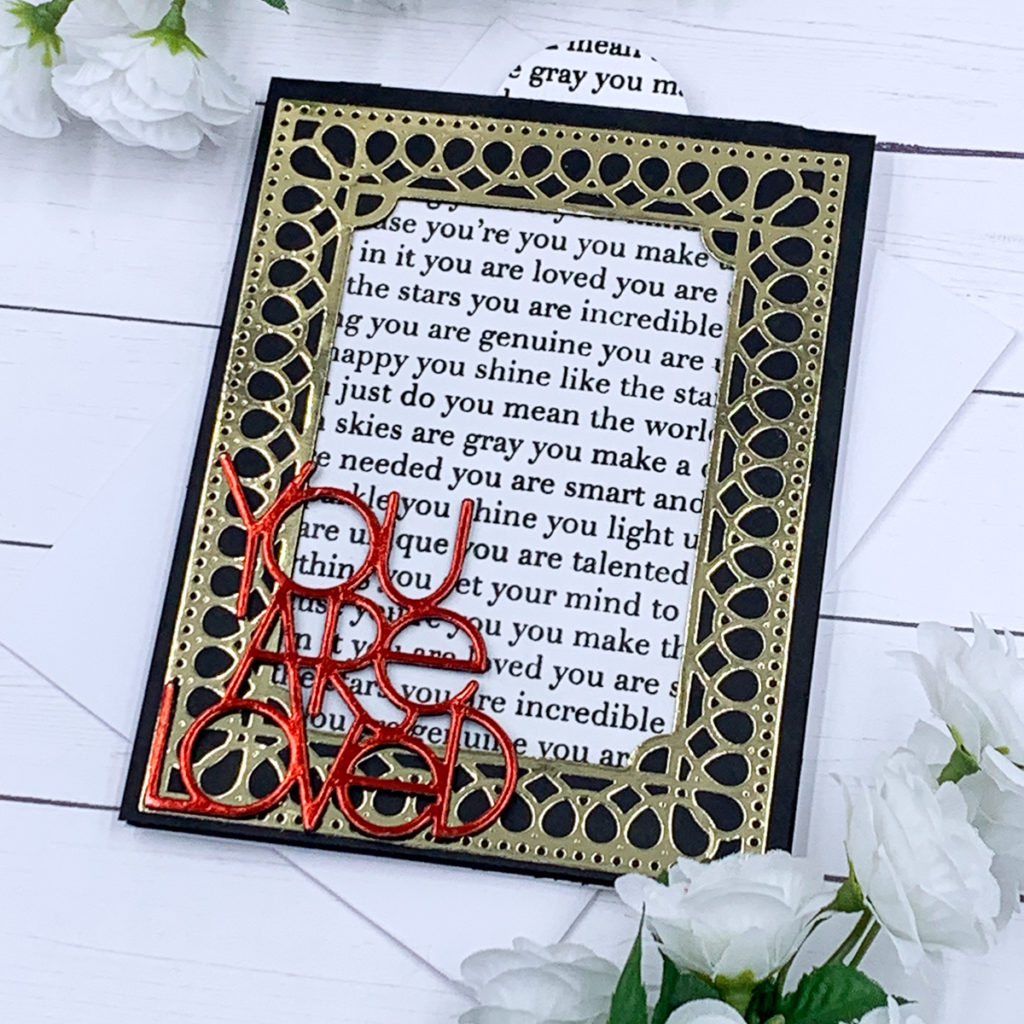
To protect the picture, I adhered a clear acetate sheet to the front window. And, to keep the white panel from shifting from side to side, I used double sided adhesive foam tape to close this magic slider panel.
Once I finished my magic slider panel I adhere it to an A2 size notecard. Because this note card has a pull tab sticking out on the top, it could fit this matching A2 envelope that I created with the “You Matter” background stamp, by Simon Says Stamp. So, before I gave this note card to my husband I placed it in an A6 envelope instead! For more details on how I created this note card, make sure to watch this video! At the end of this post there is a list of all supplies used to make this note card! Thank you so much for visiting my blog today and happy crafting!


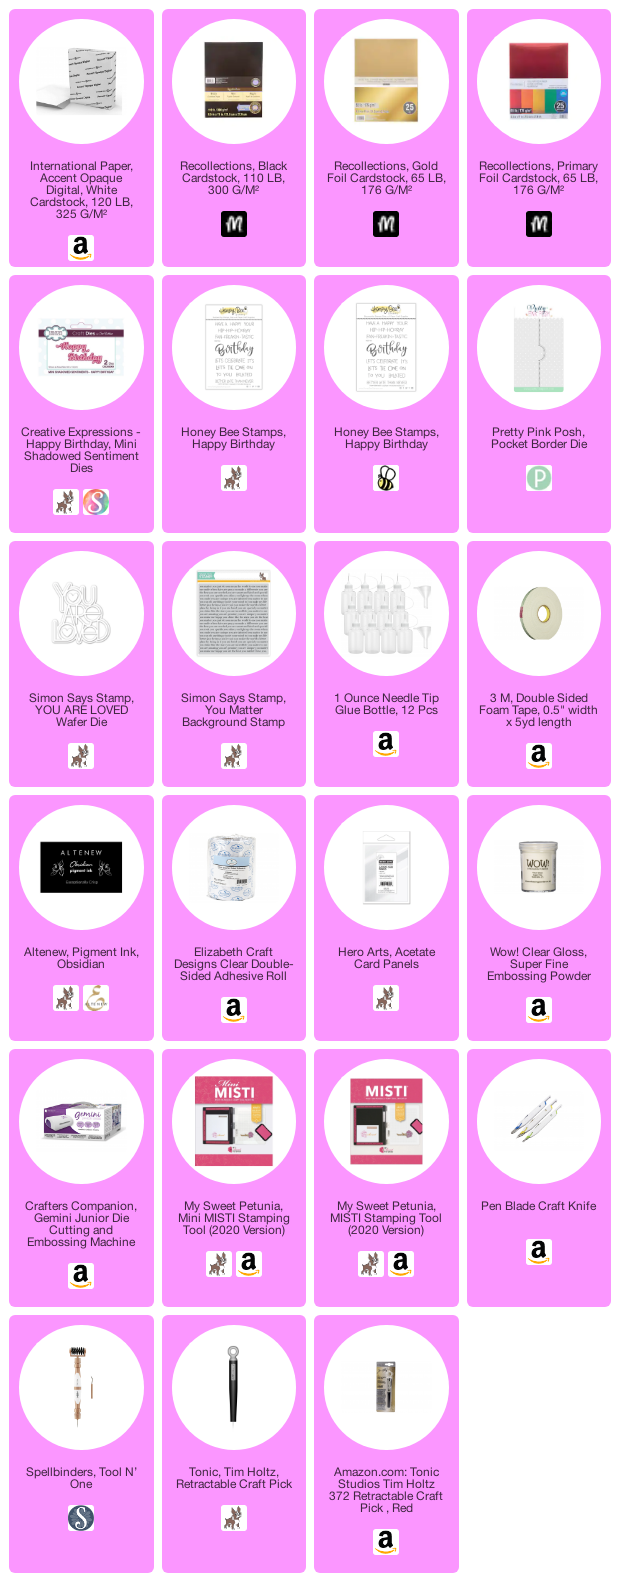
SUPPLIES
I have listed below all of the products that I used to make today’s note cards (if they are still available). Compensated affiliate links may be used at no cost to you. All products were personally purchased, and I only recommend products that I love! As always, thank you for your support!
-
-
4 weeks
Tagged Spelbinders January 2026 Clubs