Layering Die Cut Roses + Inking Up Embossed Images
Hello again!
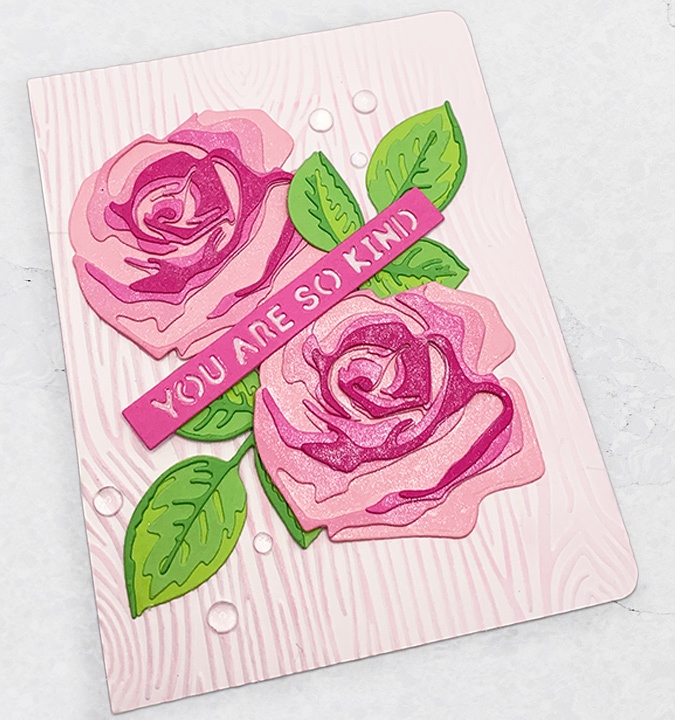
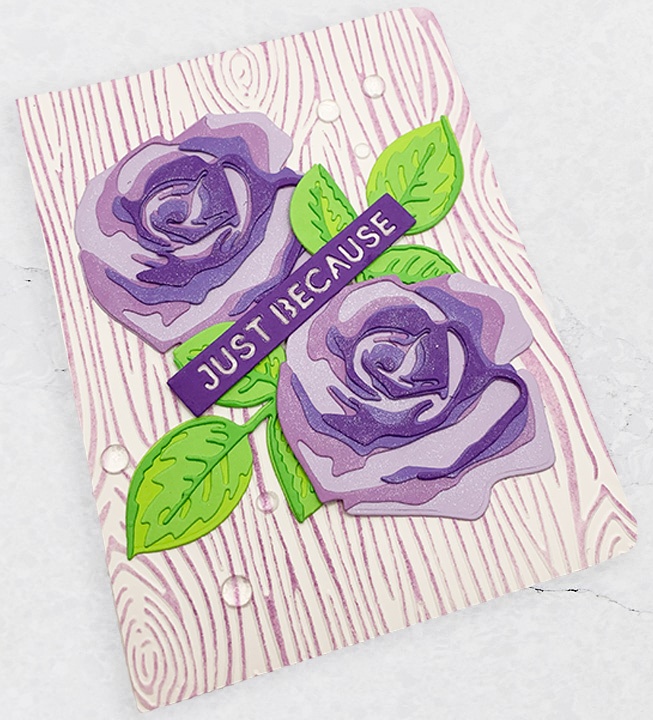
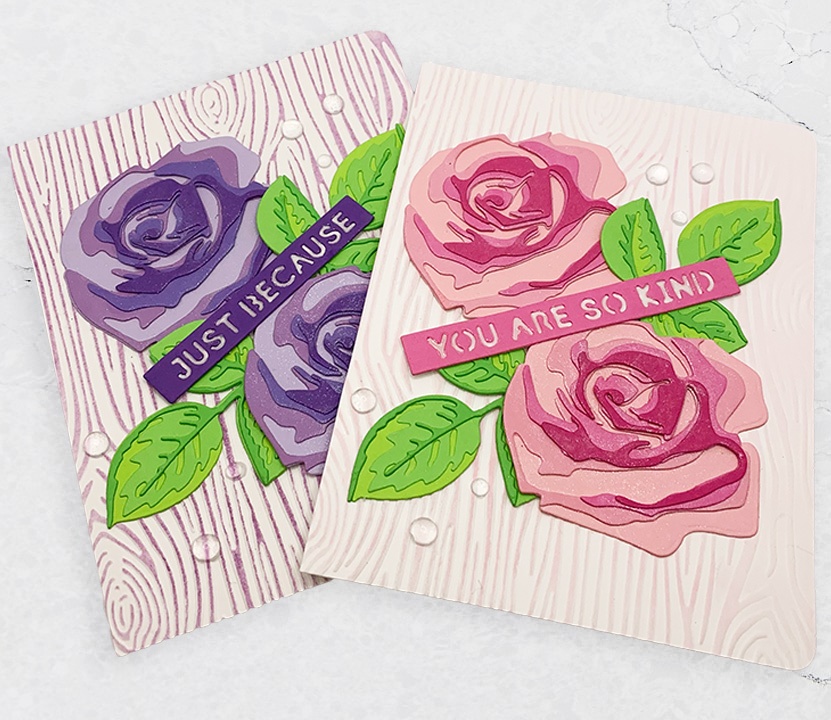
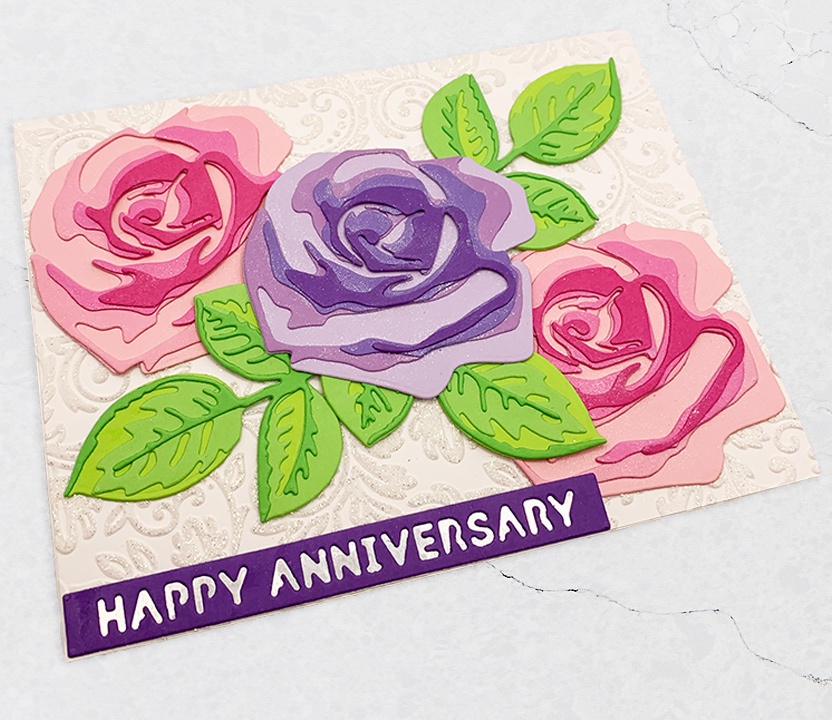
I can honestly say that die cutting is my favorite part of card making (at least at the moment!). So, on today’s video, I will show you how I made some beautiful cards, using a layering die set from Altenew.
I hope you like the video, and let me know what technique you prefer, when inking up your embossed images.
Take care and I’ll see you next time!
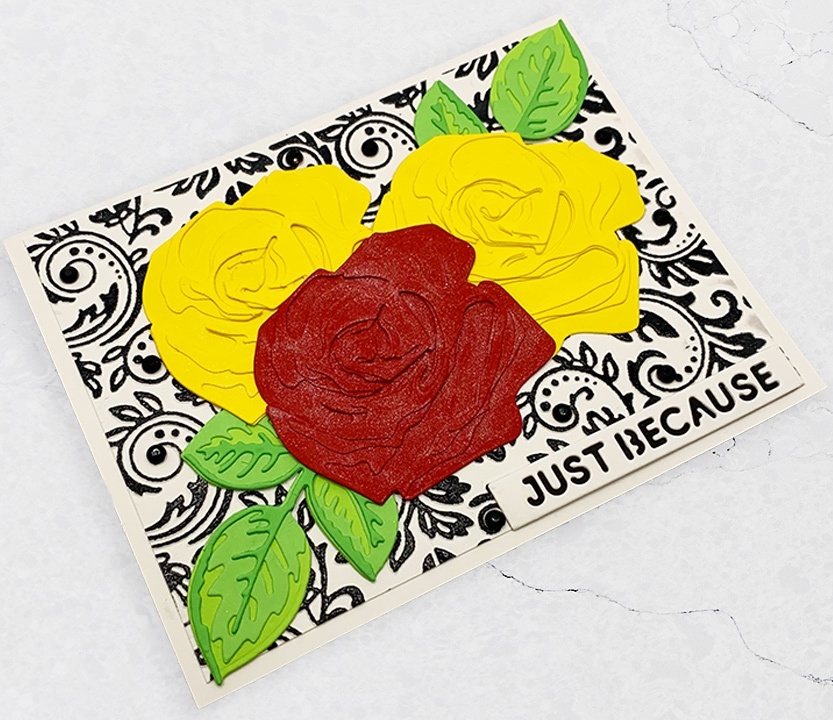
Supplies:
Here is a list of the products I used. I personally purchased them and I only recommend products I love. Some compensated affiliate links are used, at no cost to you. Thank you so much for your support!
Dies:
Altenew Craft a Flower, layering die set
Altenew Essentials Sentiment Strips die set
Embossing Folders:
Spellbinders embossing folder – Floral
Creative Expressions, 3D embossing folder – Coffee Bean Flower
Creative Expressions 3D embossing folder – Dotty waves
We R’ Memory Keepers – Revolution
Creative Expressions embossing folder – Skinny Woodgrain
Fun Stampers Journey embossing folder – Cozy Knit
Creative Expressions 3D embossing folder – Bubble Burst
Ink:
Ranger Distress Oxide – Shaded Lilac
Ranger Distress Oxide – Tea Dye
Ranger Distress Oxide – Ground Expresso
Ranger Distress Oxide – Picked Raspberry
Ranger Distress Oxide – Stormy Sky
Ranger Distress Oxide – Squeezed Lemonade
Cardstock:
Neenah Classic Crest, Solar White
Tim Holtz Idea-ology metallic cardstock
Embellishments:
Spectrum Noir, fine glitter brush pens
Clear dewdrop, water droplets embellishments
Black gems, self-adhesive stickers
Miscellaneous:
Quilled precision tip applicator
Gemini Junior die cutting machine
We R Memory Keepers weeding tool
Ranger embossing powder, Holographic

-
-
5 days
Tagged card for student, card for teacher, Crayon note cards, Spellbinders May 2025 Clubs