Heat Embossing Dry Embossed Panels!
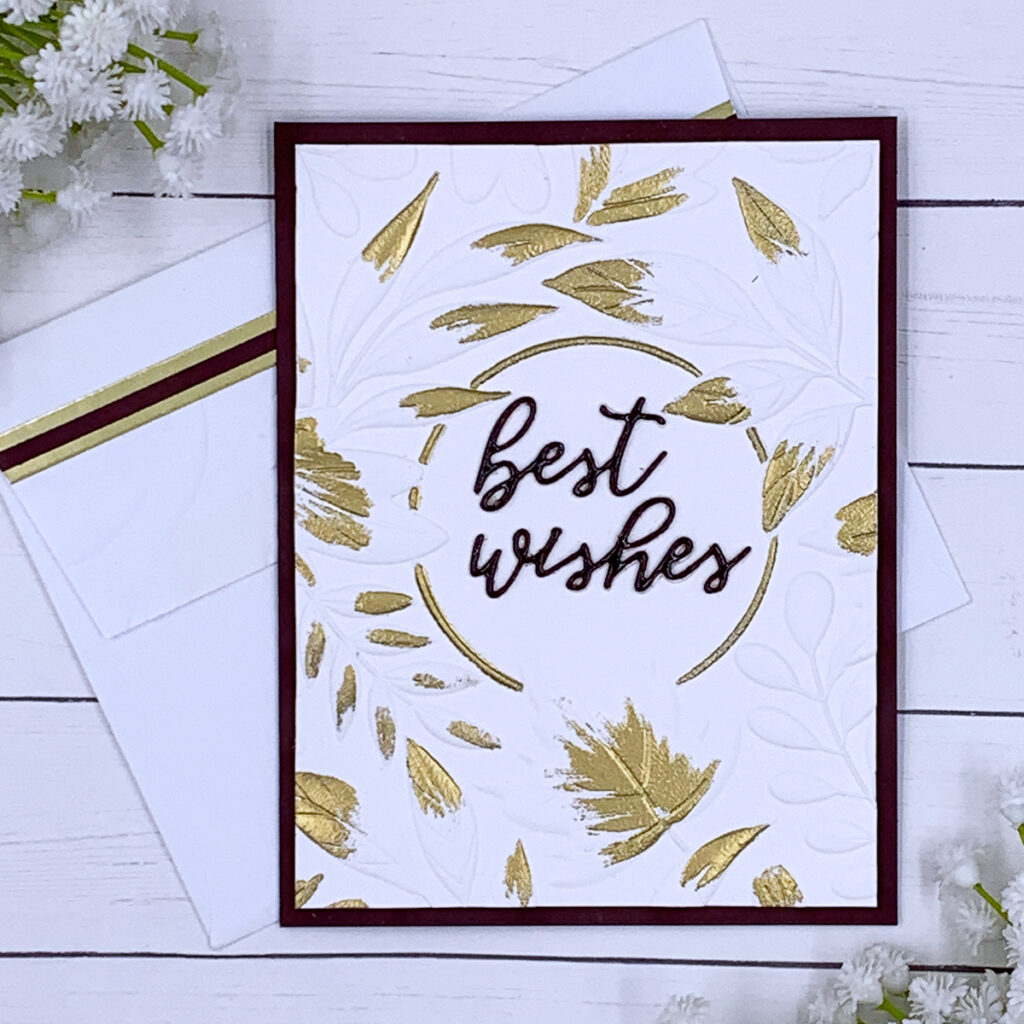
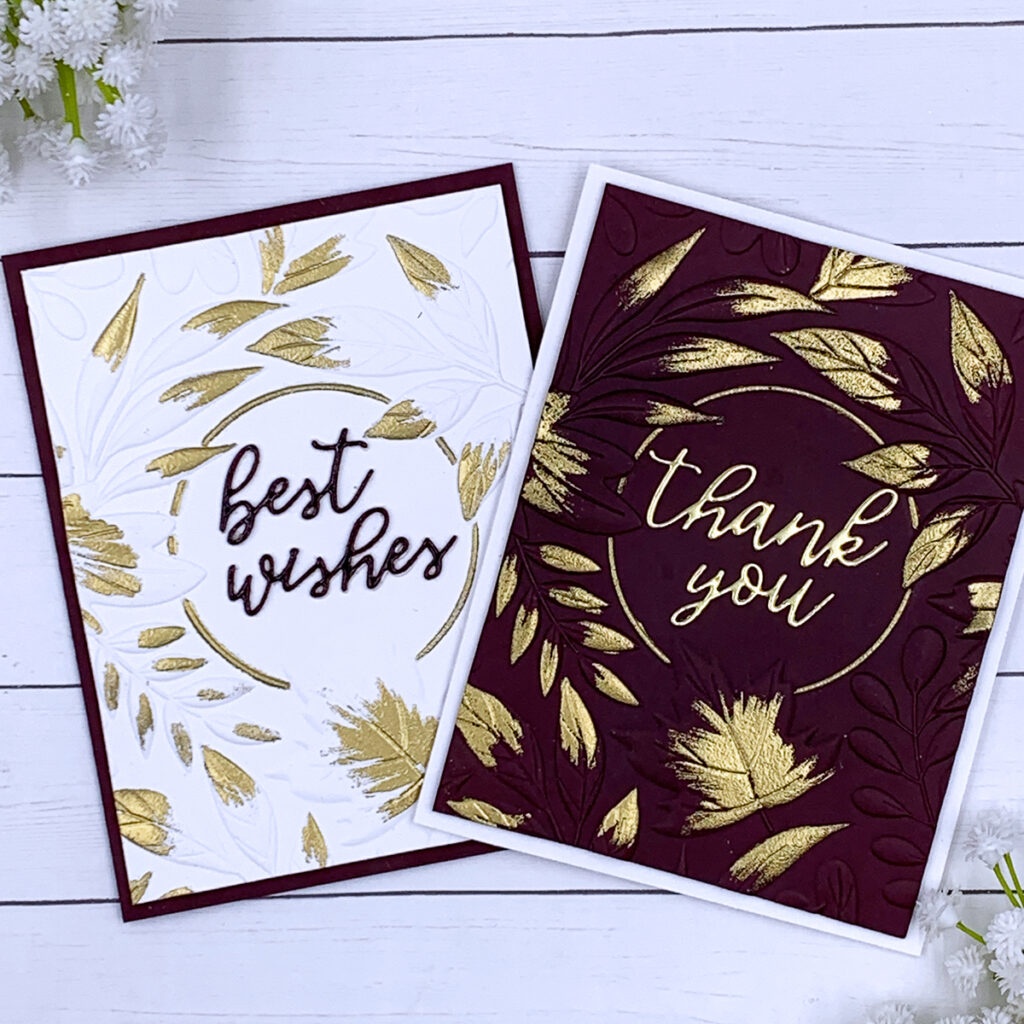
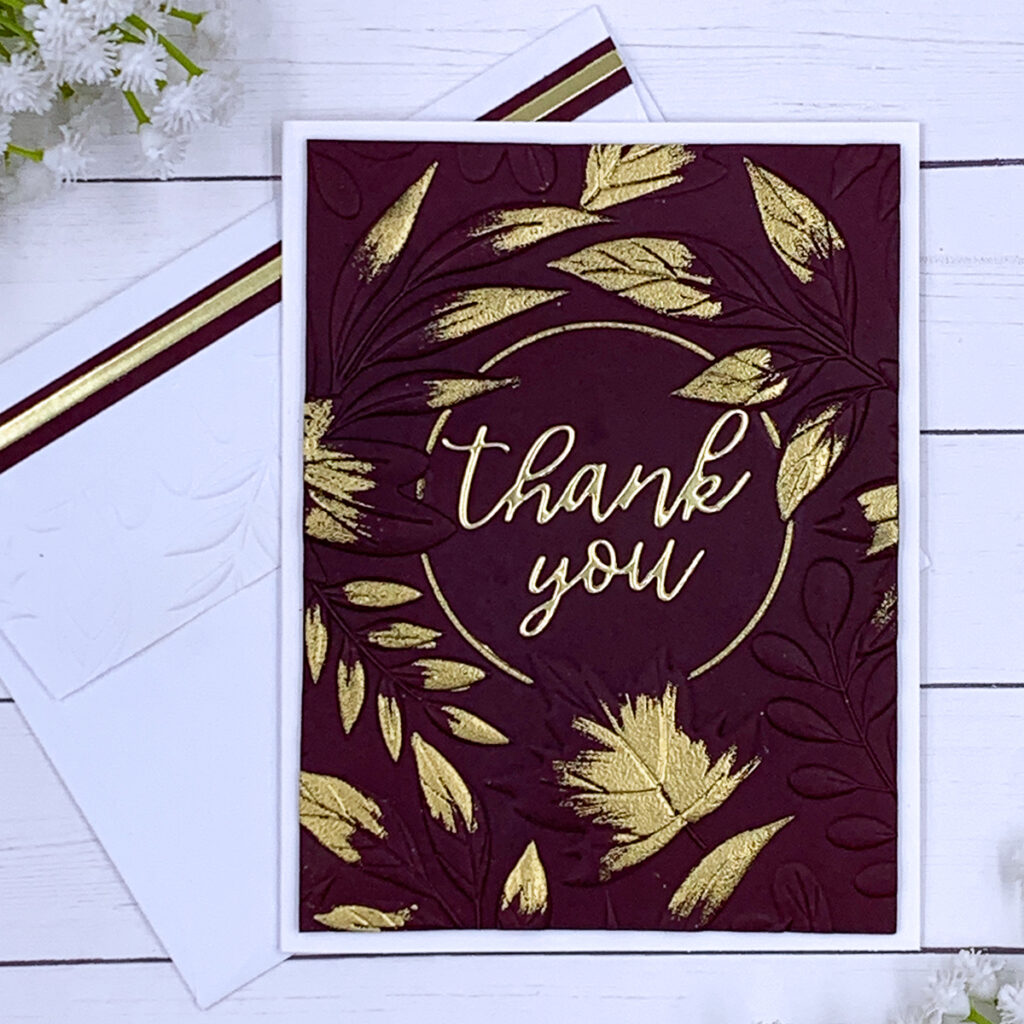
Hello crafters! Today I have some simple, yet stunning card design ideas combining two easy techniques: dry embossing and heat embossing! These note cards are side folding and measure 5 ½” x 4 ¼”.

I began by dry embossing pieces of cardstock that I cut to 5 ¼” x 4”. I used the Spellbinders “Autumn Serenade” 3D embossing folder, and before I ran it through my die cut machine, I misted each panel with water in order to avoid cracks and tears on my cardstock.
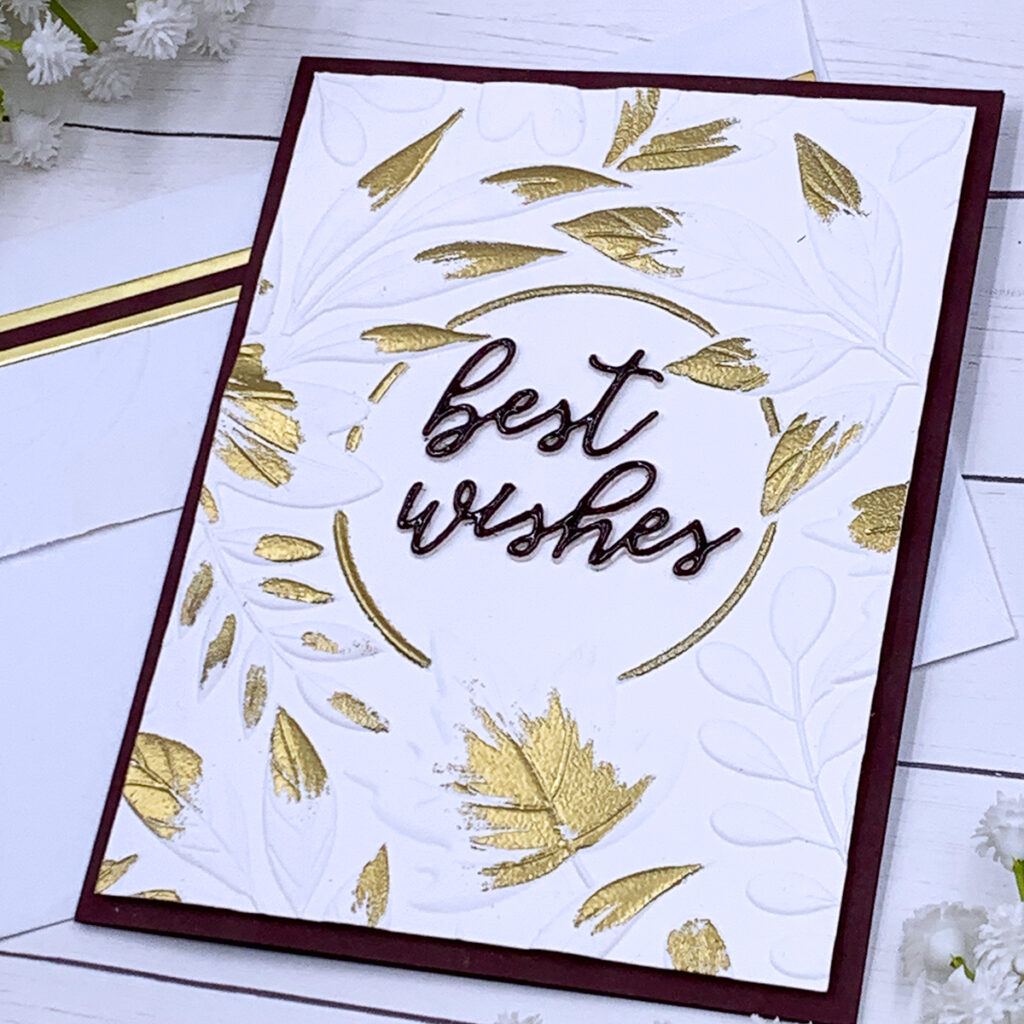
To add some gold accents to my dry embossed panels, I went over a few sections with a watermark pen so I could add golden embossing powder on top, and heat set it with a heating gun. Always remember to prep your cardstock with an anti-static powder so the embossing powder only sticks to those sections with watermark ink. If you happen to make a mistake and get powder where you do not want to, you can simply brush it off with a clean brush before heat setting it. However, if you need to clean up some areas after heat setting the embossing powder, you can use a craft knife to scrape it off the cardstock!
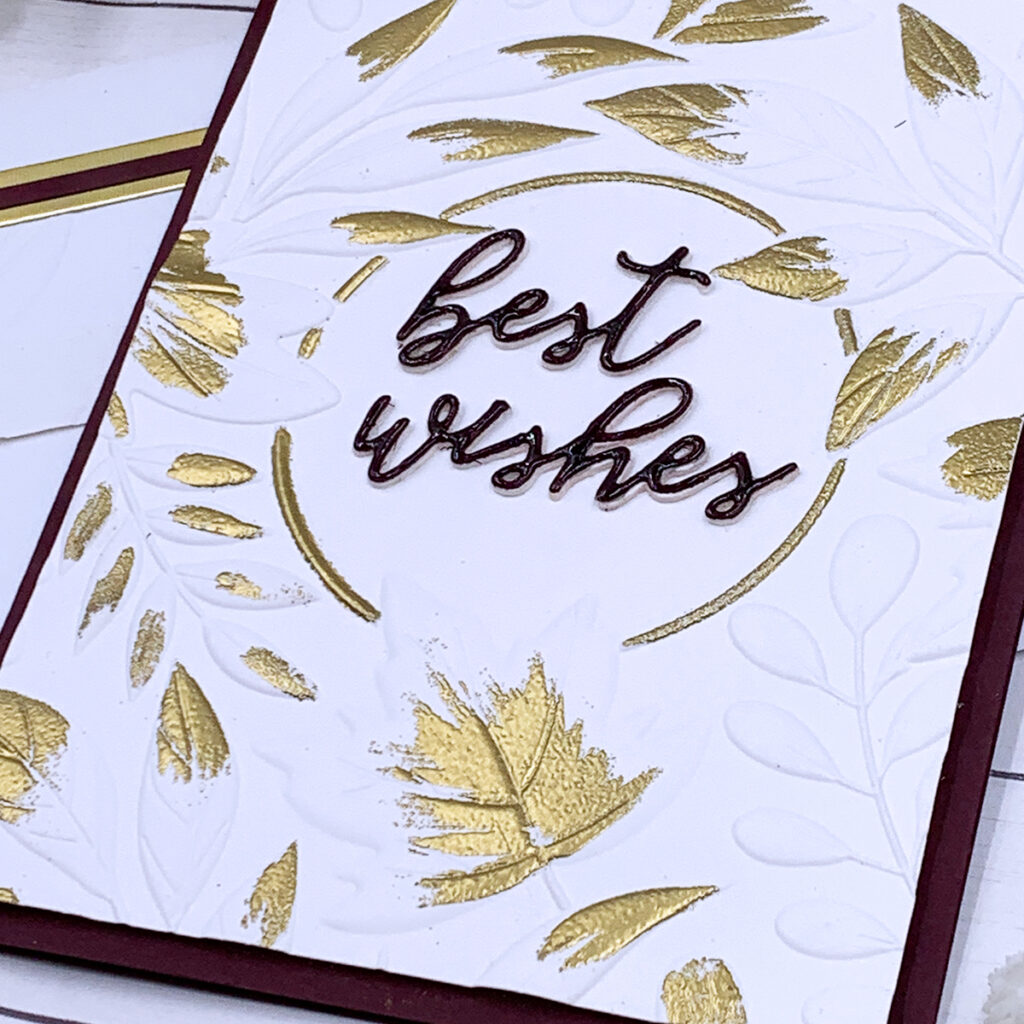
To adhere each dry-embossed heat-embossed panel to my card base, I used foam adhesive. By using foam adhesive not only did I add some dimension to the front panel, which I love, but also it made it easier to adhere this panel to the card base, since it was a little bit warped due to the heat from the heating gun.

For the sentiment, I used the Spellbinders “Serenade Sentiments” die set. There are lots of sentitmen plates included in this die set and I love the style of these letters! It is also included in this die set metal plates to cut out shadows for each word, but I chose to use just the die cut sentiments today.
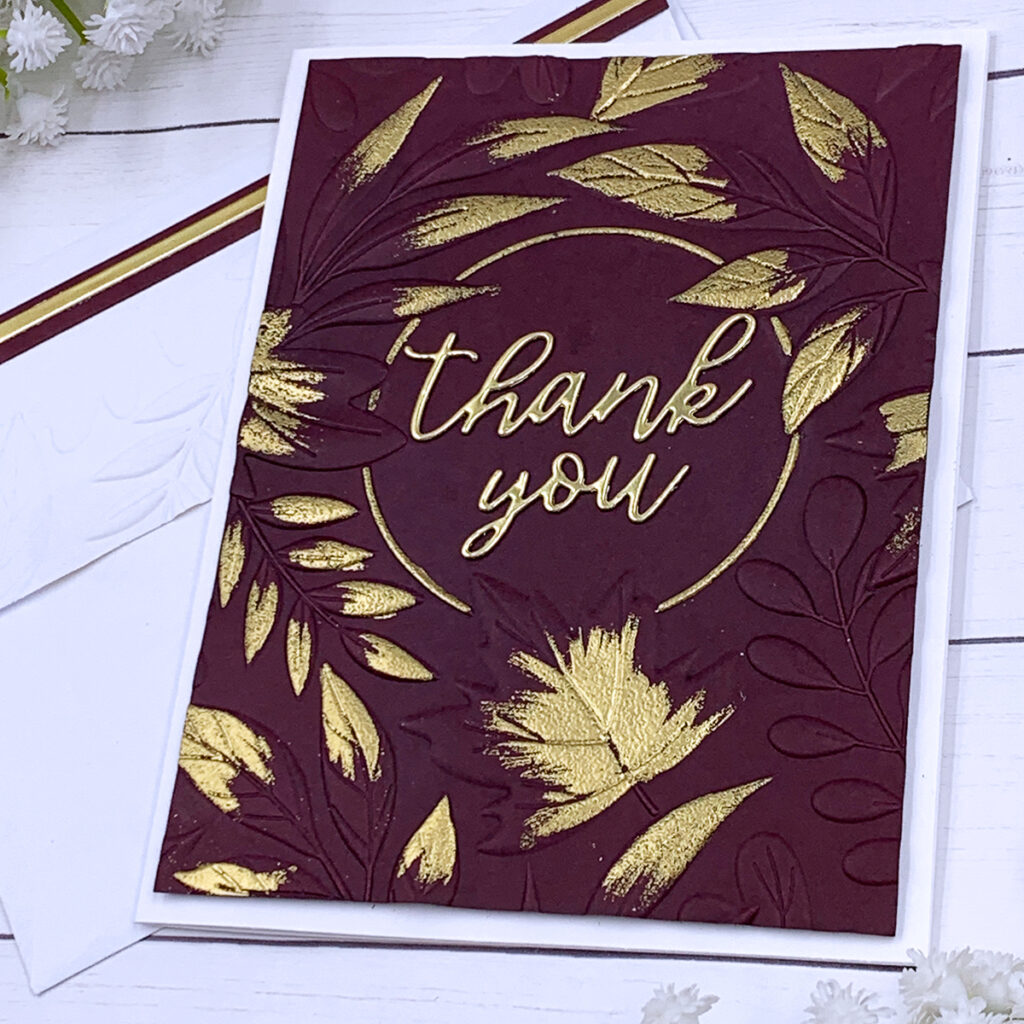
To make the envelopes match, I also dry embossed the flap of each white envelope and I added gold and mahogany cardstock strips to bring everything together! You can click here to watch a tutorial video! I appreciate you stopping by and I hope you give these two techniques a try! At the end of this post there is a list of all supplies used to make these note cards. Have a wonderful day and happy crafting!

SUPPLIES
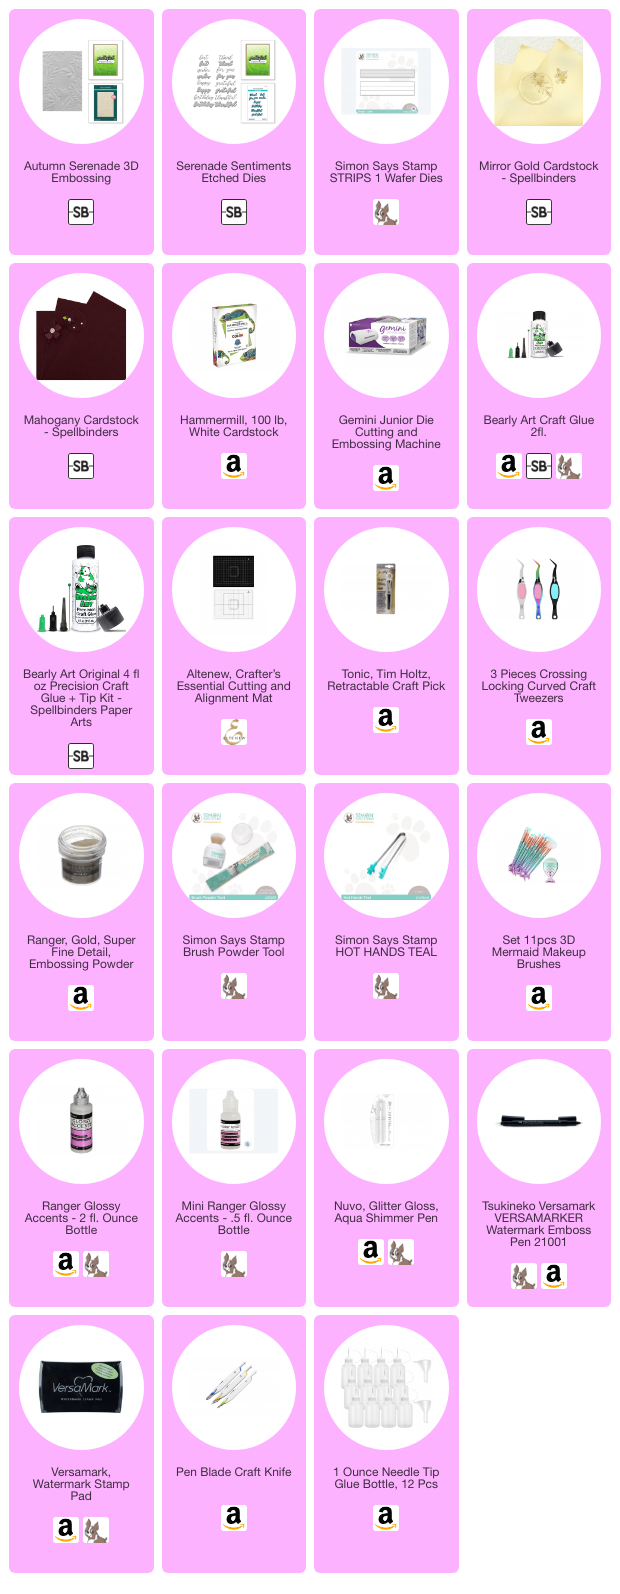
I have listed below all of the products that I used to make today’s note cards (if they are still available). Compensated affiliate links may be used at no cost to you, and I only use and recommend products that I love! As always, thank you for your support!

-
-
2 weeks
Tagged Note CArds for students, Spellbinders May 2025 Clubs