Card Making With SSS Rest Queen Stamp Set + Copic Coloring
Hi everyone! Flávia here and thank you for visiting my blog!
In today’s post I am sharing with you two cards that I made, using the Simon Says Stamp, Rest Queen stamp and coordinating dies set.
I just can’t get over how adorable these images are! I had a lot of fun making these cards, and it was a great opportunity to practice skin coloring, with Copic markers. I am still new to Copic coloring; however, I did like how these turned out!
Before we actually get into the details of these cards, I have to mention that, according to Simon Says Stamp website, 100% of the profits from sale of this stamp set will go to the Therapy for Black Girls.
“The Therapy for Black Girls is an online space dedicated to encouraging the mental wellness of Black women and girls.”
Simon Says Stamps is one of my favorite craft companies, and I love them even more for doing that! ❤️
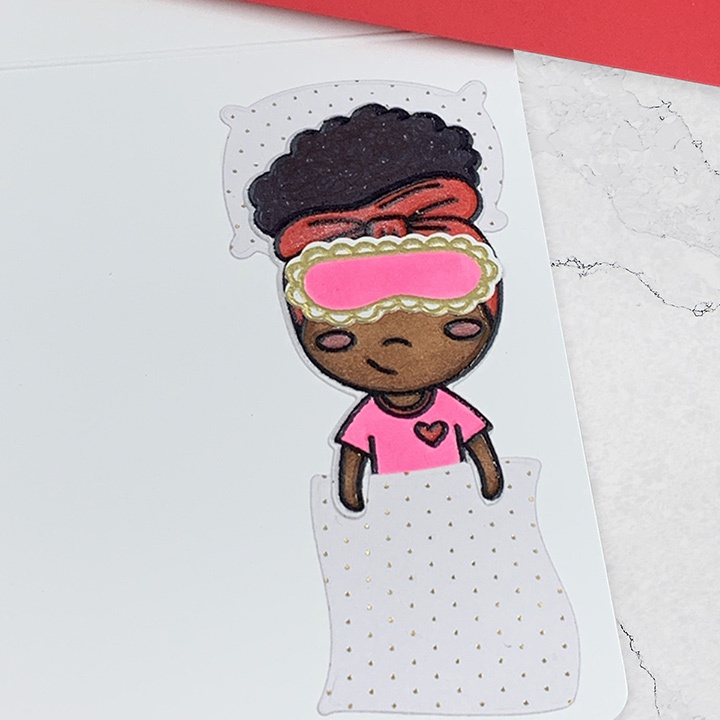
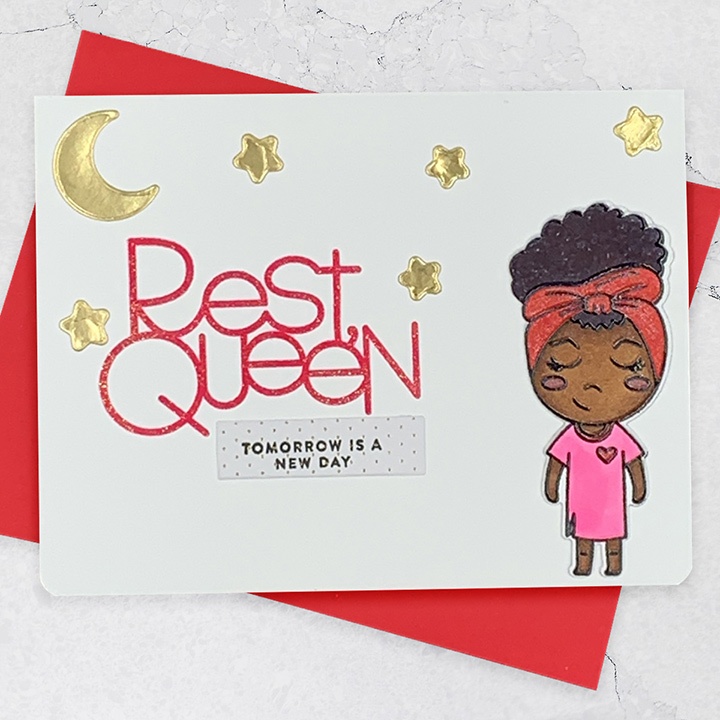
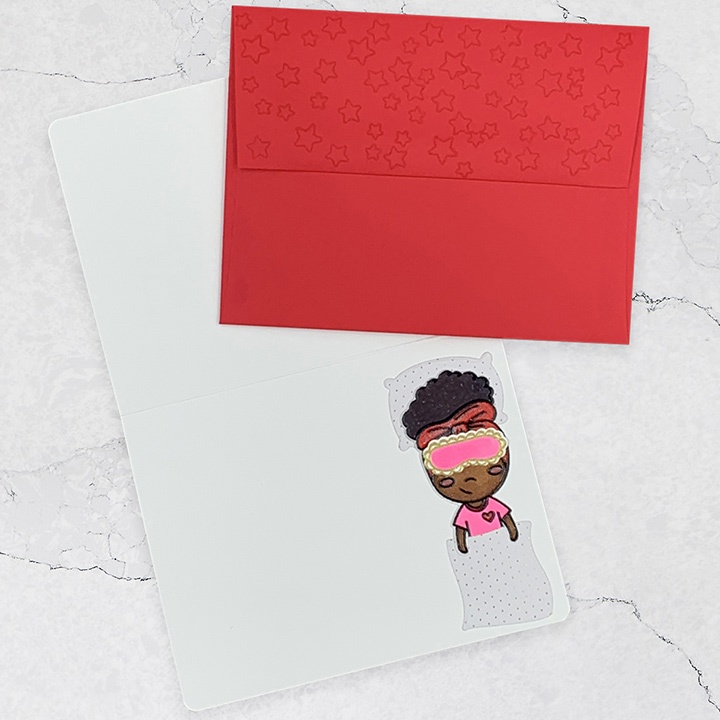
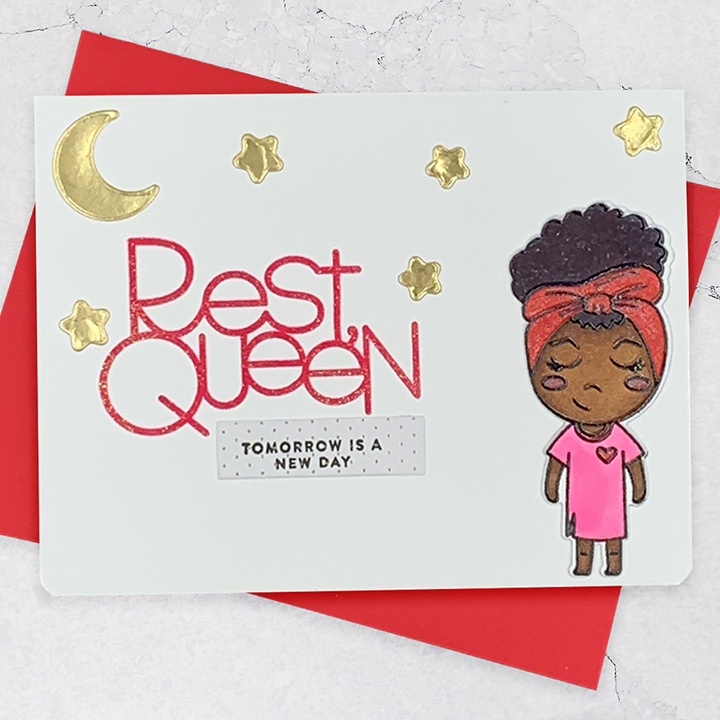
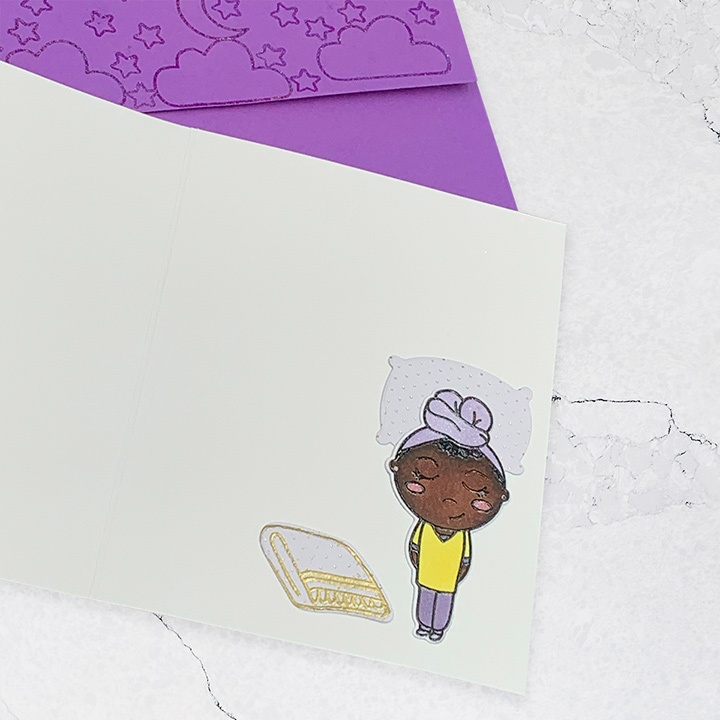
The pink, Rest Queen card is an A2 size. I used a heavyweight white cardstock for the base. I colored the same little girl twice, so I could add a different scene inside the card!
So, at the front of the card, she is kind of sleep walking 😂 and when you open the card, she is laying down, and has her blanket, her pillow and her sleep mask!
I used the coordinating dies to cut out the stars and the moon. To add some shine to her chicks and bonnet, I used Spectrum Noir glitter pen.
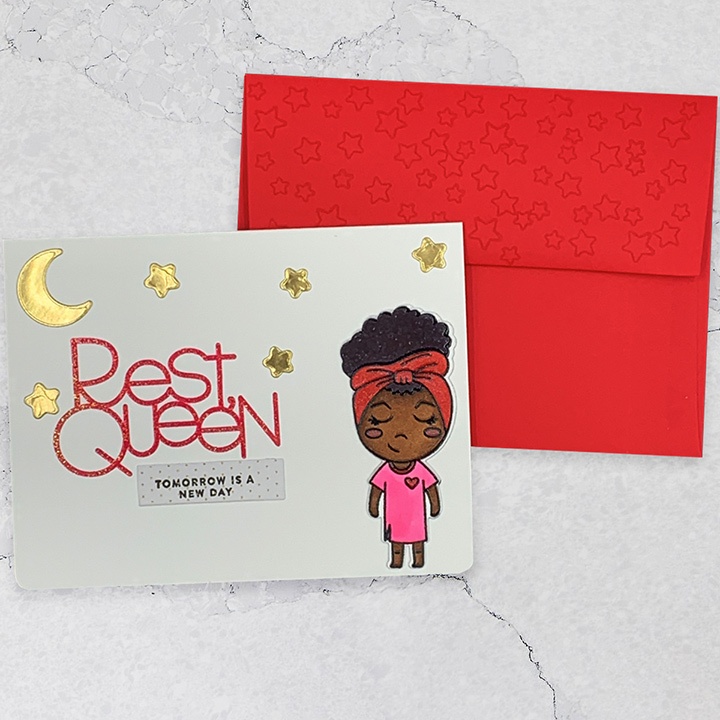
Regarding the coloring on the” Rest Queen” Card:
- Skin:E37, E25 and E23.
- Cheeks: E04
- Hair: first I applied Copic Marker C5 all over and then used a black sharpie marker in circular motion.
- Red bonnet: R27
- Pink nightgown: FRV1
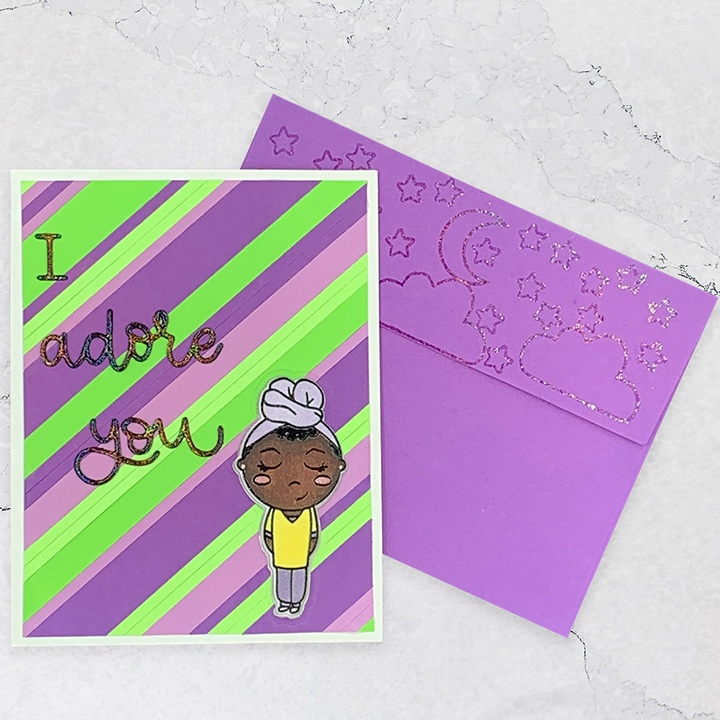
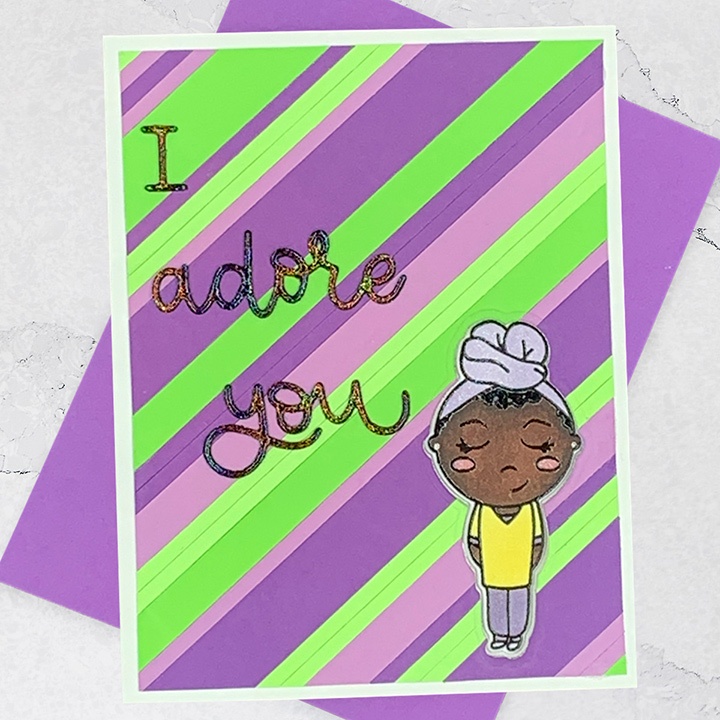
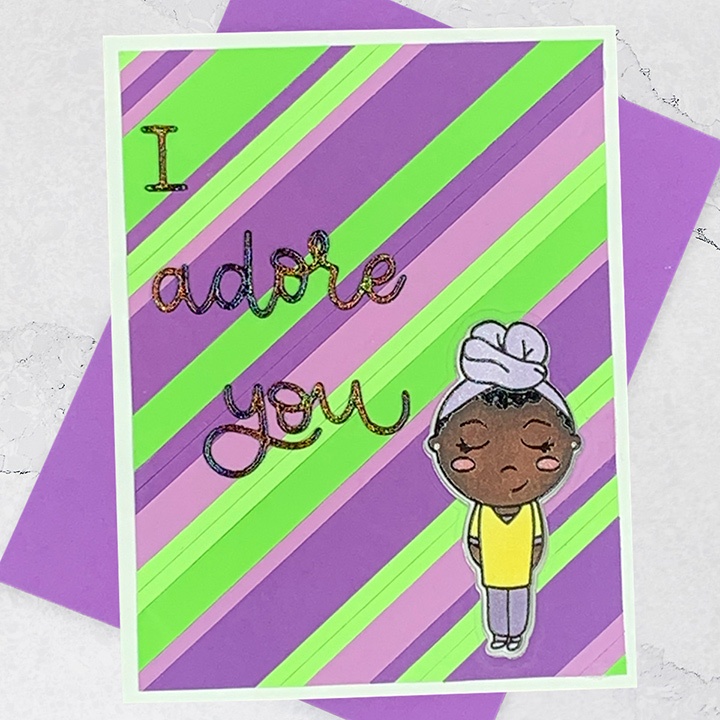
For this second card, I decided to first create this fun, purple and green background using some of the cardstock scraps that I have. The “I adore you” die is also from Simon Says stamp.
I die cut this sentiment three times from black cardstock, and stacked them for dimension (one of my favorite tricks that I learned watching the amazing Jennifer Mcguire!) Then, I heat embossed this die cut with Ranger holographic embossing powder, and Wow clear embossing powder. I love how much shine this sentiment has in person!
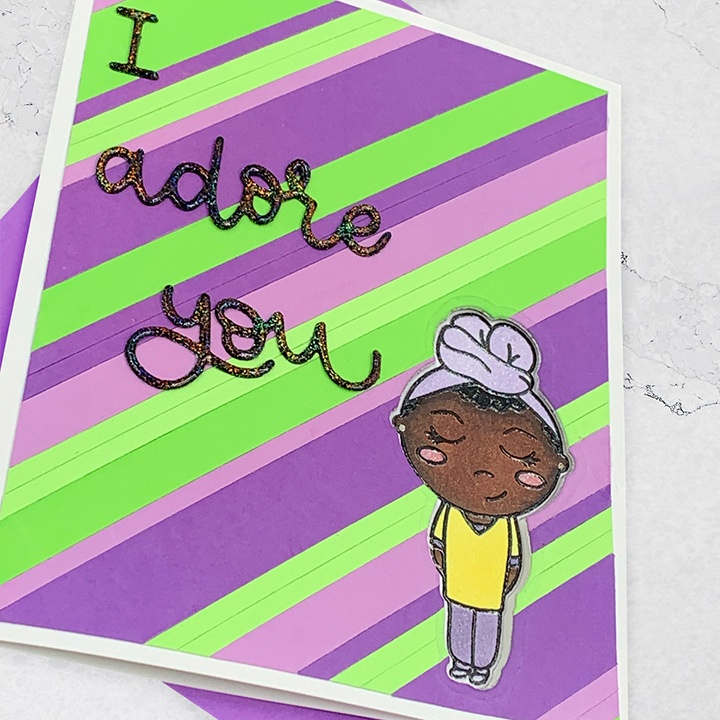
Regarding the coloring for the “I Adore You” Card:
- Skin:E49, E47 and E27.
- Cheeks: E04
- Hair: first I applied Copic Marker C5 all over and then used a black sharpie marker in circular motion.
- Lilac bonnet: BV000
- Pjs: BV01, Y13 and V25
I used the coordinating die for the little girl, to cut a window at the front panel. This way, when the card is closed it gives the impression that the she was adhered to the front of this card. However, when you open the card, you realized that she is actually inside with a pillow and a blanket!
For both envelopes I used the stamps included in the set to create these fun patterns. To make the purple envelope shiny I heat embossed the stamped images with Ranger holographic embossing powder.
I knew that I would have a lot of fun making these cards. So, I went ahead and recorded time lapses of the process. Following are the videos and I hope you enjoy it!
Thank you so much for visiting today and have a great weekend!
Supply:
- Dies and Stamps:
Simon Says Stamps, Rest Queen Stamp Set
Simon Says Stamp, I Adore You Die
Simon Says Stamp, Strips 1 Die Set
Simon Says Stamp, Strips 2 Die Set
- Cardstock:
Accent Opaque White Cardstock, 120 LB, 325 GSM
- Miscellaneous:
Ranger Holographic Embossing Powder
Copic Markers. (So far this is the the store with the lowest price, the I know of!)

-
-
1 day
Tagged card for student, card for teacher, Crayon note cards, Spellbinders May 2025 Clubs