Hand Stitched Floral Note Cards
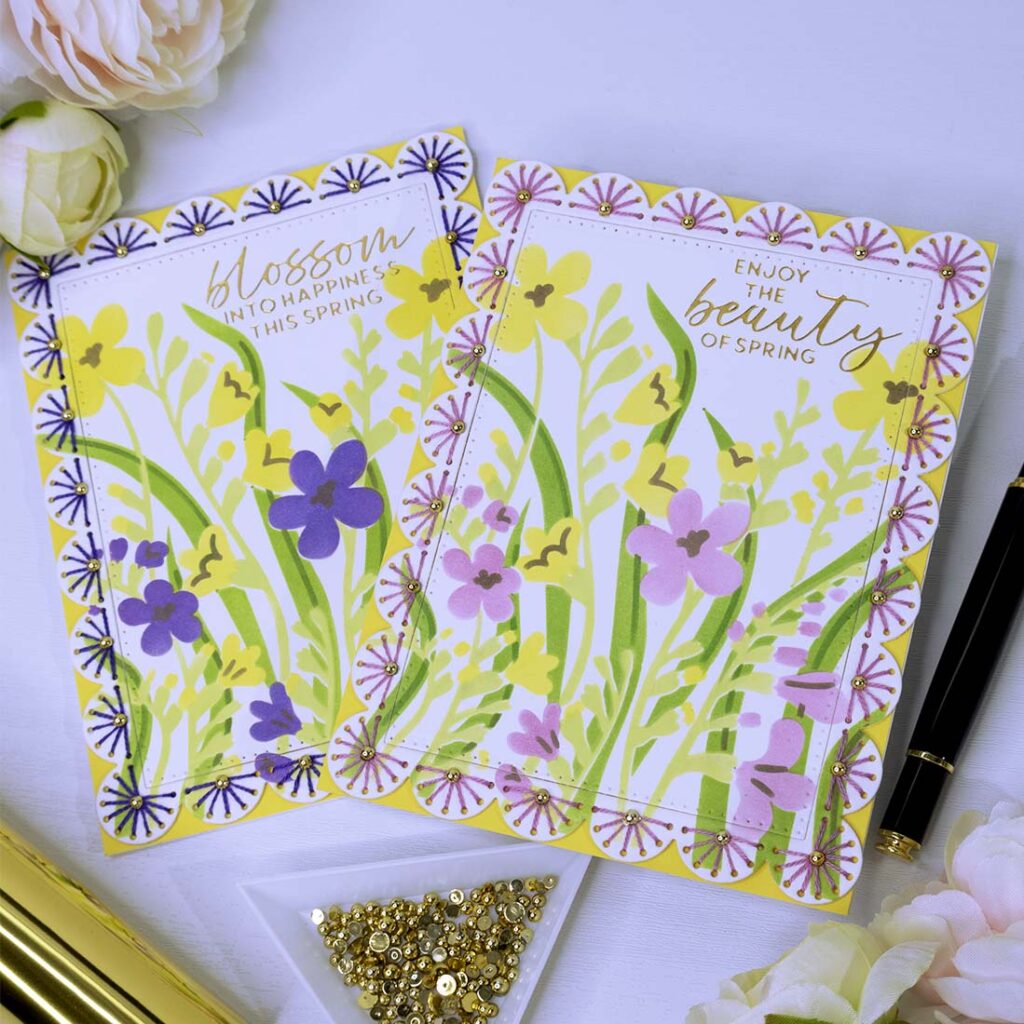
Hello crafters! Today I am sharing two note cards that I made using the Spellbinders Stitching die set and Stencil set clubs for February 2025. These note cards are perfect for any occasion and the stitched borders add a lot of interest to the note cards making them even more unique and special!
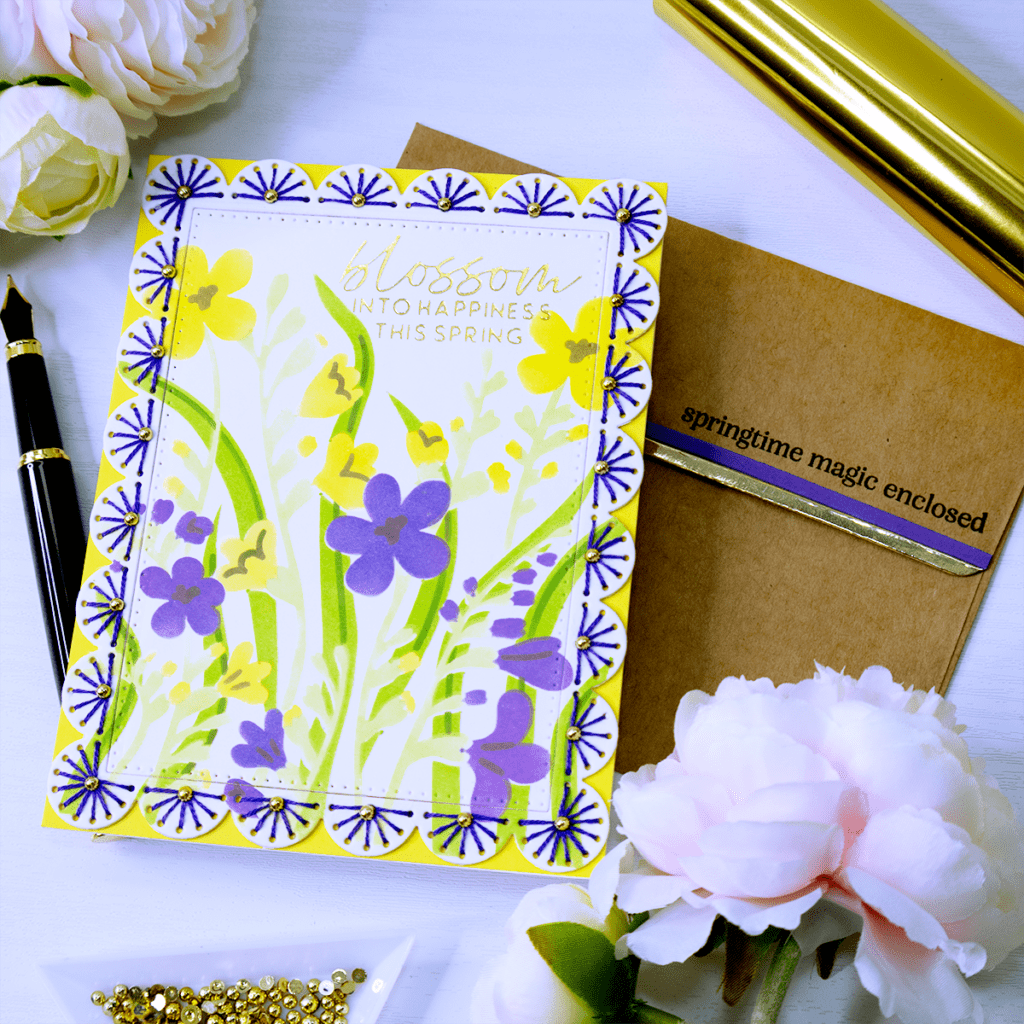
Blossom Into Happiness This Spring
- Stencil the floral image onto a white panel using Spellbinders “Nature’s Canvas” layering stencil set.
- Die cut the stenciled panel with the largest rectangular plate and the largest scalloped border plate included in the Spellbinders “Stitched Scallop Card Front & Tag” die set.
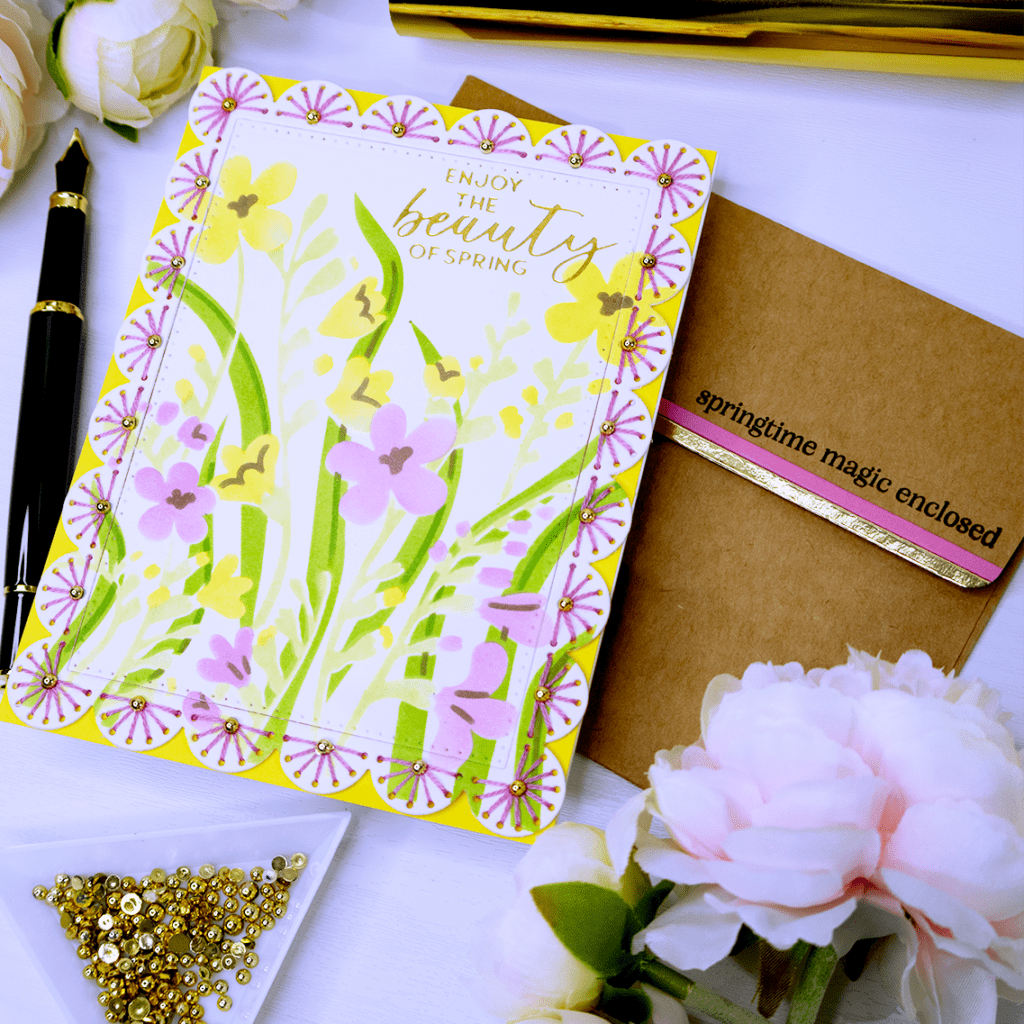
- Hot foil the sentiment “Blossom Into Happiness This Spring” using a piece of “Polished Brass” foil, and a plate included in the Spellbinders “Spring Canopy” hot foil set.
- Use a tapestry needle and DMC floss to do the stitching. I used 2 strands only, in the thread color numbers 3608 for the pink note card, and 333 for the purple note card.
- Cut out a 5 ½” x 4 ¼” panel from Spellbinders cardstock in the color “Sunkissed” and adhere it to the front of a white A2 size note card. Then, glue the stitched border and stenciled panel on top. Use strong liquid adhesive and let it dry under a heavy book for a couple of minutes.
- Stamp the sentiment “Springtime Magic enclosed” onto the flap of a kraft color envelope, and decorate it with cardstock strips to make it match the note card. I used a clear stamp included in the Spellbinders “Spring Smiles” stamp set.
- Decorate the note card with gold flat back beads and enjoy!
I hope you felt inspired and some of this information was helpful to you! If you create something inspired by this post, make sure to tag me on instagram! Thank you for visiting and happy crafting!
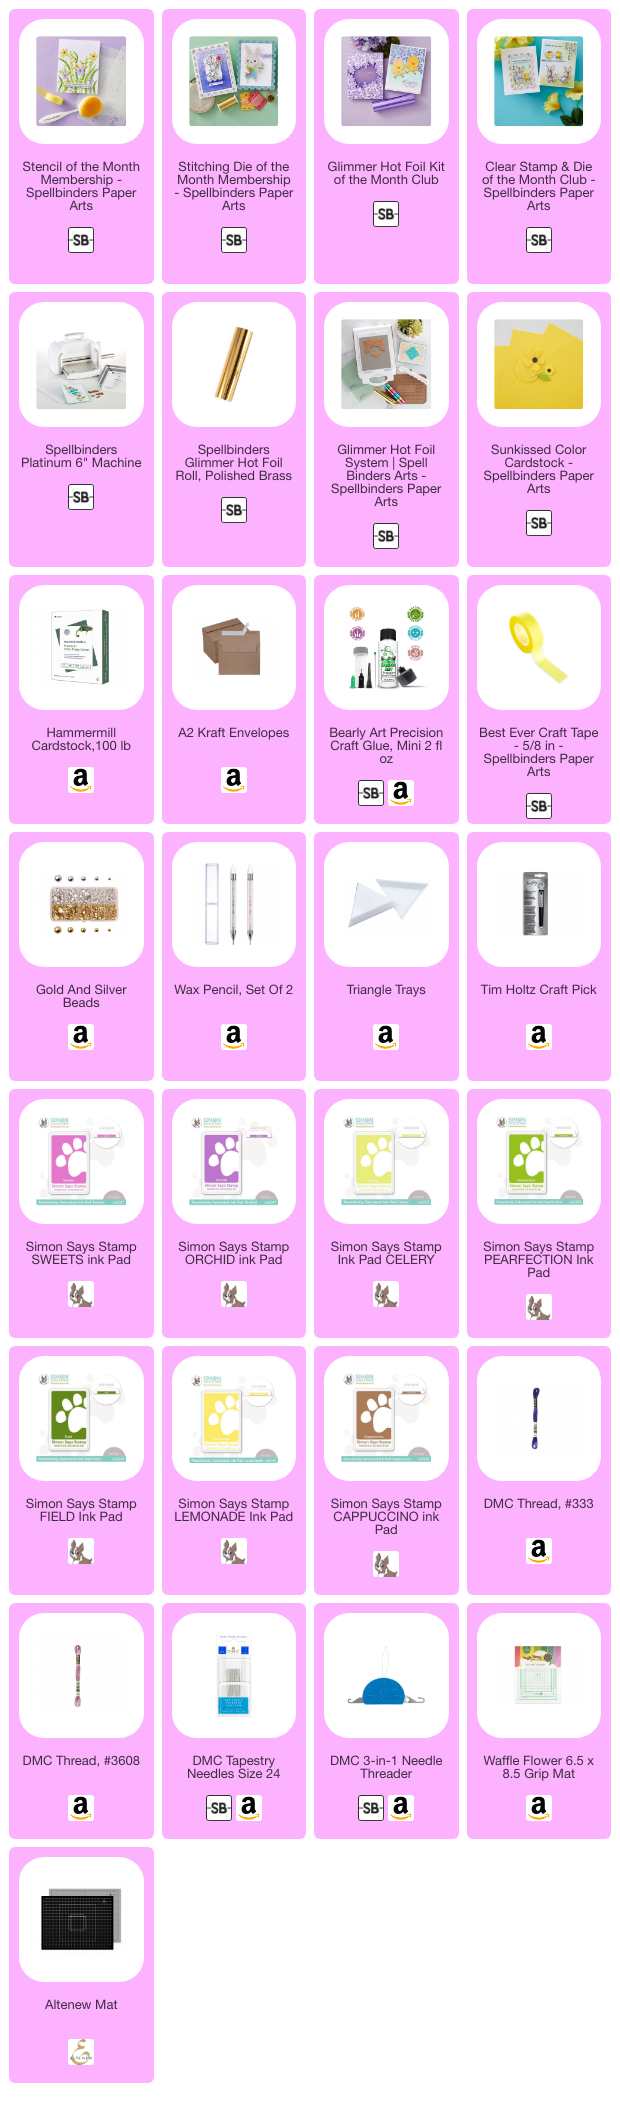
SUPPLIES
I have listed below all of the products that I used to make today’s note cards. Compensated affiliate links may be used at no cost to you, and I only use and recommend products that I love! As always, thank you for your support!
-
-
1 year
Tagged Easter Note Cards, Spellbinders February 2025 Clubs, Spellbinders February 2025 Large Die Club