Halloween Note Cards
Hello crafters! Today I have some fun card design ideas to share with you, featuring some amazing sets from Spellbinders Happy Haunting collection. I did many different techniques which was a lot of fun and I hope this post inspires you to get your halloween production going!
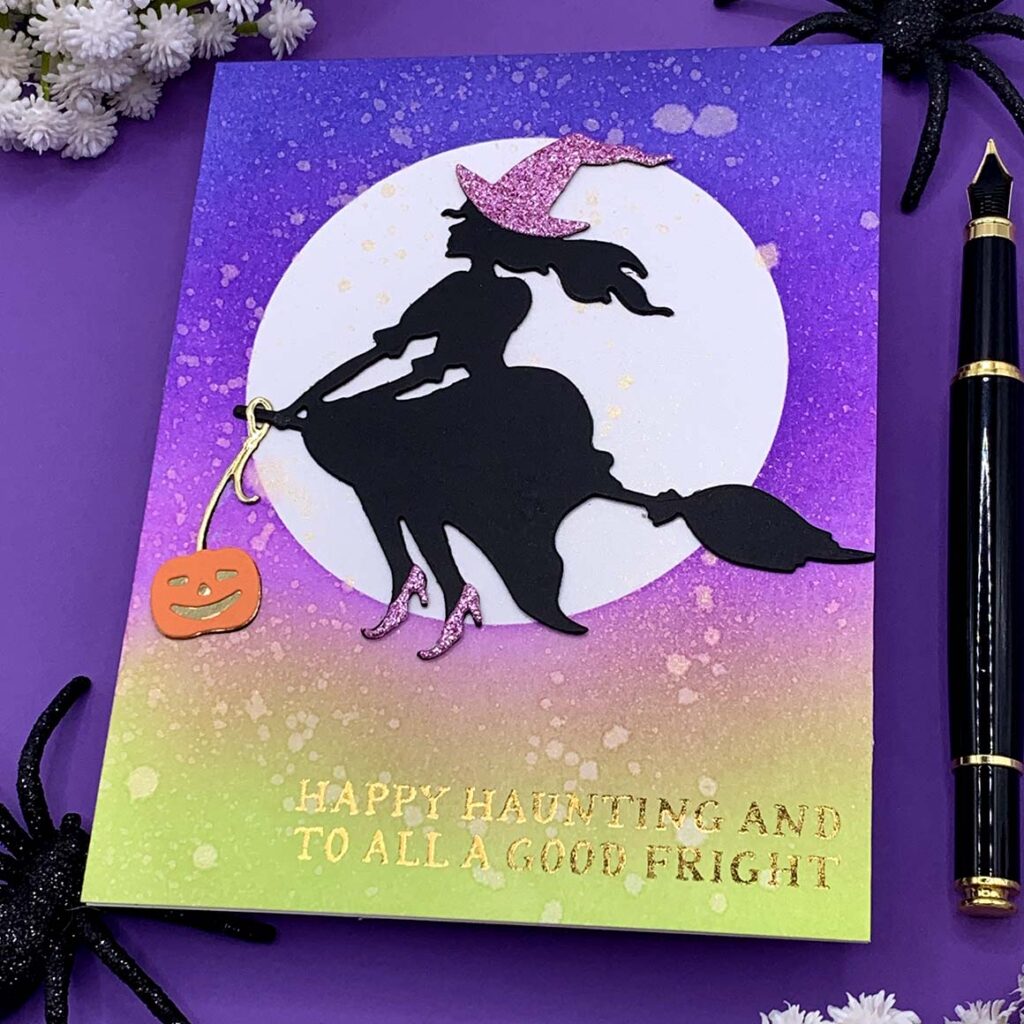
Happy Haunting And To All A Good Fright
- Using a large round die plate cut out a solid shaped circle. Temporarily adhere it to the center of a 4 1/4” x 5 ½” white panel using low tack tape.
- Ink blend the white panel with Simon Says Stamp ink pads in the colors Limelicious, Amethyst and Iris. After ink blending, remove the large die cut circle to reveal the white full moon and apply golden shimmer spray all over the panel. Then adhere it to an A2 size note card.
- Hot foil the sentiment with golden foil and a plate included in the Spellbinders “Skully” press plate set.
- Die cut the witch with metal plates included in the Spellbinders “Witchin’ Heels“ die set, and andhere it to the front panel.
- Create a wax seal for the envelope with Spellbinders “Boo!” 3D wax seal.
Tip:
- Tip: stack about 3 witch die cuts to make it dimensional.
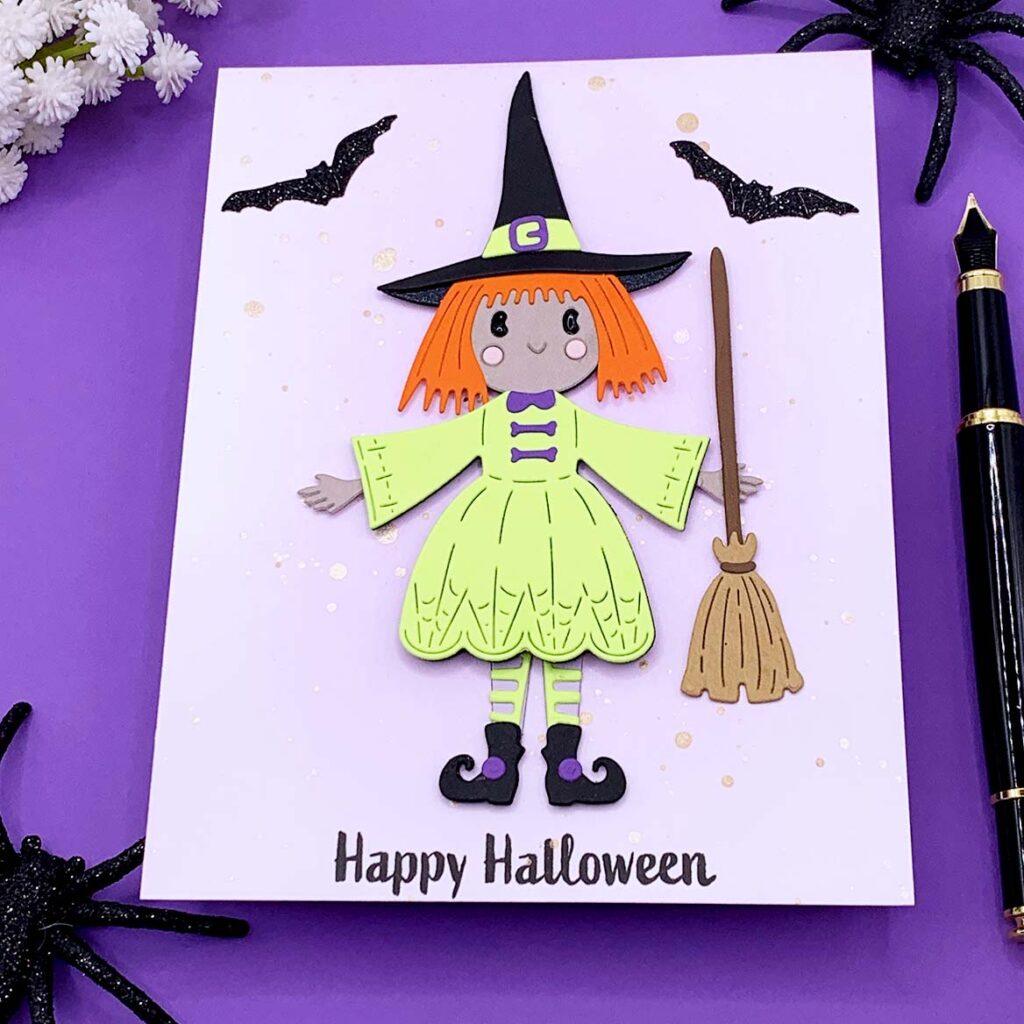
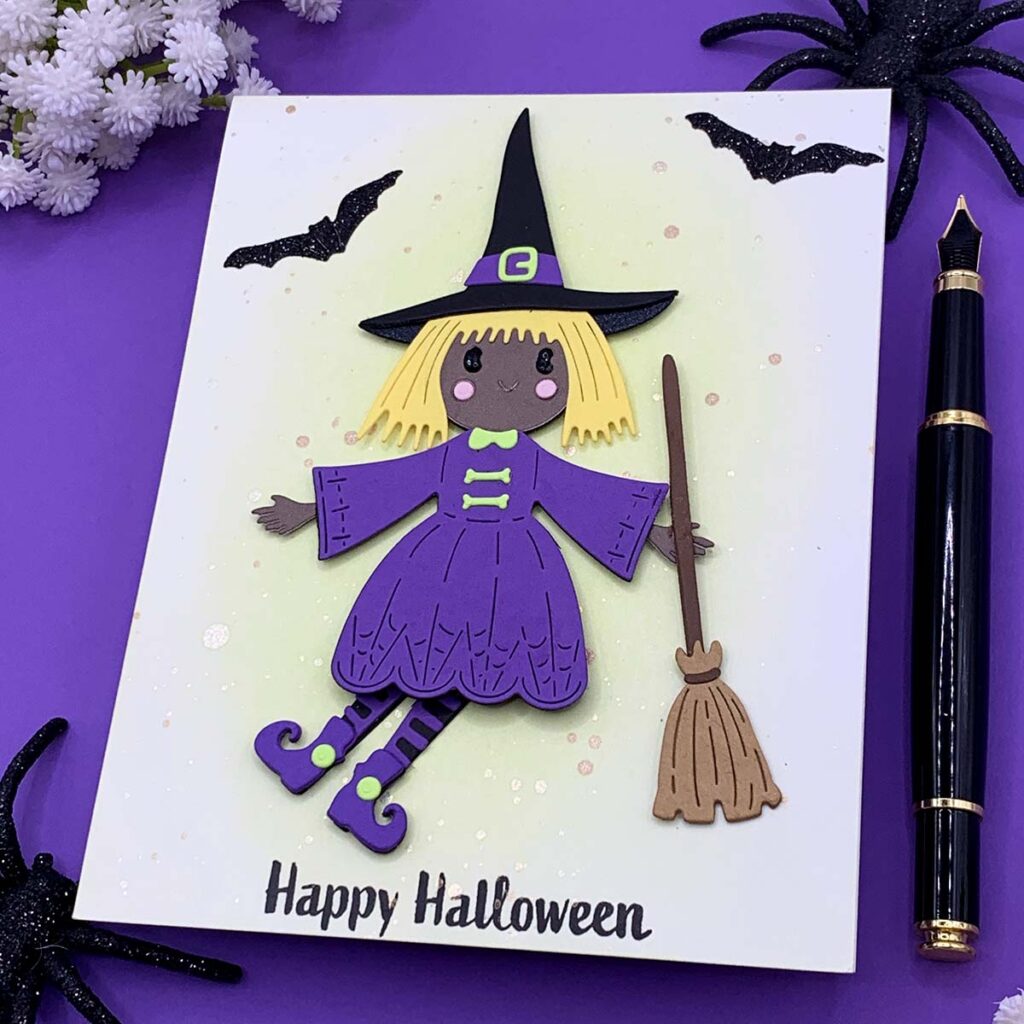
Happy Halloween
- Lightly ink blend the front of an A2 size top folding note card with any color you like! I used Simon Says Stamp ink pads in the colors Limelicious for one note card and Amethyst for the other.
- Add golden splatters to the front panel with a small paint brush and Kuretake Gansai Tambi Starry watercolor set.
- Stamp the sentiment at the bottom with a stamp from Spellbinders “Boo Dance Party” stamp set.
- Die cut the witch with metal plates included in the Spellbinders “Fiona The Dancin’ Witch” die set.
- If you want the lower body of the die cut witch to have movement use foam adhesive. Add a small piece of round foam adhesive inside the die cut circle , above the die cut legs, and a few more pieces in the back of the upper body, making sure the circle is further from the die cut legs.
- Add a couple of die cut bats to the front panel. Cut it out do black glimmer cardstock for some sparkle.
- Create an A2 size pocket shape envelope with metal plates included in the Stampendous “A2 Gift Card Holder and Envelope” die set.
Hey There Pumpkin
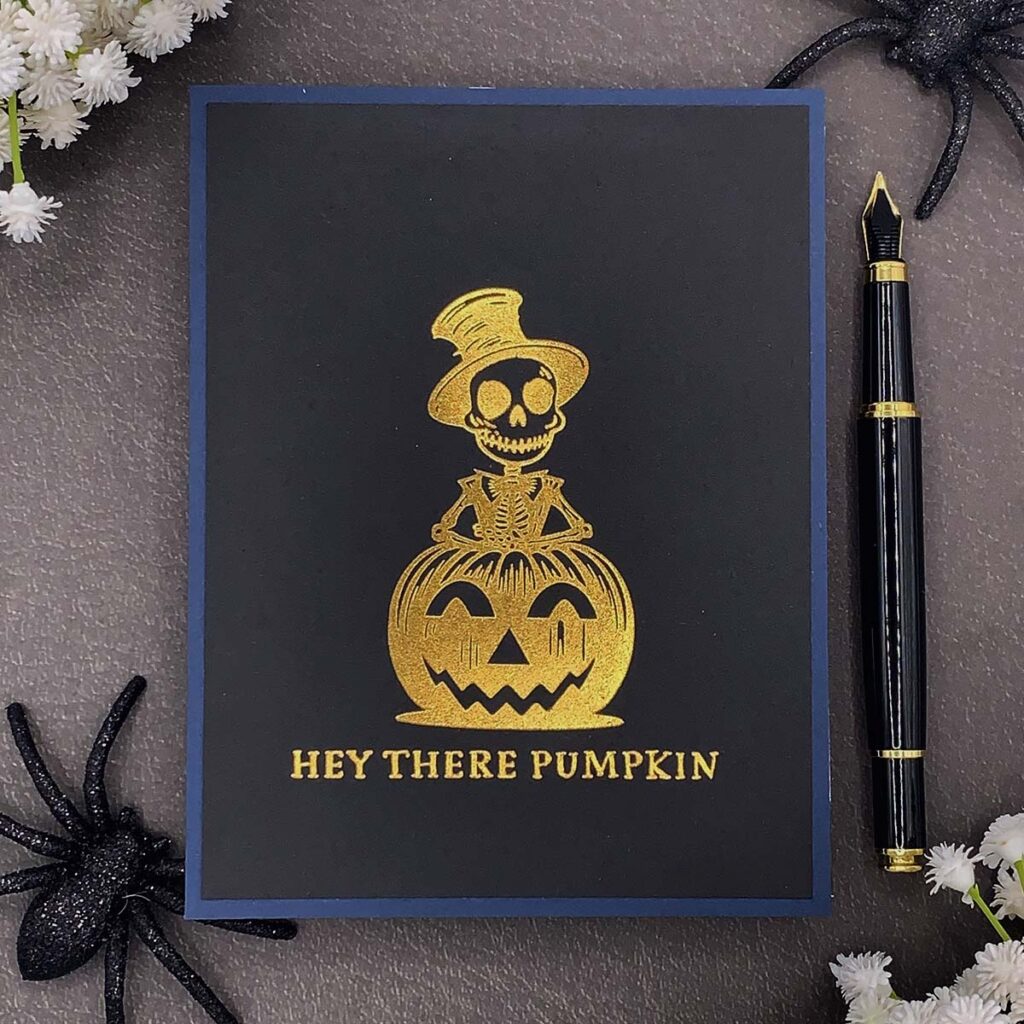
- Hot foil the image and the sentiment onto a 4” x 5/14” piece of black cardstock. Use golden foil and metal plates included in the Spellbinders “Skully” press plate set.
- Adhere the foiled panel to a black panel that measures 4 ¼” x 5 ½”. Then, adhere it to the front of an A2 size note card.
- Hot foil a golden sentiment to the flap of a black envelope! Use another sentiment press plate included in the Spellbinders “Skully” press plate set.
Tips:
- Tip 01: Use low tack tape to keep the press plate and foil in place as you do the hot foiling technique!
- Tip 02: Use a sand eraser to remove any overfoiling.
I hope you felt inspired and some of this information was helpful to you! If you create something inspired by this post, make sure to tag me on instagram! Thank you for visiting and happy crafting!
SUPPLIES
I have listed below all of the products that I used to make today’s note cards. Compensated affiliate links may be used at no cost to you, and I only use and recommend products that I love! As always, thank you for your support!

-
-
2 years
Tagged Spellbinders September 2024 Club Kits