Fun Slider Note Cards!


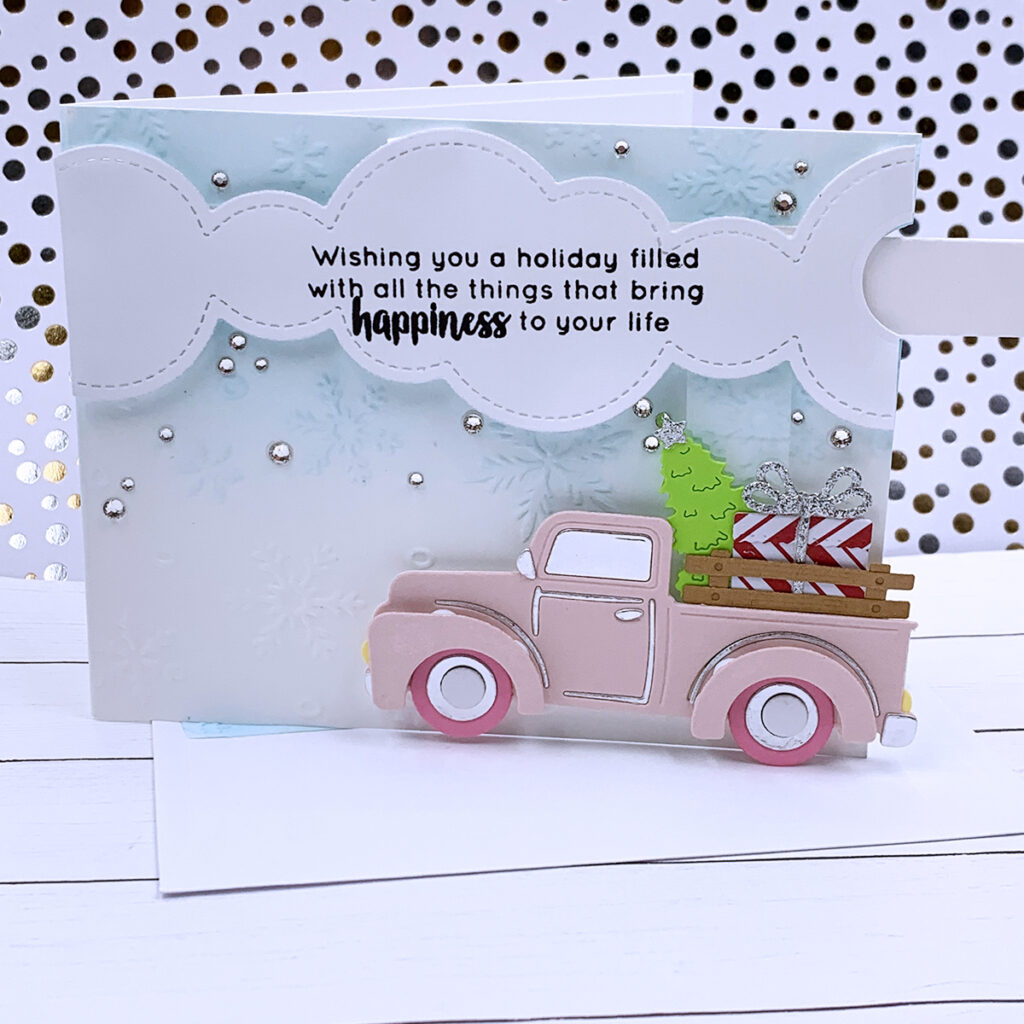
Hi there! In today’s post I’m sharing some Christmas card design ideas featuring a fun interactive element! Since Chrismtas is my favorite holiday, and it goes by so fast, I’ve decided to create Christmas note cards all year round now! These cards are A2 size and they have a tab that we can pull to make the truck slide back and forth!

To die cut the elements for these note cards I used the Spellbinders “Holiday Haul” die set. And, To create the fun slider mechanism, I used the Mama Elephant “Slider Glider” die set. It was very easy to create the slider mechanism, and you can click here for more information!
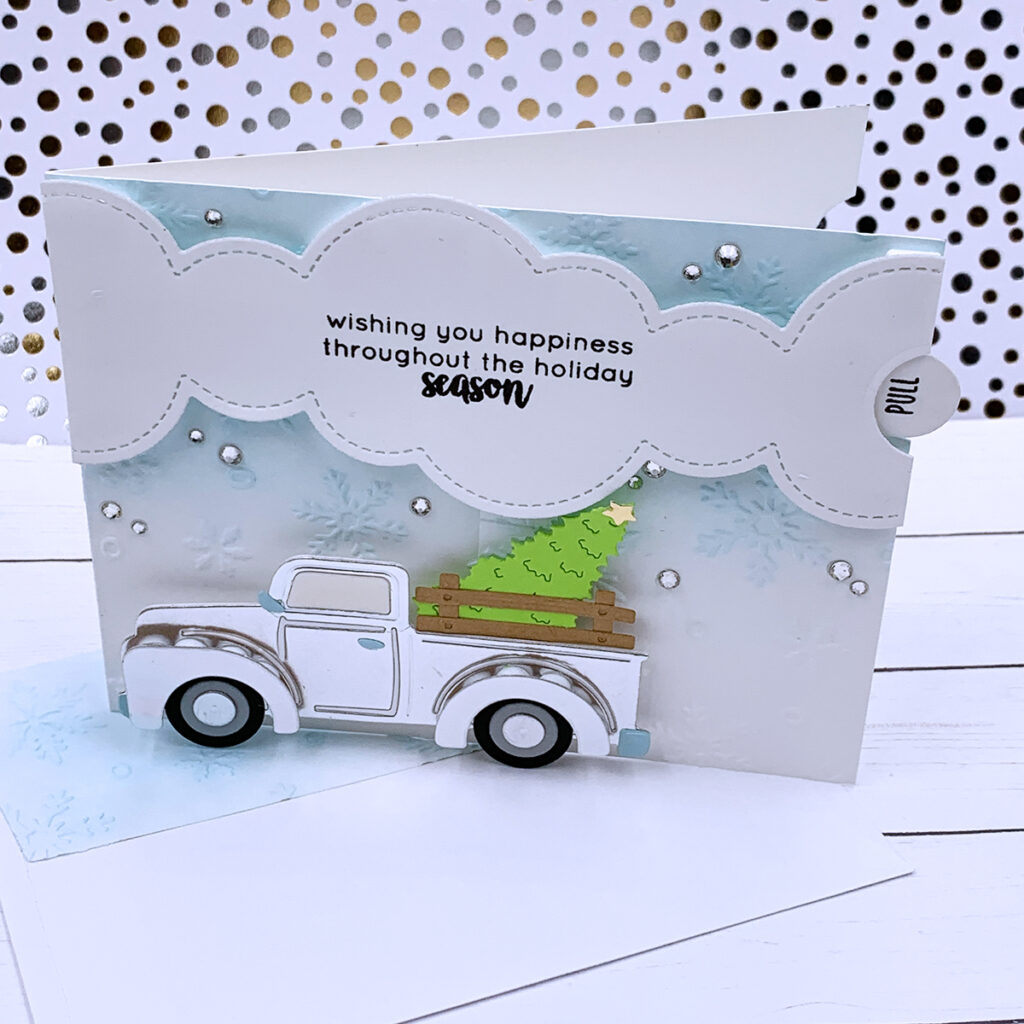
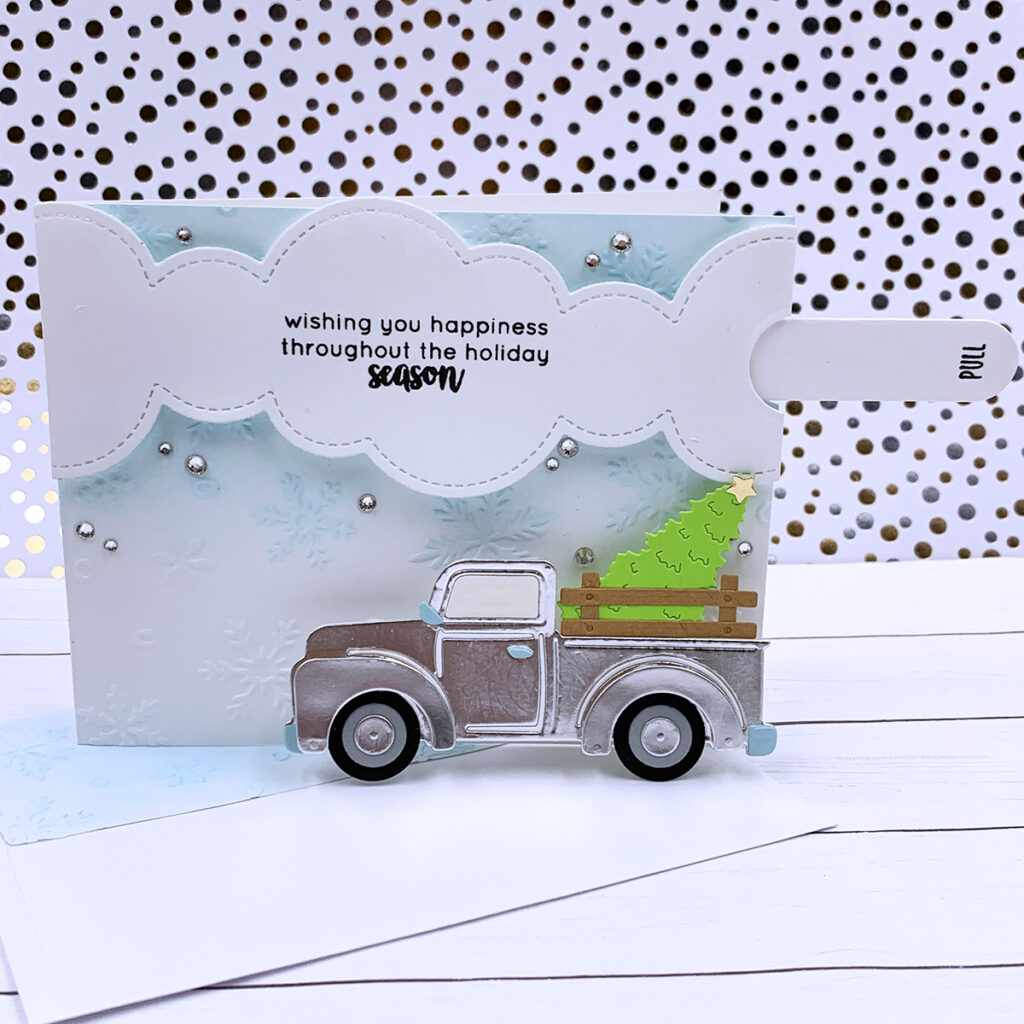
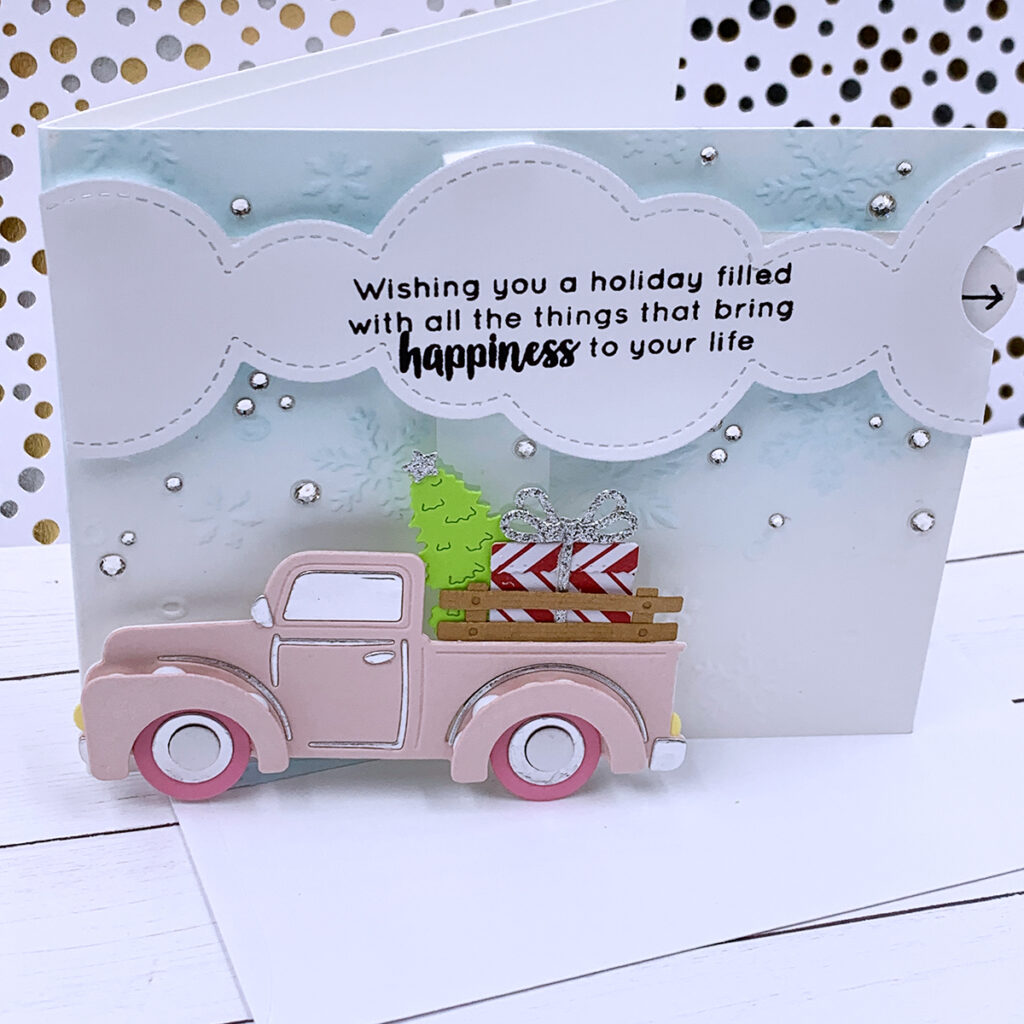
To add some interest to the white background, I used the Darice “Snowflake” embossing folder. After I assembled the die cut truck, I used a piece of acetate to attach the truck to the slider mechanism that I had already glued horizontally to the front of my note card. Then, I die cut a large cloud by using the Lawn Fawn “Puffy Clouds” borders. I used this large cloud to hide the slider mechanism, and as a place to stamp a sentiment.
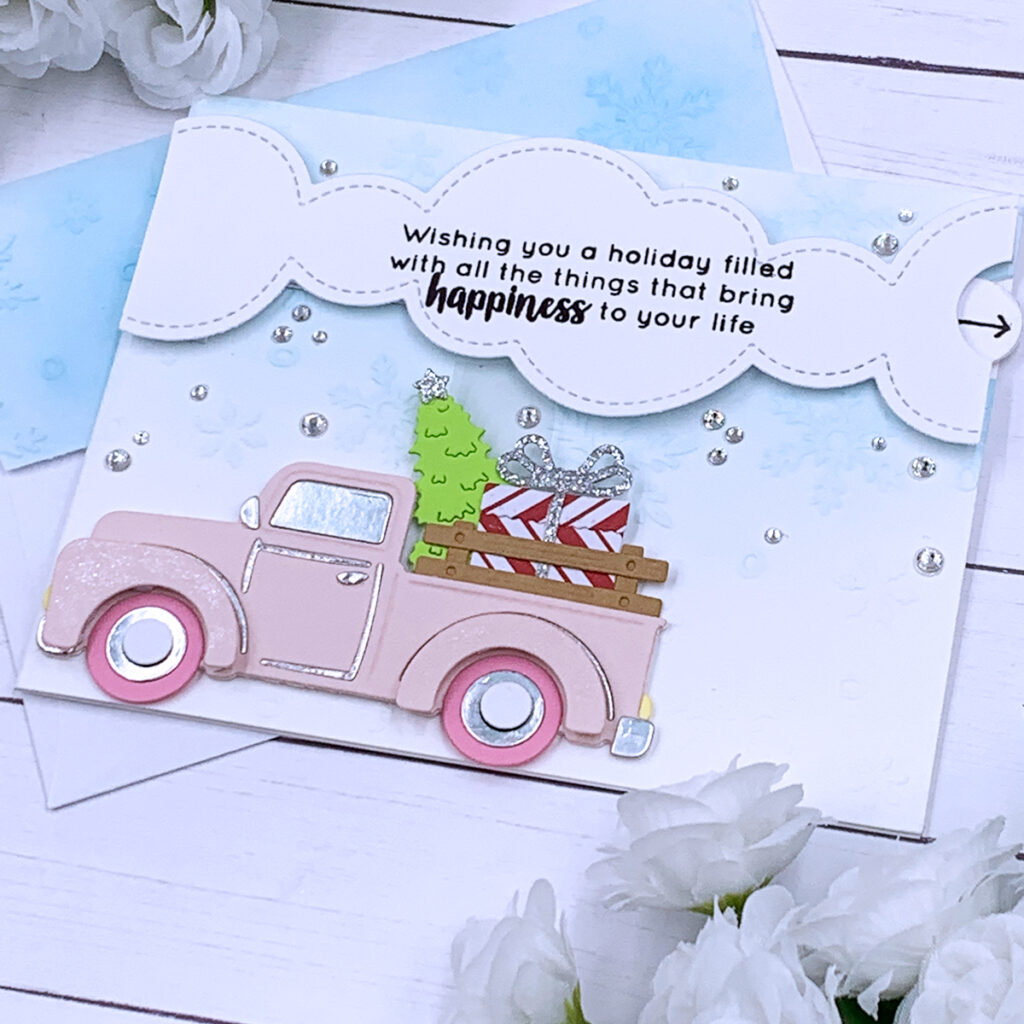
In order to keep this die cut cloud from interfering with the mechanism, I used a few pieces of foam tape adhesive to adhere it to my note card. I only glued the cloud to the note card after I stamped the sentiment, to make the process easier! As a final touch, I added some flat back rhinestones to the front panel, and I dry embossed the e flap of the envelope, by using that same embossing folder, to make everything match! At the end of this post there is a list of all supplies used to make these cards! Thank you for stopping by today and happy crafting!
SUPPLIES
I have listed below all of the products that I used to make today’s note cards (if they are still available). Compensated affiliate links may be used at no cost to you. All products were personally purchased, and I only recommend products that I love! As always, thank you for your support!


-
-
9 months
Tagged letterpress technique, Spellbinders Home For The Holidays Collection