Envelope Of Wonder
Christmas
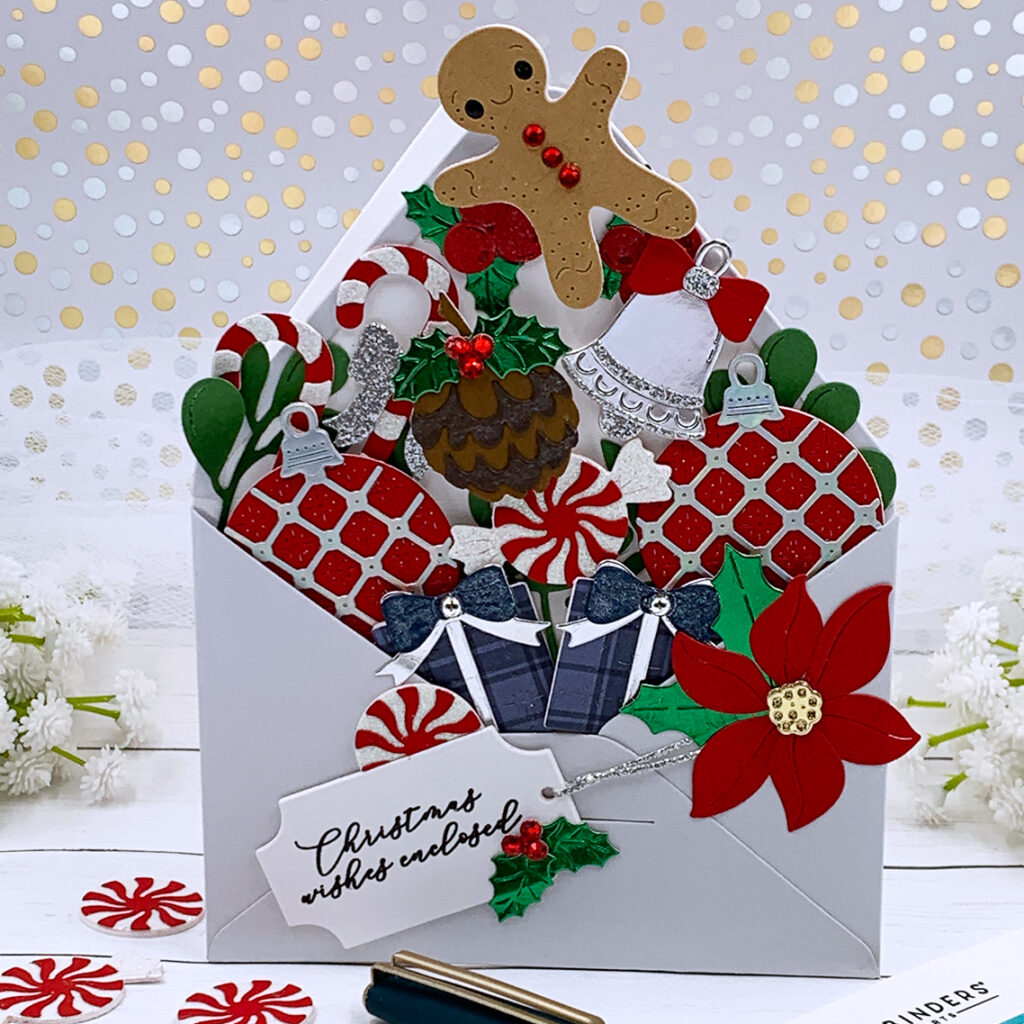
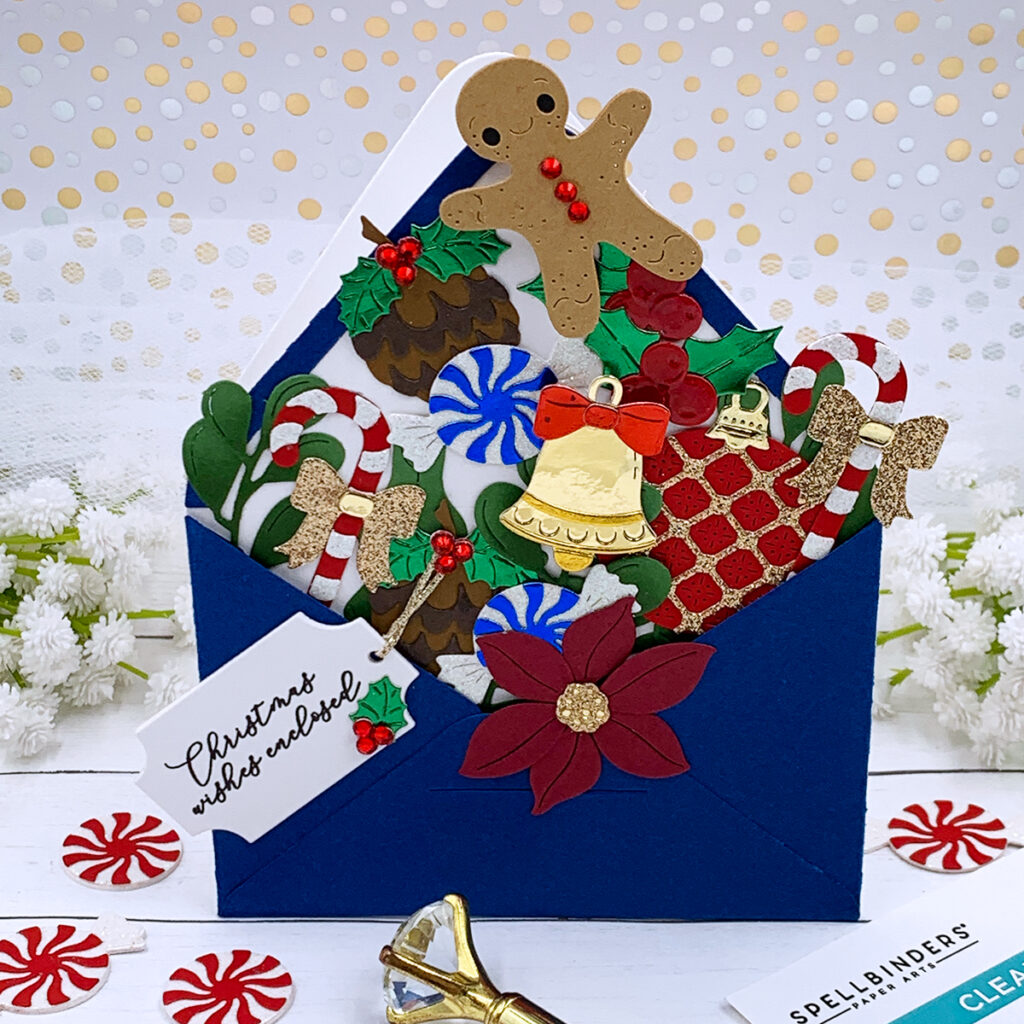
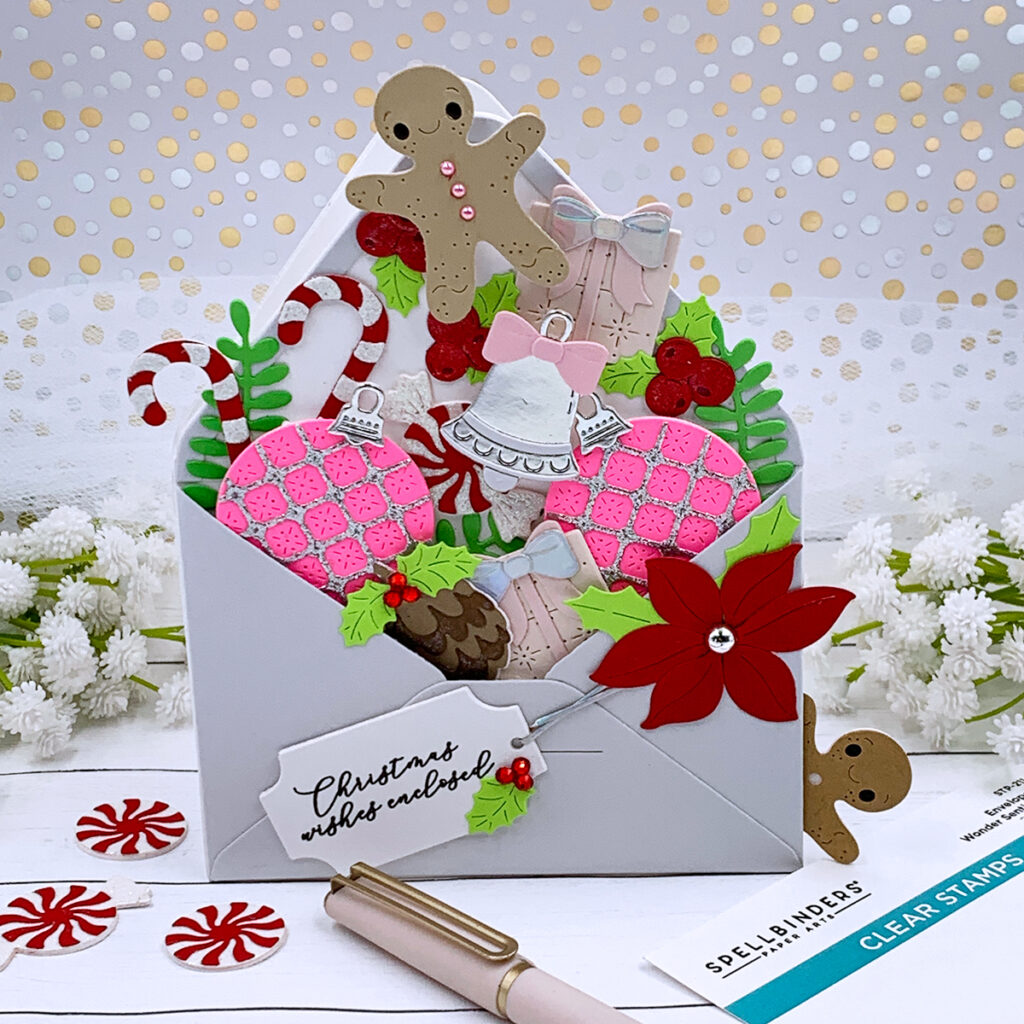
Hello crafters! Today’s note cards are again featuring some die sets from the Spellbinders “Envelope of Wonder” collection, a new favorite of mine! This collection is simply amazing and it has many different sets so we can create note cards for many occasions!
Today we will be creating Christmas envelope shaped note cards! In my last post I shared Halloween card design ideas using die sets from this collection, which was a lot of fun creating, so make sure to check that out if you missed it!
Just like last week’s note cards, to create the envelope shaped card base, I used the envelope shaped metal plate and die cut it out of a 5” x 7” card base, offsetting the metal plate just a little on the crease side to cut out two connected pieces that I could use as a card base.
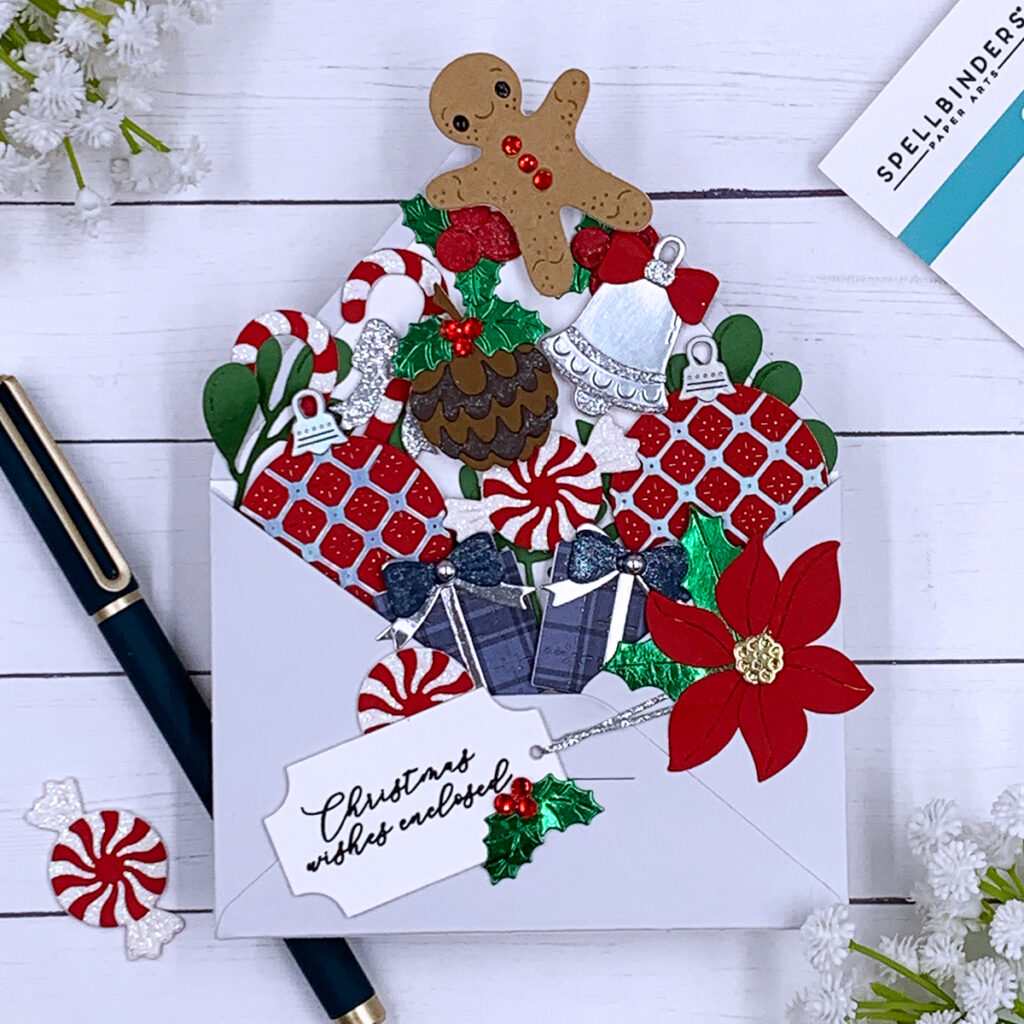
To make the process more enjoyable, I die cut and assembled all of my Christmas mementos so I could spend more time having fun stuffing my envelopes with gingerbread, ornaments, candy canes, berries, bells, presents and much more!
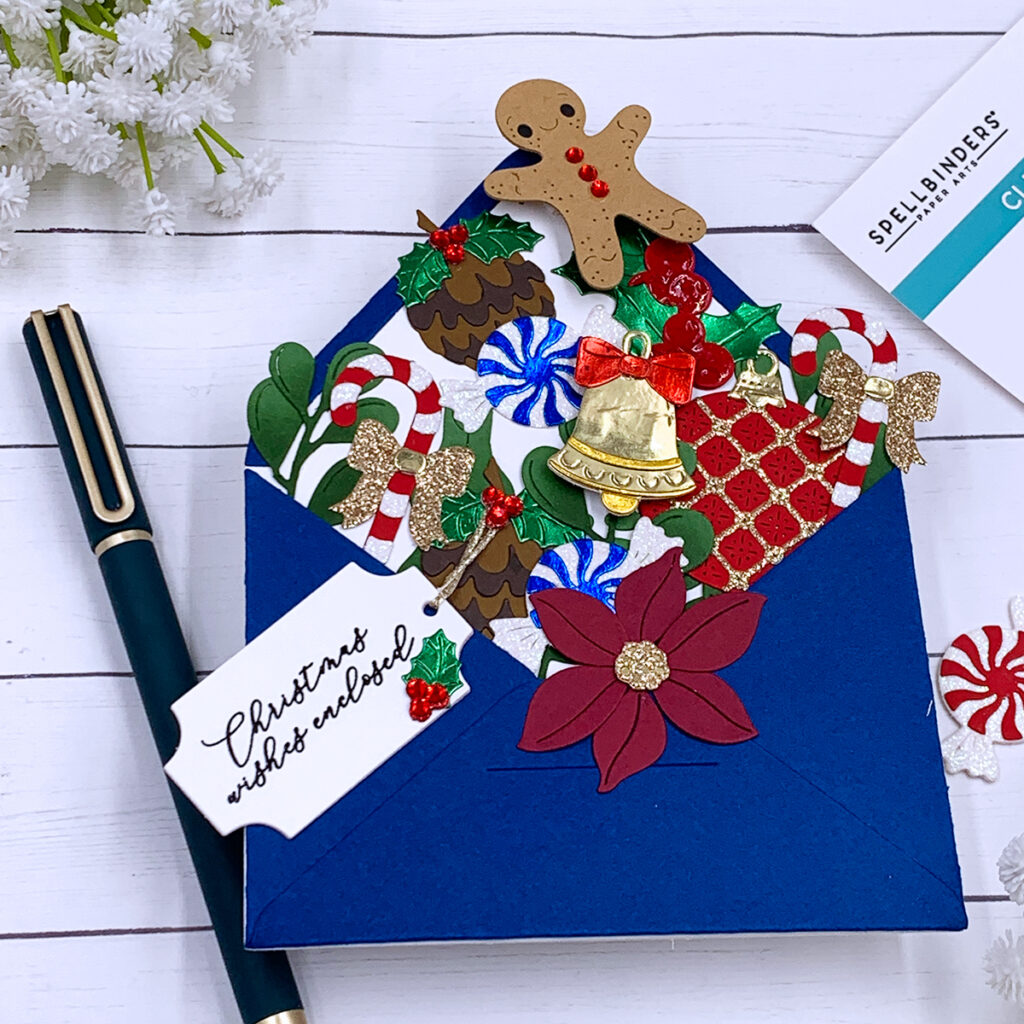
To create the blue envelope, I used Spellbinders “Cosmic Sky” cardstock which is a very beautiful rich blue color! Using the pop up metal plate included in the “Envelope Of Wonder” die set I created a pop up mechanism, and adhered it in the back of the golden bell and the gingerbread so it has some dimension! To cut out the other pieces, I used cardstock scraps. Die sets like these, with small plates are great for using up your cardstock scraps so nothing goes to waste! To make the large berries glossy I applied Ranger Glossy Accents and I glued red flat back rhinestones to make the smaller berries and the gingerbread buttons! For the sentiment I used the tag plate included in the “Envelope of Wonder” die set and a stamp sentiment included in the “Envelope Of Wonder Sentiments” clear stamp set!
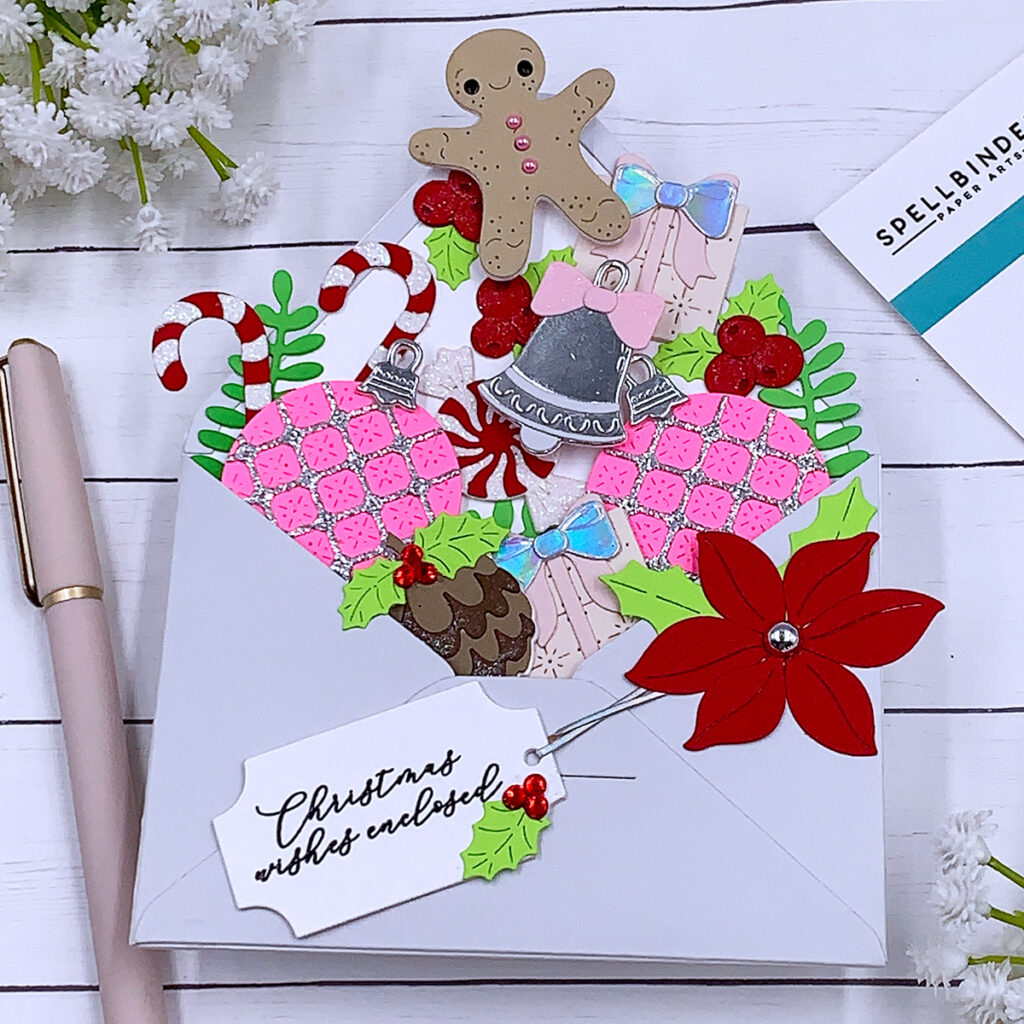
Moving on, for this second and third card, I stacked 3 to 4 die cuts in the back of each element so they all have some dimension! I think it made all the difference! I absolutely love this pink and red color combination for Christmas note cards, especially when you add in a few accents using holographic and silver cardstock! This bright pink cardstock that I used to cut out the two ornaments is from the Creative Collection, starter pack by Neenah.
I also added a pop up mechanism in the back of the silver bell and the ginger bread. This pop up mechanism will add some dimension to these die cuts but at the same time you will be able to easily flatten these pieces to place it inside an envelope! To make it extra special, I added pink flat back beads to the gingerbread, red rhinestones to the smaller berries and a large silver flat back bead to the center of the red poinsettia!
Last but not least, here we have the second gray envelope that I created using the Spellbinders “Fog” cardstock. This one has the traditional Christmas colors and just like the pick one, all of the elements here also have dimension because I stacked a few die cuts in the back. To adhere my die cut pieces I used either strong liquid adhesive or foam squares, and to make my gingerbread eyes glossy I used Nuvo Nuvo Drops in the color Ebony. To make the gingerbread and the acorn stand out, I added the pop up mechanism in the back. Alos, on all of today’s note cards I add a little bit of shimmer to some of these die cuts by going over them with a shimmer pen.
At the end of this post there is a list of all supplies used to make these cards. I appreciate you visiting my blog today and I hope you felt inspired! I hope you have an amazing day and happy crafting!
SUPPLIES
I have listed below all of the products that I used to make today’s note cards (if they are still available). Compensated affiliate links may be used at no cost to you, and I only use and recommend products that I love! As always, thank you for your support!


-
-
9 months
Tagged letterpress technique, Spellbinders Home For The Holidays Collection