Creating With Spellbinders November 2024 Clubs!
Hello crafters! With this post I want to share with you a few card designs featuring some of Spellbinders November 2024 clubs! Spellbinders clubs never disappoint and this month’s kits are absolutely adorable!
Welcome Little One Note Card
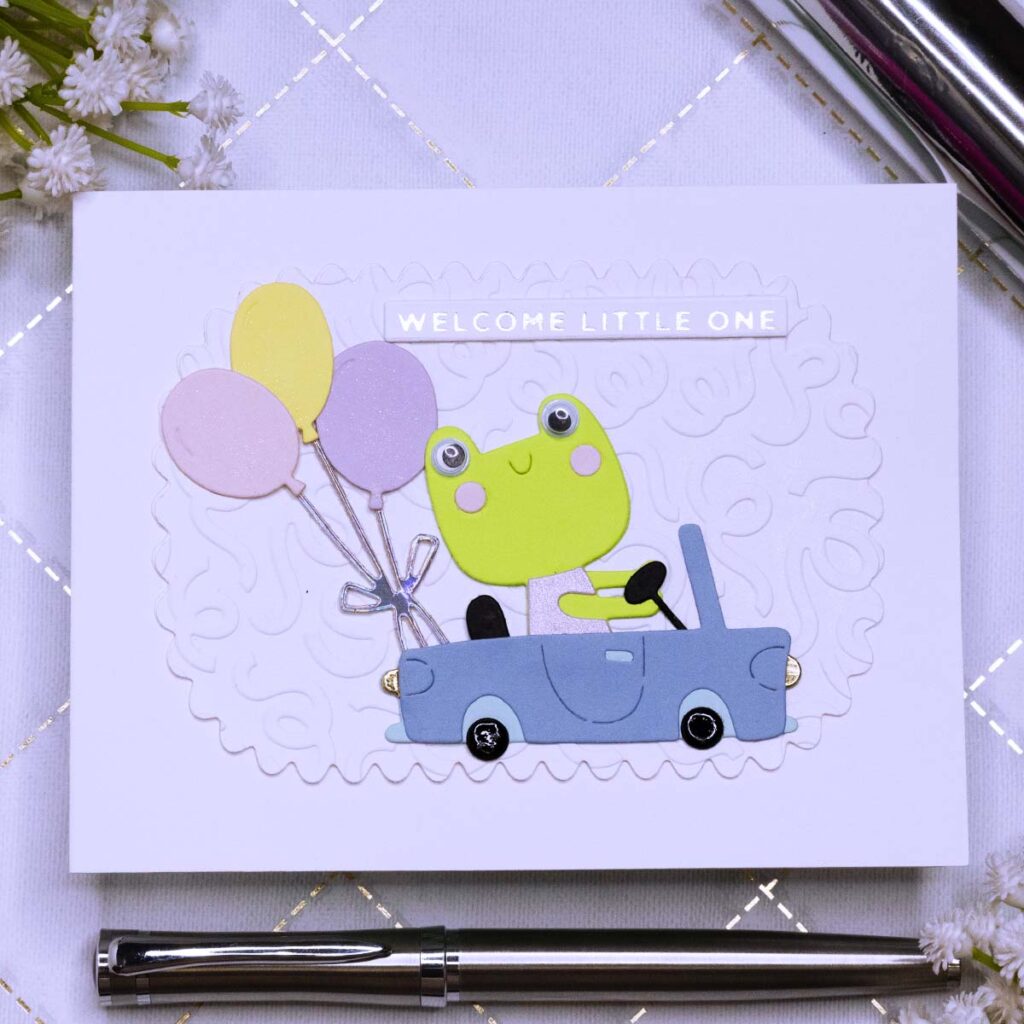
- Die cut the frog and car pieces using metal plates included in the Spellbinders “Hooray! It’s Your Birthday” die set.
- Die cut the balloons using meal plates included in the Spellbinders “Birthday Bliss” die set.
- Die cut a large scalloped panel using a metal plate included in the Spellbinders “Hooray! It’s Your Birthday” die set.
- Dry emboss the panel with Spellbinders “Cascading Streamers” embossing folder.
- Hot foil the sentiment “Welcome Little One” with a piece of silver foil and a hot foil plate included in the Spellbinders “Mini Everyday Sentiments” hot foil plates set.
- Adhere all pieces with the Bearly Art Glue.
- Create a matching envelope with metal plates included in the Stampendous “A2 Gift Card Holder And Envelope” die set.
- Add googly eyes to make the froggy extra adorable!
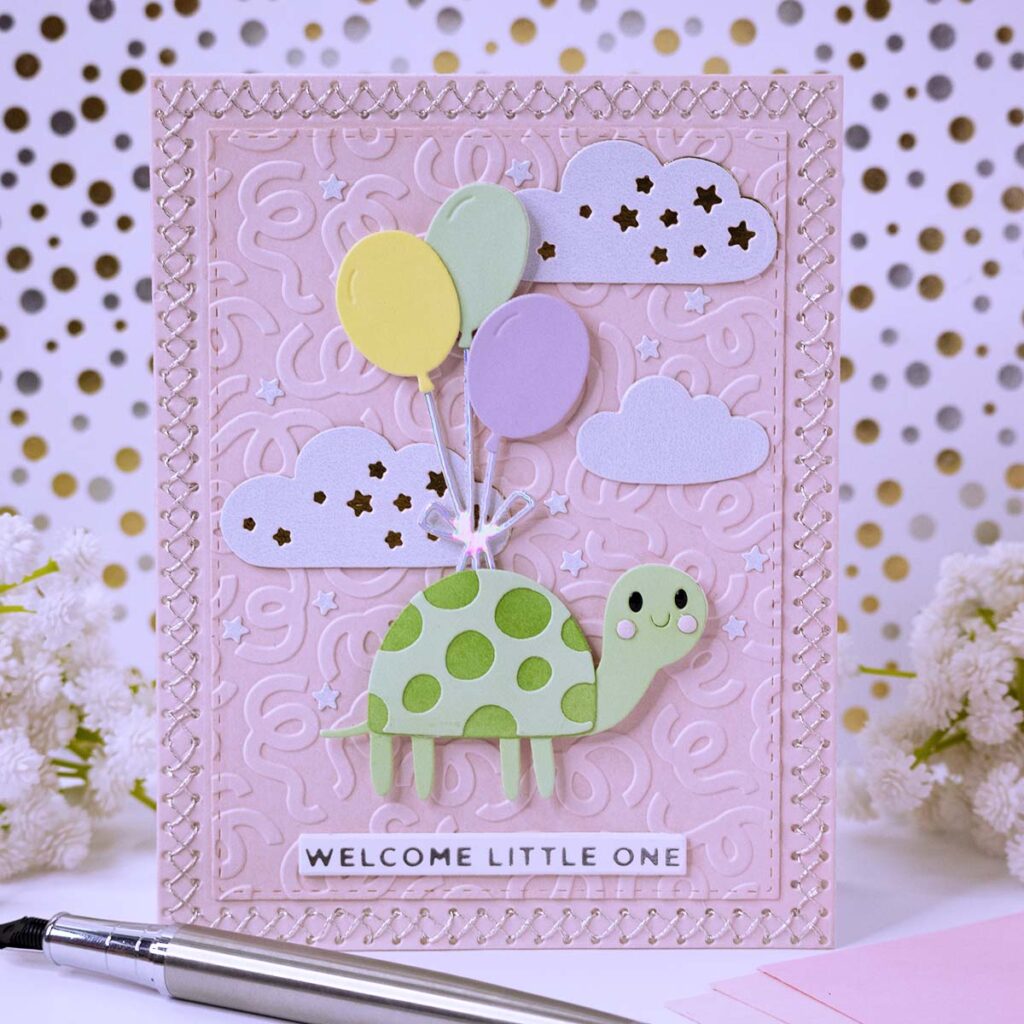
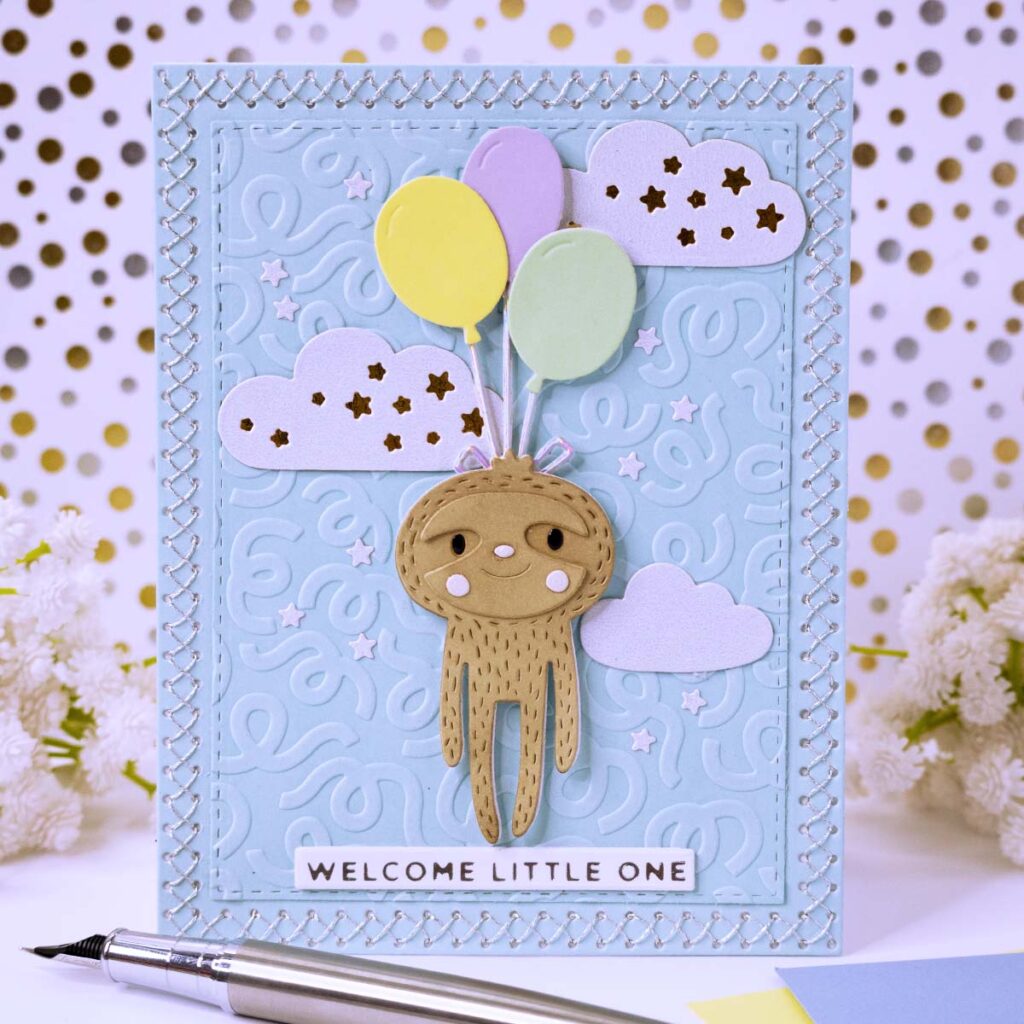
Stitched Welcome Little One Note Cards


- Die cut the clouds, turtle, sloth, balloons and stars using metal plates included in the Spellbinders “Birthday Bliss” die set.
- Die cut the front panel with metal plates included in the Spellbinders “Cross Stitch Nested Card” die set.
- Use DMC metallic floss to stitch the border piece for the front panel.
- Dry emboss the center piece for the front panel using the Spellbinders “Cascading Streamers” embossing folder. Spray the cardstock with a golden shimmer for some sparkle, before dry embossing it!
- Hot foil the sentiment “Welcome Little One” with a piece of silver foil and a hot foil plate included in the Spellbinders “Mini Everyday Sentiments” set.
- Adhere the stitched panel to the front of an A2 size note card. Use strong liquid adhesive. For some extra dimension use foam squares to adhere the turtle/sloth to the note card.
- Create a matching envelope with metal plates included in the Stampendous “A2 Gift Card Holder And Envelope” die set and shimmer cardstock.
- Use googly eyes to make the turtle/sloth extra adorable!
- Add some shimmer to the balloons with a shimmer pen!
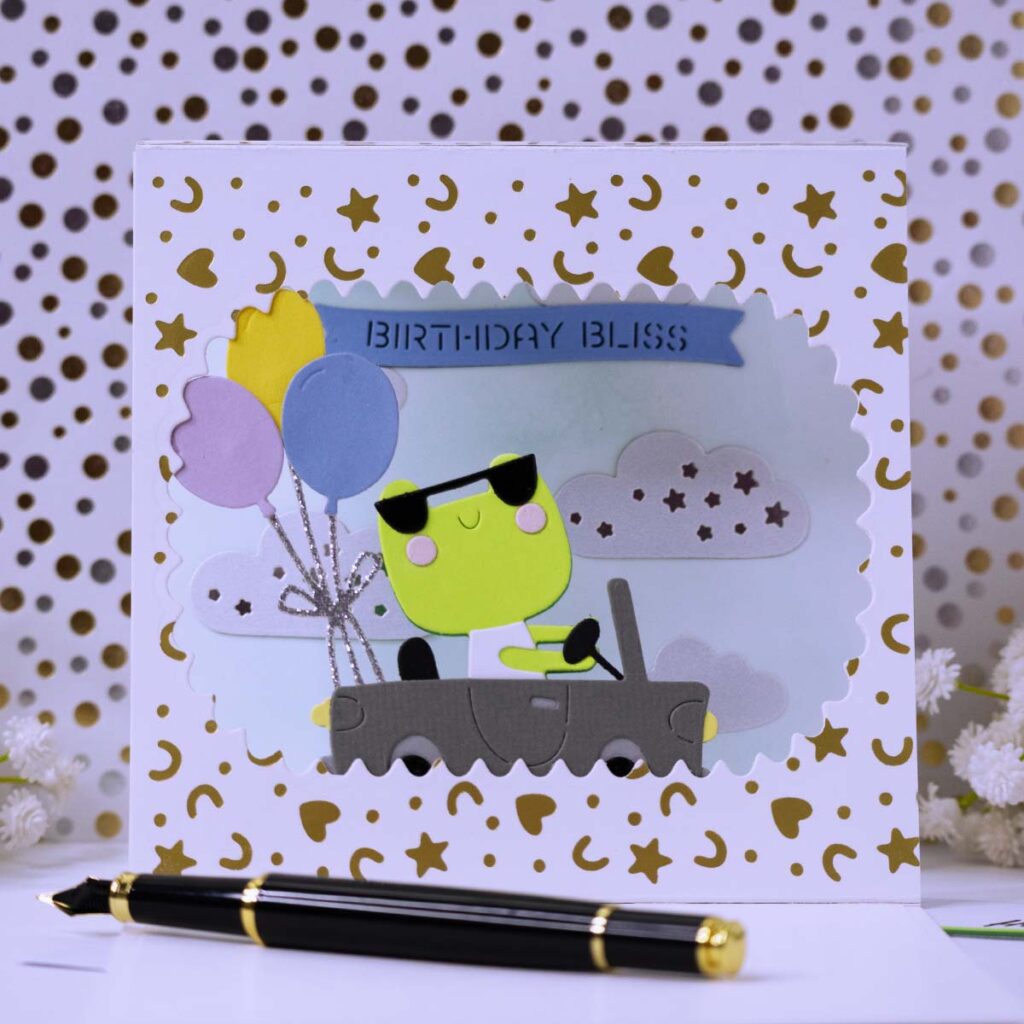
Froggy Happy Birthday Note Card
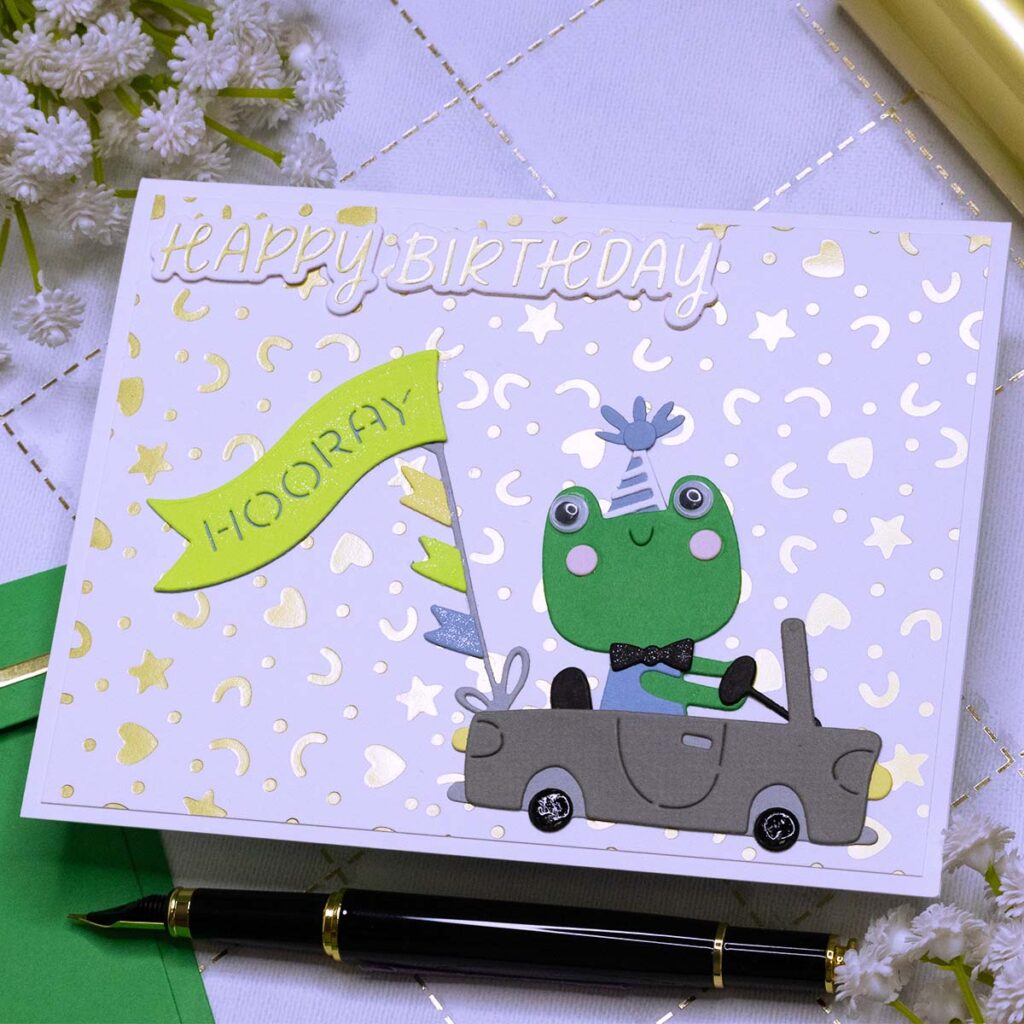
- Hot foil a 4” x 5 ¼” white panel with a piece of matte gold foil and a hot foil plate included in the Spellbinders “Confetti Burst” set. Adhere the foiled panel to the front of an A2 size note card.
- Hot foil and die cut the sentiment “Happy Birthday” using plates included in the Spellbinders “Confetti Burst” set.
- Die cut the frog and car pieces with metal plates included in the Spellbinders “Hooray! It’s Your Birthday” die set.
- Add shine to the car’s wheels with Ranger Glossy Accents.
- Adhere all pieces with the Bearly Art Glue.
- Create a matching envelope with metal plates included in the Stampendous “A2 Gift Card Holder And Envelope” die set.
- Add googly eyes to make the froggy extra adorable!
Alligator Happy Birthday Note Card
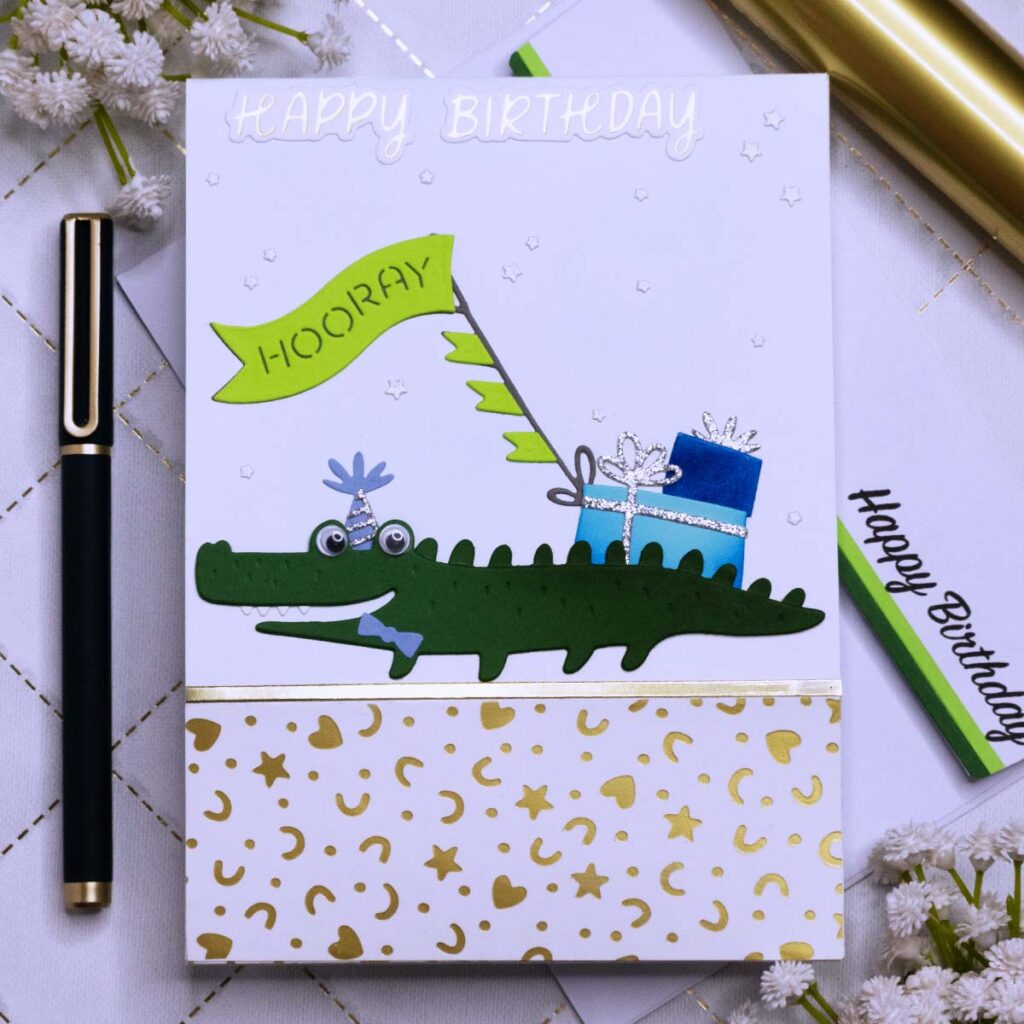

- Die cut the alligator, frog and car pieces using metal plates included in the Spellbinders “Hooray! It’s Your Birthday” die set.
- Die cut the clouds and balloons with metal plates included in the Spellbinders “Birthday Bliss” die set.
- Create a Display Frame card base:
Step 01- Score a 5” x 9” piece of cardstock at 2” from both ends.
Steo 02 – Score a 6” x 5” piece of cardstock at ½” from both ends.
Step 03 – Die cut a window from the 6” x 5” panel.
Step 04 – Glue both pieces together to create a shadow box. If planning on hot foiling or stenciling these pieces make sure to do so before gluing them together! I hot foiled some sections with a piece of Spellbinders matte gold foil and a plate included in the “Confetti Burst” set.
Step 05 – Adhere the shadow box to a 5” x 7” piece of cardstock.
***Click here to watch a video where a show you how to assemble a Display Frame card base (skip to minute 04:18)
- Decorate the flap of an A7 envelope with cardstock strips and stamp the sentiment “Happy Birthday” using a stamp included in the Stampendous “Birthday Messages” cleat stamp set.
Birthday Cakes Note card
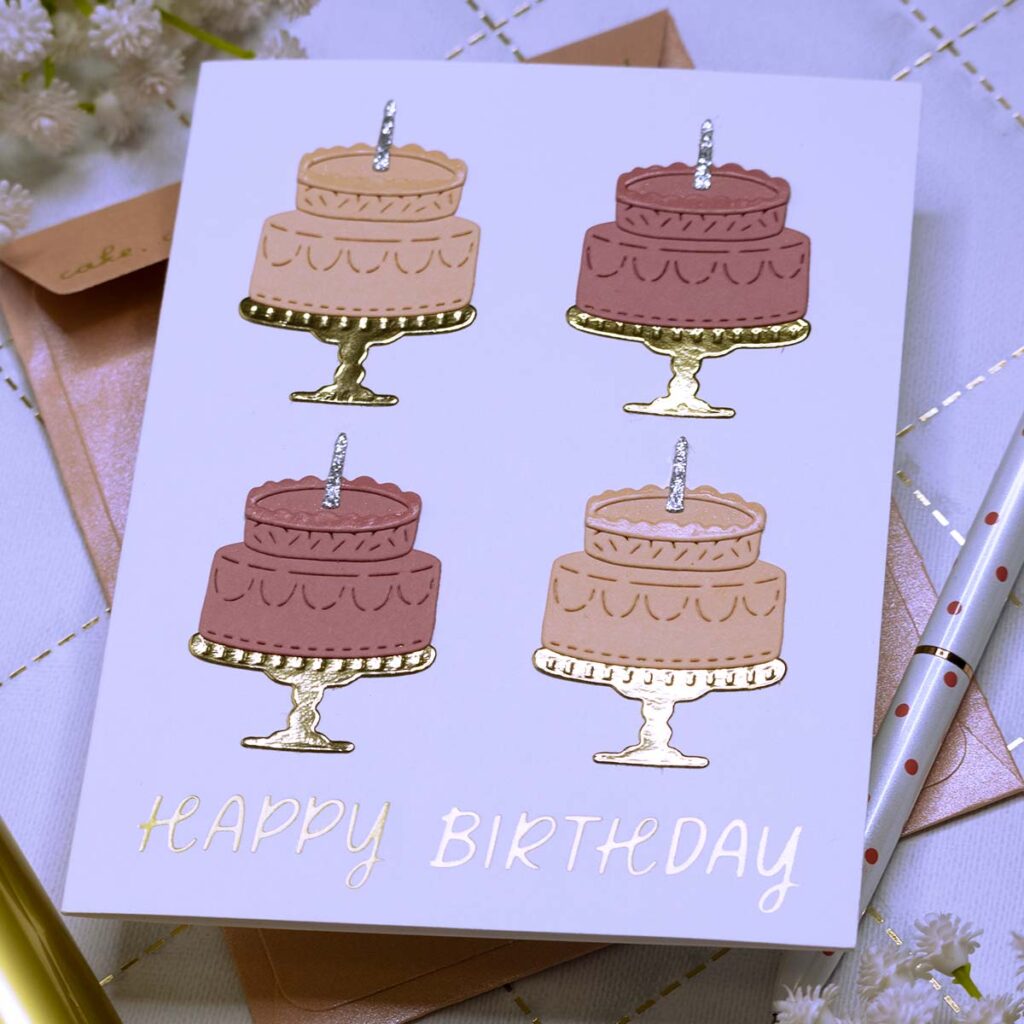
- Die cut the cake pieces using metal plates included in the Spellbinders “Party Time Cake” and Spellbinders cardstock in the colors “Peach Sorbet” and “Velvet Rose”.
- Add gloss to sections of each die cut cake with a clear gloss pen.
- Hot foil the sentiment “Happy Birthday” to the front of a white A2 size note card using a piece of Spellbinders matte gold foil and hot foil plates included in the “Confetti Burst” set.
- Adhere all pieces to the front of the note card using the Bearly Art Glue.
- Create a matching envelope with metal plates included in the Stampendous “A2 Gift Card Holder And Envelope” die set, and a shimmer cardstock.
Tips:
- Tip 01: use a glue eraser to remove excess dry glue.
- Tip 02: use a pair of self lock tweezers to hold the small die cuts as you apply glue in the back
I hope you felt inspired and some of this information was helpful to you! If you create something inspired by this post, make sure to tag me on instagram! Thank you for visiting and happy crafting!
SUPPLIES
I have listed below all of the products that I used to make today’s note cards. Compensated affiliate links may be used at no cost to you, and I only use and recommend products that I love! As always, thank you for your support!


-
-
1 week
Tagged Spellbinders April 2025 clubs