Creating With Spellbinders Clubs Kits
Hello crafters! Today I am sharing a few card ideas featuring Spellbinders September 2024 Small Die, Large Die, Stitching Die, Glimmer Kit and Embossing folder of the month! This month’s clubs are all about Halloween and they are so much fun to create with!
Thanks

- Die cut the sunflower using the Spellbinders September 2024 Stitching Die Of The Month. Use Spellbinders cardstock in the colors Fern, Tuscan and Beeswax.
- Stitch the die cut sunflower with DMC Light Silver metallic floss and DMC floss #3398 for the leaves.
- To create the A2 size card base adhere two ¼” wide vertical cardstock strips to a 5 ½” x ¼” panel. Then, adhere two 1” wide horizontal cardstock trips to the vertical ones. In the back of the cardstock strips adhere a 5 ¼” x 4” panel. I used Spellbinders cardstock in the colors Dune and Latte, and using a blending brush I ink blended over the cardstock strips with Simon Says stamp ink in the color Mocha.
- For some sparkle, I adhered two ⅛” wide glitter cardstock trips on top of the vertical ones.
- Adhere the sunflower to the card base using strong liquid adhesive,
- Die cut the sentiment “Thanks” with a metal plate included in the Spellbinders September 2024 Stitching Die Of The Month.
Tip: For some added dimension use foam adhesive to adhere the different layer of the die cut sunflower!
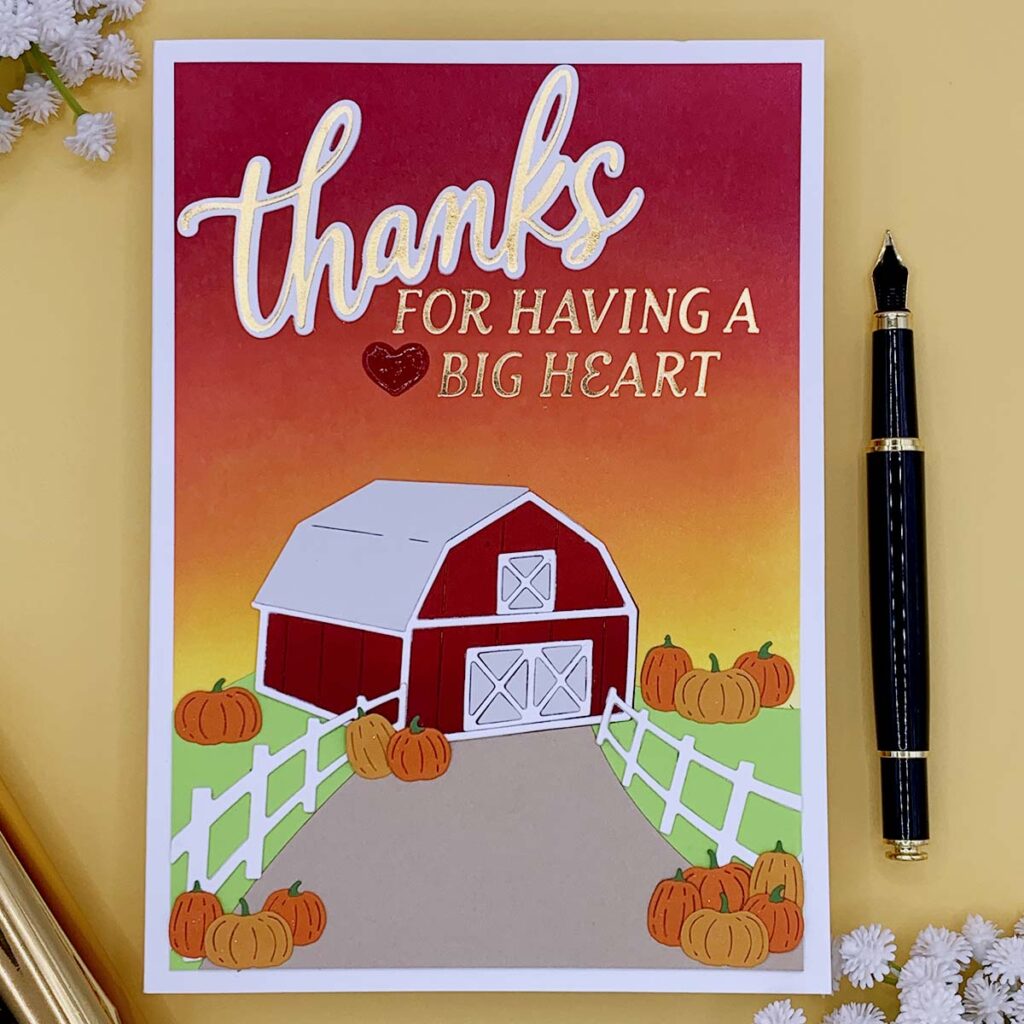
Thanks For Having A Big Heart
- Ink blend a 4 ⅞” x 6 ⅞” white panel with Simon Says Stamp ink pads in the colors Pucker, Cherry and Citrine.
- For the sentiment use hot foil plates included in the Spellbinders September 2024 Glimmer of the month. Hot foil “Thanks” onto a piece of white cardstock using a piece of golden foil. Then, die cut it with the coordinating die plate. Hot foil the rest for the message directly onto the ink blended panel.
- Die cut the farm house, pumpkins, hill and fences using meal plated included in the Spellbinders September 2024 Large Die of The Month.
- Adhere the panel to a 5” x &” card base using strong liquid adhesive.
Tip: For some subtle sparkle go over some of the die cuts with a shimmer pen!
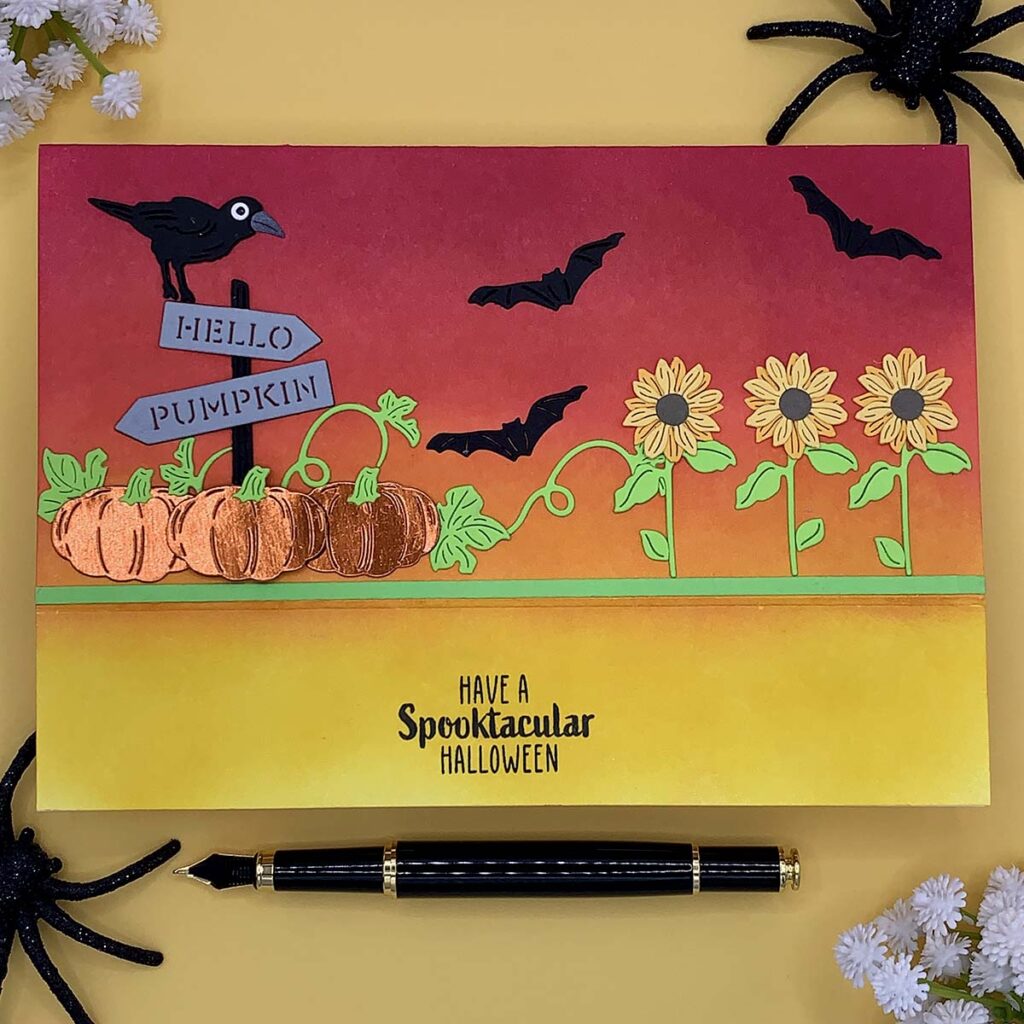
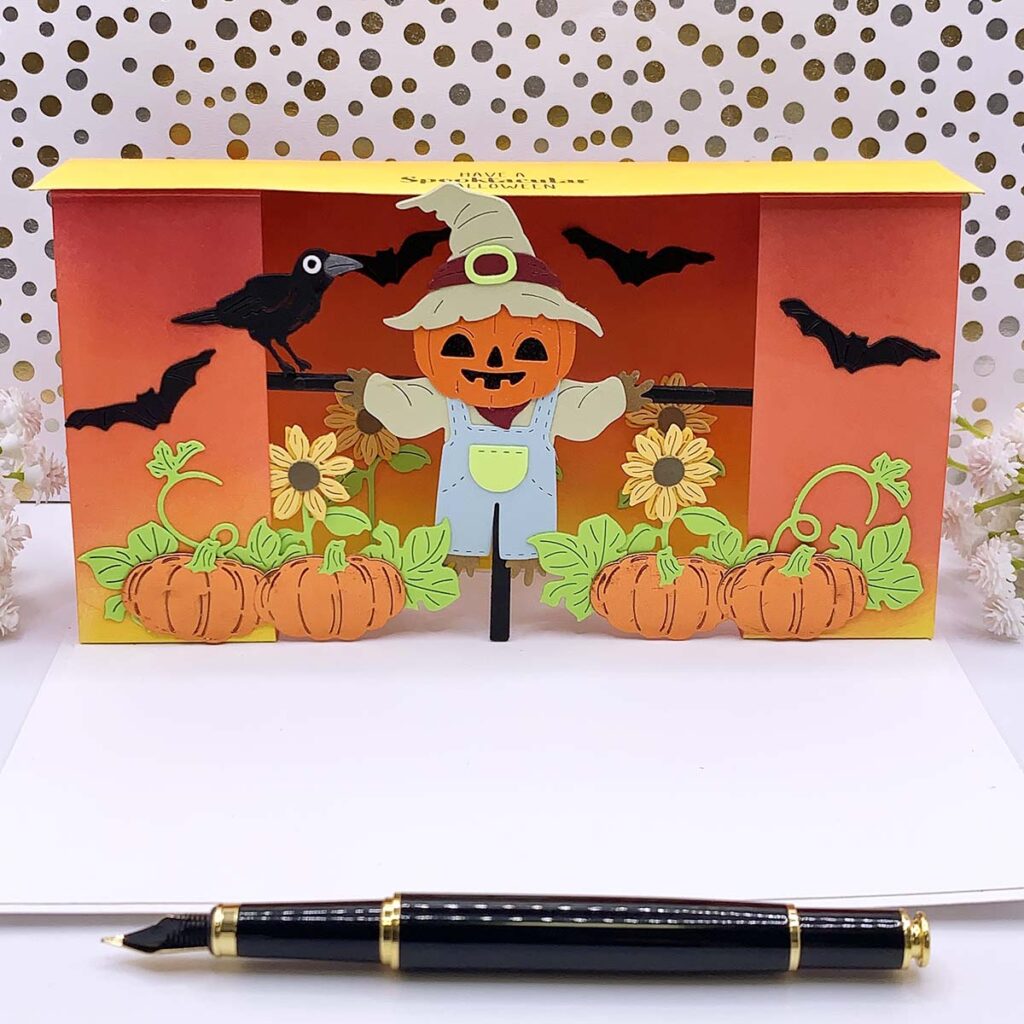
Have a Spooktacular Halloween
- Ink blend the front of a white 5” x 7” note card with Simon Says stamp ink pads in the colors Pucker, Cherry and Citrine.
- Create a display frame card base by scoring the front of a 5” x 7” notecard at 1 ½” inch from the bottom edge (have the card base on landscape orientation). Then, cut out 2 side pieces for the inside of the note card that are 1 ½” wide x 4 ½” long. Score each side piece at ½” from both ends. First adhere both pieces inside the note card, one on each side, with the folded flap up against the top edge of the note card. Then, unfold the bottom flap of each side piece, add liquid adhesive below the score line and fold the note card over. Once the adhesive has dried we can open the note card to reveal the display frame!
- Stamp a sentiment onto the front of the note card, under the score line, using a stamp included in the Spellbinders “Boo Dance Party” die set.
- Use the Spellbinders Small Die fo The Month do cut out elements that you can used to decorate the note card and large envelope
Many Thanks

- Dry embossed a 4 ¼” x 5 ½” note card with Spellbinders September 2024 Embossing Folder Of The Month. Then, add two 4” x 5 ¼” white panels inside to create a smooth place to write a personal message.
- Dry emboss a piece of 3 ¼” x x 5 ½” orange cardstock and adhere it to the front of the note card.
- Frame the orange dry embossed panel with two ⅛” wide glitter cardstock strips.
- Die cut the sentiment strip and the sunflowers using metal plates included in the Spellbinders September 2024 Large Die Of The Month
I hope you felt inspired and some of this information was helpful to you! If you create something inspired by this post, make sure to tag me on instagram! Thank you for visiting and happy crafting!
SUPPLIES
I have listed below all of the products that I used to make today’s note cards. Compensated affiliate links may be used at no cost to you, and I only use and recommend products that I love! As always, thank you for your support!