Creating With Spellbinders August 2024 Clubs!

Hello crafters! Today I am sharing some fun card designs featuring some of Spellbinders August club kits. I had a lot of fun creating these note cards and I hope you give it a try!
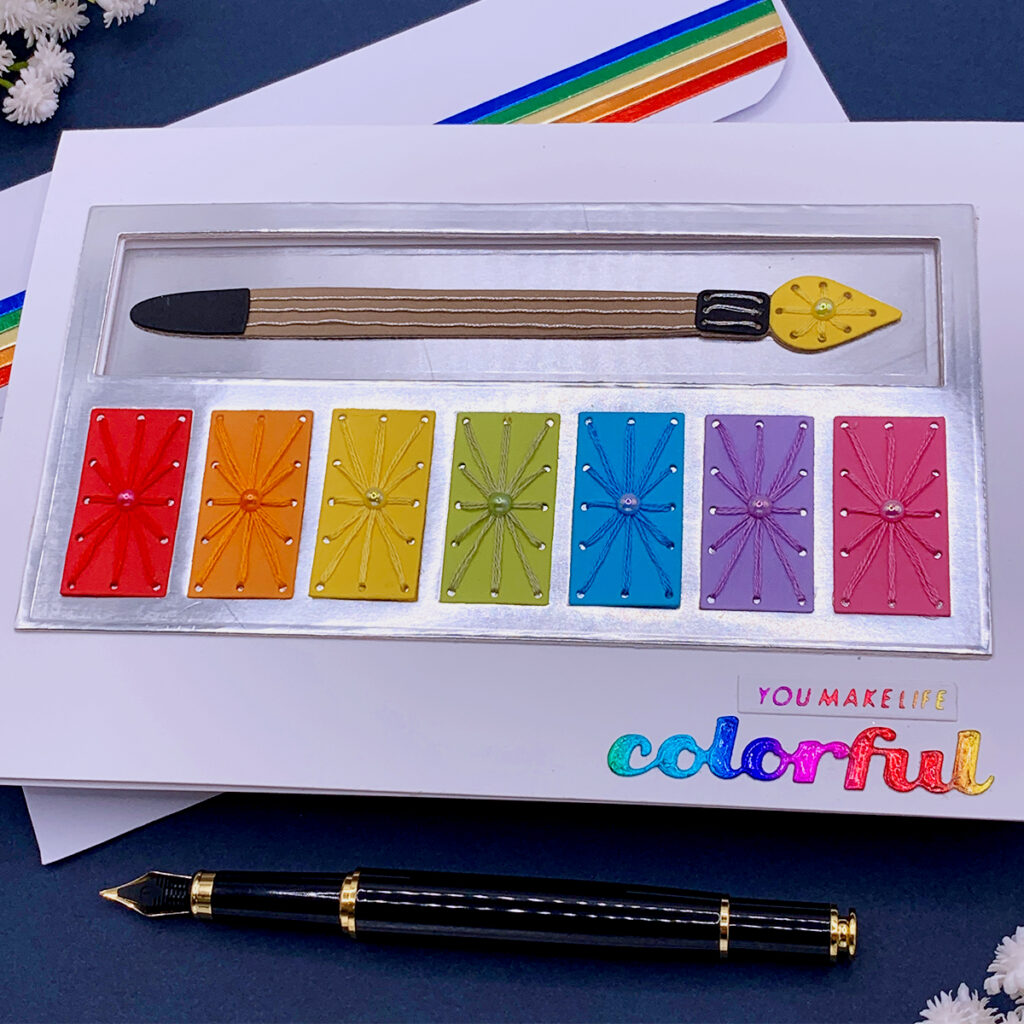
You Make Life Colorful
- Cut out a rectangular window from the front of a 5” x 7” note card. Use the rectangular shaped metal plate included in the Spellbinders August 2024 stitching die of the month.
- Using metal plates included in the Spellbinders August 2024 stitching die of the month cut the paint palette out of Spellbinders mirror silver cardstock. Cut the paint swatches and paint brush out of your favorite colors of cardstock.
- Use DMC floss to do the stitching.
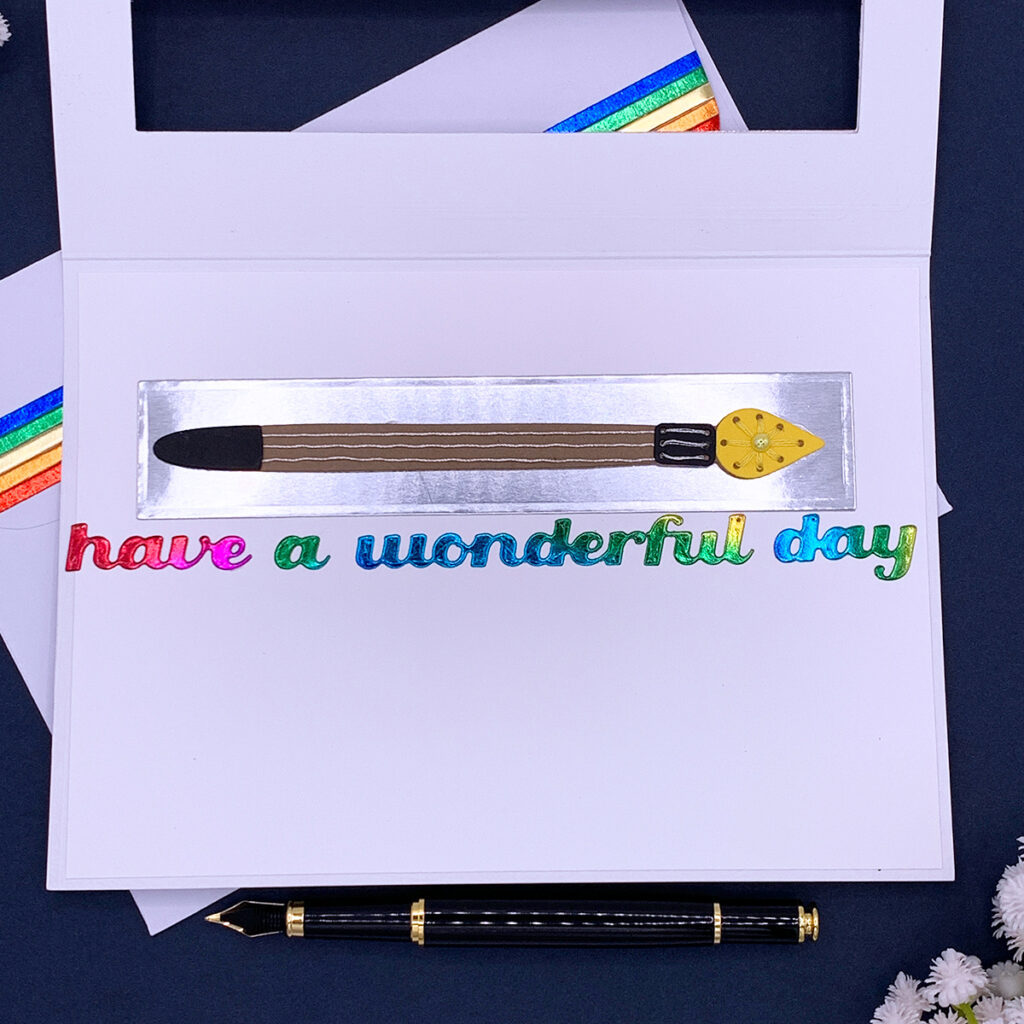
- Using strong liquid adhesive, glue die cuts to the note card. Center the die cut brush inside the rectangular window. When the note card is closed it will give the impression that everything is part of the front panel; however, once opened the recipient will realize that the paint brush is actually part of the inside of the note card!
- Hot foil a 4’ x5” piece of cardstock using a solid shape plate and Spellbinders foil in the color “Mini Rainbow Stripe”. Use this foiled panel to cut the sentiments from by using the Spellbinders August 2024 small die of the month .
- Add a hidden sub sentiment inside the note card, under the paint brush!
- Go over the foiled die cut sentiments with Ranger Glossy Accents to make it glossy!
- Create a matching envelope by adhering cardstock strips to the flap!
- Use flat back beads to decorate the note card!
Tip 01: If you don’t have the color do beads that you need remember that we can change the color of white flat back beads by going over it with a permanent marker! That is what I did to turn my white flat back pearls into red, orange and green! I used Copic markers.
Hugs Enclosed
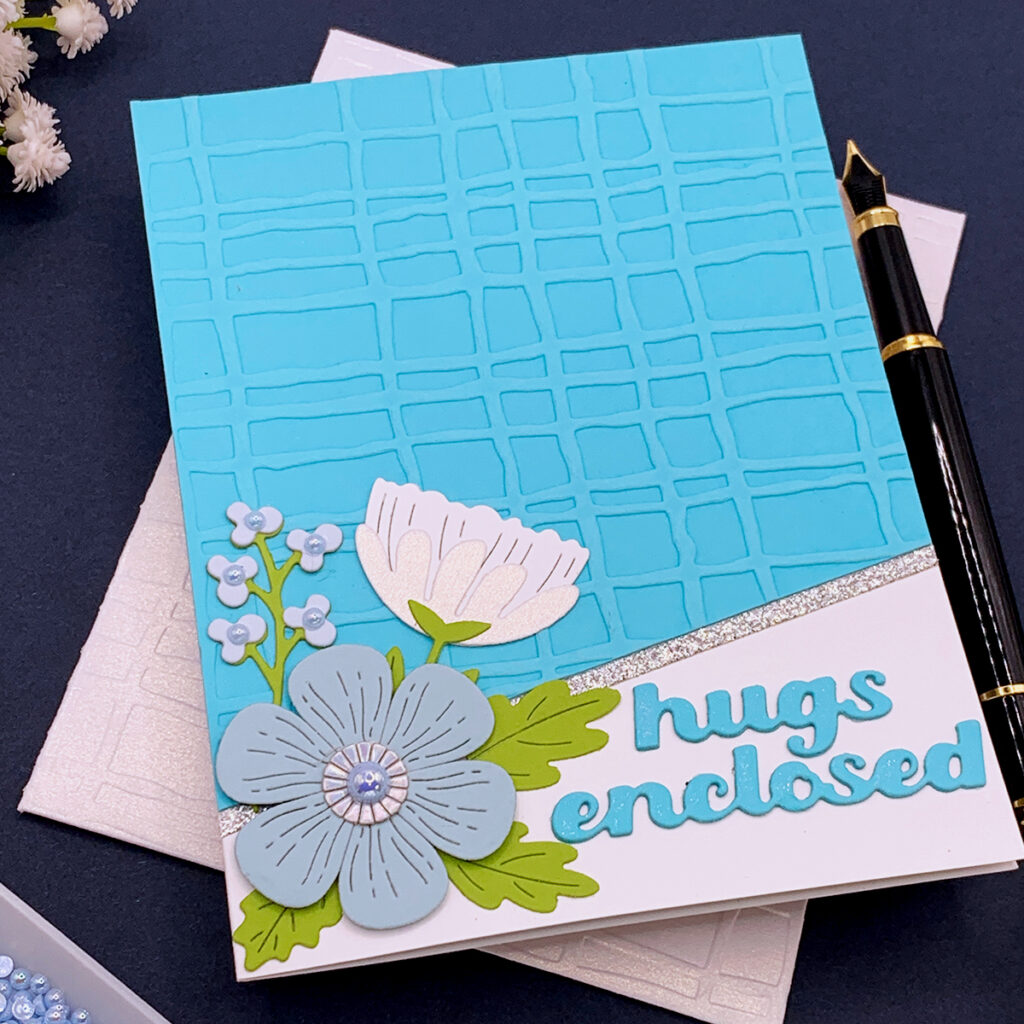
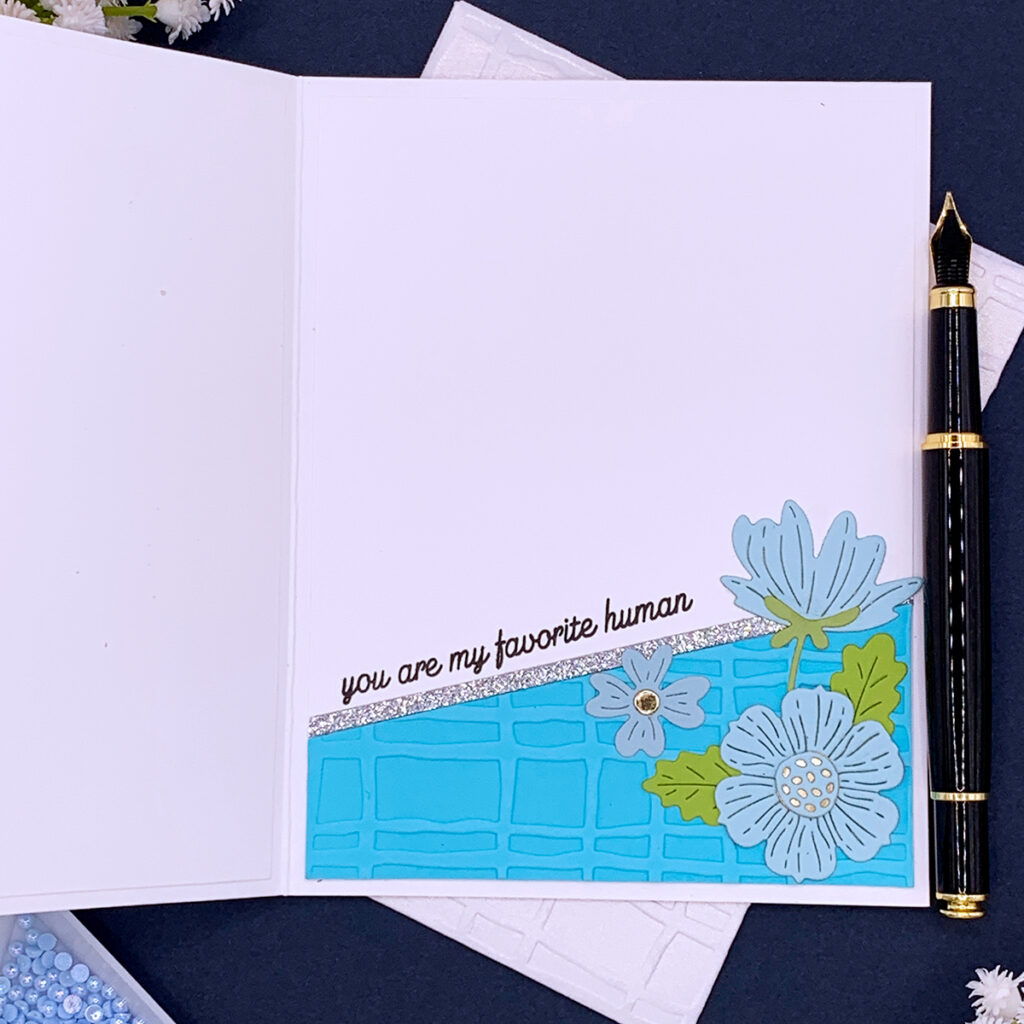
- Dry emboss a 5 ½” x 4 ¼” panel with Spellbinders August 2024 embossing folder of the month.
- Cut out a section from the dry embossed panel at the bottom, on a diagonal.
- Adhere the top section of the dry embossed panel to the front of an A2 size note card.
- Adhere the bottom section of the dry embossed panel to the inside of the note card.
- Decorate the note card with glitter cardstock strips and die cut flowers. I used metal plates included in the Spellbinders Club blooms die set to do so.
- Cut out a sentiment with Spellbinders August 2024 small die of the month.
- Stamp a sub sentiment inside the note card using a stamp included in the Spellbinders “Cats and Pugs Sentiments” stamp set.
- Add flat back beads to the center of small die cut flowers.
- Create a dry embossed matching envelope with Stampendous “A2 Gift Card Holder And Envelope” die set.
- Tip 01: Use a wax pencil to pick up small die cuts and beads to make the process easier!
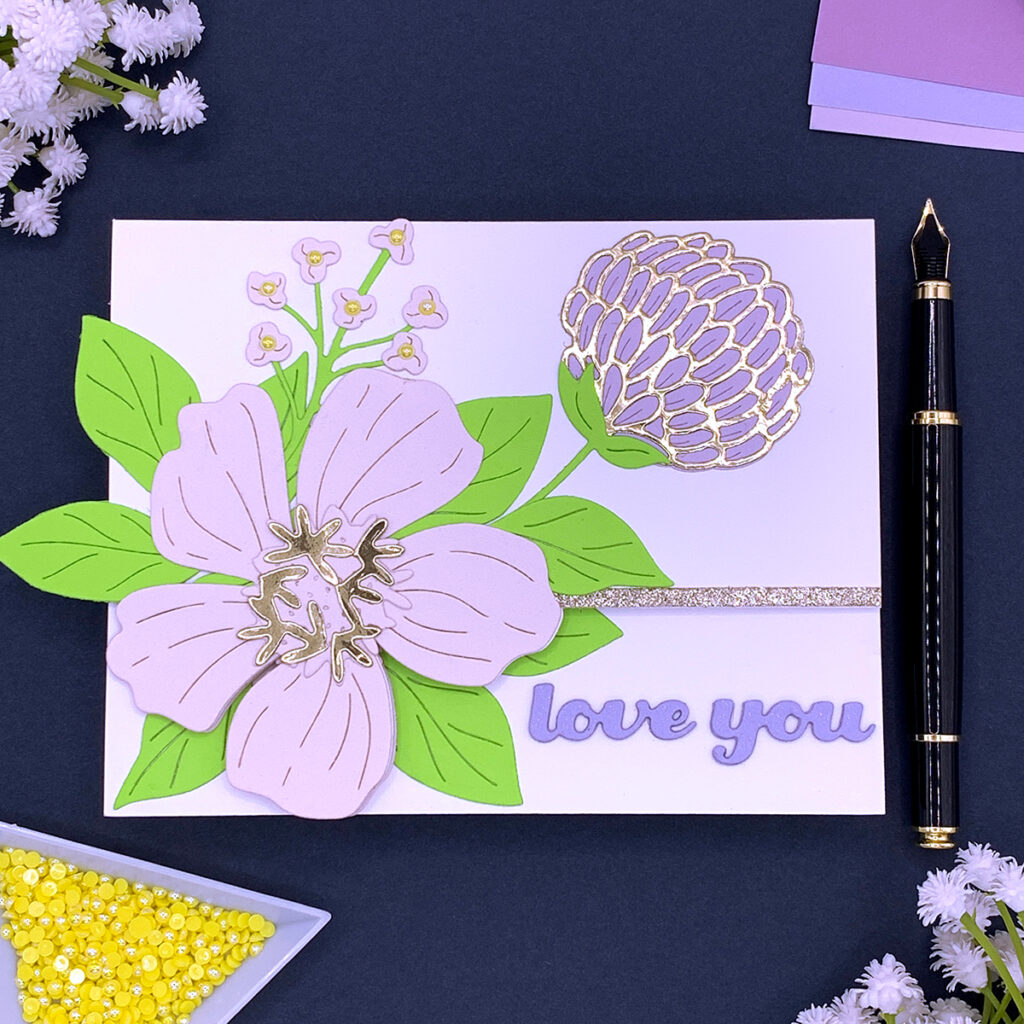
Love You
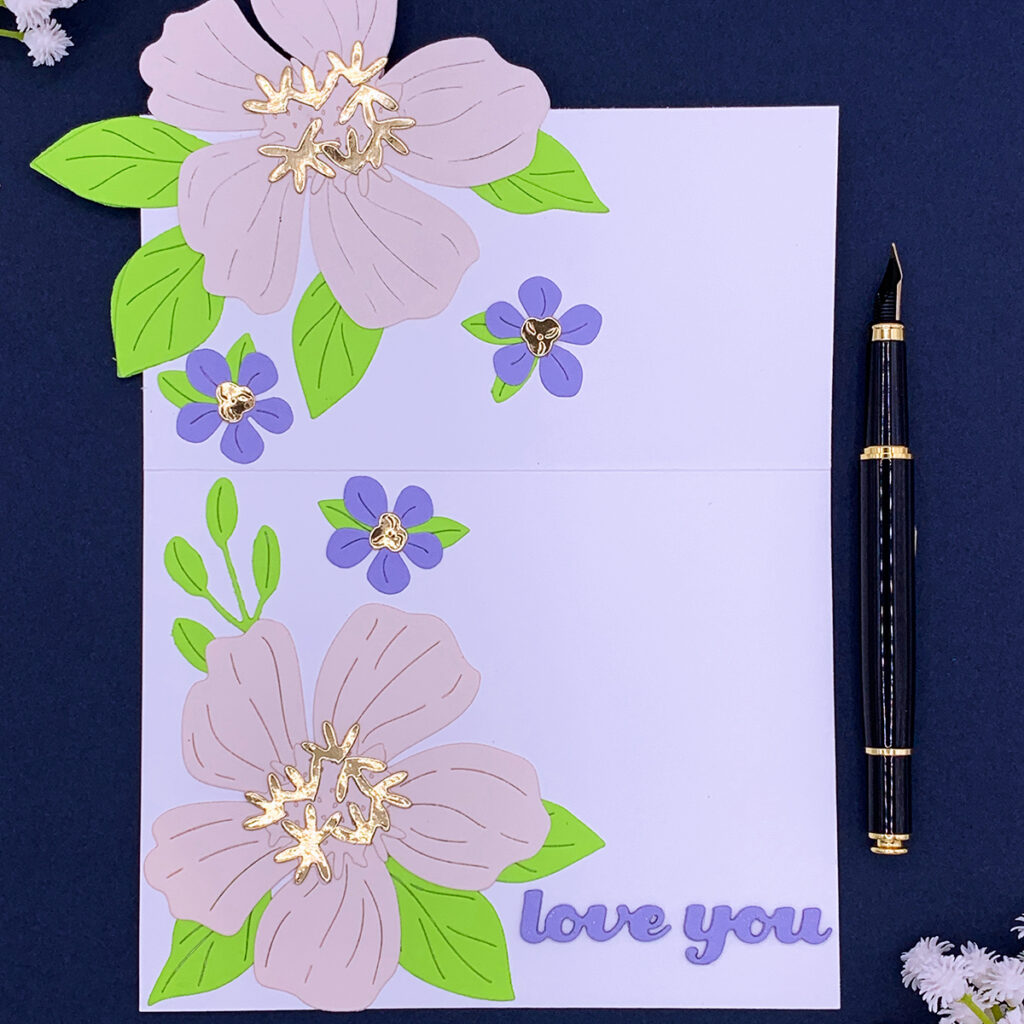
- Using the largest flower plate included in the Spellbinders August 2024 large die of the month kit, partially cut out a flower from the bottom right corner of a top folding A2 size note card that is 5 ½” wide by 4 ¼” tall.
- Add a die cut flower on top of the partially die cut one, and decorate the front panel with a glitter cardstock strip, leaves and more flowers!
- Add flat back beads to the center of the small die cut flowers.
- Decorate the inside of the note card! Add another die cut flower inside the note card, making sure to align it with the one at the front panel, on the bottom right corner. This way when the note card is closed the flower at the front panel will hide the one glued to the inside panel, working as a fun surprise for the recipient once the note card is opened!
- Die cut a sentiment using the Spellbinders August 2024 Small die of the month!
- Go over the die cut sentiment with a shimmer pen to add some sparkle.
- Tip 01: If you choose to leave some of the die cut leaves hanging outside the card base, as I did, you will need to use an A6 size envelope instead of an A2.
Make a Splash on Your Birthday
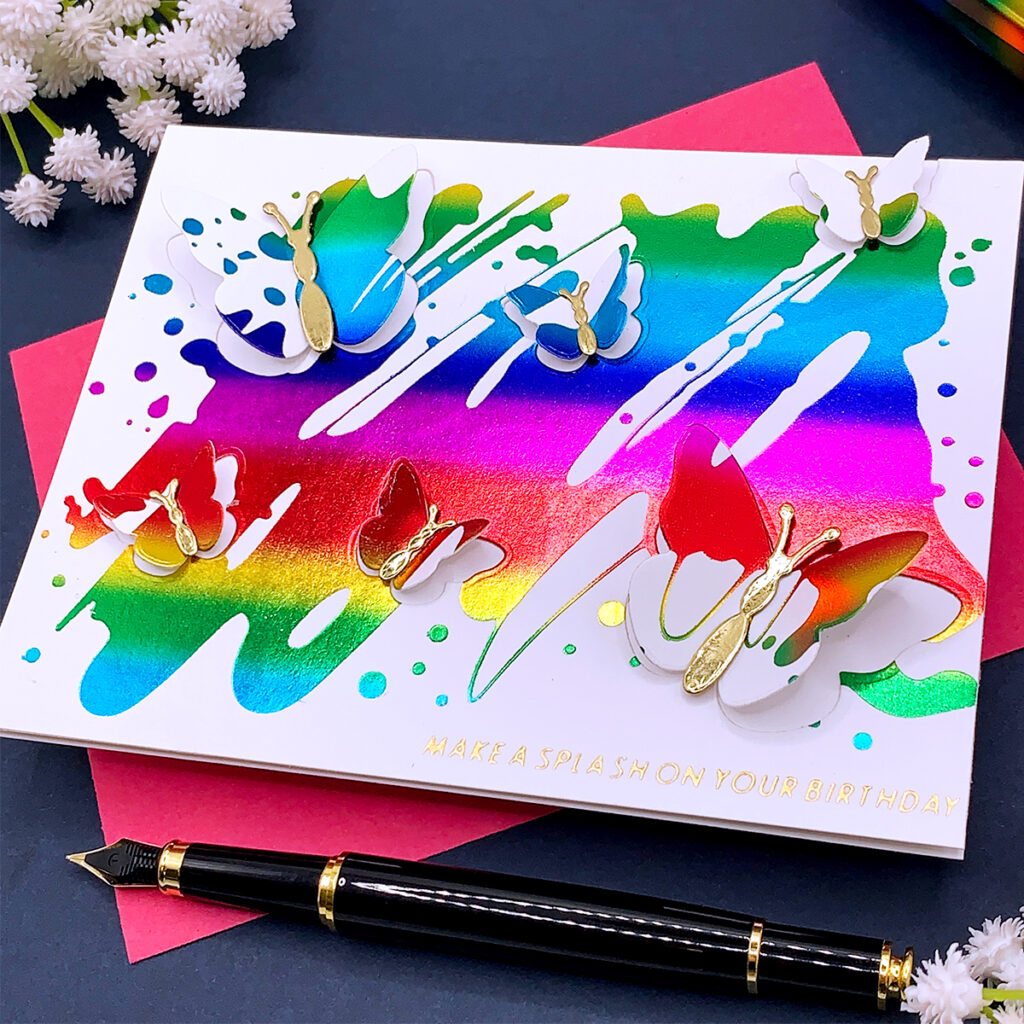
- Using the Spellbinders glimmer kit of the month for August 2024, hot foil a splash onto a piece of white cardstock that measures 5 ½” x 4 ¼”. Use a piece of foil in the color “Mini Rainbow Stripe”
- Hot foil a sentiment on the bottom right corner using a piece of golden foil, and a plate included in the Spellbinders glimmer kit of the month for August 2024.
- Using metal plates included in the Spellbinders “So Many Butterflies” die set, cut out a few butterflies from the hot foiled panel.
- Adhere the foiled panel to a card base using strong liquid adhesive.
- Adhere the die cut butterflies back in the negative space using foam adhesive. Add foam adhesive only to the center of each butterfly so you are able to lift its wings once you are done!
- Die cut the butterflies bodies out of golden cardstock and enjoy!
I hope you felt inspired and some of this information was helpful to you! If you create something inspired by this post, make sure to tag me on instagram! Thank you for visiting and happy crafting!
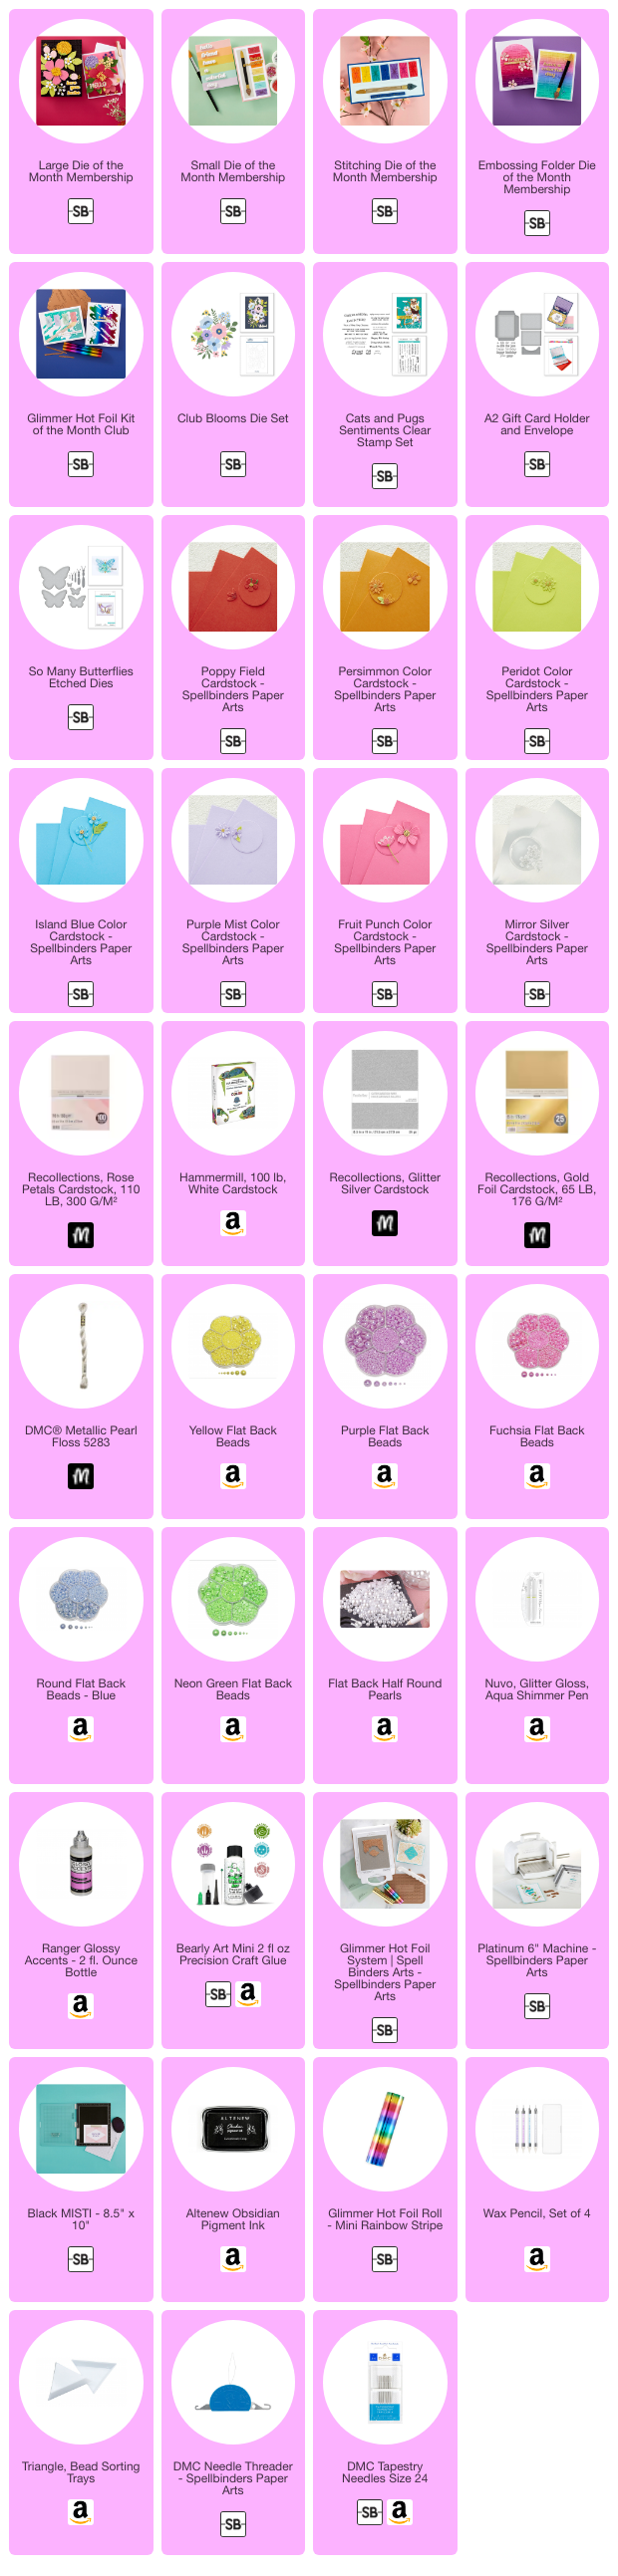
SUPPLIES
I have listed below all of the products that I used to make today’s note cards. Compensated affiliate links may be used at no cost to you, and I only use and recommend products that I love! As always, thank you for your support!
-
-
4 weeks
Tagged Spelbinders January 2026 Clubs