Cards With A Surprise Pop Up Element!
And Matching Tags
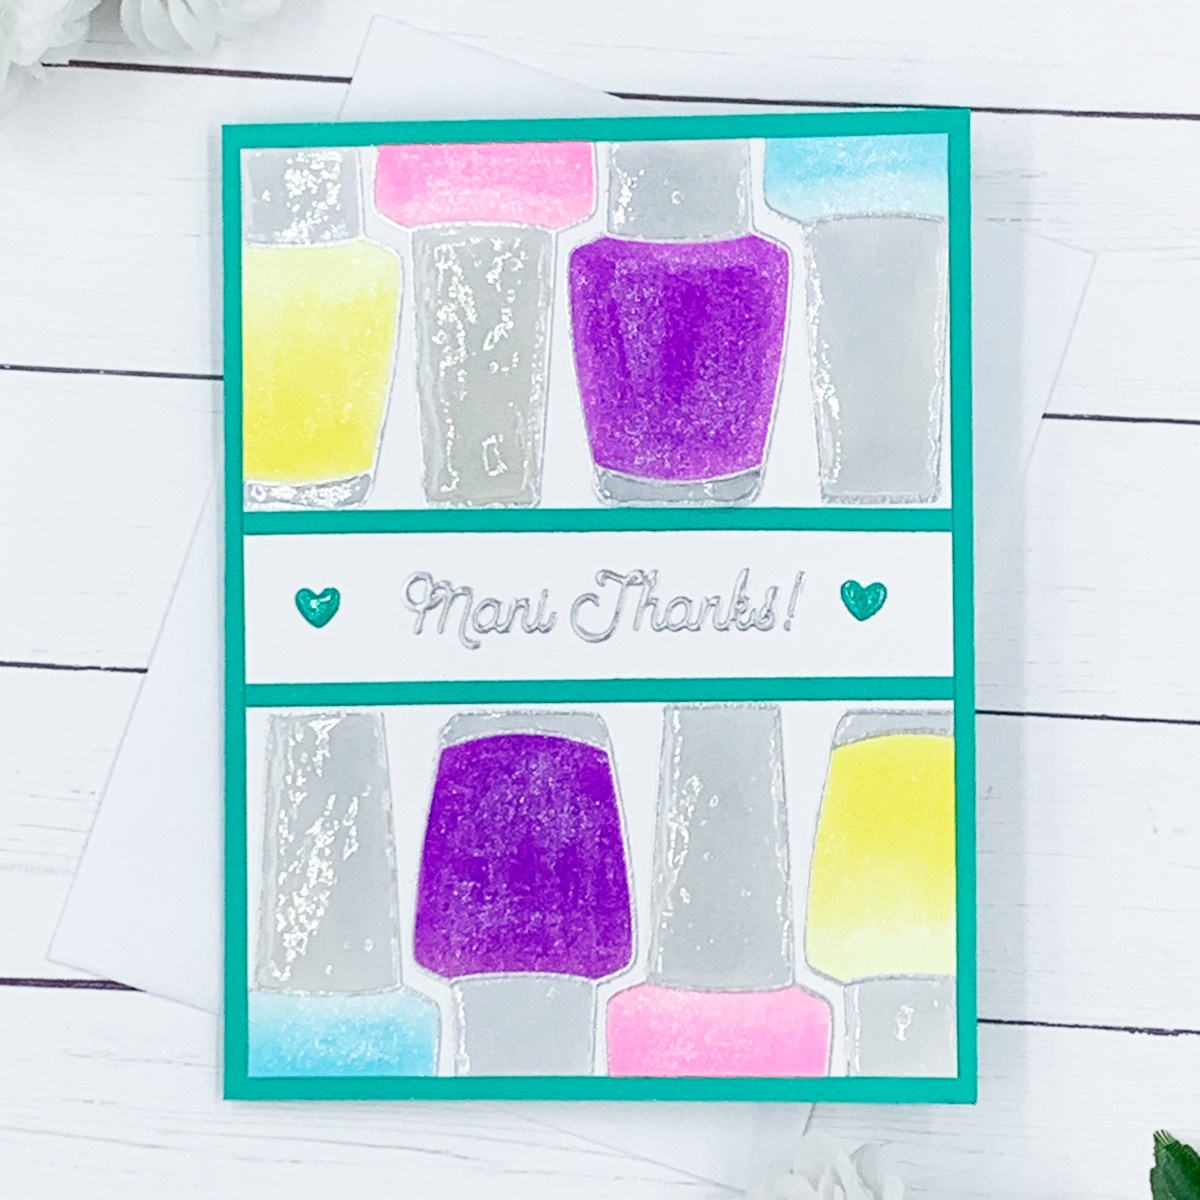
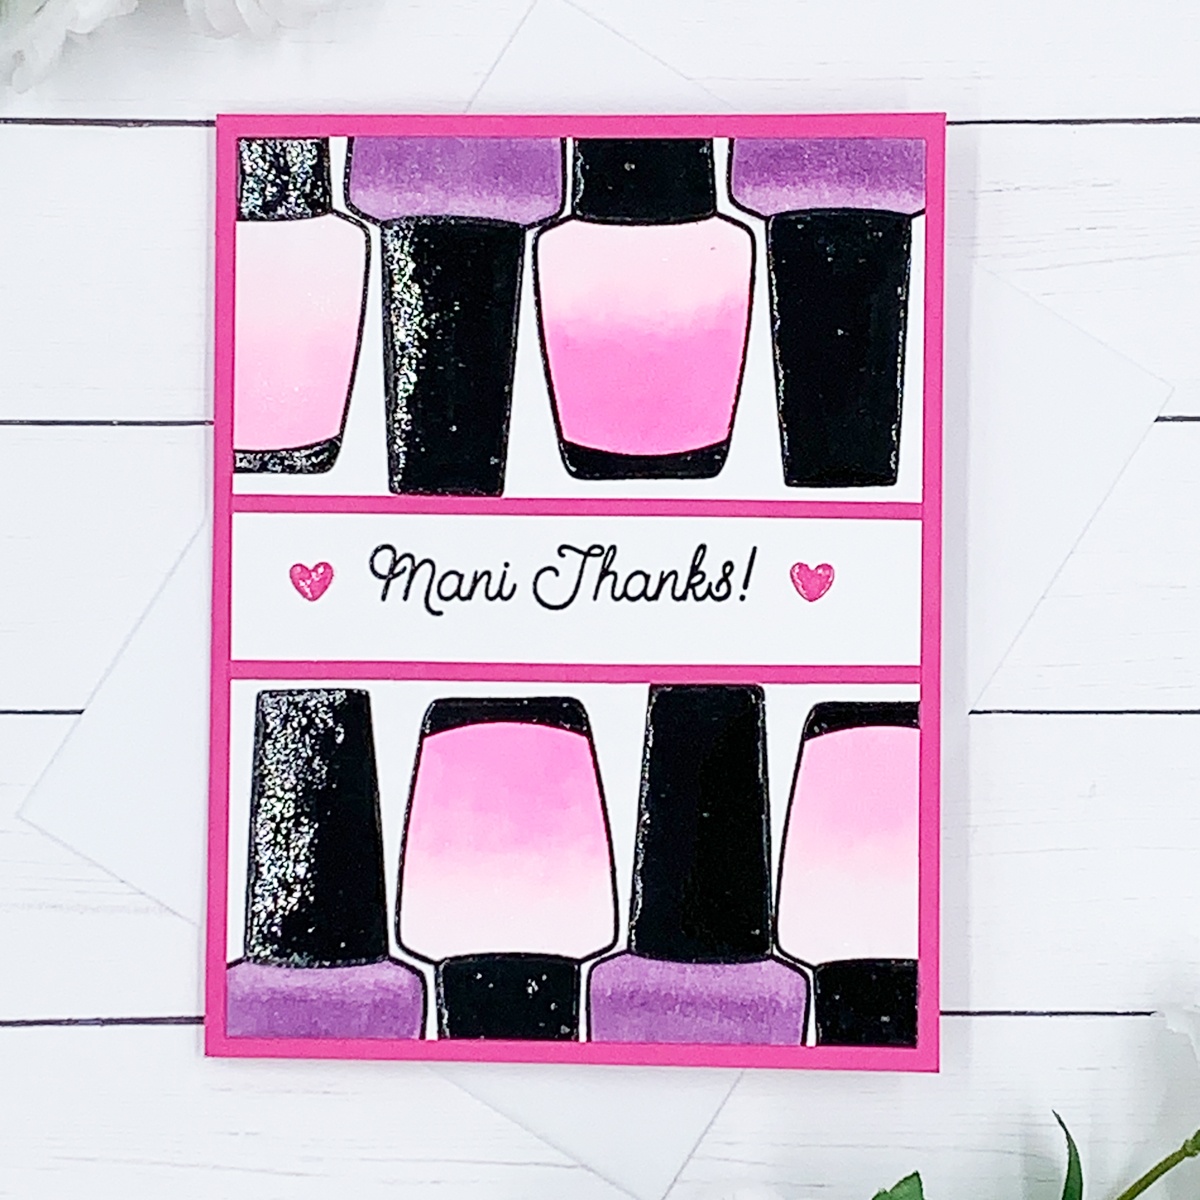
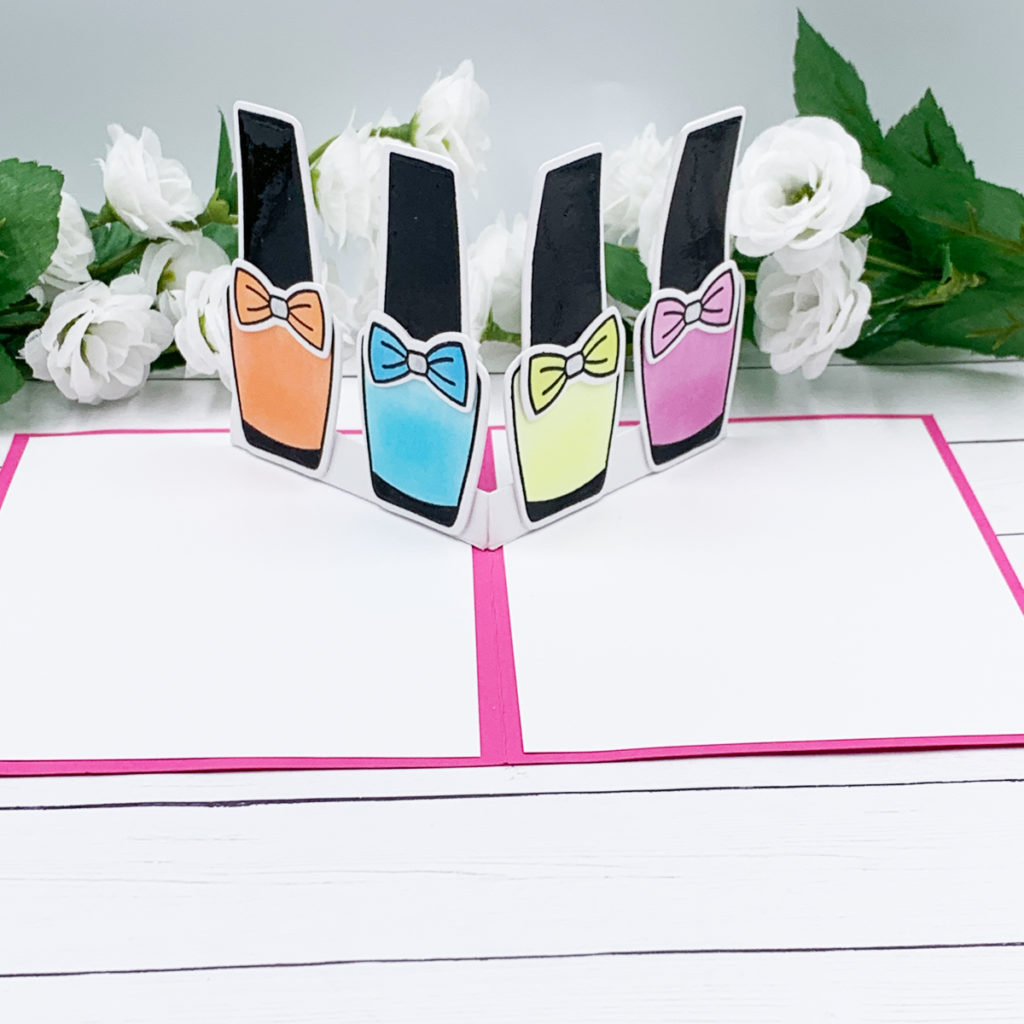
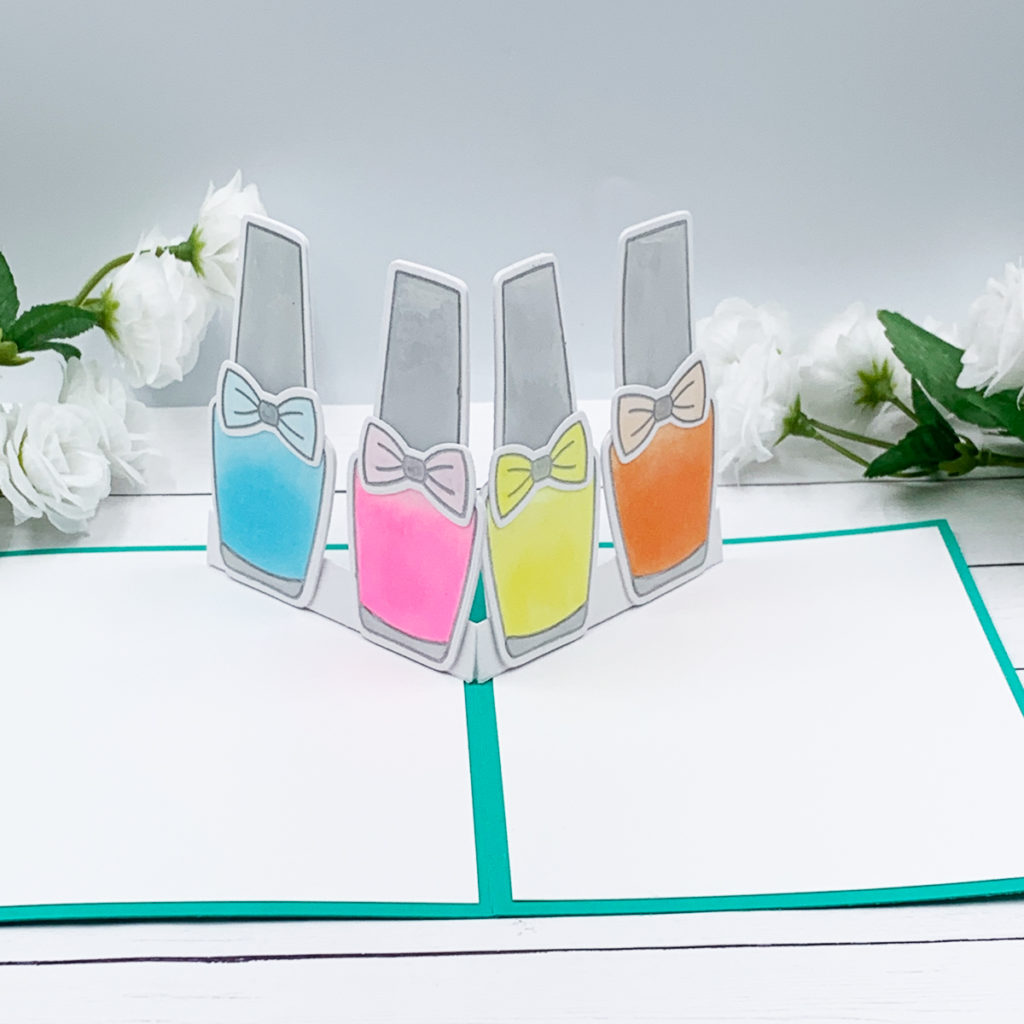
Hello Crafters! Today I have some card design ideas created using two die sets from two different companies. These cards are A2 size and we can close them flat like any other regular card. However, when we open it, nail polish bottles pop up and the recipient can keep these cards open, on display if they want to!
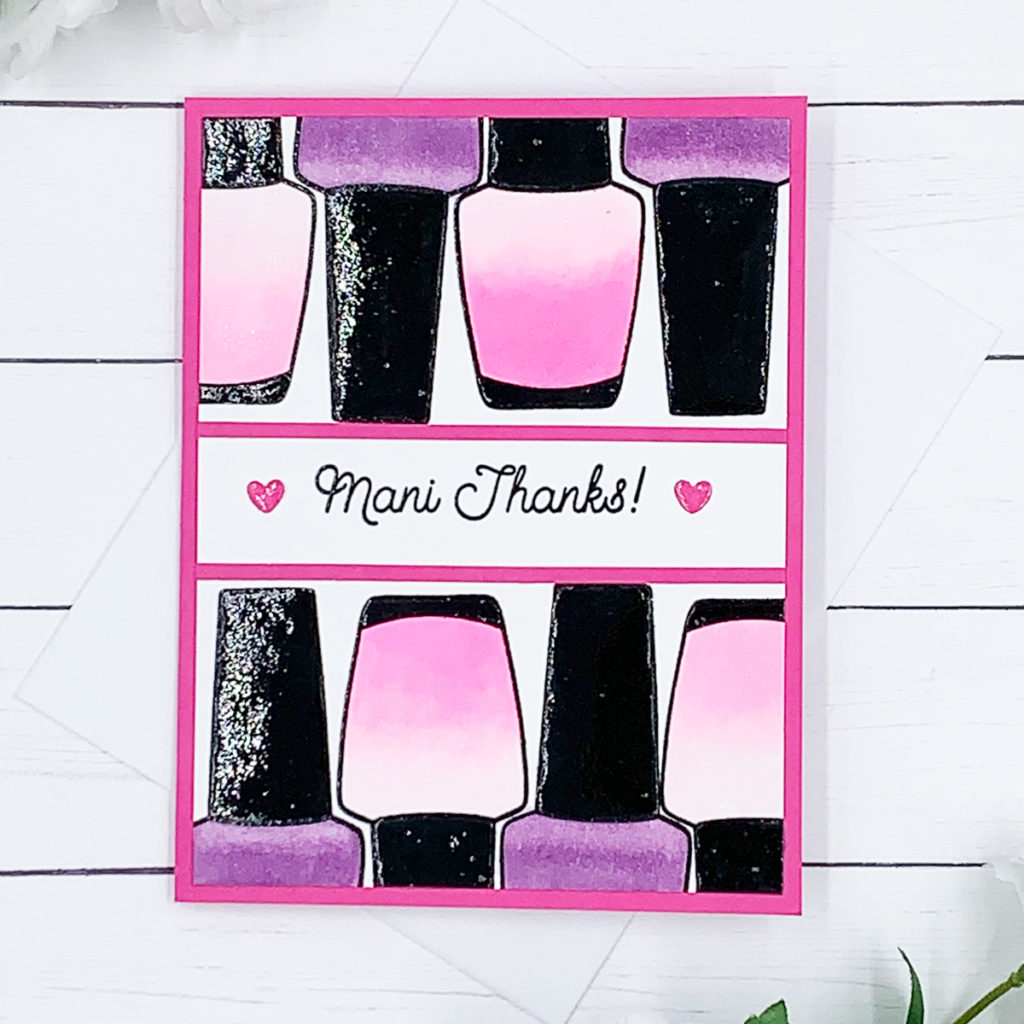
To create the pop up mechanism I used a recently released die set by Concord and 9th, called “Pop Up Base Dies”. This die set allows us to create pop up mechanisms to go inside the card. I think that this die set is a must-have as it allows us to create with other sets that we already have in a completely different way! So, today I am pairing this Concord and 9th set with an old one by Honey Bee Stamps, called “Shine On”.
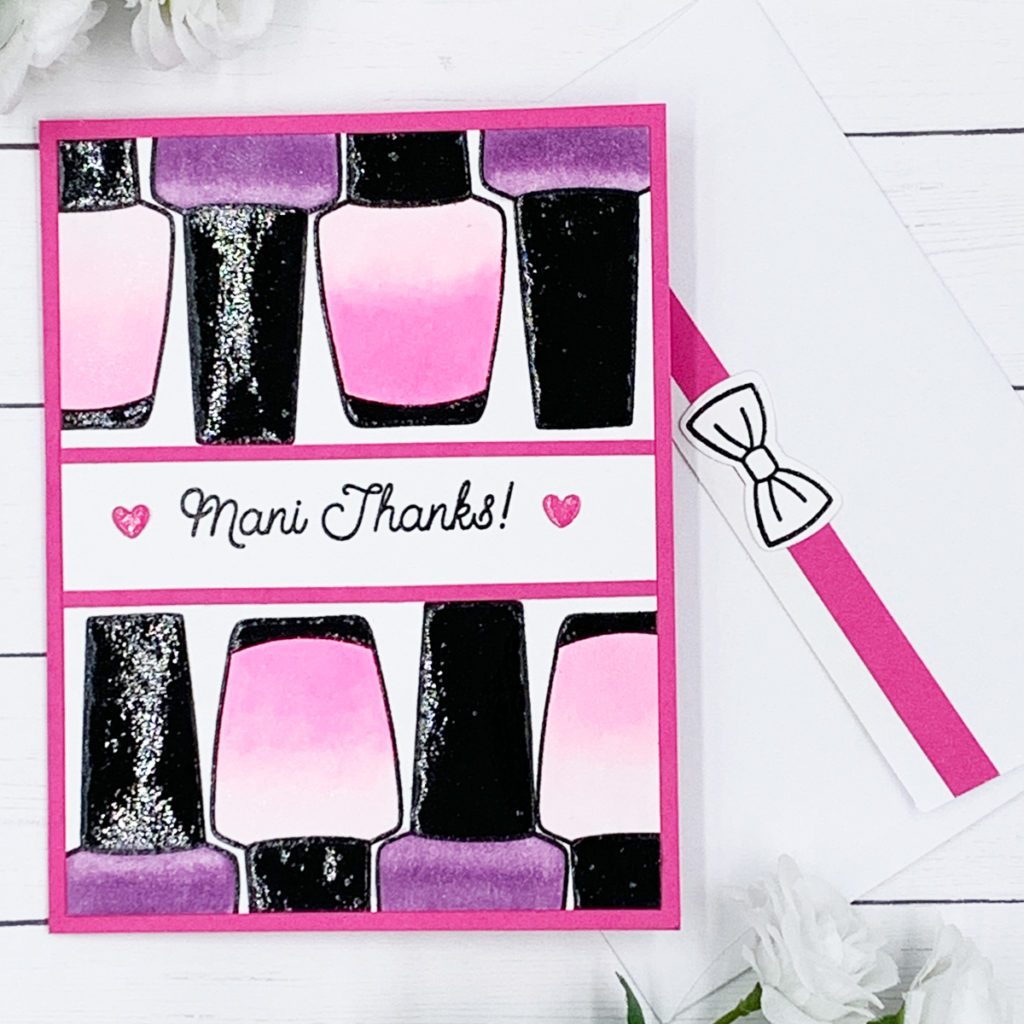
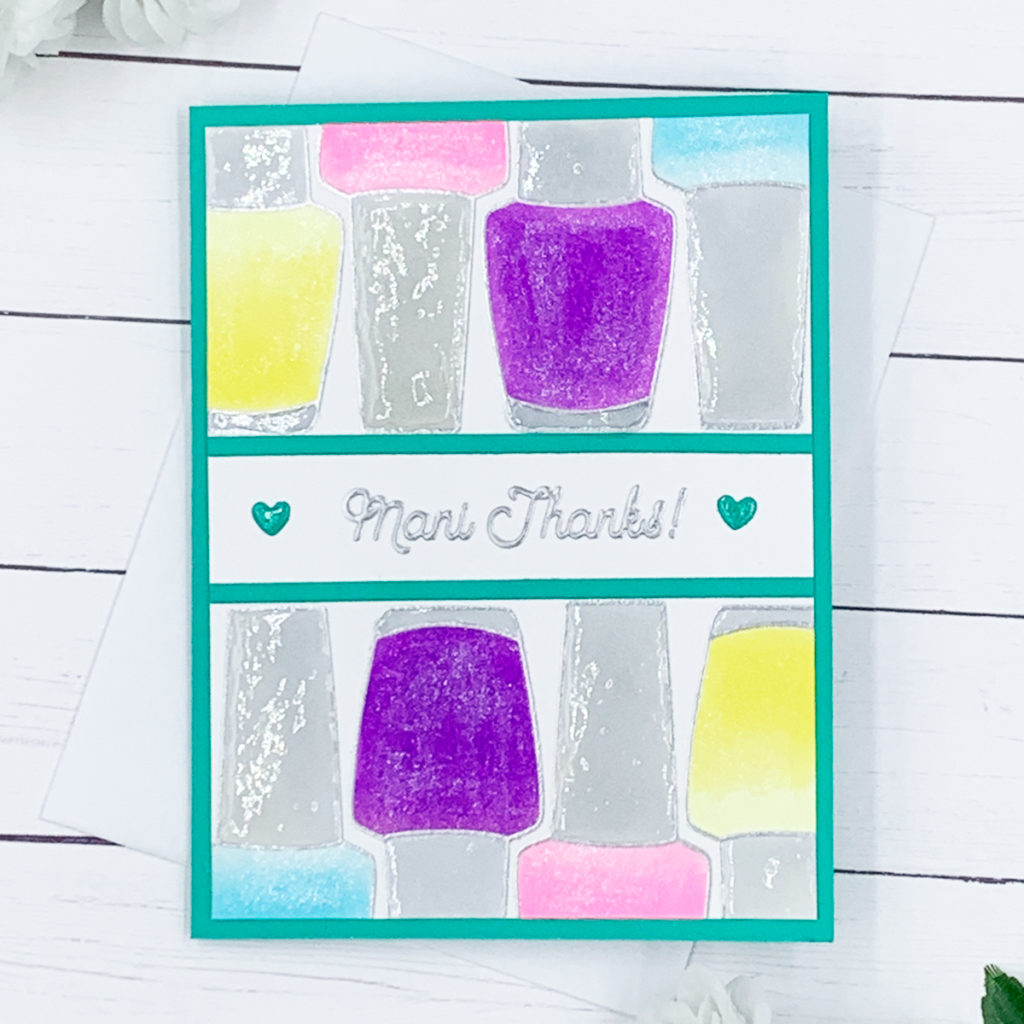
To create the front panel for these cards, first I stamped the sentiment in the center of my panel, then I used the nail polish bottle stamp to stamp nail polish bottles on the top and bottom of my panel. For the pink base notecard I stamped it with a black pigment ink and heat embossed each image, as well as the sentiment in the center, with clear embossing powder.
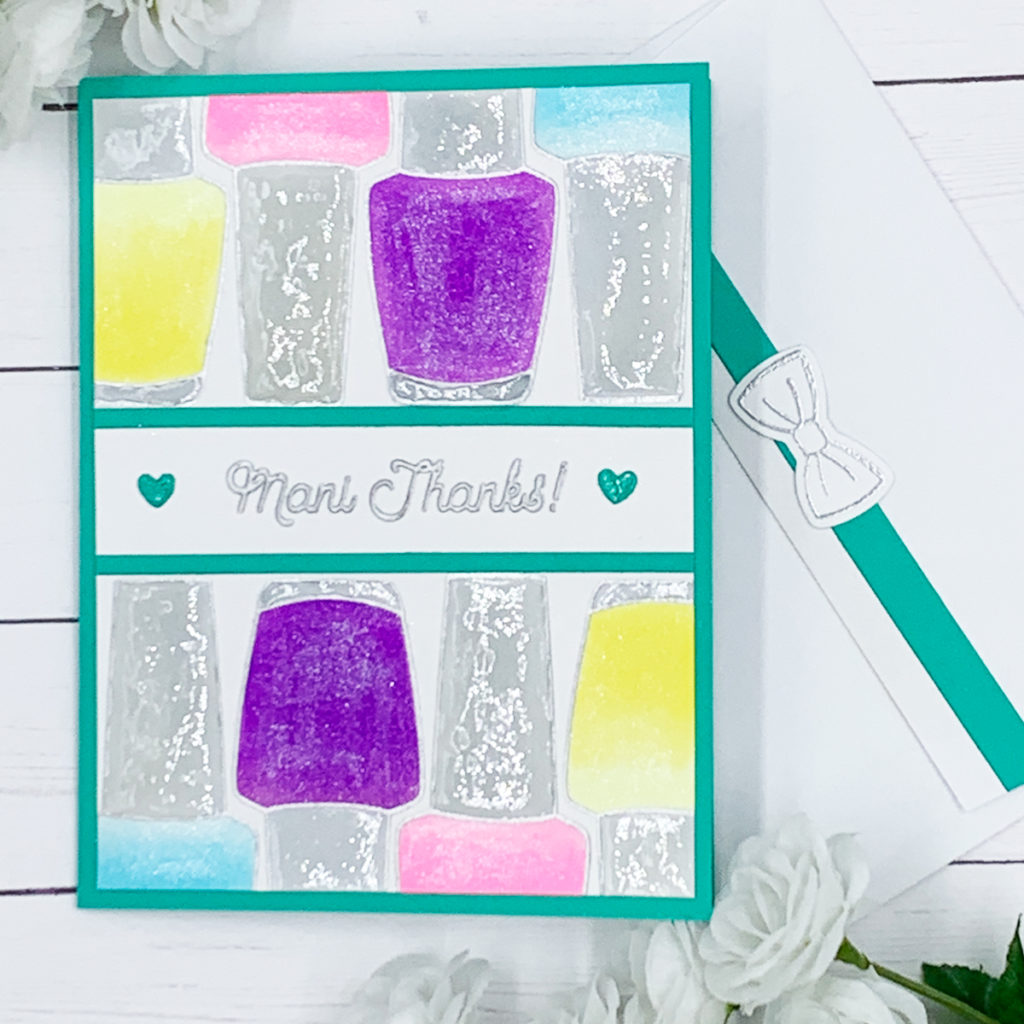
For the mint base notecard I stamped the sentiment and the nail polish bottles with a watermark pad and heat embossed them with fine silver embossing powder. To color these images I use Copic markers. To add some sparkle I used my Nuvo Shimmer pen and, to make some sections of these bottles glossy I applied Ranger glossy accents.
I added two white panels inside these cards and to cut out the nail polish bottles and the bow for the pop up mechanism I used the “Shine On” coordinating die. I also decorated the flap of the envelope to make them match by adding a thin strip of the same cardstock that I used for the card base and adhered a die cut bow in the center.
Since I had some leftover nail polish die cuts I decided to also make some tags. I colored each bottle with Copic markers and added some shimmer with my Spectrum Noir shimmer pen, just like I did with the nail polish bottles for the two cards. Then, I added some sequins to these nail polish bottles and applied a generous amount of Ranger glossy accents on top to give the impression of a glass bottle
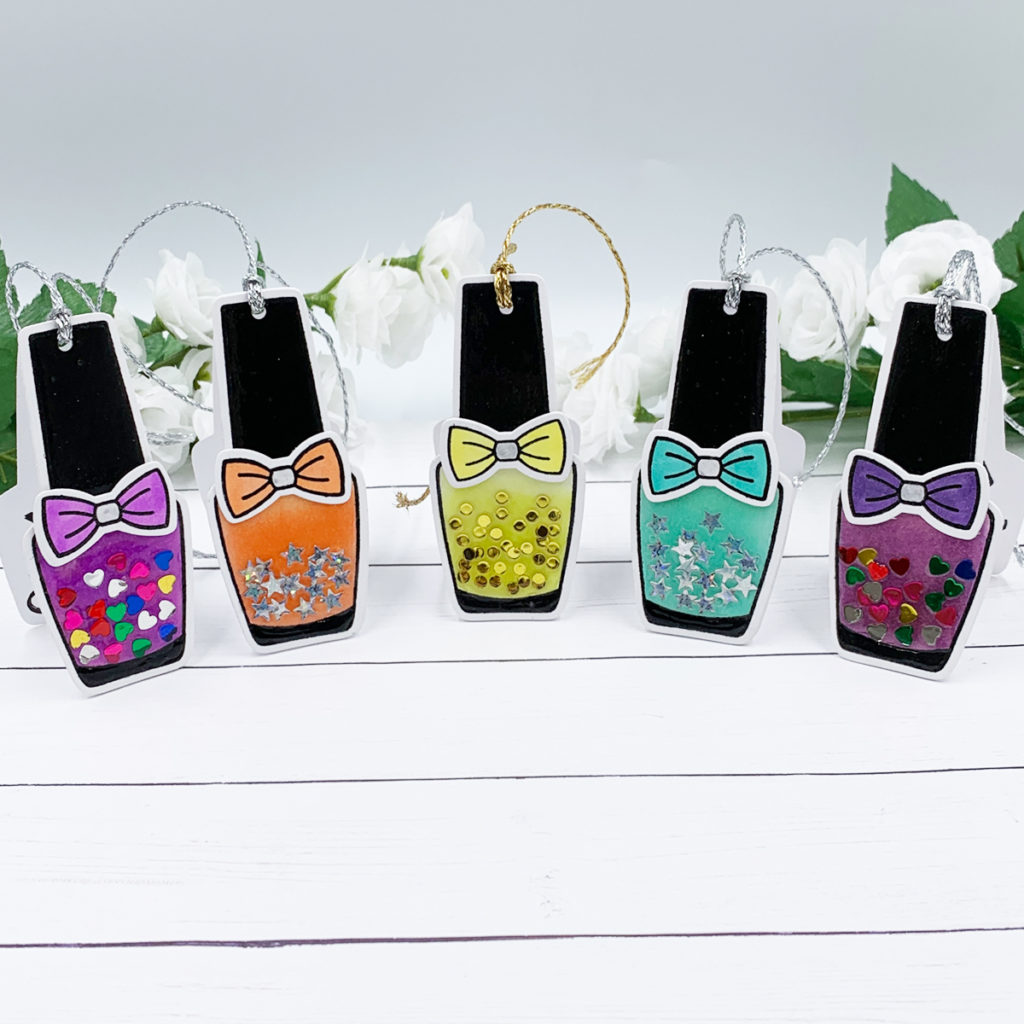
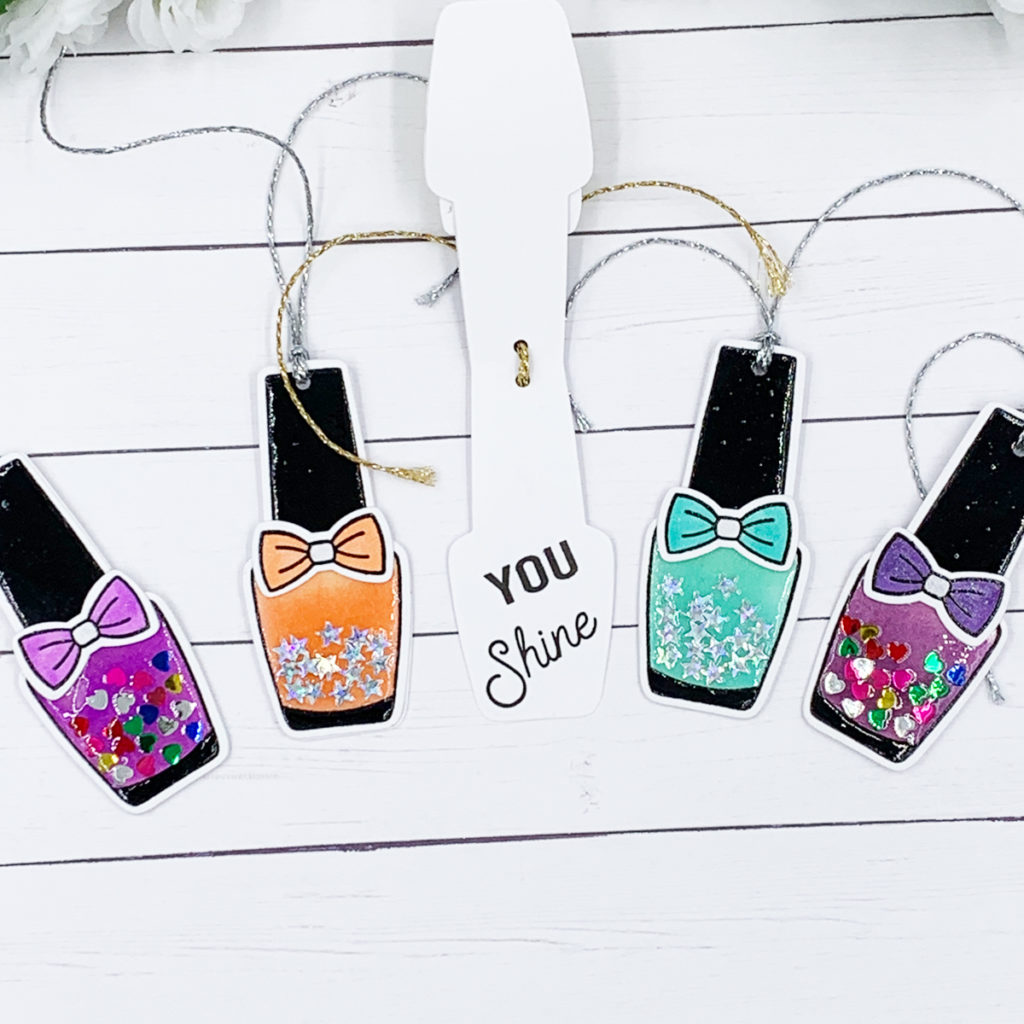
You can click here for more information on how I created these cards and tags. I hope this video inspires you to get creative and use the supplies that you already have in a completely different way! If you’re interested, at the end of this post there is a list of all supplies used to make these cards. Thank you so much for visiting today and happy crafting!
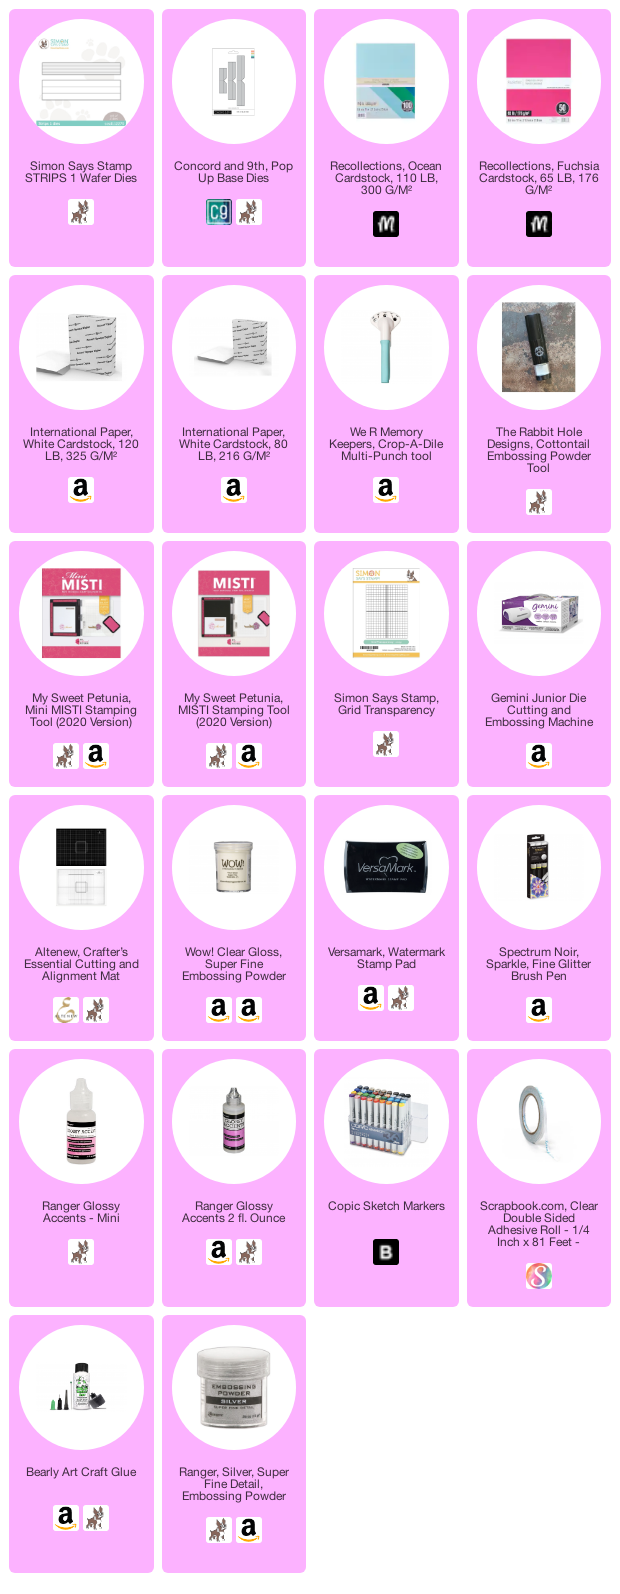
SUPPLIES
Here is a list of the products I used. All products were personally purchased and I only recommend products that I love! Compensated affiliate links may be used at no cost to you. As always, thank you for your support!

-
-
2 days
Tagged card for student, card for teacher, Crayon note cards, Spellbinders May 2025 Clubs