Bottle Brush Christmas Trees
Hello crafters! Today I have two Christmas note cards to share with you, featuring a few products from Spellbinders Classic Christmas collection!
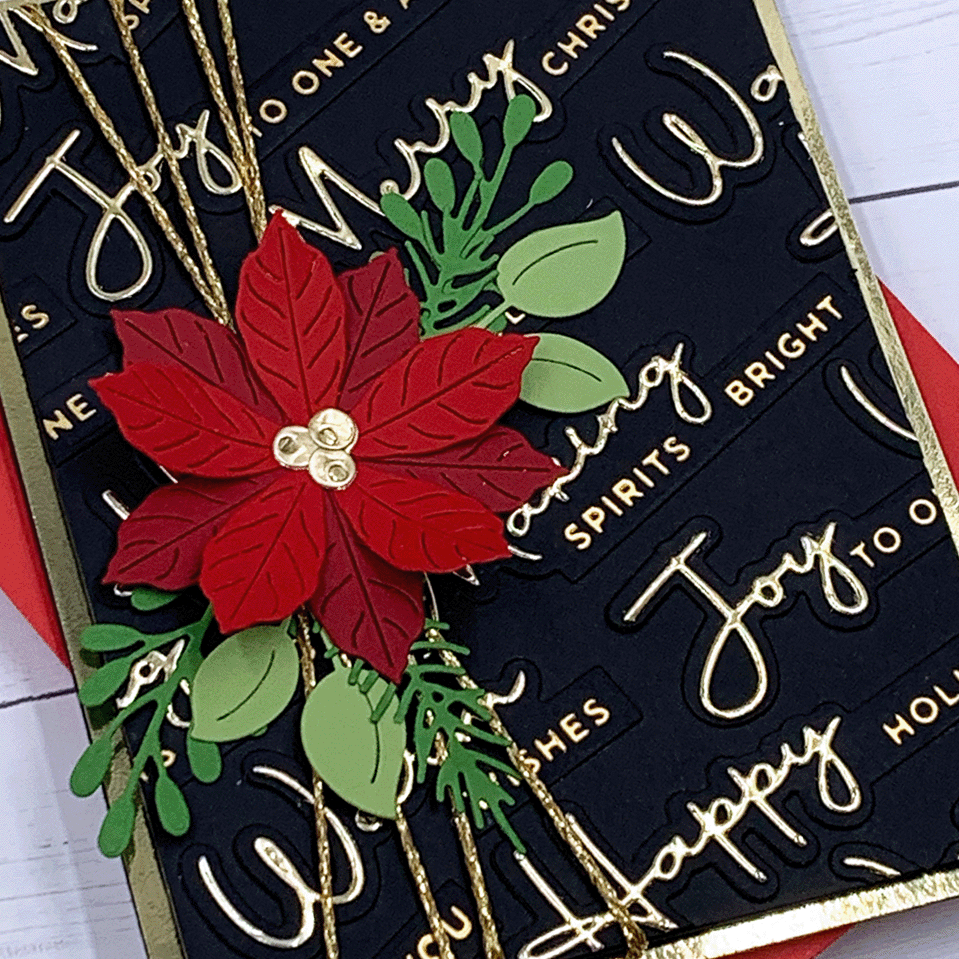
This first note card is side folding and measures 5 ½” x 4 ¼”. I started by creating lots of sentiment die cuts with the Spellbinders “Christmas Die & Glimmer Sentiments” hot foil plate and die set. I used a metallic gold cardstock to cut out the large words, and I hot foiled the small words with golden foil to complete the phrase. I did all of this on a piece of heavyweight black cardstock.
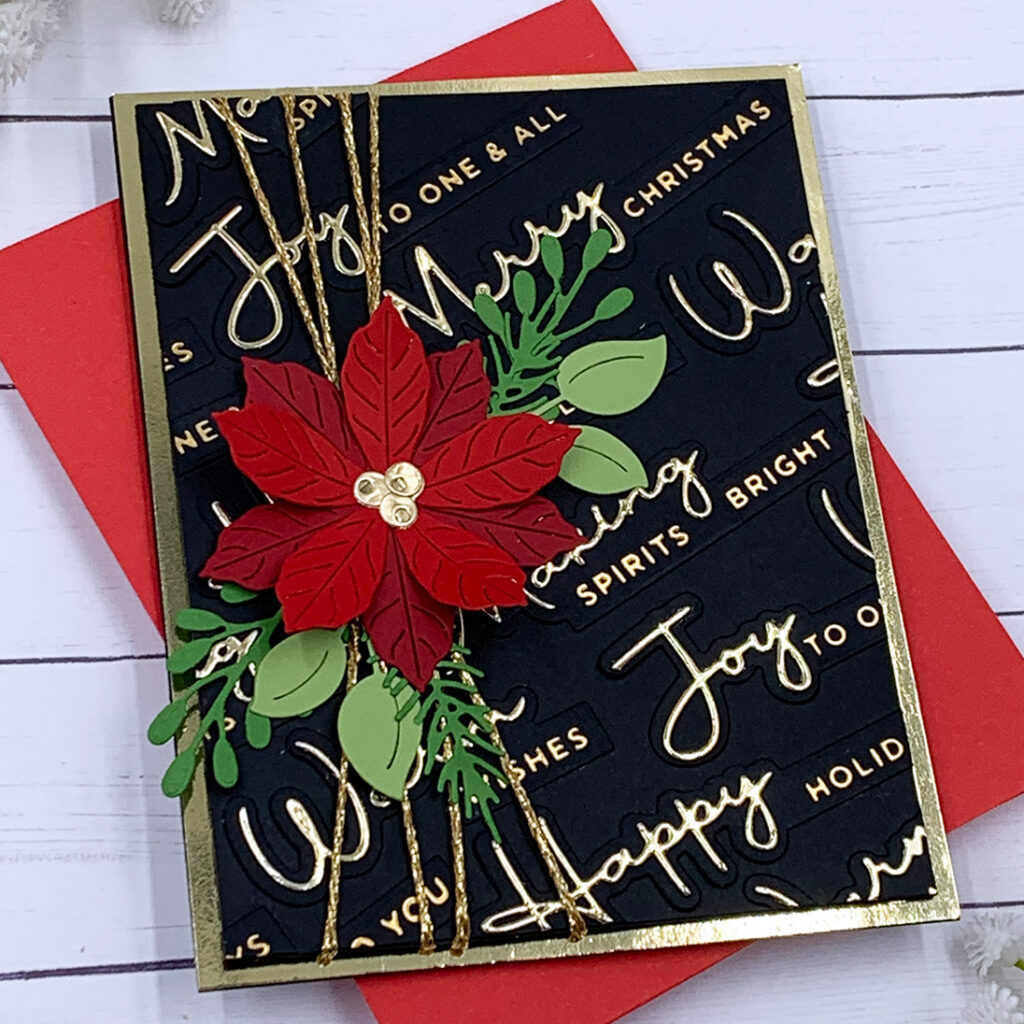
Once my die cut sentiments were ready, I adhered them on a piece of 5 ¼” x 5” black cardstock to create a patterned background for my front panel! To add some pop of color, I die cut green leaves, sprigs, and a beautiful red poinsettia with the Spellbinders “Christmas Bird Poinsettia” die set. However, before I adhered these die cuts to my front panel, I wrapped golden twine vertically on the left side of my panel, just for fun! Only then I proceed to adhere my die cut leaves and flower arrangement to the front panel.
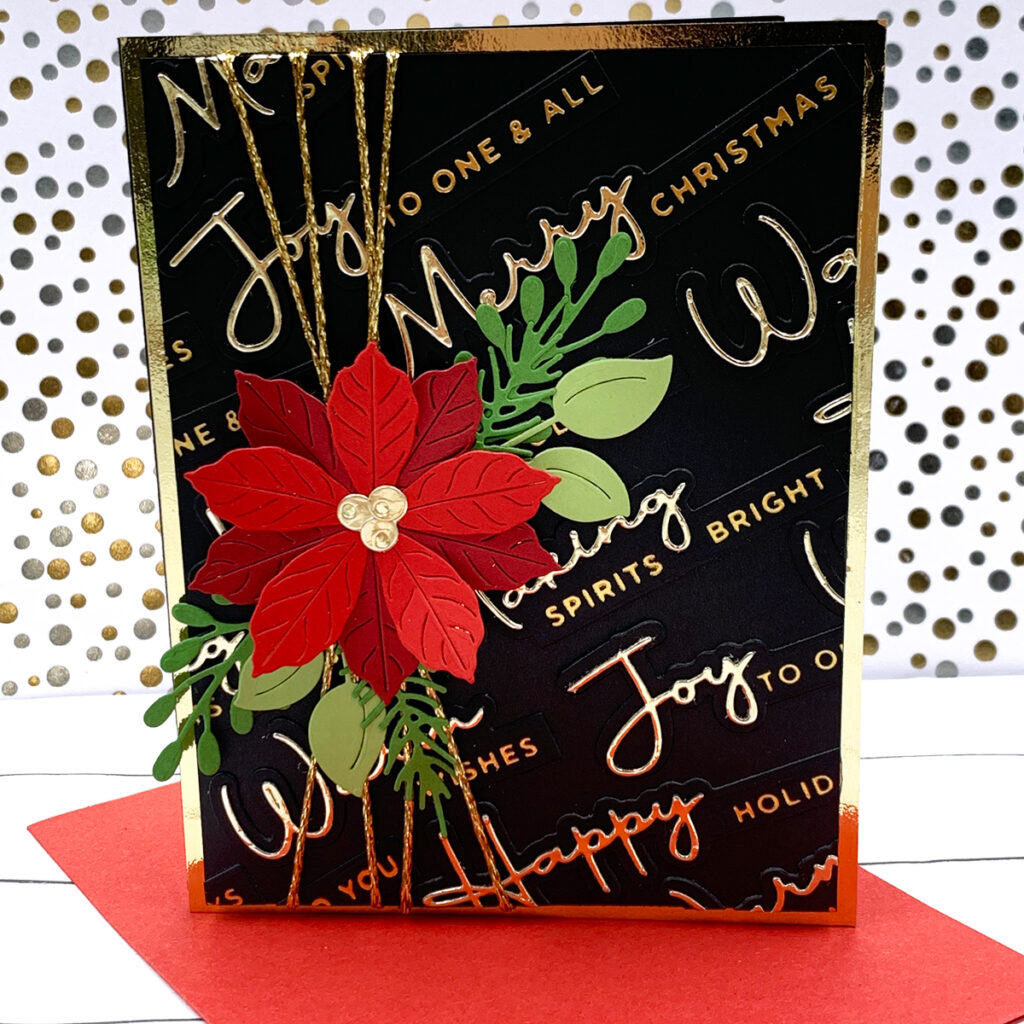
After I finished creating the front panel, I adhered it o a piece of golden cardstock that is 5 ½” x 4 ¼” to give this note card a beautiful golden trimming at the front!

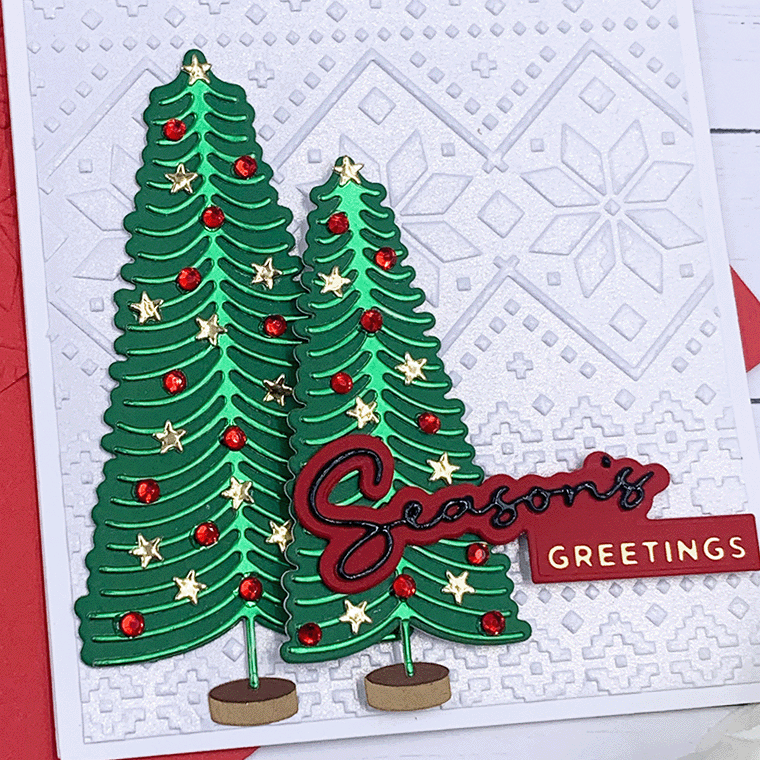
Moving on, this second note card is top folding, and it has the same measurement as the previous note card (5 ½” x 4 ¼”). For this one I started by dry embossing a piece of shimmer cardstock that measures 5 ¼” x 4” with the Spellbinders “Ski Lodge” embossing folder. This embossing folder creates beautiful patterns and adds a lot of texture to the cardstock which I love! Using strong liquid adhesive, I adhered this panel to the front of my note card.
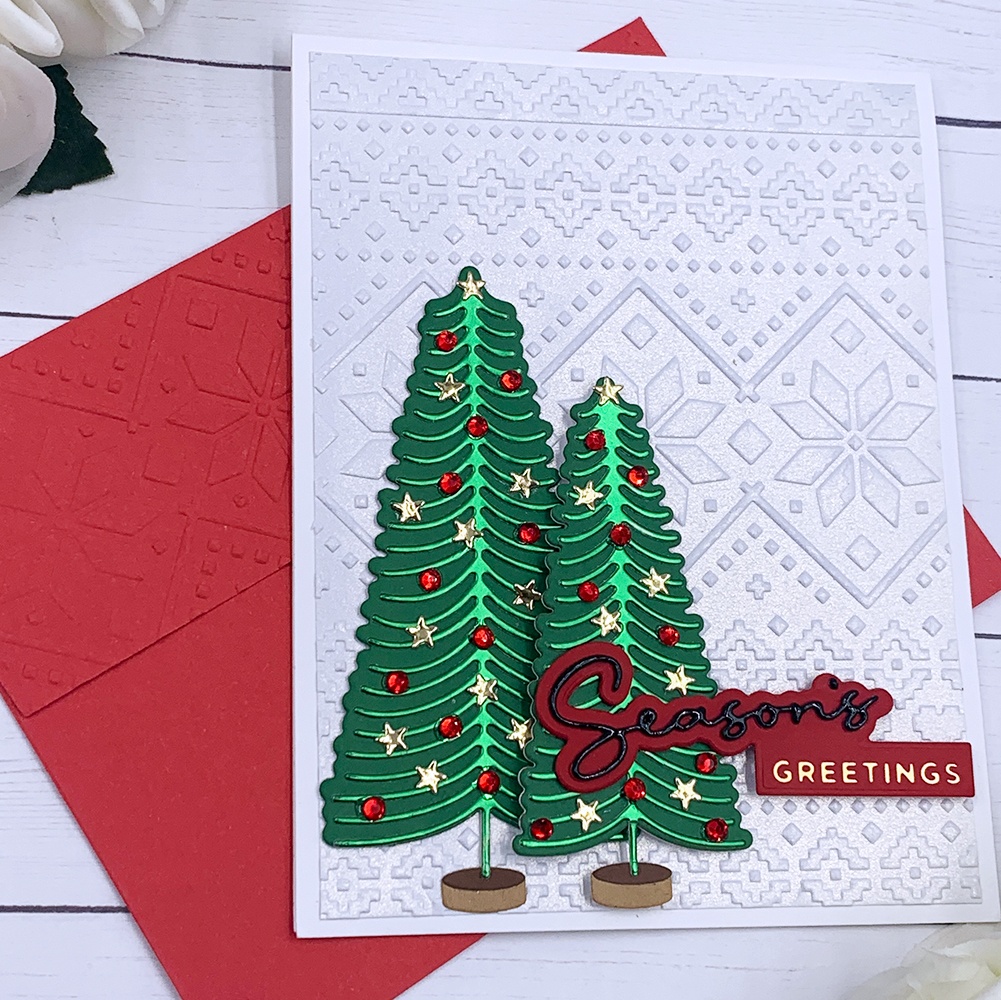
To create these beautiful Christmas trees, I use the Spellbinders “Bottle Brush Trees Duo”. With this set we get metal plates to cut out Christmas trees in two different sizes, the base for the trees and another metal plate that cuts lots of stars and ornaments at once! However, because I wanted to add some dimension, I decided to use flat back red rhinestones as ornaments! And, I die cut these tiny stars out of golden cardstock!
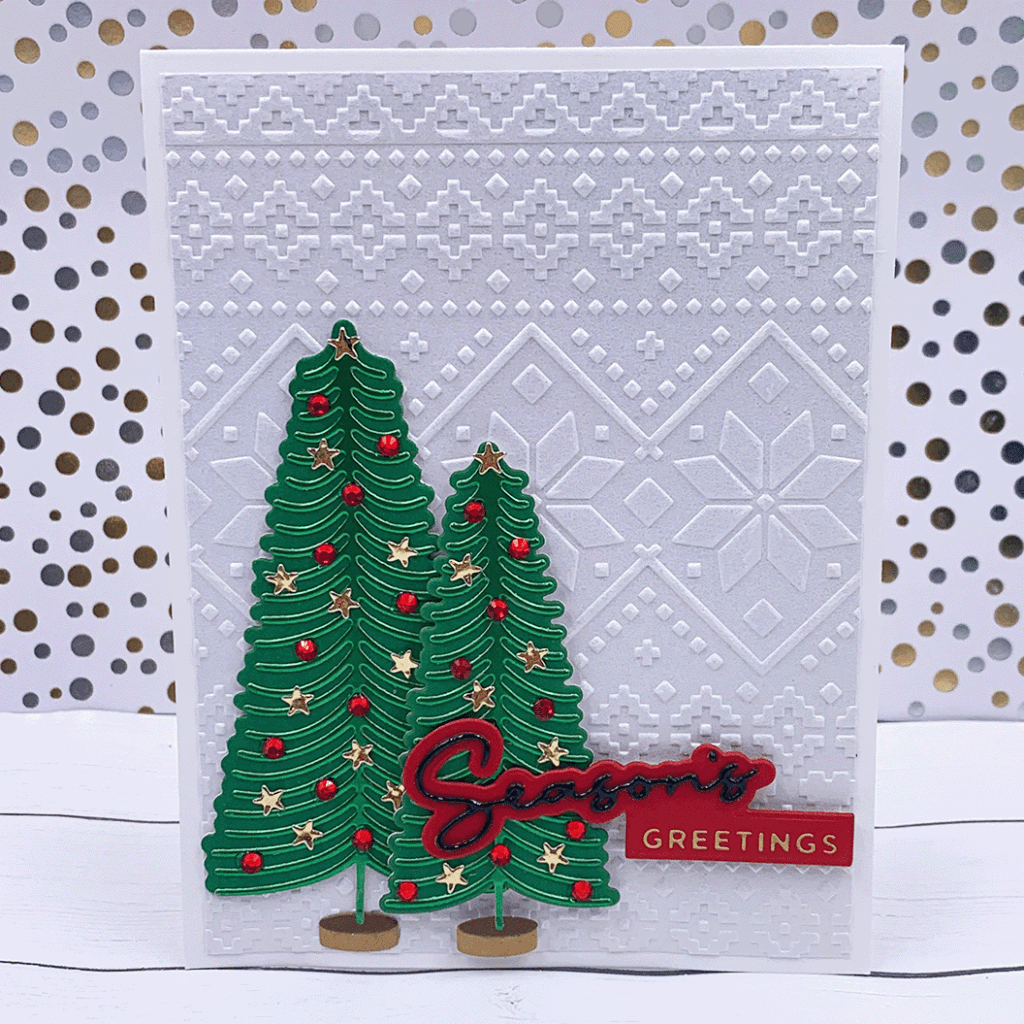
For the sentiment I used the Spellbinders “Christmas Die & Glimmer Sentiments” set. I cut the script word “Season”s” out of black cardstock. Then, I applied Ranger Glossy Accents on top to make it very shiny and glossy. The rest of the phrase I hot foiled with golden foil and I used double sided foam adhesive to adhere it to my front panel.

These are the two Christmas note cards that I wanted to share today and I hope you felt inspired! Thank you so much for visiting my blog, have a wonderful day and I hope to see you again soon!
SUPPLIES
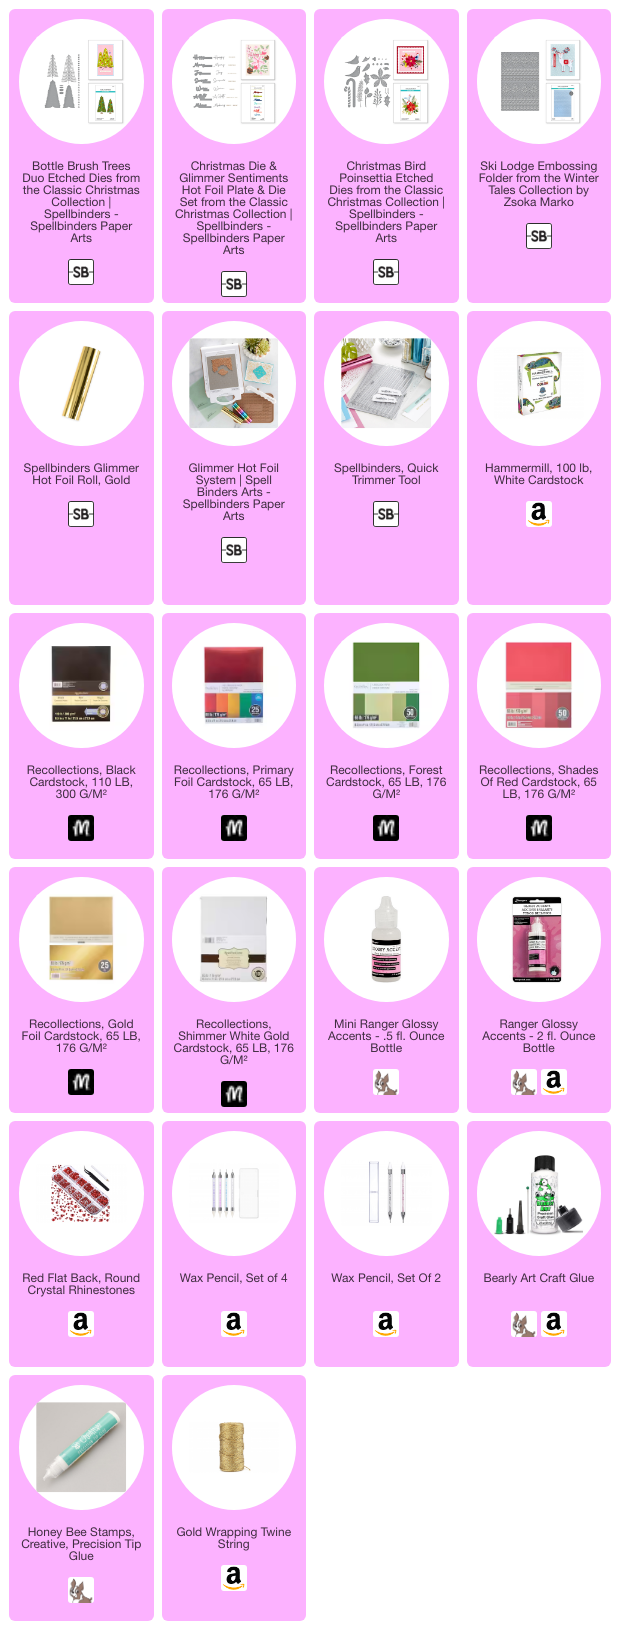
I have listed below all of the products that I used to make today’s note cards (if they are still available). Compensated affiliate links may be used at no cost to you, and I only use and recommend products that I love! As always, thank you for your support!

-
-
9 months
Tagged letterpress technique, Spellbinders Home For The Holidays Collection