Country Christmas Note Cards

Hello crafters! Today I am sharing some Christmas note cards featuring a few sets from Spellbinders Country Christmas collection by Annie Williams! This is a wonderful collection with amazing sets to create projects for the holidays! You can click here to wathc me create these note cards!
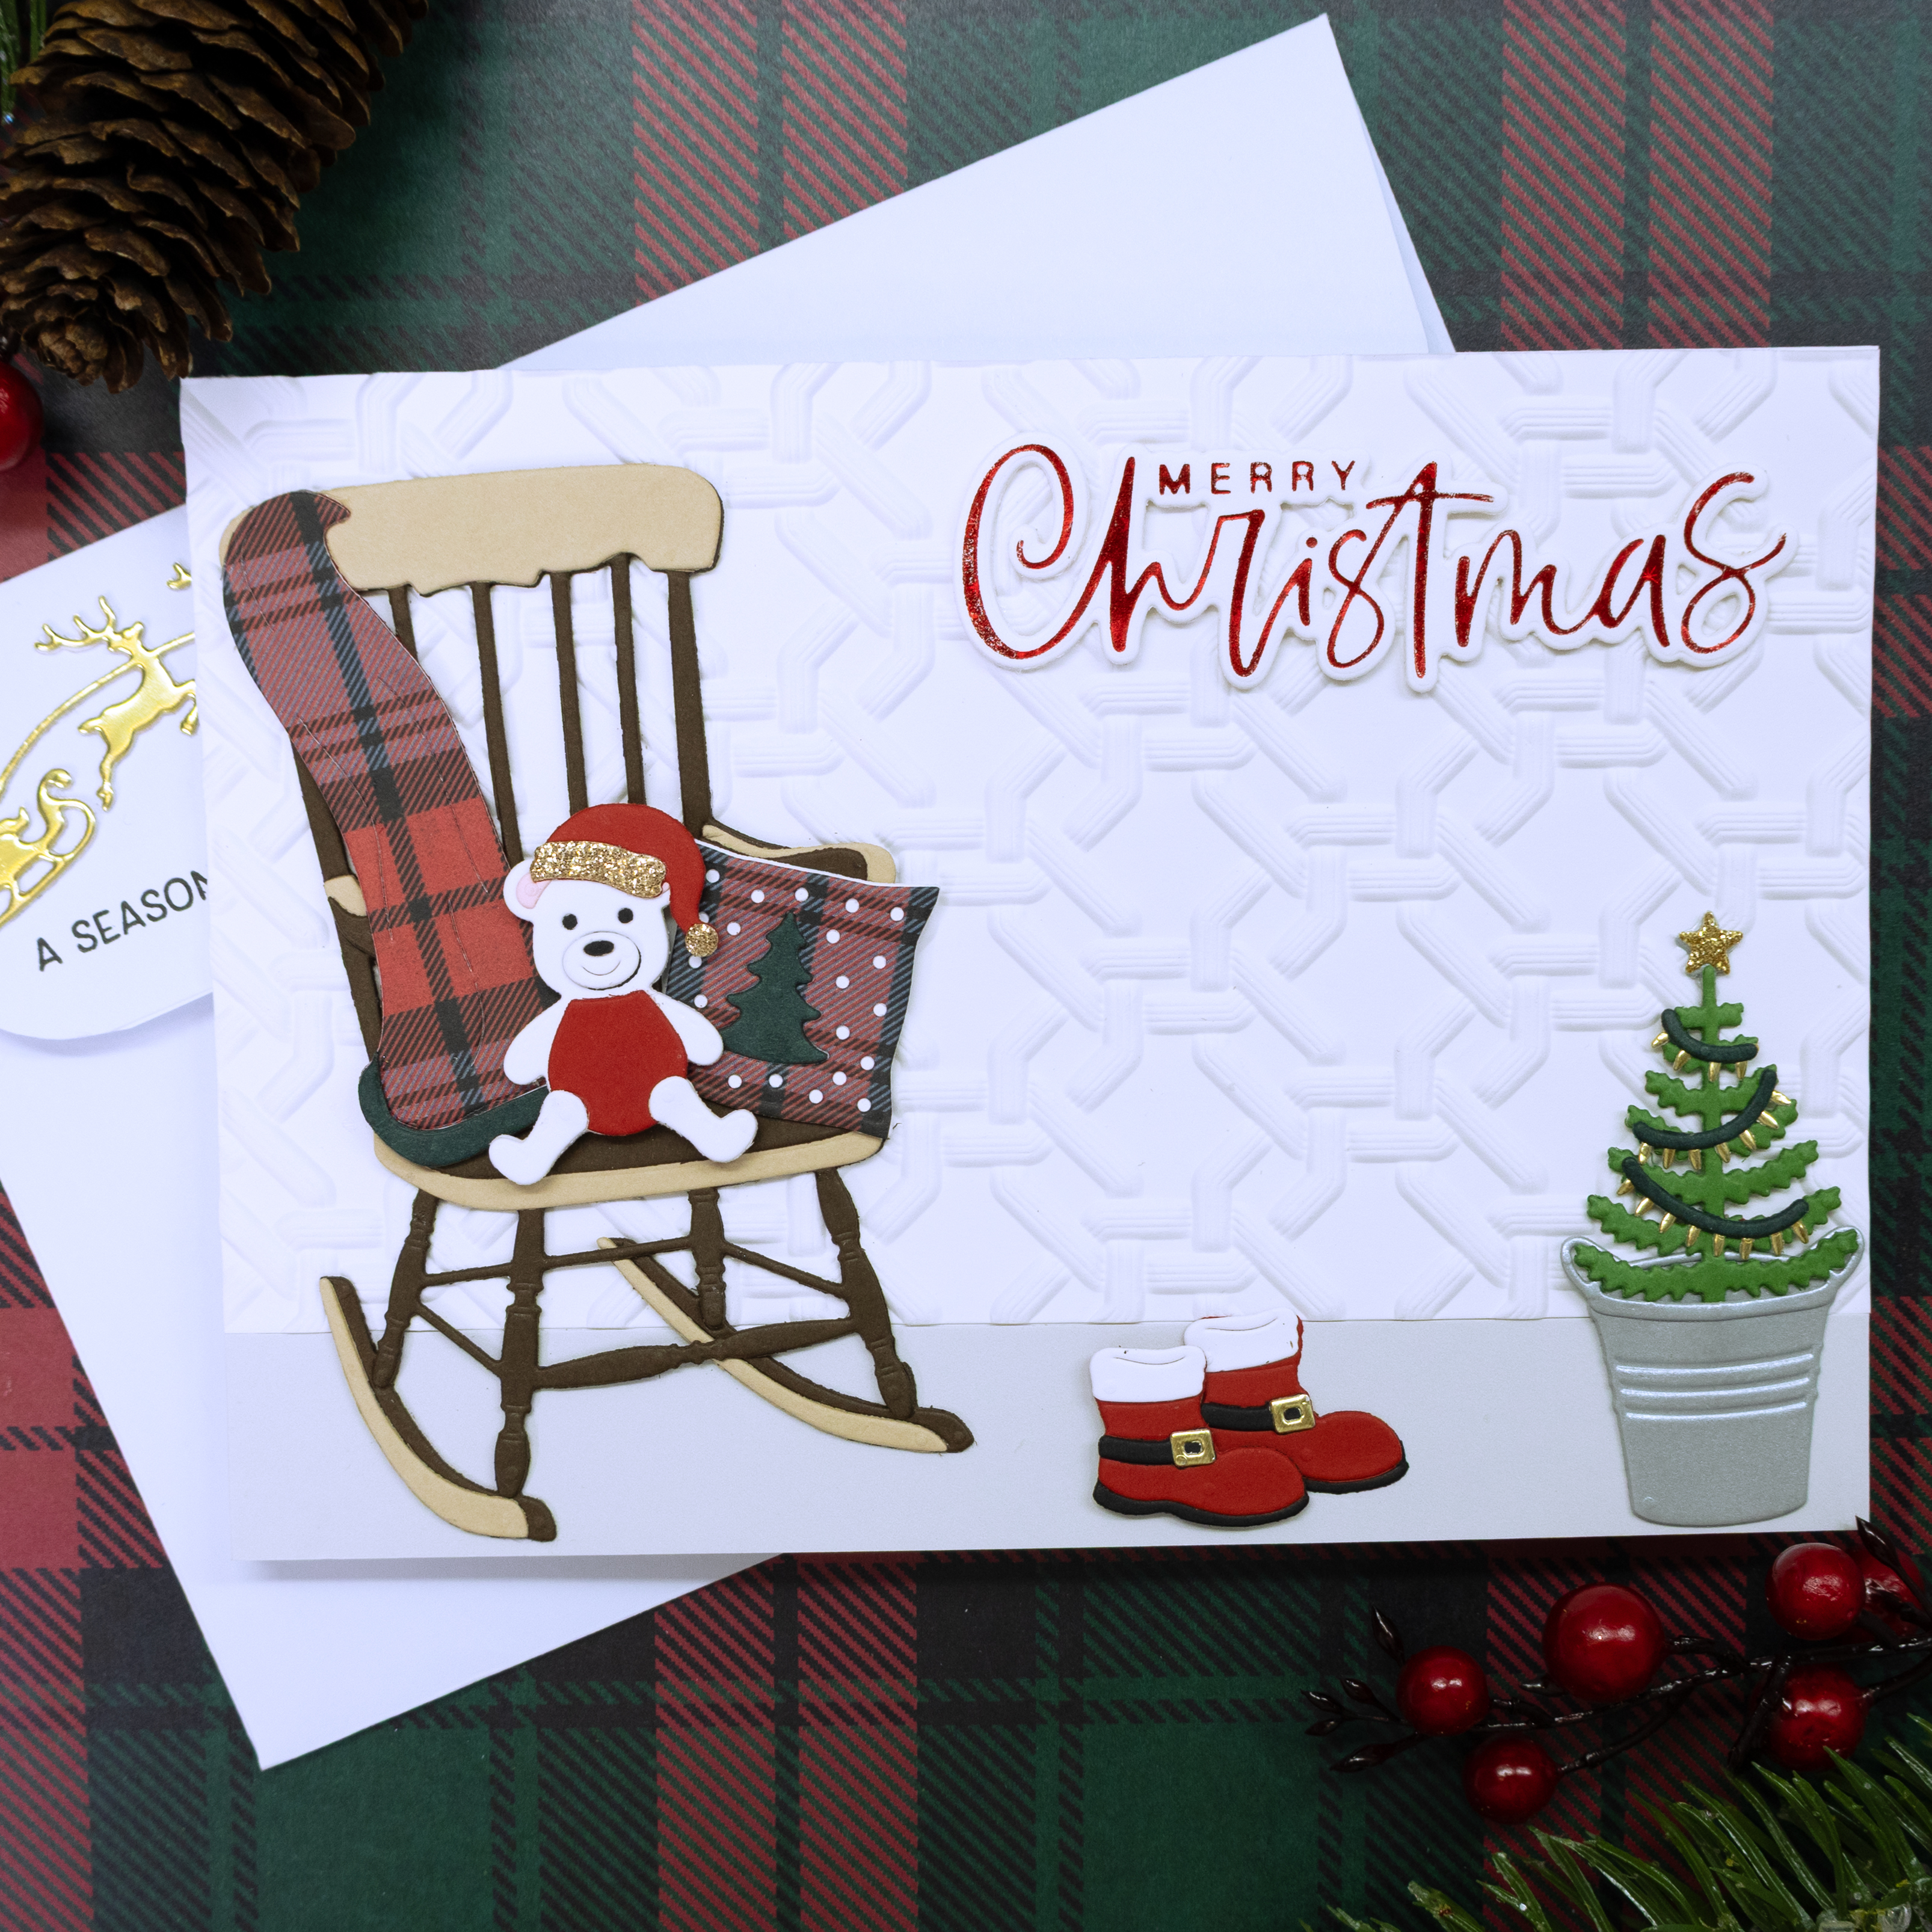
Country Rocking Chair
- Dry emboss a 7” x 4” white panel with Spellbinders “Stylized Lattice” 3D embossing folder and adhere it to the front of an A7 size note card, landscape orientation.
- Below the dry embossed panel, add a 1” x 7” piece of Spellbinders cardstock in the color Fog.
- Die cut the elements for this note card with the Spellbinders “Christmas Rocking Chair” die set. Use strong liquid adhesive to adhere the die cuts in place and/or pieces of foam adhesive for some dimension.
- Hot foil and die cut the sentiment “Merry Christmas” with a piece of foil in the color “Crimson Stars” and hot foil plates included in the Spellbinders “Festive Lights” hot foil set.
Country Horse-Drawn Wagon
- Dry emboss a 7” x 4” white panel with Spellbinders “Starry Snowfall” 3D embossing folder and adhere it to the front of an A7 size note card, landscape orientation.
- Add some yellow shadow to the dry embossed panel with a blending brush and yellow ink.
- Below the dry embossed panel, add a 1” x 7” piece of Spellbinders cardstock in the color Fog.
- Die cut the elements for this note card with the Spellbinders “Christmas Horse-Drawn Wagon” die set. Use strong liquid adhesive to adhere the die cuts in place.
- Hot foil and die cut the sentiment “Merry Christmas” with a piece of foil in the color “Black” and hot foil plates included in the Spellbinders “Festive Lights” hot foil set.
- Add golden flat back beads to the center of each bow and poinsettia.
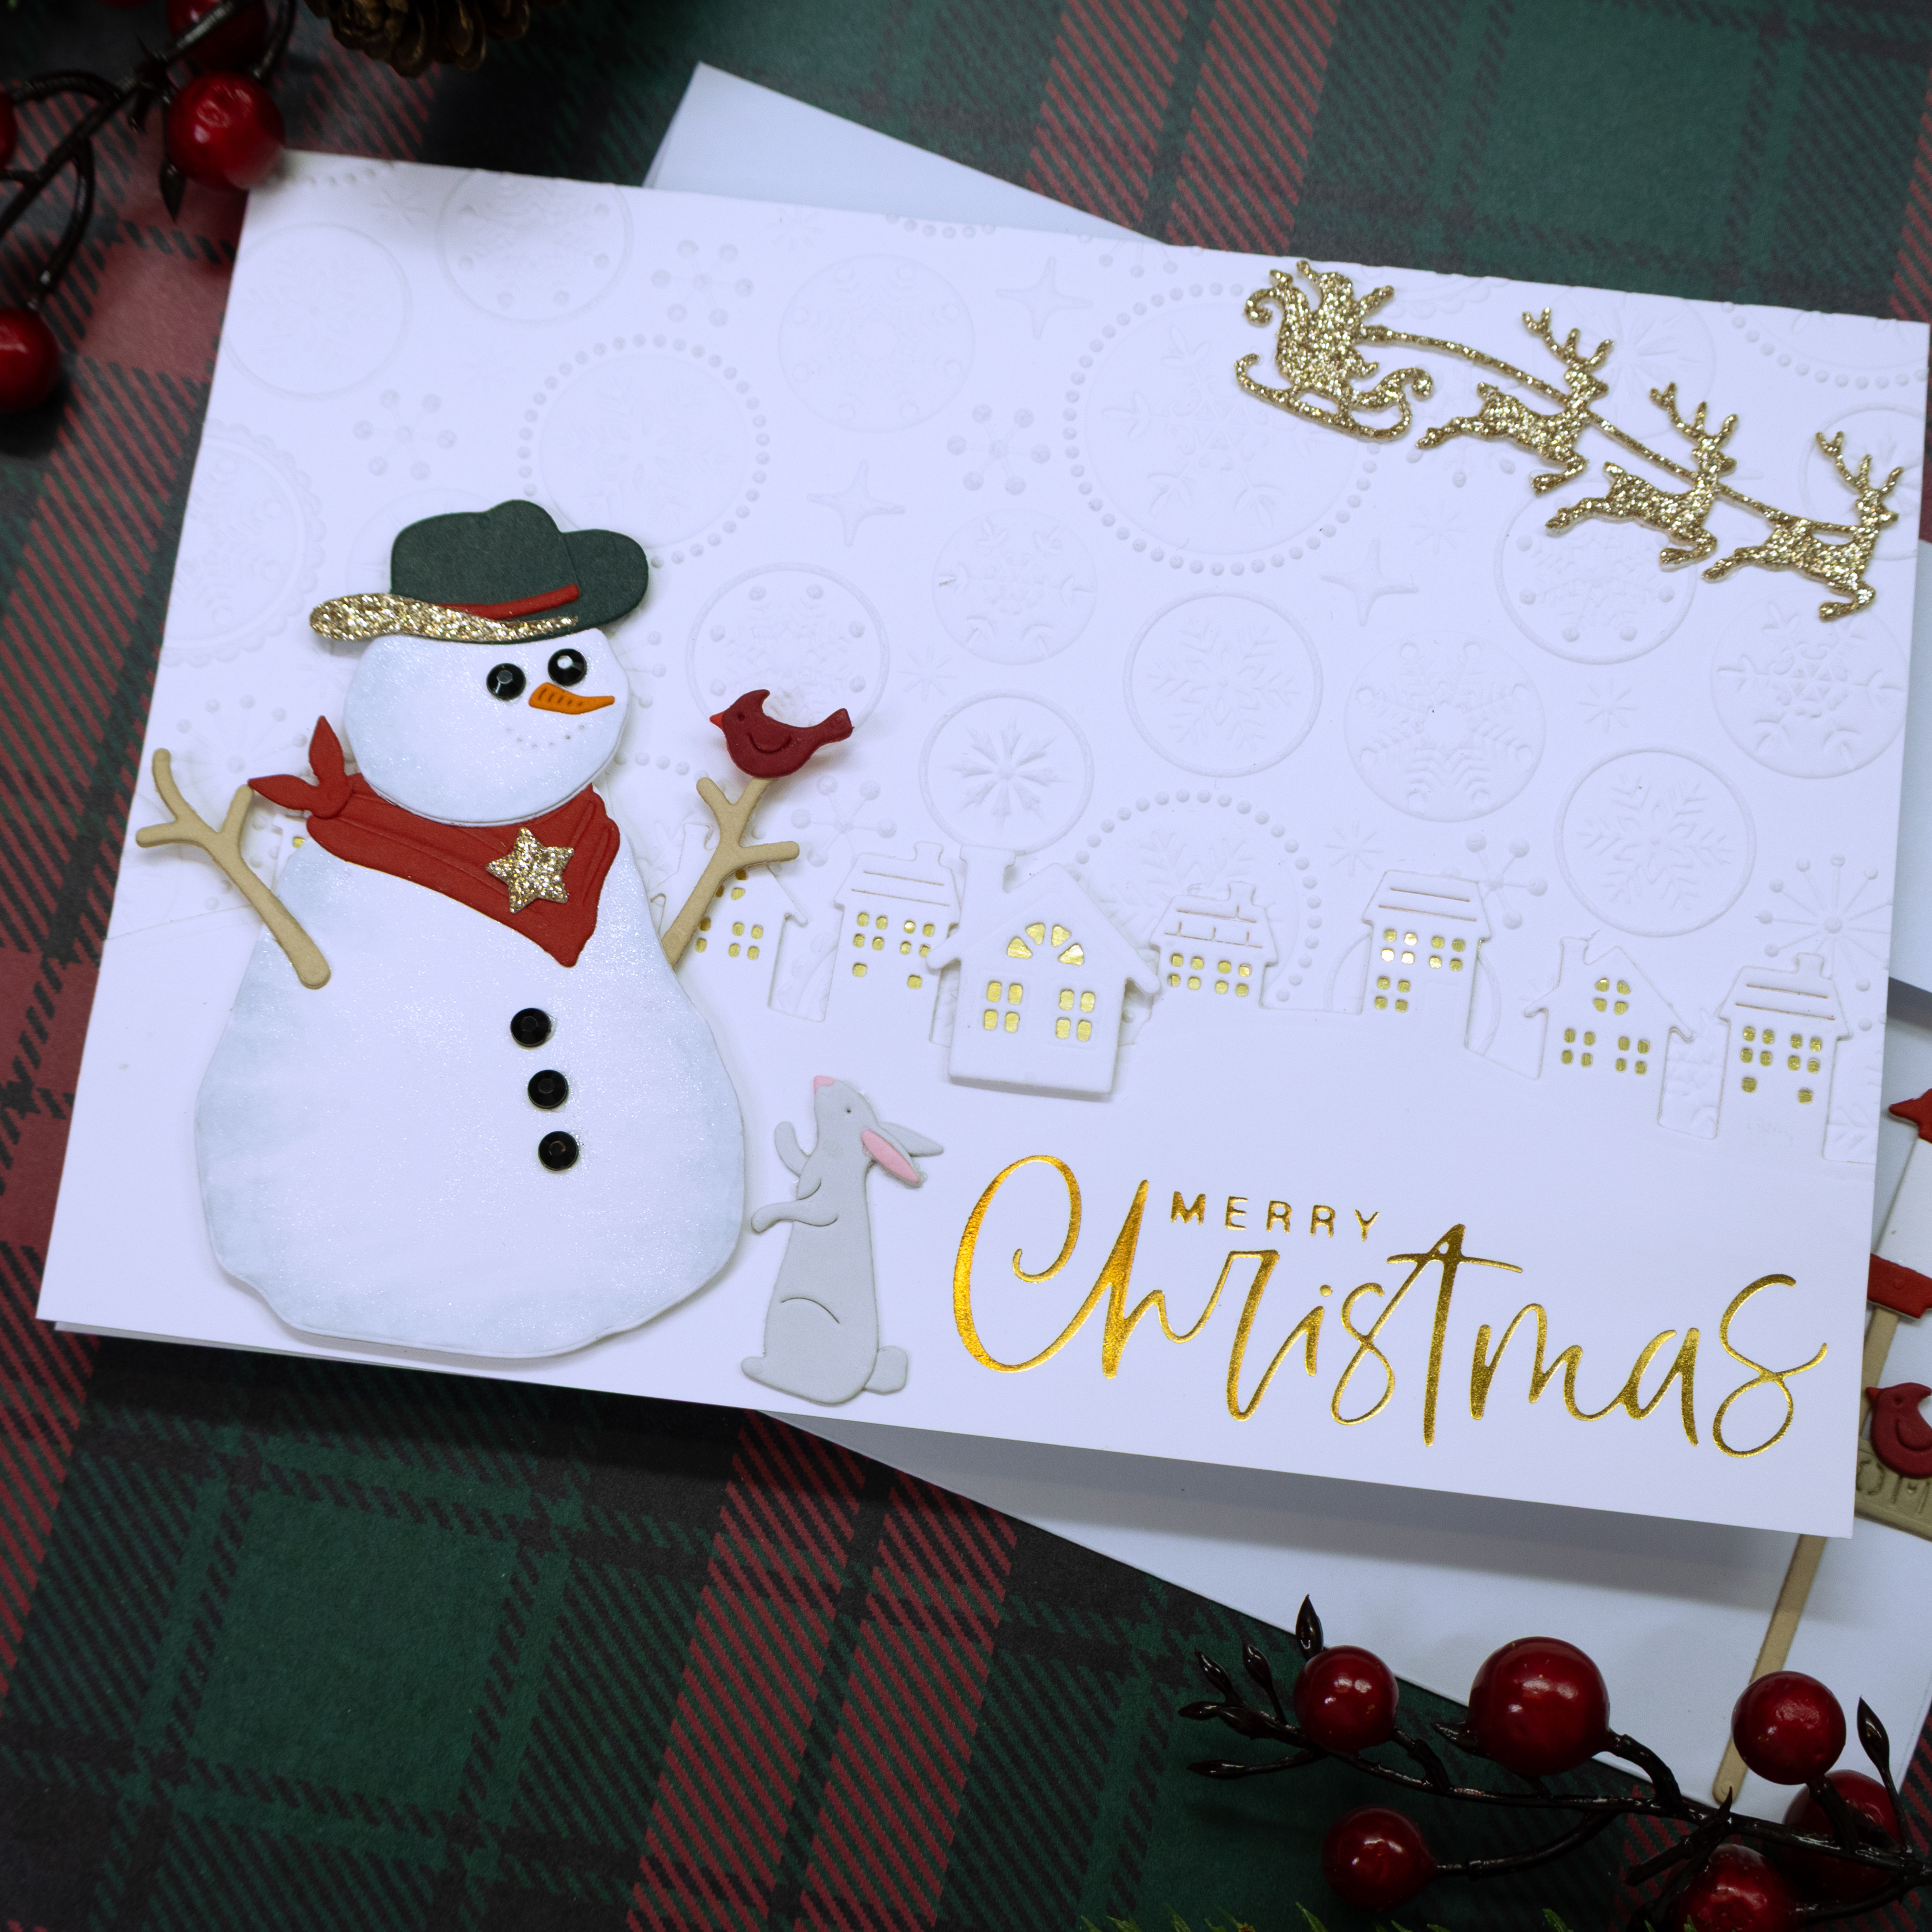
Country Snowman
- Dry emboss a 7” x 4” white panel with Spellbinders “Starry Snowfall” 3D embossing folder, and adhere it to the front of an A7 size note card, landscape orientation.
- Die cut a panel with hills and houses using a metal plate included in the Spellbinders “Simon’s Snow Globe” die set.
- Hot foil the sentiment “Merry Christmas” onto the panel with hills and houses using a piece of foil in the color “Polished Brass” and hot foil plates included in the Spellbinders “Festive Lights” hot foil set. Then, adhere it to the front of the note card.
- Die cut the elements for this note card with the Spellbinders “Country Snowman” die set. Use strong liquid adhesive to adhere the die cuts in place.
- Die cut Santa and Reindeer in the sky using a die cutting plate included in the Spellbinders “Simon’s Snow Globe” die set.
I hope you felt inspired and some of this information was helpful to you! If you create something inspired by this post, make sure to tag me on instagram! Thank you for visiting and happy crafting!
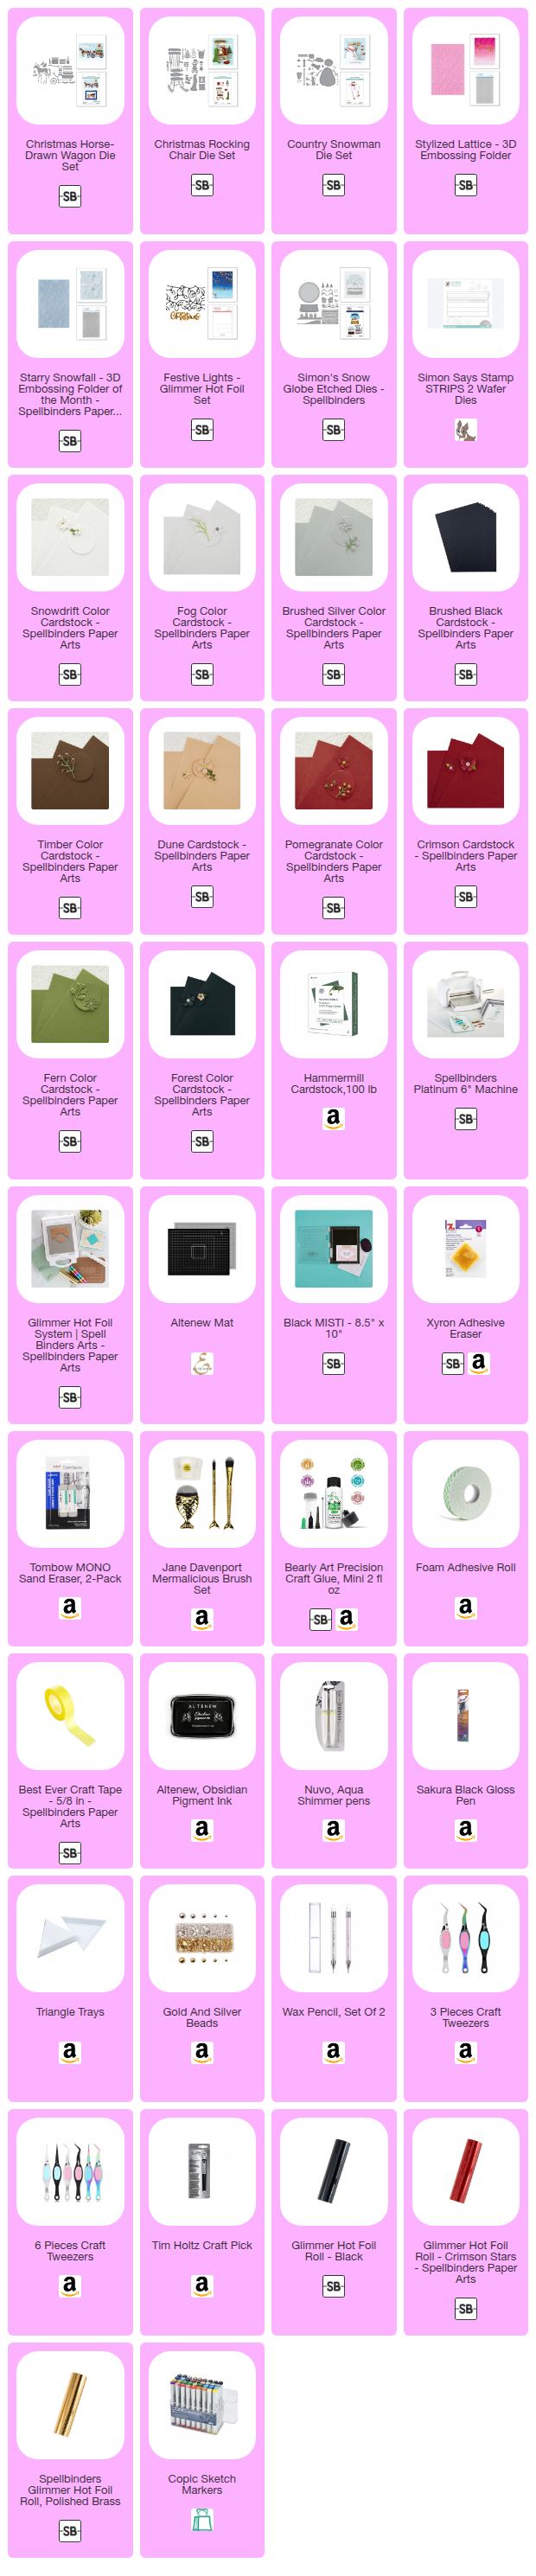
SUPPLIES
I have listed below all of the products that I used to make today’s note cards. Compensated affiliate links may be used at no cost to you, and I only use and recommend products that I love! As always, thank you for your support! (If the visual supply list is not shown below, you can CLICK HERE to access it!)
-
-
8 months
Tagged Spellbinders October 2025 Clubs