June 2025 Clubs Inspiration
Hello crafters! It has been a while but I’m happy to be back from my vacation and catching up on some many wonderful new releases! Today I have lots of card examples featuring some Spellbinders June 2025 clubs! You can click here to watch a video for a closer look at these note cards, as well as for some more tips and information!
You’re The Calm In My Stormy Seas
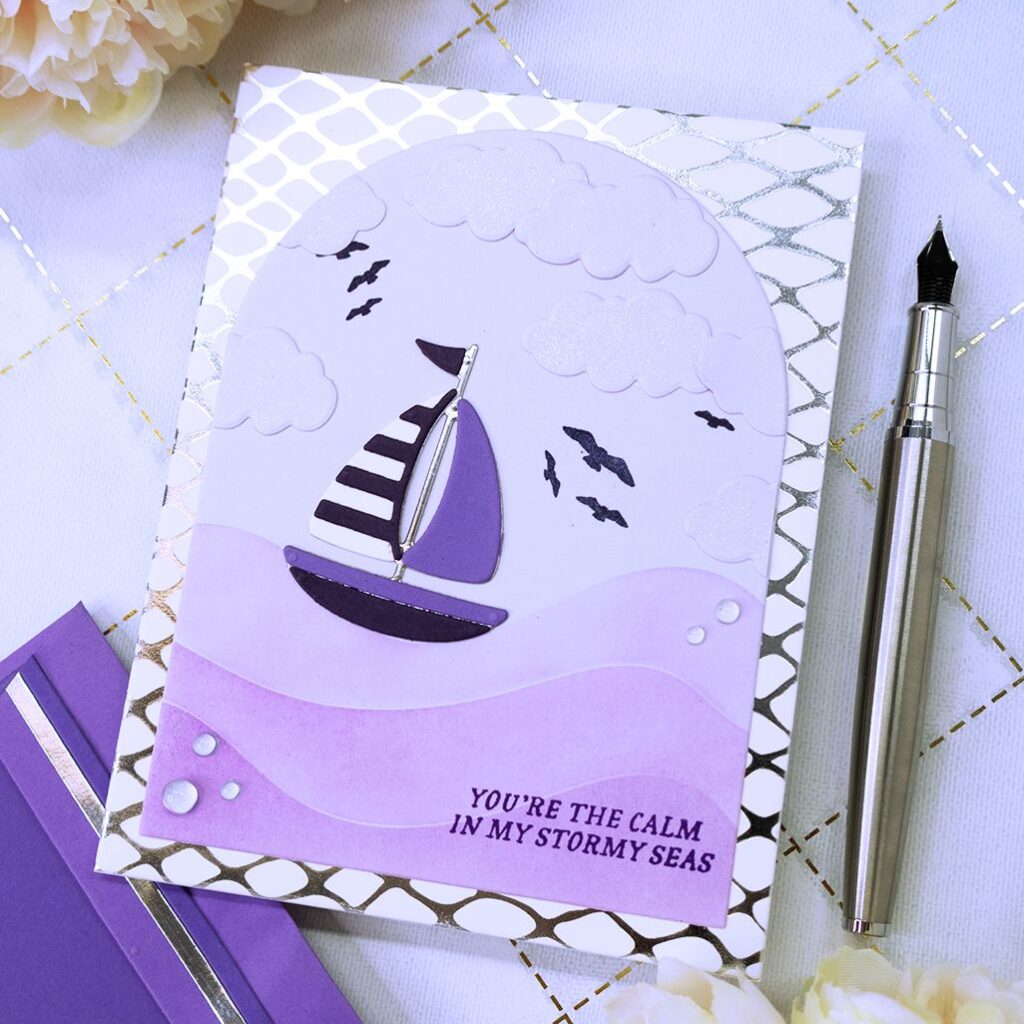
- Hot foil a 4 ¼” x 5 ½” white panel with silver foil and a large plate included in the Spellbinders “Cast Away” set. Adhere the foiled panel on the front of an A2 size note card.
- Stencil purple waves to a 4 ¼” x 5 ½” panel using a layering stencil set included in the Spellbinders “Rolling Tide” stencil set. Die cut the stenciled panel into an arched panel using a large die plate included in the Spellbinders “Essential Aches” die set. Adhere the arched panel on top of the foiled one.
- Die cut the boat pieces using metal plates included in the Spellbinders “Set Sail” die set. (This is a bonus item for the Caboodle club kit subscribers).
- Stamp the sentiment using a clear stamp set included in the Spellbinders “Anchors Away” clear stamp set.
- Embellish the note card with clear dewdrops.
Tips:
- Tip 01: Go over your older stamp and die sets and find more elements that you can add to your scene, such as birds and clouds in the sky.
- Tip 02 : Use a shimmer pen to add some sparkle so some of the die cut pieces. I used over the die cut clouds!
Anchors Away To An Amazing Birthday

- Stencil a 4” x 5 ¼” panel using blue ink and Spellbinders “Rolling Tide” stencil set. Adhere it to the front of a 4 ¼” x 5 ½” navy panel. Then glue this panel to the front of an A2 size note card.
- Stamp and die cut the sentiment with Spellbinders “Anchors Away” clear stamp and die set.
- Cut out some anchors from Spellbinders “Mirror Silver” cardstock using a metal plate included in the “Ahoy Matey!” stitching die set.
Thanks For Lighting The Way
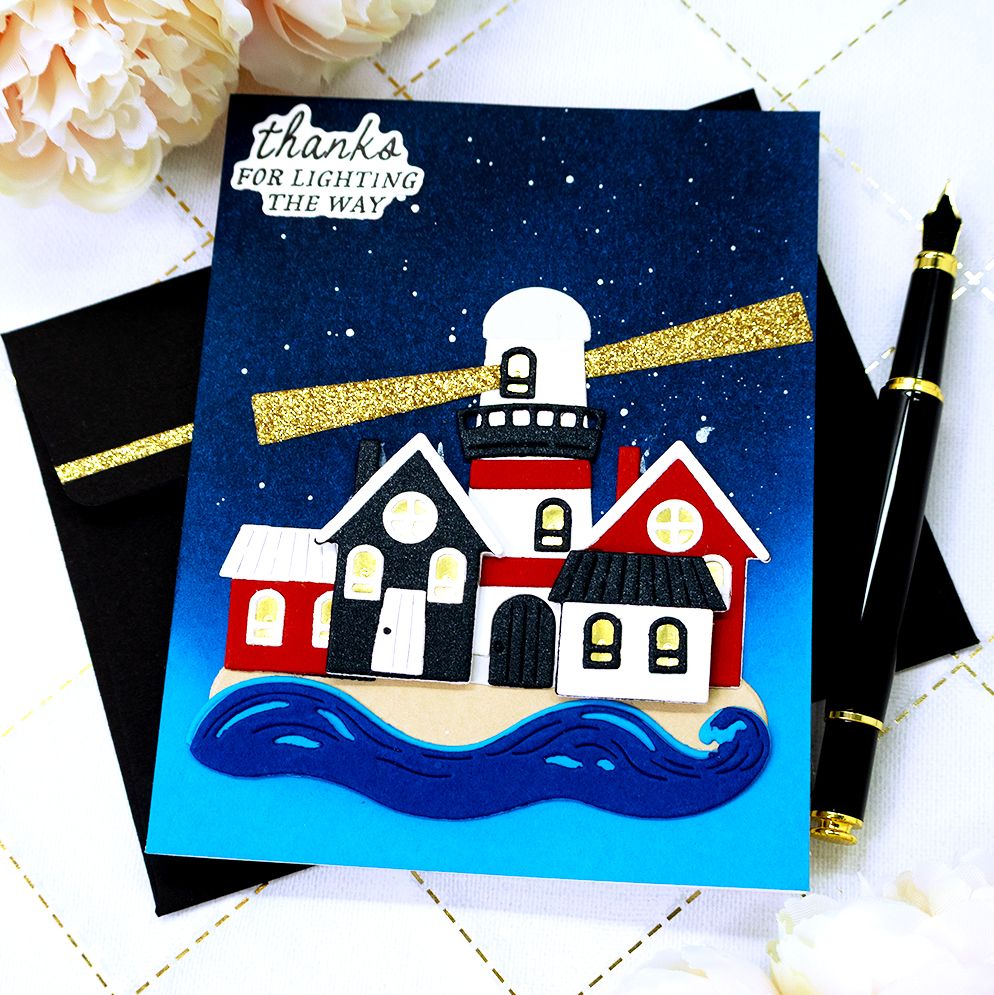
- Ink blend the top half of a 5 ½” x 4 ¼” panel, cut from Spellbinder cardstock in the color “Splash”. Use really dark blue ink.
- Splatter some white paint over the panel and create your scene with the Spellbinders “Sailor’s Light” die set.
- For some dimension, use foam adhesive to adhere some of the houses to the note card.
- Stamp and die cut the sentiment with Spellbinders “Anchors Away” clear stamp and die set.
Seas The Day & Make It Amazing
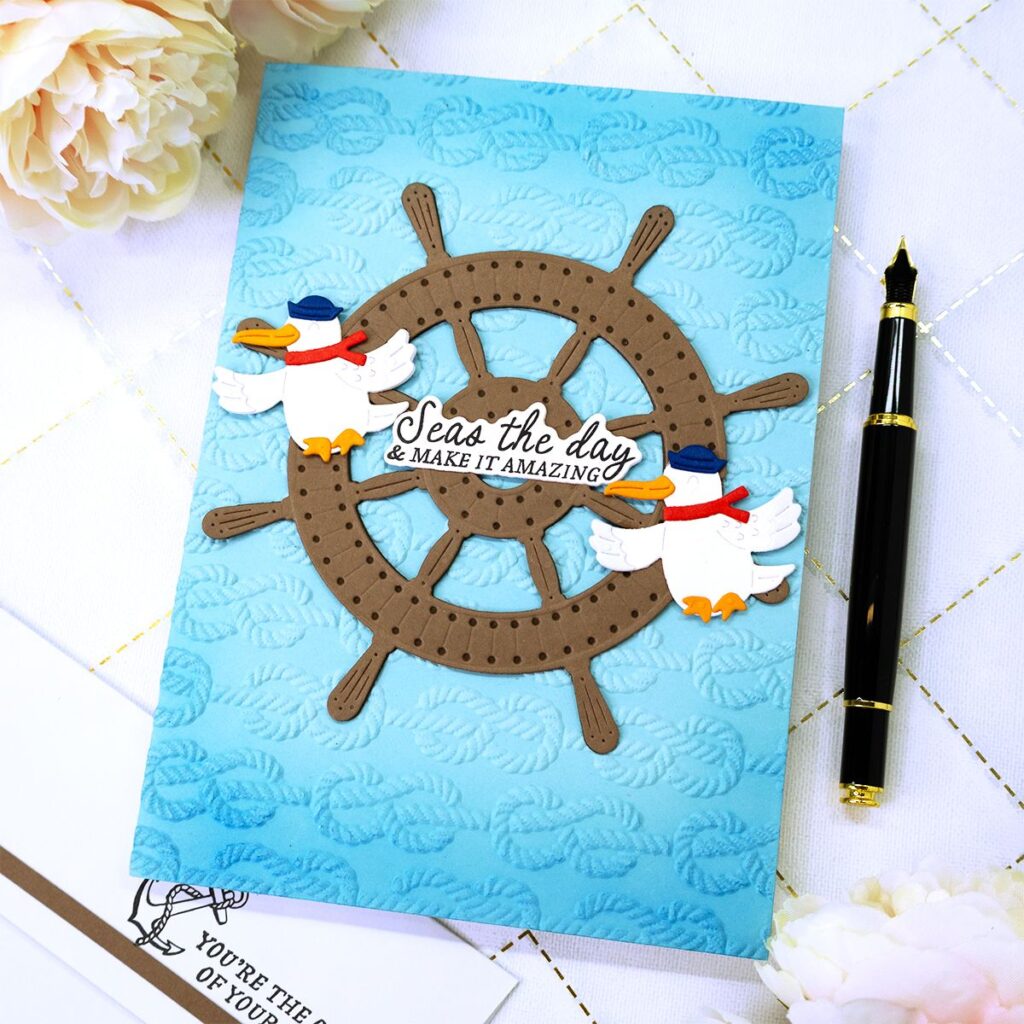
- Dry emboss a 5” x 7” panel using Spellbinders “Nautical Knots” 3D embossing folder. Adhere panel to the front of a “ x 7” note card.
- Stamp and die cut the sentiment with Spellbinders “Anchors Away” clear stamp and die set.
- Create your scene with metal plates included in the Spellbinders “Ahoy Matey!” stitching die set and “Shipmates” die set.
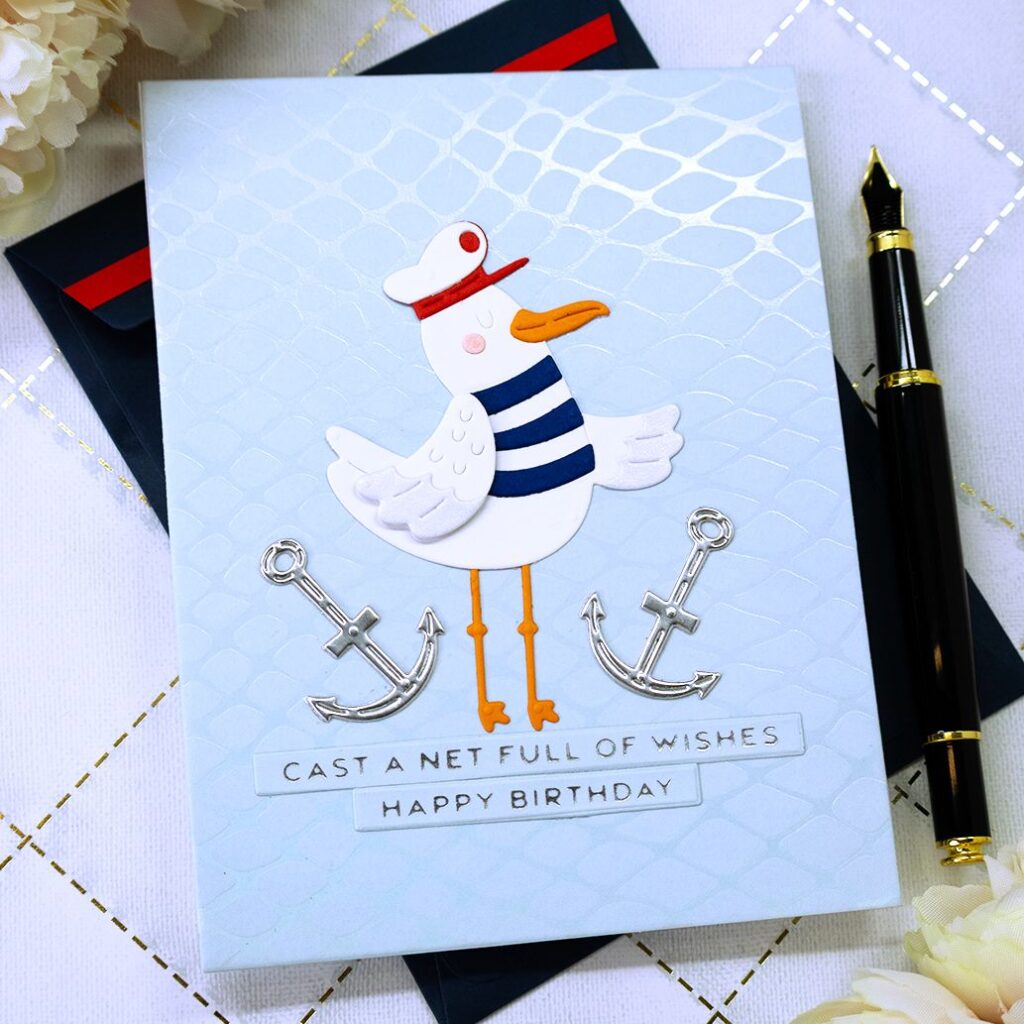
Cast a Net Full Of Wishes
- Hot foil a 5 ½” x 4 ¼” light blue panel with “Opal” foil and a large plate included in the Spellbinders “Cast Away” hot foil set. Adhere it to the front of an A2 size note card.
- Die cut a large seagull and anchors using metal plates included in the Spellbinders “Ahoy Matey!” set.
- Hot foil the sentiment strips with silver foil and plates included in the Spellbinders “Cast Away” hot foil set.
- Create a matching pocket shaped envelope with Stampendous “A2 Gift Card Holder and Envelope” die set.
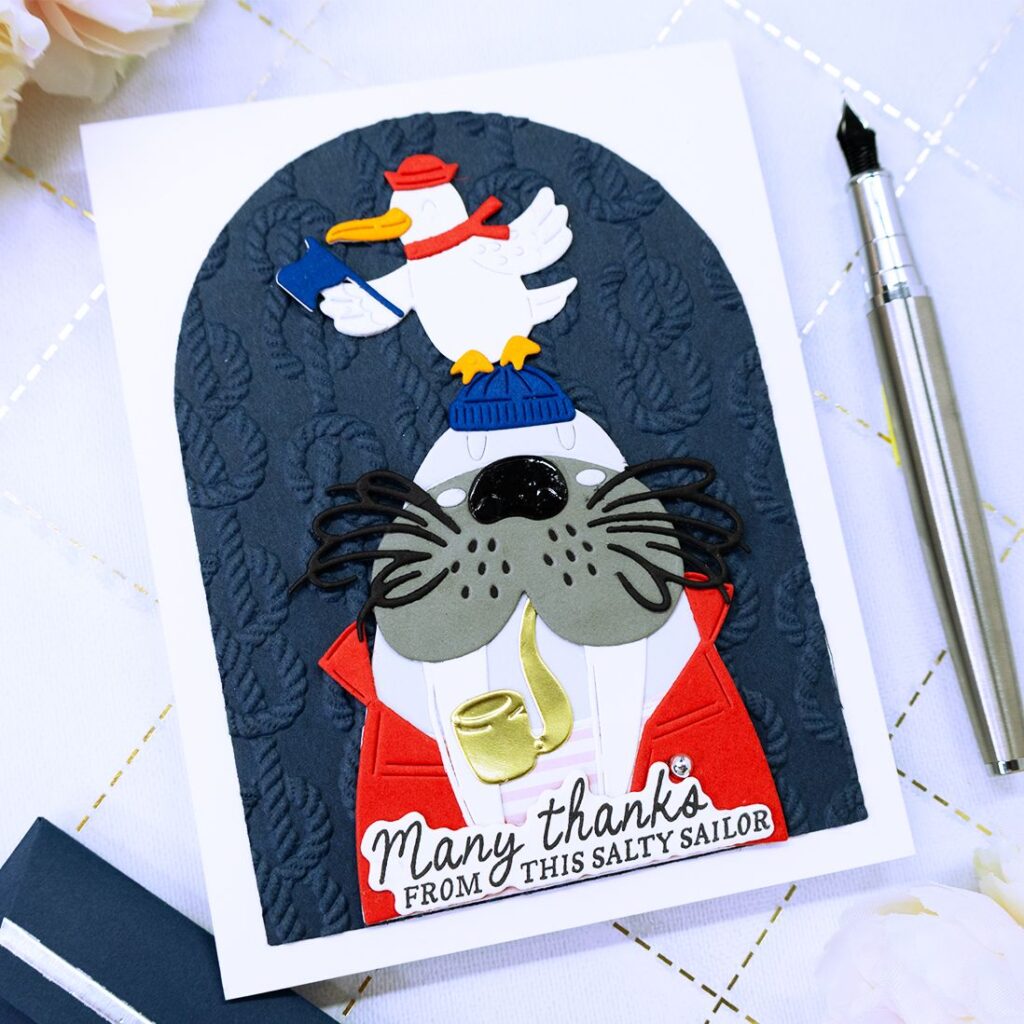
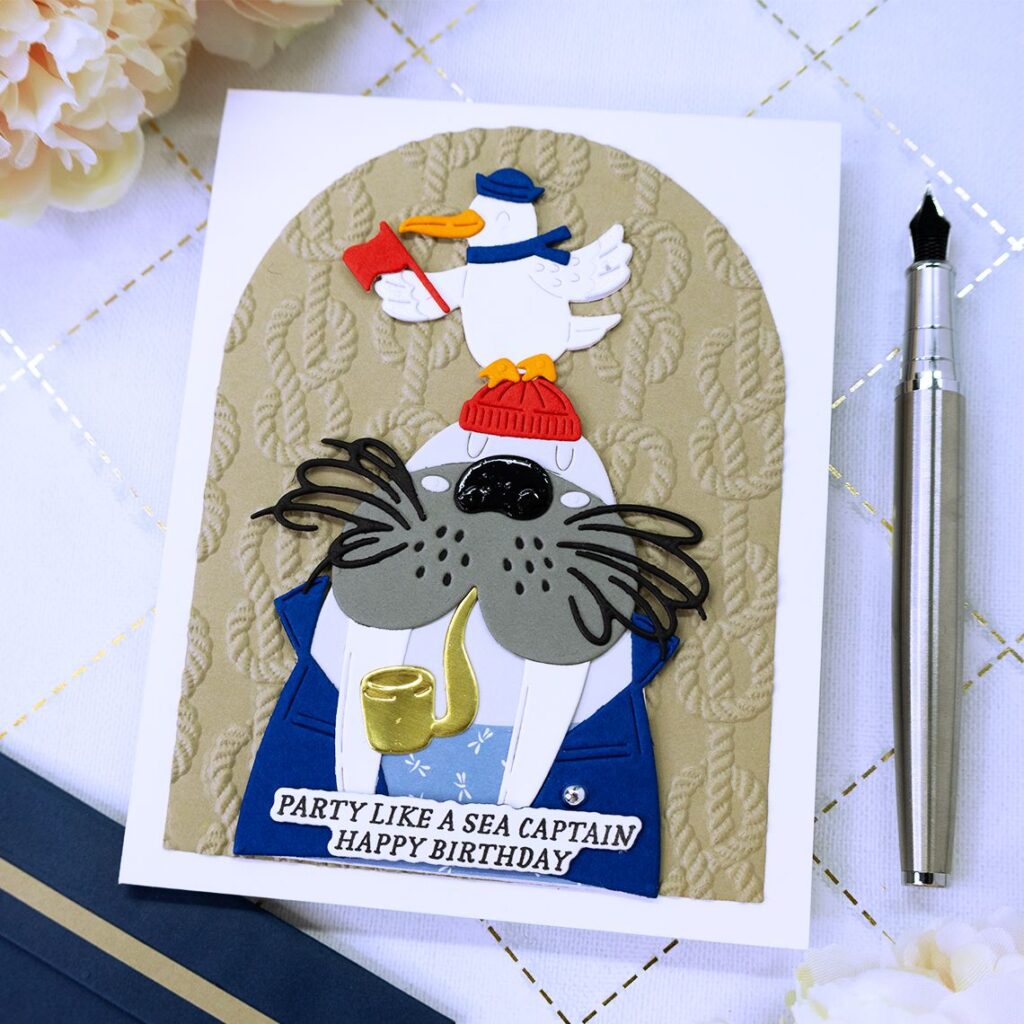
Party Like a Sea Captain & Many Thanks From This Salty Sailor
- Die cut and arched panel with a plate included in the Spellbinders “Essential Aches” die set.
- Dry emboss the arched panel with “Nautical Knots” 3D embossing folder. Adhere dry embossed panel to the front of an A2 size note card.
- Create your scene with die plates included in the Spellbinders “Shipmates” die set.
- Stamp and die cut the sentiment with Spellbinders “Anchors Away” clear stamp and die set.
- Create a matching pocket shaped envelope with Stampendous “A2 Gift Card Holder and Envelope” die set.
I hope you felt inspired and some of this information was helpful to you! If you create something inspired by this post, make sure to tag me on instagram! Thank you for visiting and happy crafting!
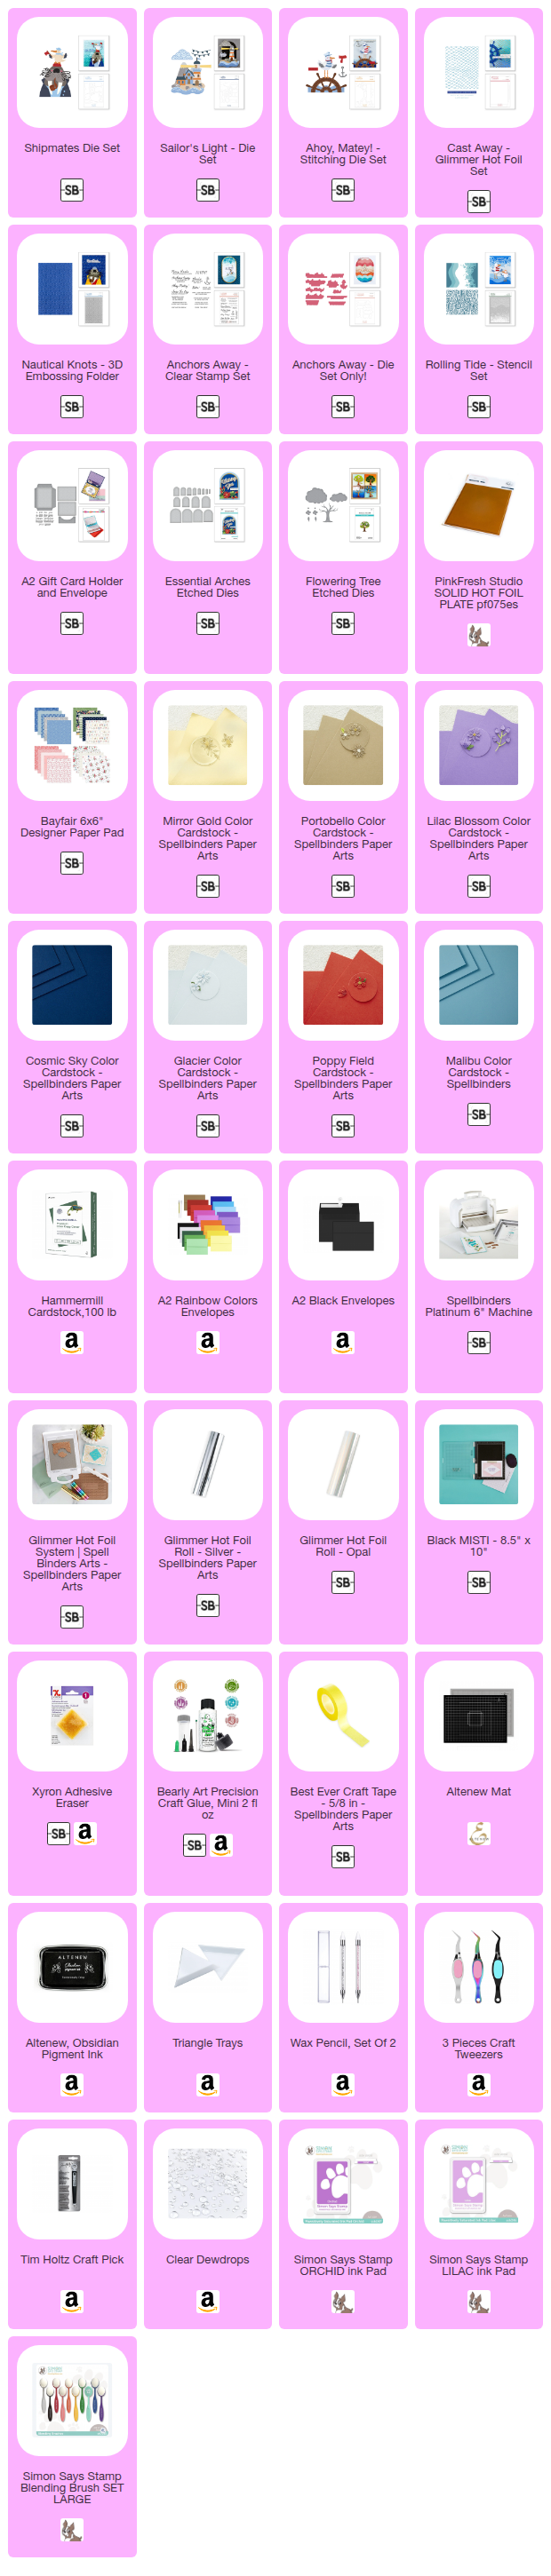
SUPPLIES
I have listed below all of the products that I used to make today’s note cards. Compensated affiliate links may be used at no cost to you, and I only use and recommend products that I love! As always, thank you for your support! (If the visual supply list is not shown below, you can CLICK HERE to access it!)
-
-
3 weeks
Tagged Surprise window note cards