Botanical Atrium Note Cards

Surprise Window Note Cards
Hello crafters! Today we will be creating a note card with a surprise window featuring Spellbinders January 2025 Large Die Of The Month, which is simply amazing! Then, using the leftover pieces from this note card, we will create a second one, just as amazing, to avoid any waste!
Surprise Window Note Card
- Using the largest die plate included in the Spellbinders “Botanical Atrium” die set , cut out a window from the center of a 5 ½” x 4 ¼” panel. I used Spellbinders cardstock in the color “Saffron”.
- Position the panel over a white side folding A2 size note card and trace the die cut window. Position the die plate over the pencil tracing and die cut a window from the front of the note card as well.
- Sandwich a piece of clear acetate between the front of the note card and the yellow panel. Make sure to use strong liquid adhesive.
- Die cut the intricate atrium frame and adhere it to the front of the note card, over the piece of acetate. I used Recollections “Shiny Silver” cardstock. Add a piece of double side adhesive to the back of the cardstock before cutting it. Carefully peel off the die cut frame, making sure to leave the solid pieces in place, so we can use them later to make a second note card.
- Adde liquid adhesive to the back of the note card and connect it to a second white side folding A2 size note card.
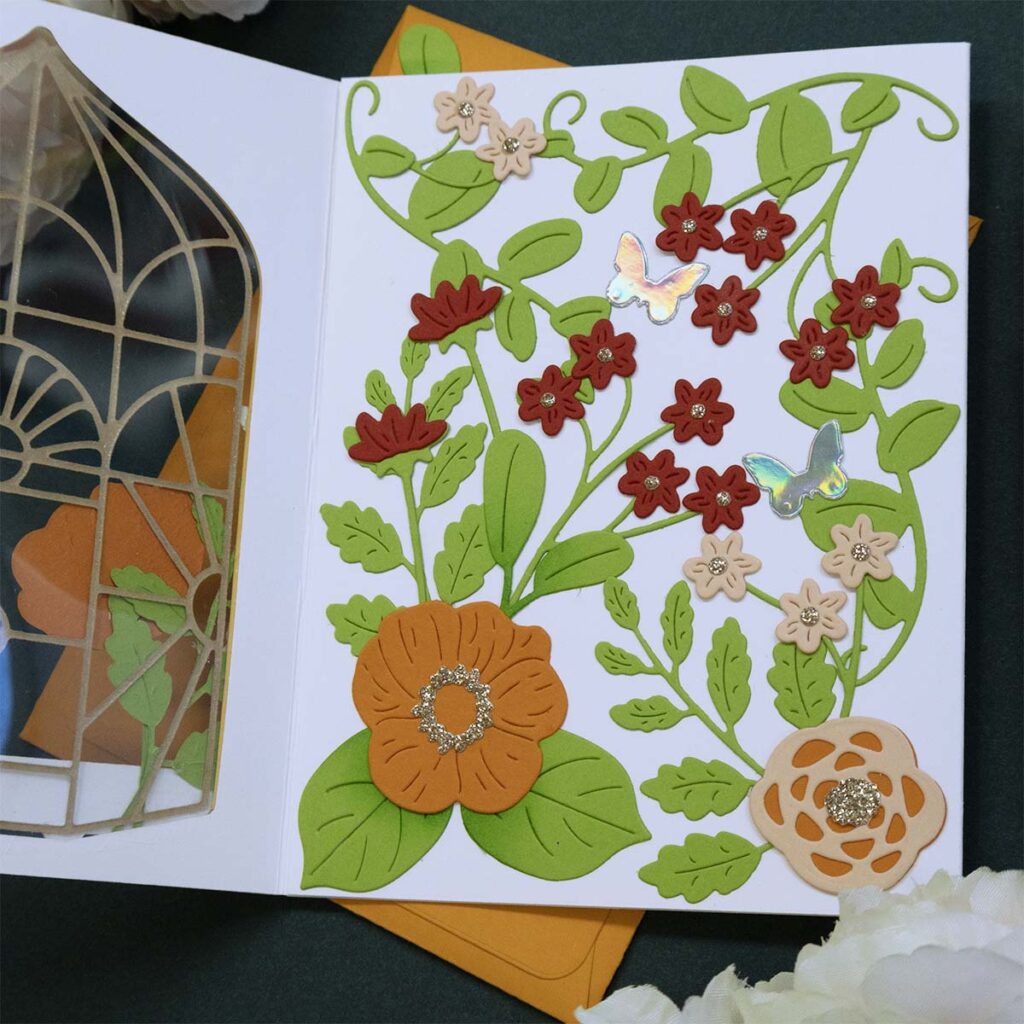
- Decorate the note card with die cut blooms created with metal plates included in the Spellbinders “Botanical Atrium” die set .
- Stamp and die cut a sentiment with the Spellbinders “Nature’s Dance” stamp and die set.
- Create a pocket shape envelope using metal plates included in the Stampendous “A2 Gift Card Holder And Envelope” die set.
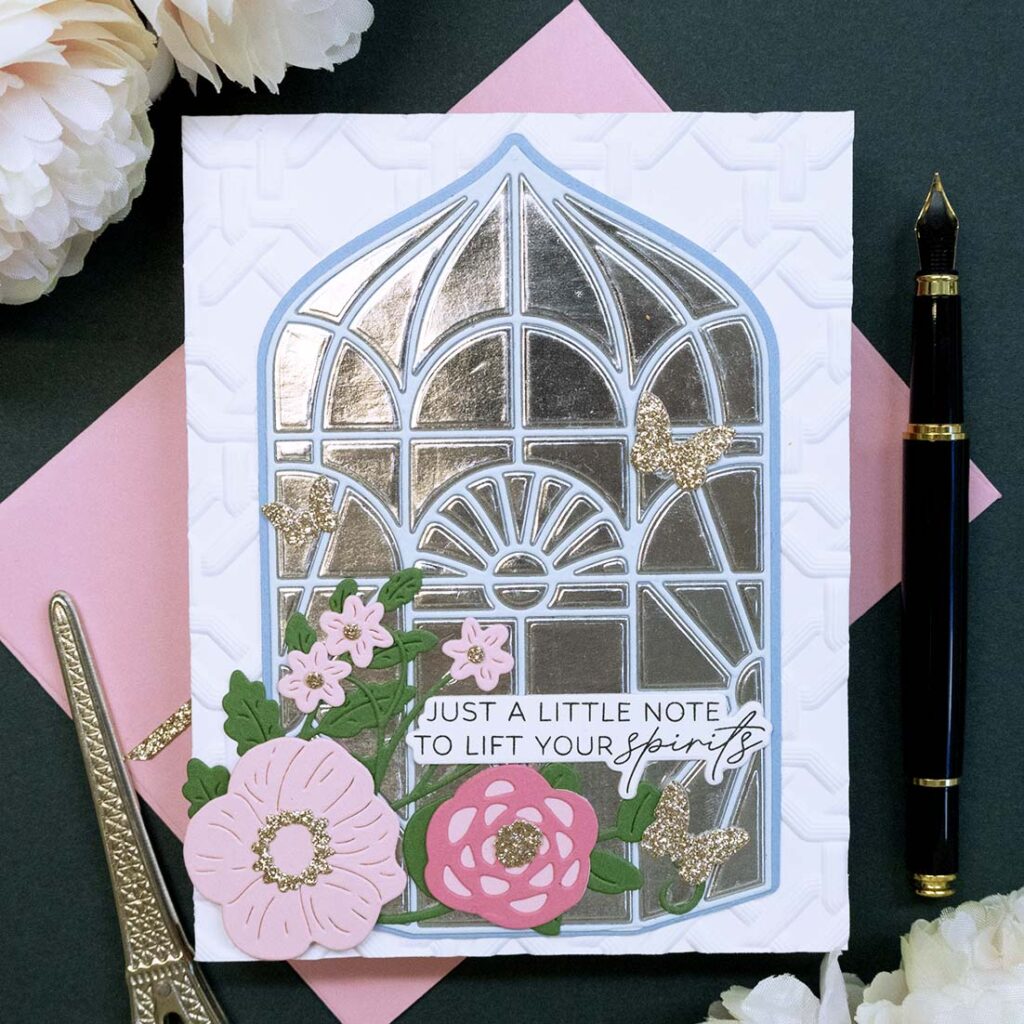
Dry Embossed Note Card
- Dry emboss a white A2 size note card using Spellbinders “Stylized Lattice” 3D embossing folder. Place the note card folded inside the embossing folder for a debossed look in the back of the note card.
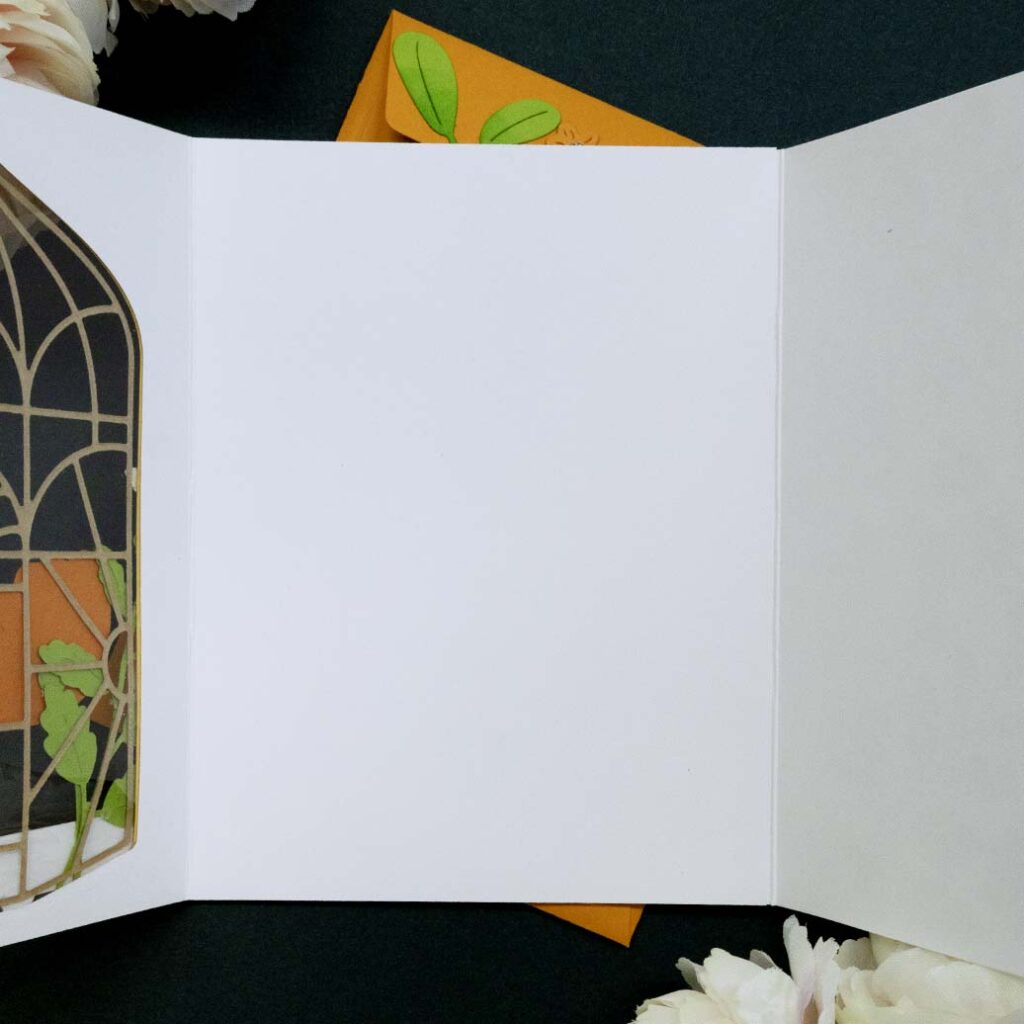
- Add 2 white panels inside the note card to create a smooth space to write a personal message.
- Die cut the largest solid shape and intricate piece for the atrium from two shades of blue cardstock and glue them together. Then, using the leftover solid shapes from the previous note card, pop all of these silver pieces back in the negative spaces.
- Adhere the atrium die cut in the center of the note card.
- Decorate the note card with die cut flowers and butterflies, created with metal plates included in the Spellbinders “Botanical Atrium” die set.
- Stamp and die cut a sentiment with the Spellbinders “Nature’s Dance” stamp and die set.
I hope you felt inspired and some of this information was helpful to you! If you create something inspired by this post, make sure to tag me on instagram! Thank you for visiting and happy crafting!
SUPPLIES
I have listed below all of the products that I used to make today’s note cards. Compensated affiliate links may be used at no cost to you, and I only use and recommend products that I love! As always, thank you for your support!
-
-
2 weeks
Tagged Surprise window note cards