Dragonfly Note Cards


Hello crafters! Today I have some card designs to share with you featuring some of Spellbinders January 2025 clubs! A dragonfly die set was definitely something that I never thought I needed up until I saw this month’s clubs! It was very enjoyable creating with Spellbinders January clubs and I hope this post inspires you to get creative!
Die Cut Inlay Technique
3 for 1 Note Cards
A7 Size Note Cards


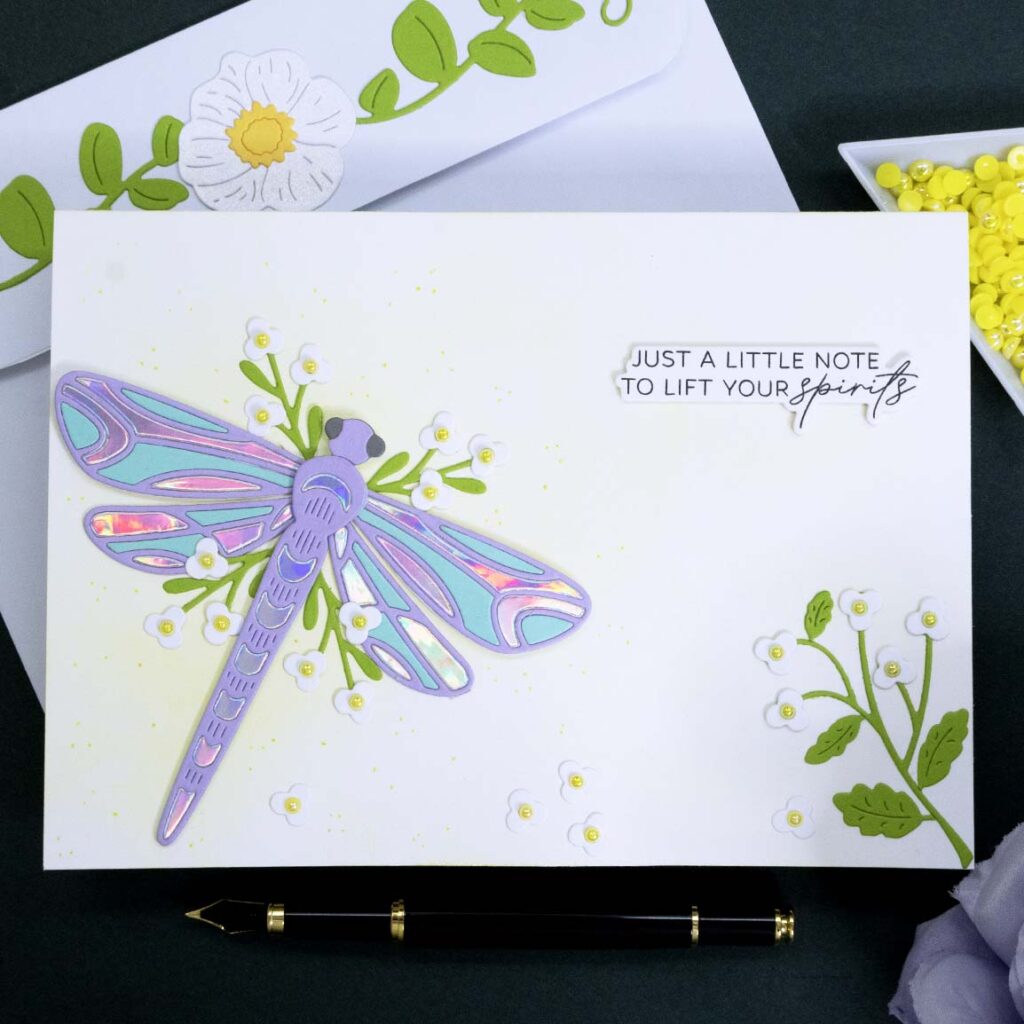
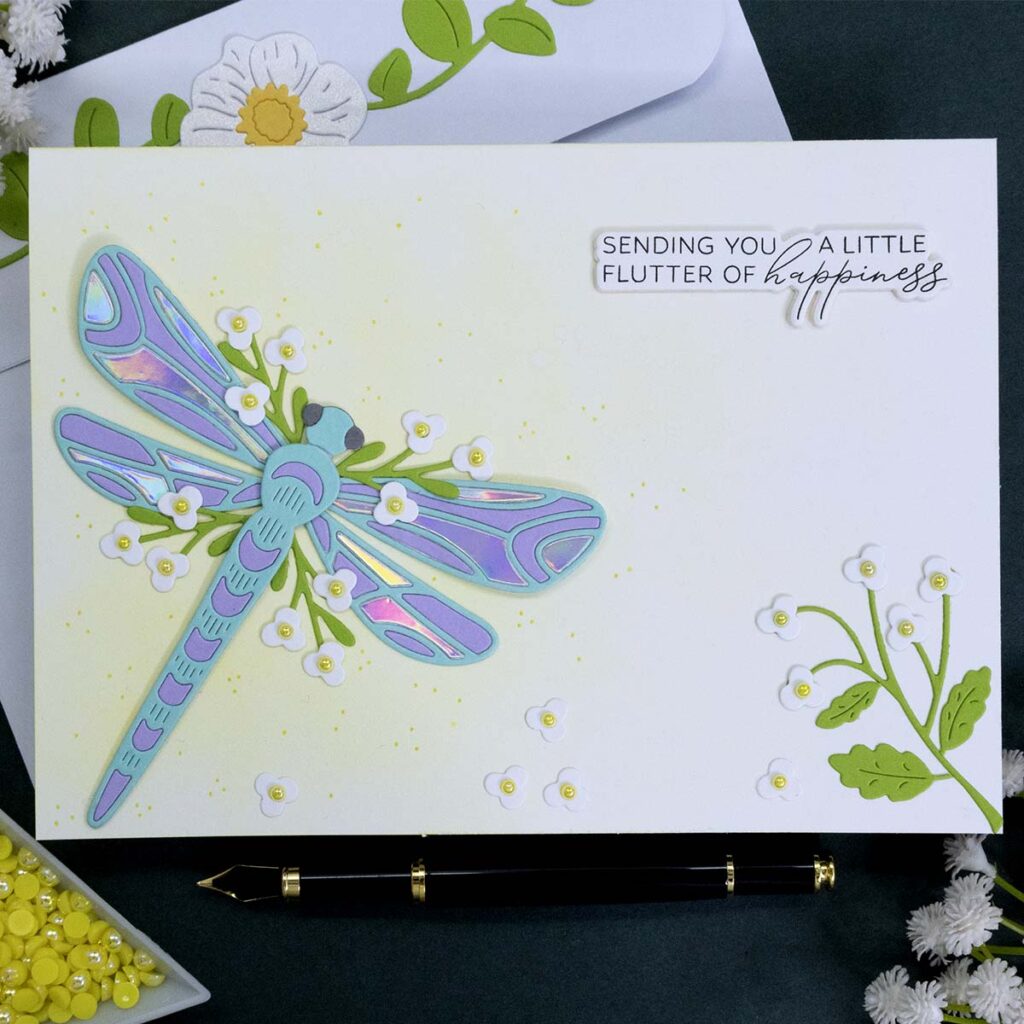
- Ink blend the front of two 5” x 7” note cards with yellow ink to resemble sunlight.
- Using Spellbinders “Soaring Dragonfly” die set, cut out the pieces to make tree dragonflies from Spellbinders cardstock in the colors “Lilac” and “Teal Topaz”, and from Tonic Studios “Holo Waves” mirror cardstock.
- Assemble each dragonfly by popping each die cut piece back in the negative space making sure to mix and match the three different colors of die cuts.
- Adhere a dragonfly to the front of each 5” x 7” note card, and save the third one for the following design.
- Stamp and die cut the sentiment using Spellbinders “Nature’sDance” clear stamp and die set.
- Embellish each dragonfly with die cut flower branches. Add yellow flat back beads in the center of each flower.
- For some sparkle, add yellow shimmery dots around the dragonfly with Sakura stardust gelly roll pen.
- Decorate the flap of A7 size envelopes with die cut blooms created with Spellbinders “Botanical Atrium” die set.
A2 Size Note Card

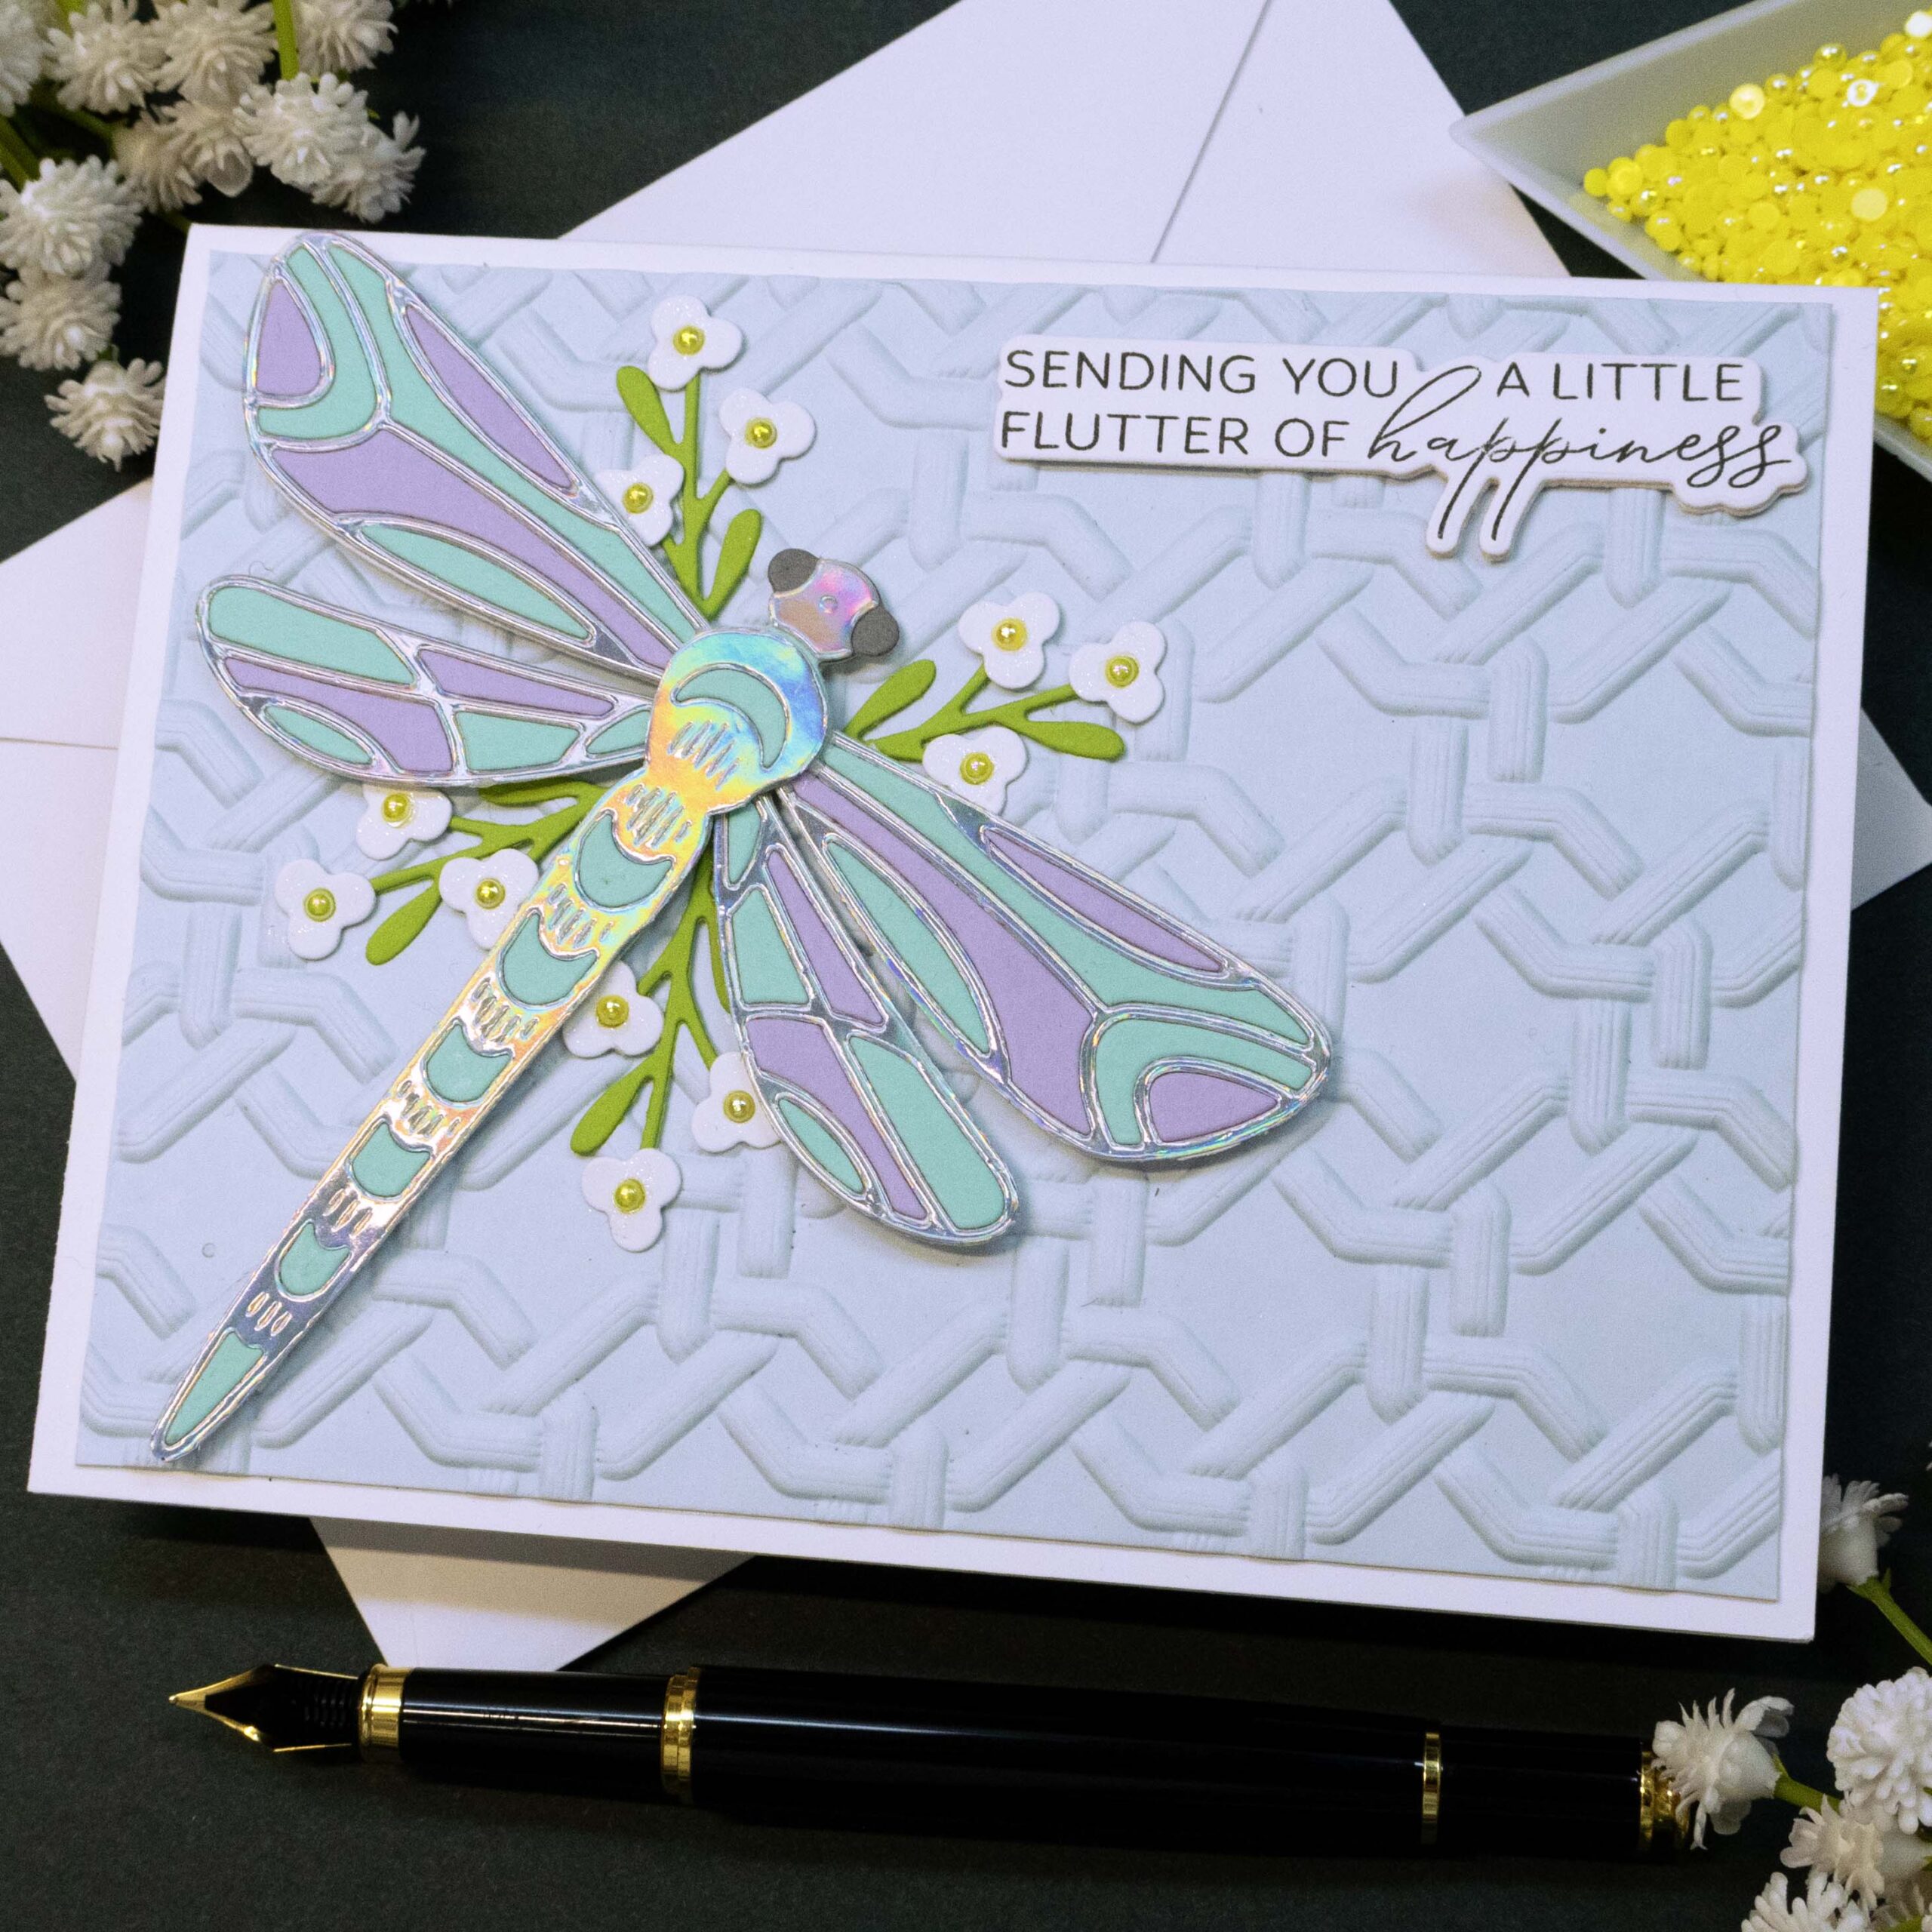
- Dry emboss a 4” x 5 ¼” panel with Spellbinders “Stylized Lattice” 3D embossing folder. I used Spellbinders cardstock in the color “Glacier”
- Adhere dry embossed panel to the front of a white A2 size note card using strong liquid adhesive.
- Stamp and die cut the sentiment using Spellbinders “Nature’sDance” clear stamp and die set.
- Embellish each dragonfly with die cut flower branches. Add yellow flat back beads in the center of each flower.
Tips:
- Tip 1: Use a gray color marker to color the dragonflies eyes.
- Tip 2: Use a wax pencil to help you pick up the small beads.
- Tip 3: Use a glue eraser to remove any excess glue on the cardstock.
- Tip 4: Use a clean cloth to remove any excess glue from any type of specialty mirror cardstock.
I hope you felt inspired and some of this information was helpful to you! If you create something inspired by this post, make sure to tag me on instagram! Thank you for visiting and happy crafting!
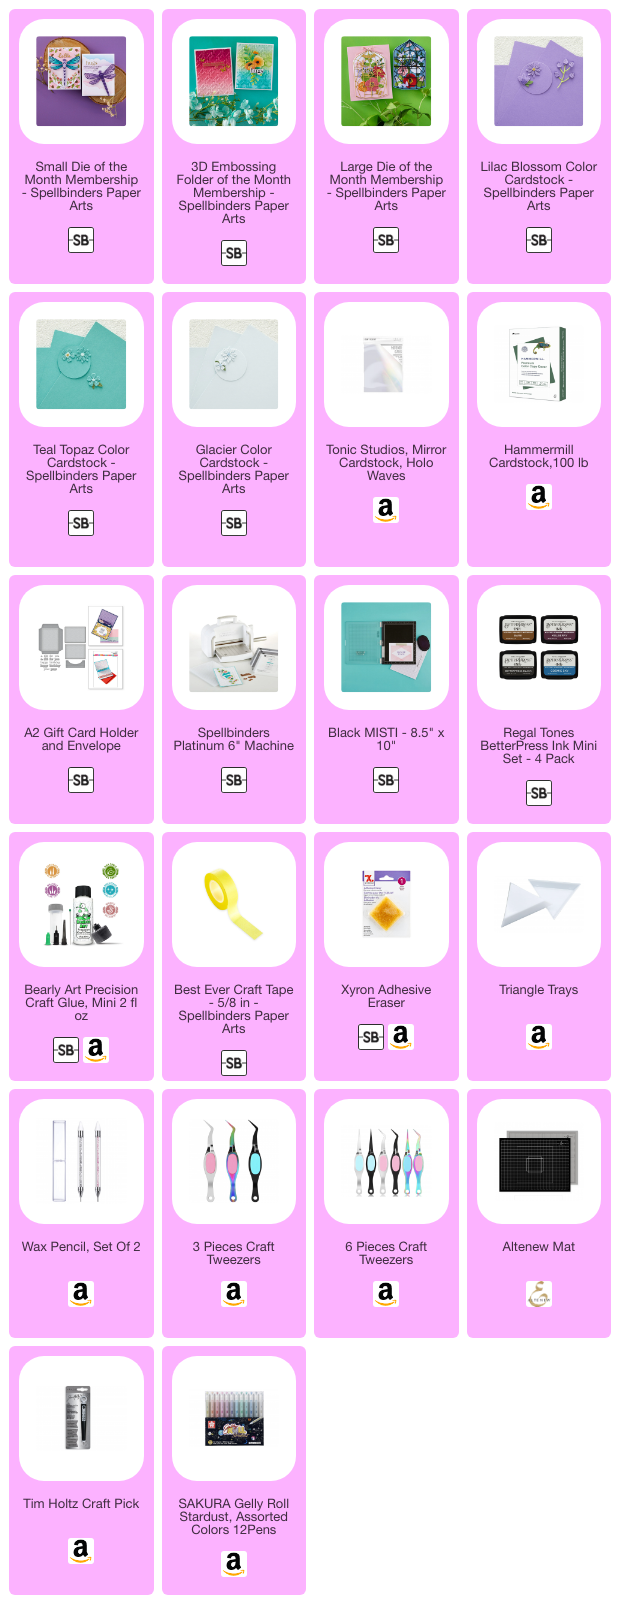
SUPPLIES
I have listed below all of the products that I used to make today’s note cards. Compensated affiliate links may be used at no cost to you, and I only use and recommend products that I love! As always, thank you for your support!


-
-
2 weeks
Tagged card for student, card for teacher, Crayon note cards, Spellbinders May 2025 Clubs