Creating With Spellbinders December 2024 Clubs
Hello crafters! Today I will be sharing some card ideas featuring some of Spellbinders December 2024 clubs! It has been a blast creating Spellbinders clubs this year and I can not wait to see what they have in store for 2025!
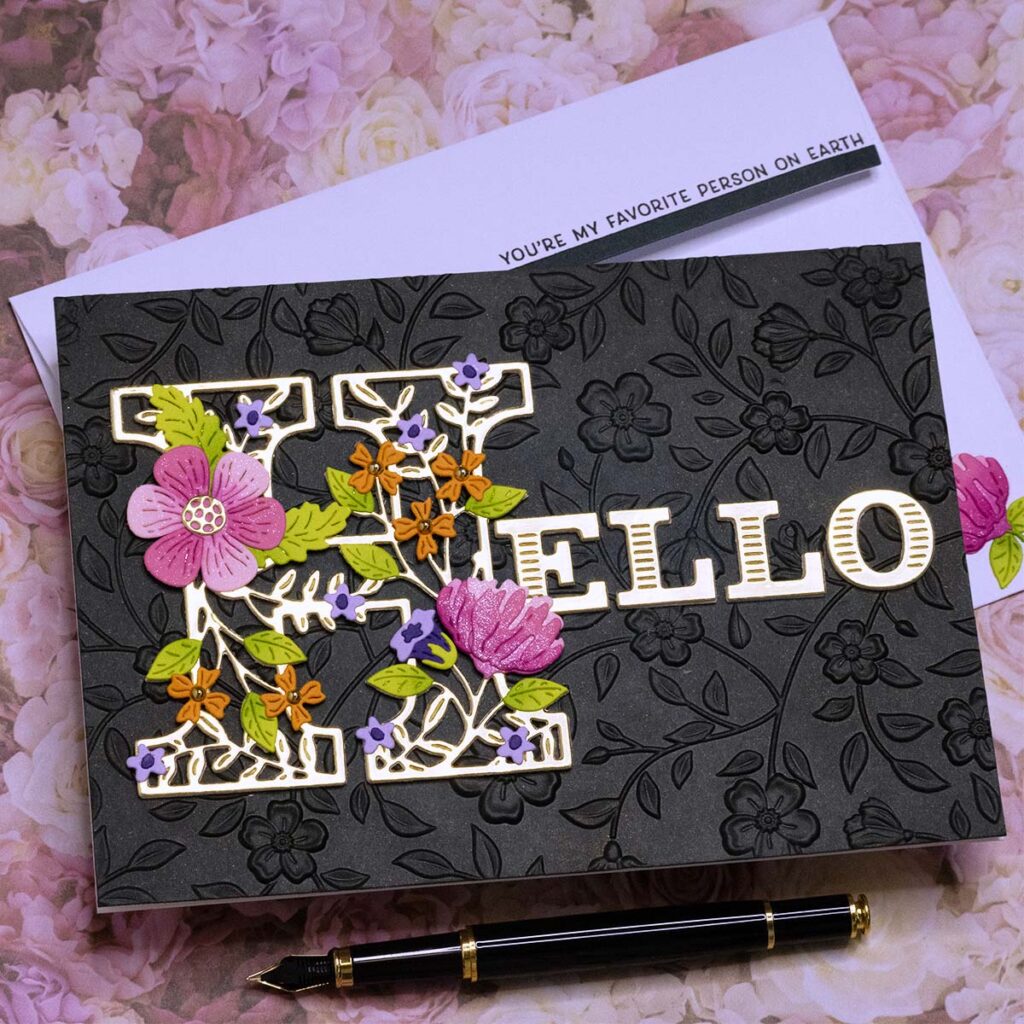
Hello

- Dry emboss a 5” x 7” panel with Spellbinders “Flowers & Foliage” embossing folder. Use Spellbinders cardstock in the color “Forest”.
- Apply dark brown ink around the edges with a blending brush.
- Spray golden shimmer all over the panel.
- Adhere dry embossed panel to a 5” x 7” note card.
- Die flowers, leaves and the sentiment “Hello” using metal plates included in the Spellbinders “Blooming Hello” die set. Adhere to the front of the note card using the Bealry Art glue.
- Use some of the die cut flowers to decorate the envelope and inside the note card.
- Add shimmer to the large flowers using a shimmer pen.
- Add a cardstock strip to the flap of the envelope and stamp a long sentiment. (I used an old/unavailable set)
Your Friendship Is Everything To me
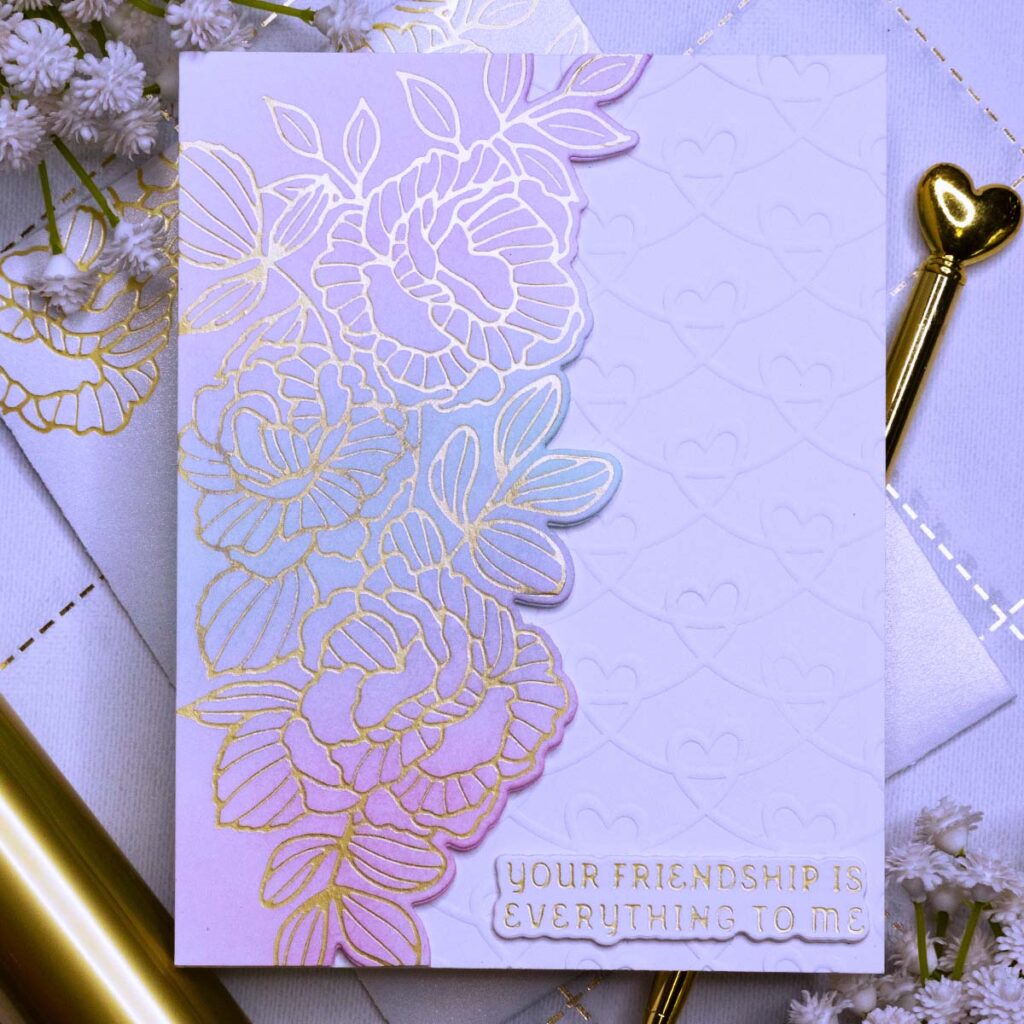
- Dry emboss a white A2 size note card using Spellbinders “Heart Swag” embossing folder. Add two 4” x 5 ¼” white panels inside the note card.
- Hot foil and die cut a floral arrangement with plates included in the Spellbinders “Friendship Is Everything” set.
- Using blending brushes, add colors to the foiled image with Simon Says Stamp ink pads in the colors Lilac, Seafoam and Bubblegum. Adhere floral die cut to the front of the note card. Use foam squares for dimension.
- Hot foil and die cut the sentiment “Your Friendship Is Everything To Me” using a piece of Spellbinders Matte Gold foil and plates included in the “Friendship Is Everything” set.
- Create a matching envelope using a shimmer cardstock. Use metal plates included in the Stampendous “A2 Gift Card Holder And Envelope” die set. Hot foil the envelope using that same floral plate to match the note card!
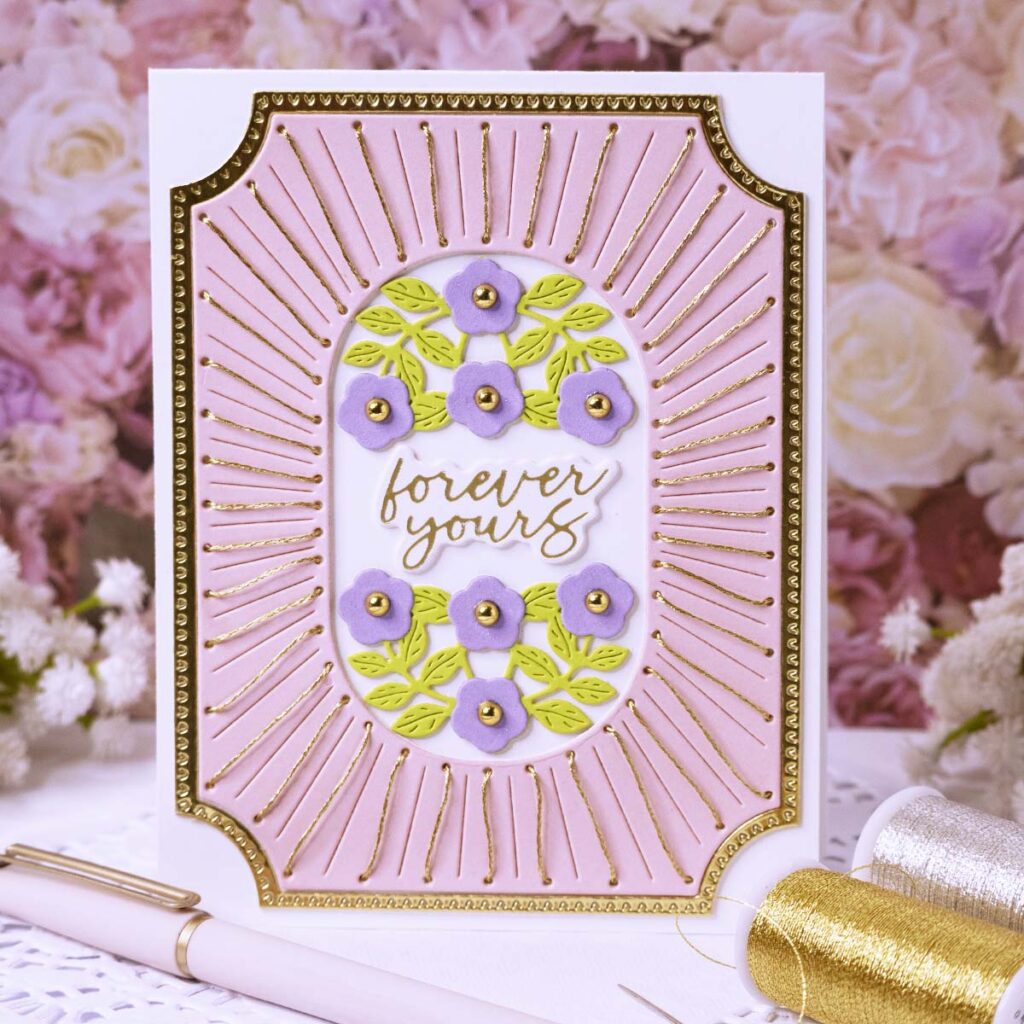
Forever Yours

- Die cut the stitching panel out of pink cardstock, using metal plates included in the Spellbinders “Stitched Notch Corner Card” die set.
- Stitched the pink panel with DMC metallic floss.
- Adhere the stitched panel to the front of an A2 size note card. Used the Bealry Art glue.
- Die cut a frame for the stitched panel out of Spellbinders Mirror Gold cardstock. Use metal plates included in the Spellbinders “Stitched Notch Corner Card” die set.
- Using the same die set, cut the branches out of Spellbinders cardstock in the color “Peridot” and the flowers out of Spellbinders cardstock in the color “Lilac Blossom”.
- Hot foil and die cut the sentiment “Forever Yours” using plates included in the Spellbinders “Friendship Is Everything” set, and Spellbinders foil in the color Matte Gold.
- Go over the lilac flowers with a shimmer pen, and add golden flat back beads in the center of each flower.
- Create a fancy envelope using golden cardstock by Recollections (It won’t tear when folded!). Use metal plates included in the Stampendous “A2 Gift Card Holder And Envelope” die set.
- Hot foil a Valentine’s day sentiment to the flap of the envelope with a piece of Spellbinders Matte Gold foil. (I used an old/unavailable set).
Be Mine
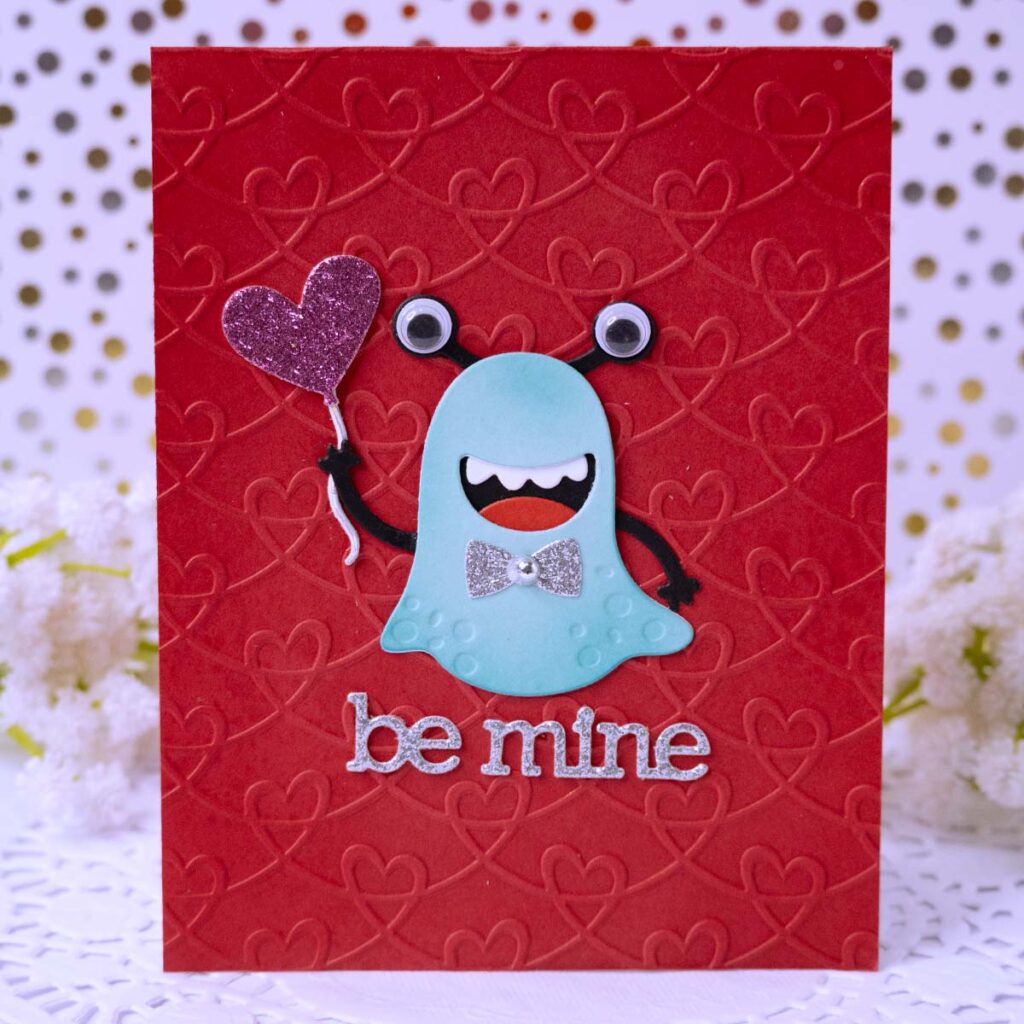
- Dry emboss a red A2 size note card using Spellbinders “Heart Swag” embossing folders. Add two 4” x 5 ¼” white panels inside the note card.
- Cut out and assemble a monster using metal plates included in the Spellbinders “You’re My Favorite Monster”. Adhere it to the center of the front panel using the Bearly Art glue.
- Add googly eyes to make the monster extra cute!
- Cut out a heart shaped balloon in metal plates included in the Spellbinders “Up In The Air View” die set.
- Die cut the sentiment “Be Mine” and a bow tie with metal plates included in the Spellbinders “Dancin’ Heart” die set.
- Create a matching envelope using pink cardstock. Use metal plates included in the Stampendous “A2 Gift Card Holder And Envelope” die set.
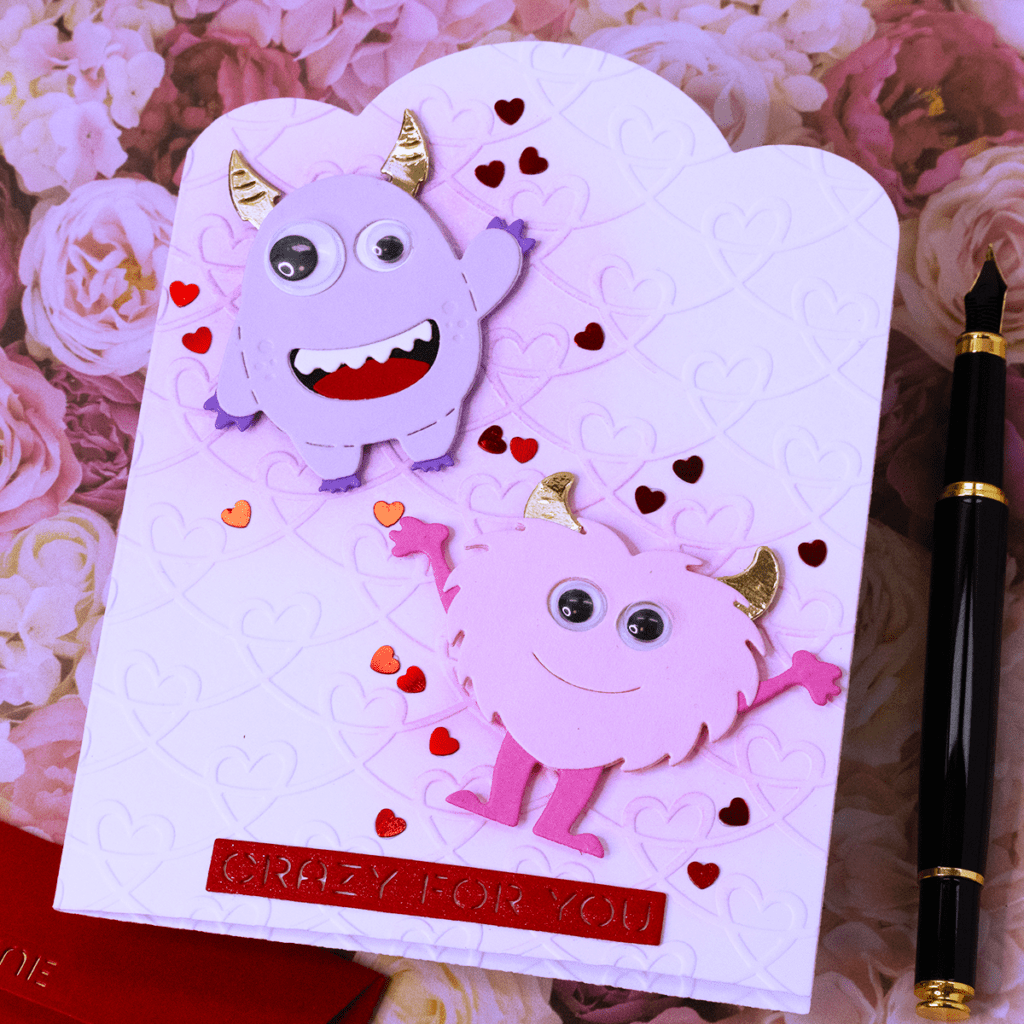
Crazy For You

- Die cut a fun shaped card base using the largest metal plate included in the Spellbinders “Scallop Labels And Tag” die set. Cut it from a 5” x 7” side folding note card. Offset the metal plate on the folded side so you end up with two connected scallop pieces that you can use as a card base.
- Dry emboss the note card using Spellbinders “Heart Swag” embossing folder. Add two white panels inside the note card. Use the second largest plate in the Spellbinders “Scallop Labels And Tag” die set to cut it out.
- Cut out the monsters and the sentiment “Crazy For You” using metal plates included in the Spellbinders “Monster Love Top” die set.
- Using a blending brush, softly ink blend small sections on the front panel, where you plan on adhering each die cut monster. Use foam squares to adhere each monster to the front of the note card.
- Add red heart sequins around each monster.
- Add googly eyes to make the monsters extra cute!
- Create a matching envelope using red cardstock. Use metal plates included in the Stampendous “A2 Gift Card Holder And Envelope” die set.
I hope you felt inspired and some of this information was helpful to you! If you create something inspired by this post, make sure to tag me on instagram! Thank you for visiting and happy new year!
SUPPLIES
I have listed below all of the products that I used to make today’s note cards. Compensated affiliate links may be used at no cost to you, and I only use and recommend products that I love! As always, thank you for your support!


-
-
2 weeks
Tagged card for student, card for teacher, Crayon note cards, Spellbinders May 2025 Clubs