Tone On Tone Note Cards
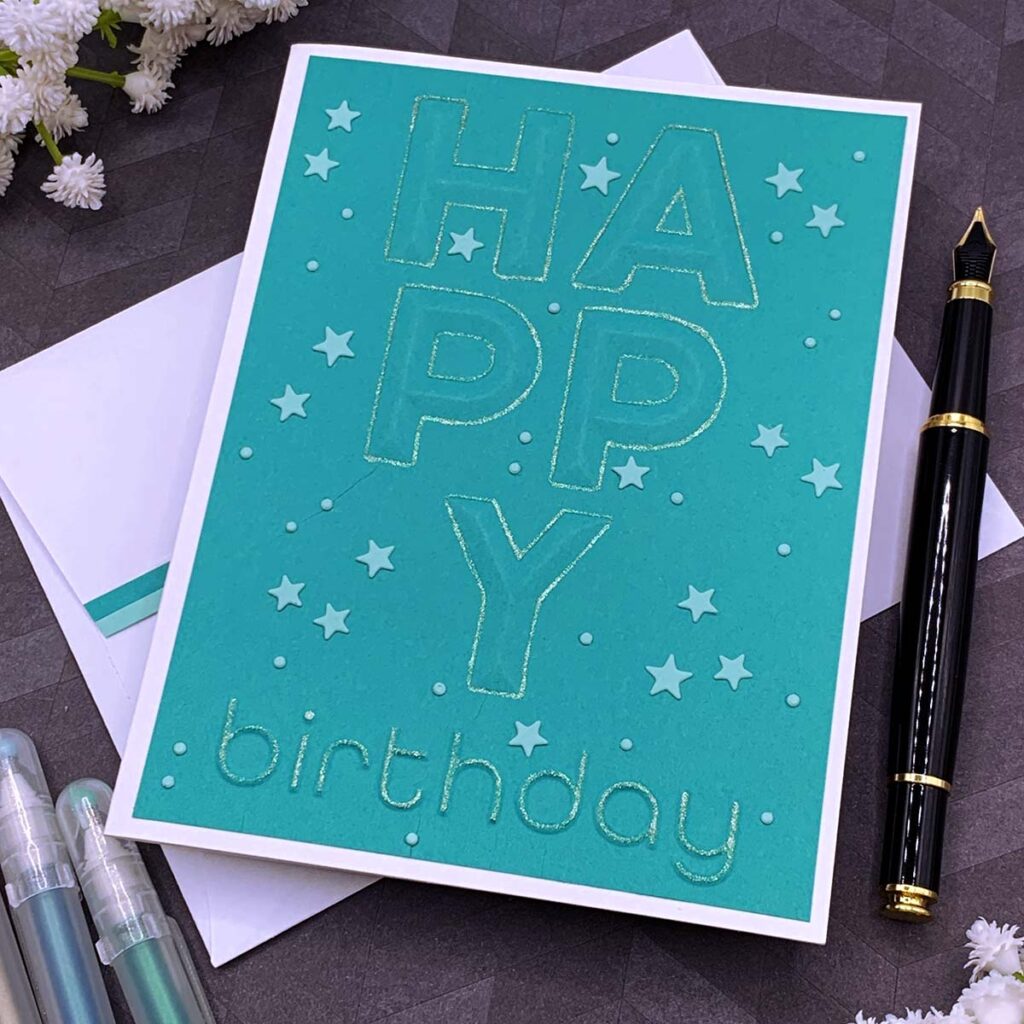
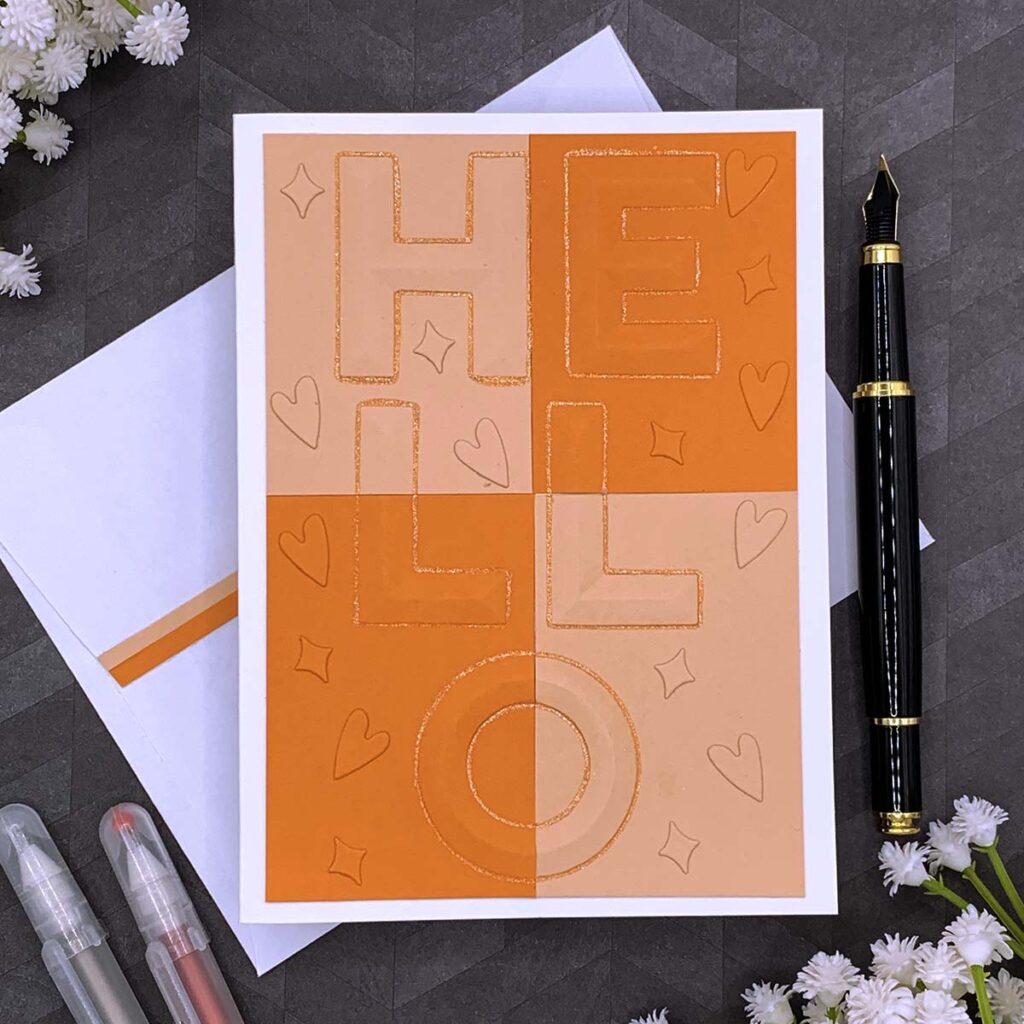
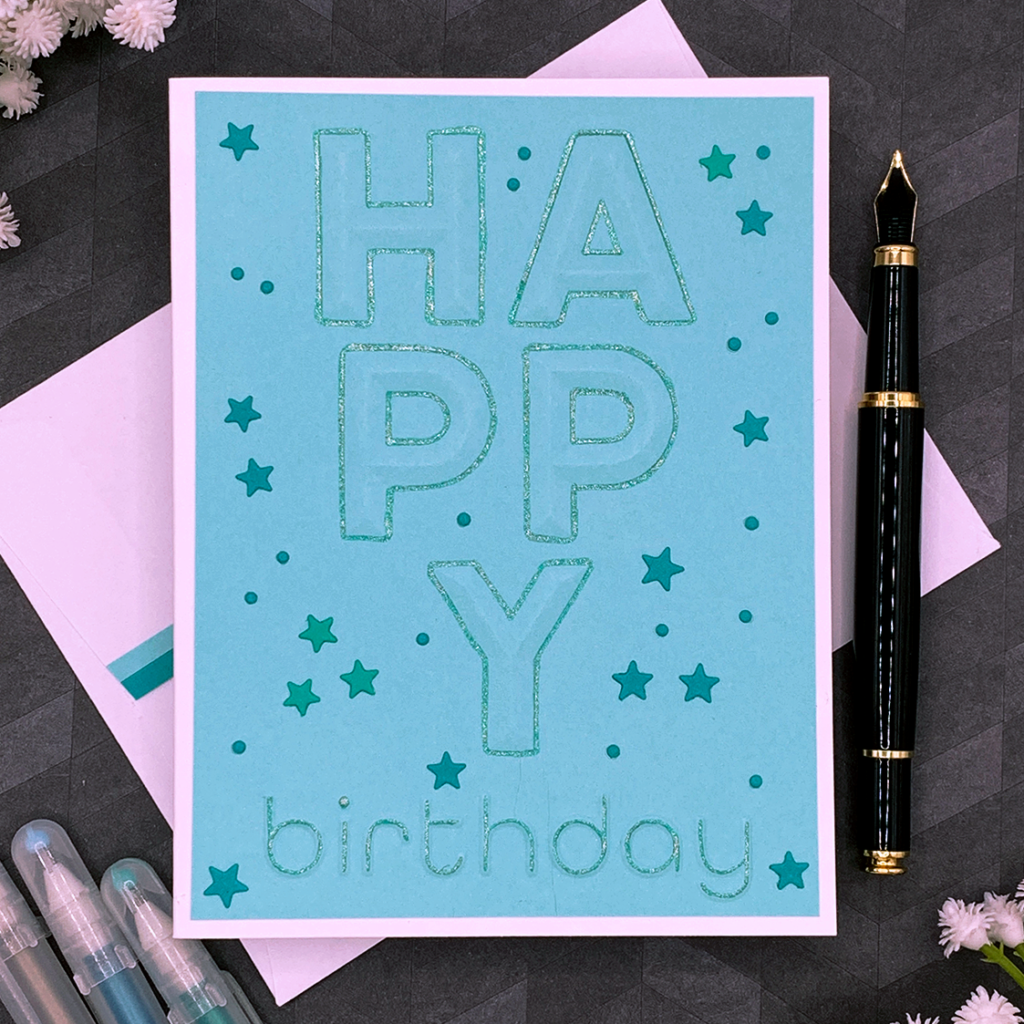
Hello crafters! Today we will be creating tone on tone note cards with some great 3D embossing folders by Spellbinders! These notecards are very simple and easy to make and I hope you give it a try!
HAPPY BIRTHDAY
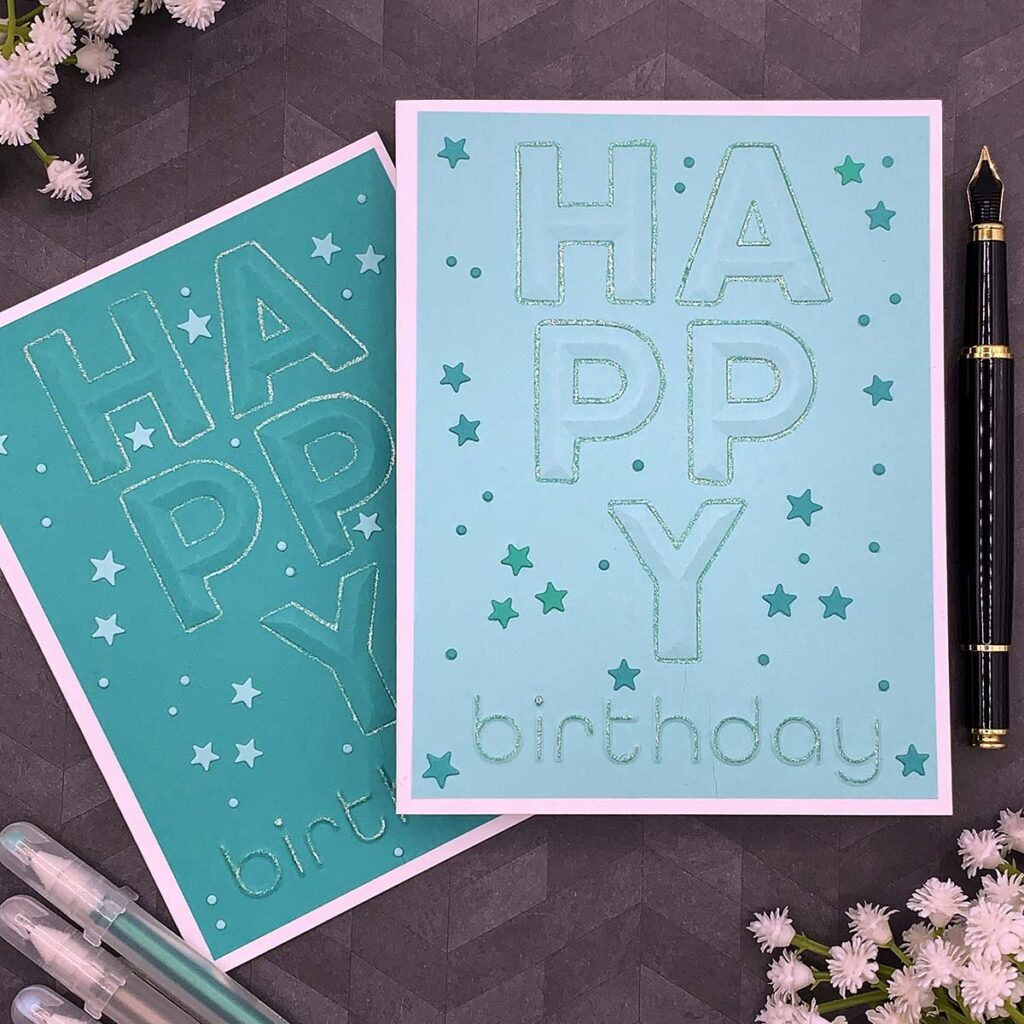
- Dry emboss a 4” x 5 1/4” panel with Spellbinders “Beveled Happy Birthday A2 Cardfront” 3D Embossing Folder. I used Spellbinders cardstock in the colors Waterfall and Lagoon.
- Highlight the embossed sentiment with a glitter pen. I used an aqua color Sakura Gelly Roll pen.
- Adhere panel to an A2 size note card.
- Embellish the note card with die cut sequins and stars created with metal plates included in the Spellbinders “Birthday Wreath Add-Ons” die set.
- Decorate the flap of a white envelope with thin cardstock strips.
HELLO
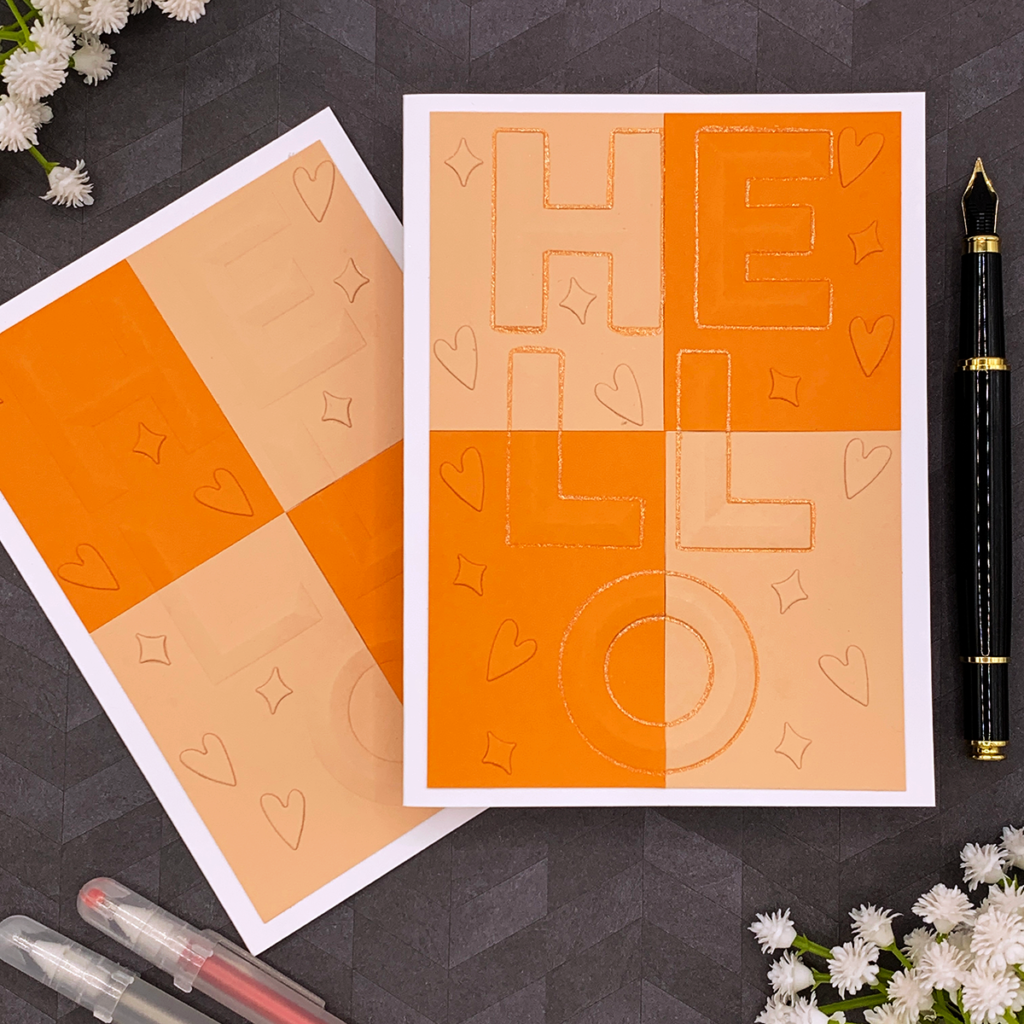
- Dry emboss a 4” x 5 1/4” panel with Spellbinders “Beveled Hello A2 Cardfront” 3D Embossing Folder. I used Spellbinders cardstock in the colors Peach and Persimmon.
- Line up and cut both panels at once, into 4 square pieces each, to make 2 note cards.
- Adhere each set of 4 pieces to the front of an A2 size note card. Use two pieces of each color for each note card.
- Highlight the embossed sentiment with a glitter pen. I used an orange Sakura Gelly Roll pen.
- Embellish the note card with die cut hearts and stars created with metal plates included in the Spellbinders “Over The Rainbow” die set.
- Decorate the flap of a white envelope with thin cardstock strips.
I hope you felt inspired and some of this information was helpful to you! If you create something inspired by this post, make sure to tag me on instagram! Thank you for visiting and happy crafting!
SUPPLIES
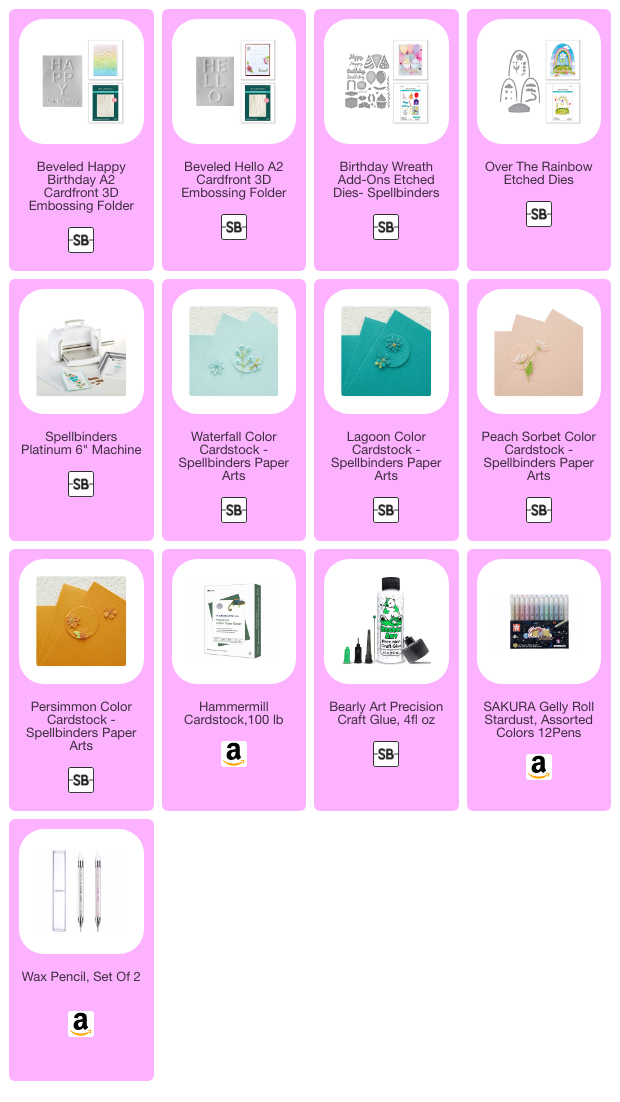
I have listed below all of the products that I used to make today’s note cards. Compensated affiliate links may be used at no cost to you, and I only use and recommend products that I love! As always, thank you for your support!

-
-
1 day
Tagged card for student, card for teacher, Crayon note cards, Spellbinders May 2025 Clubs