Magical Note Cards
Creating With Spellbinders Storytelling Collection!
Hello crafters! Today I have lots of card designs to share with you, featuring some new sets from the Storytelling by Spellbinders Scrapbooking Collection! This is an outstanding collection with lots of different die sets that we can mix and match to create new scenes! I had the best time making these note cards, and I love how they turned out! For a tutorial video make sure to head over to my YouTube channel!
Magical Carriage Note Card
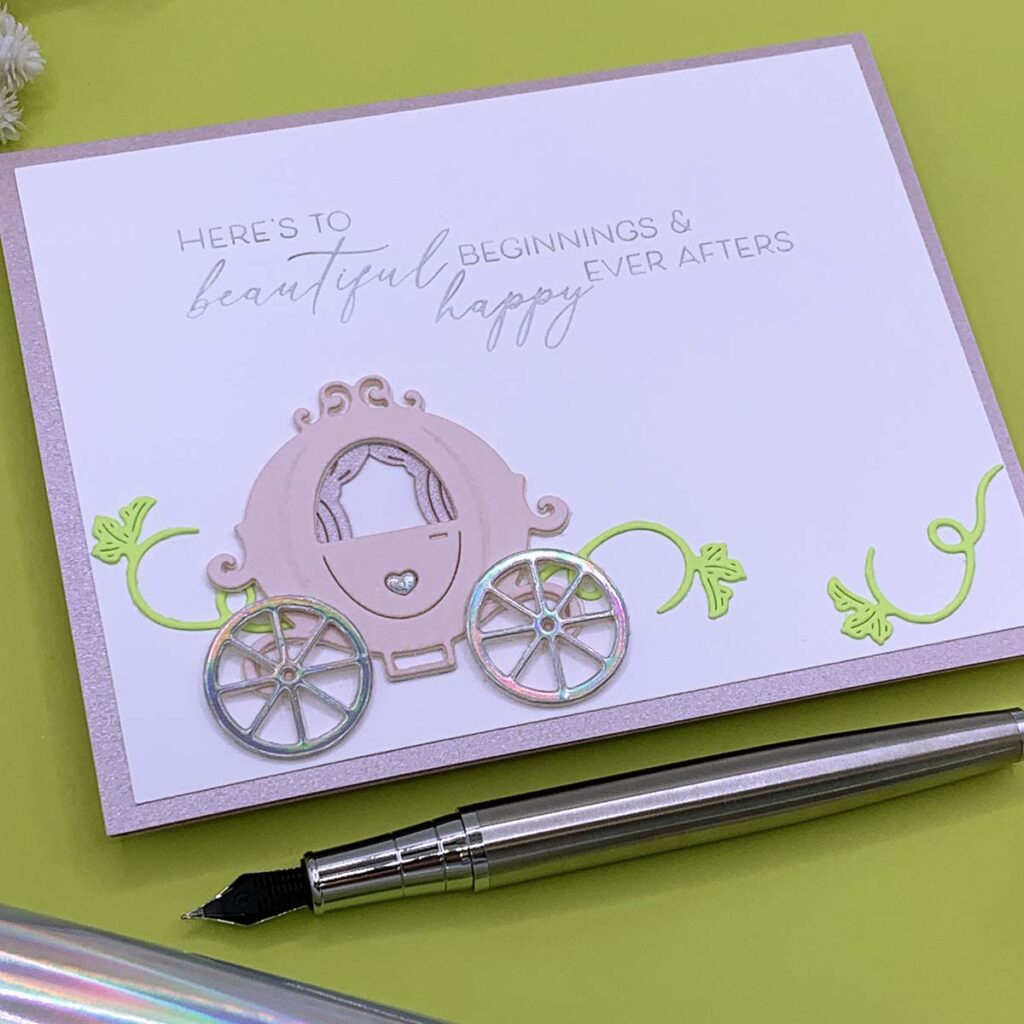
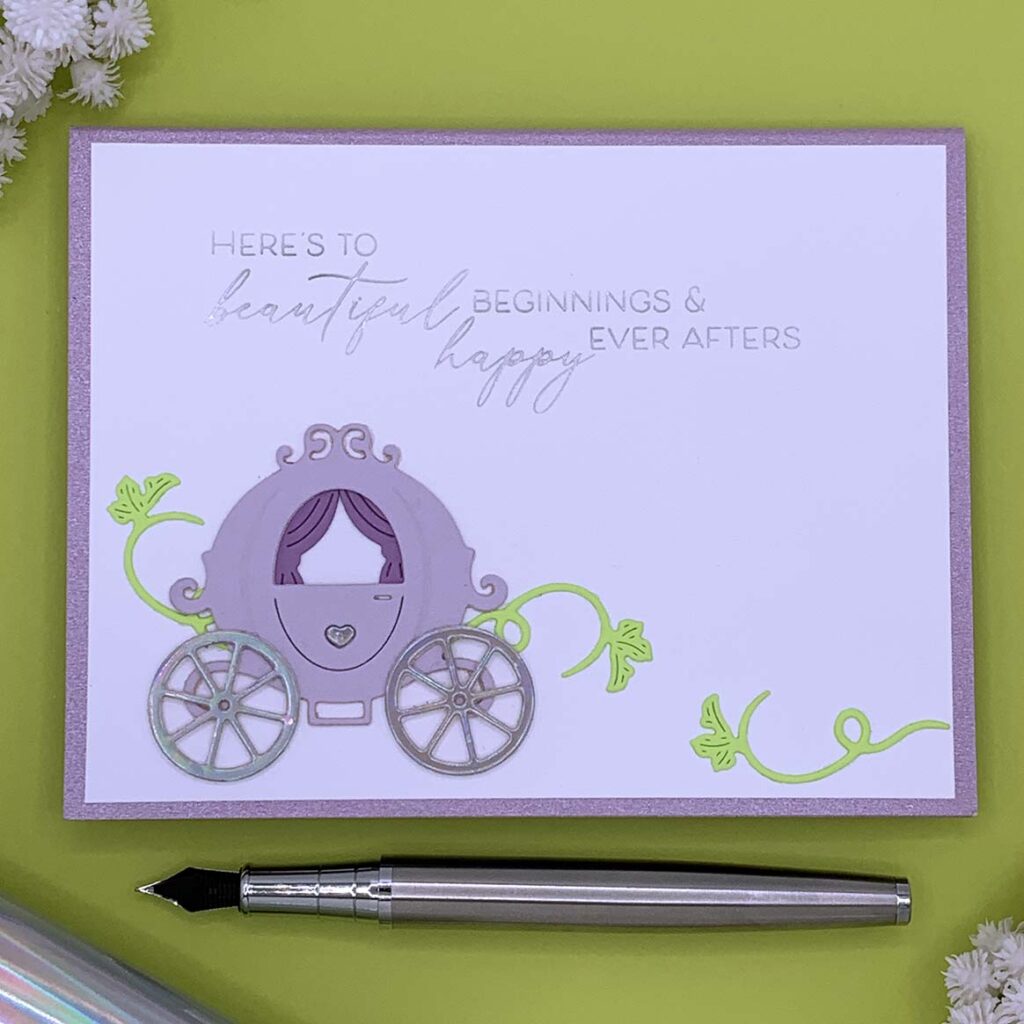
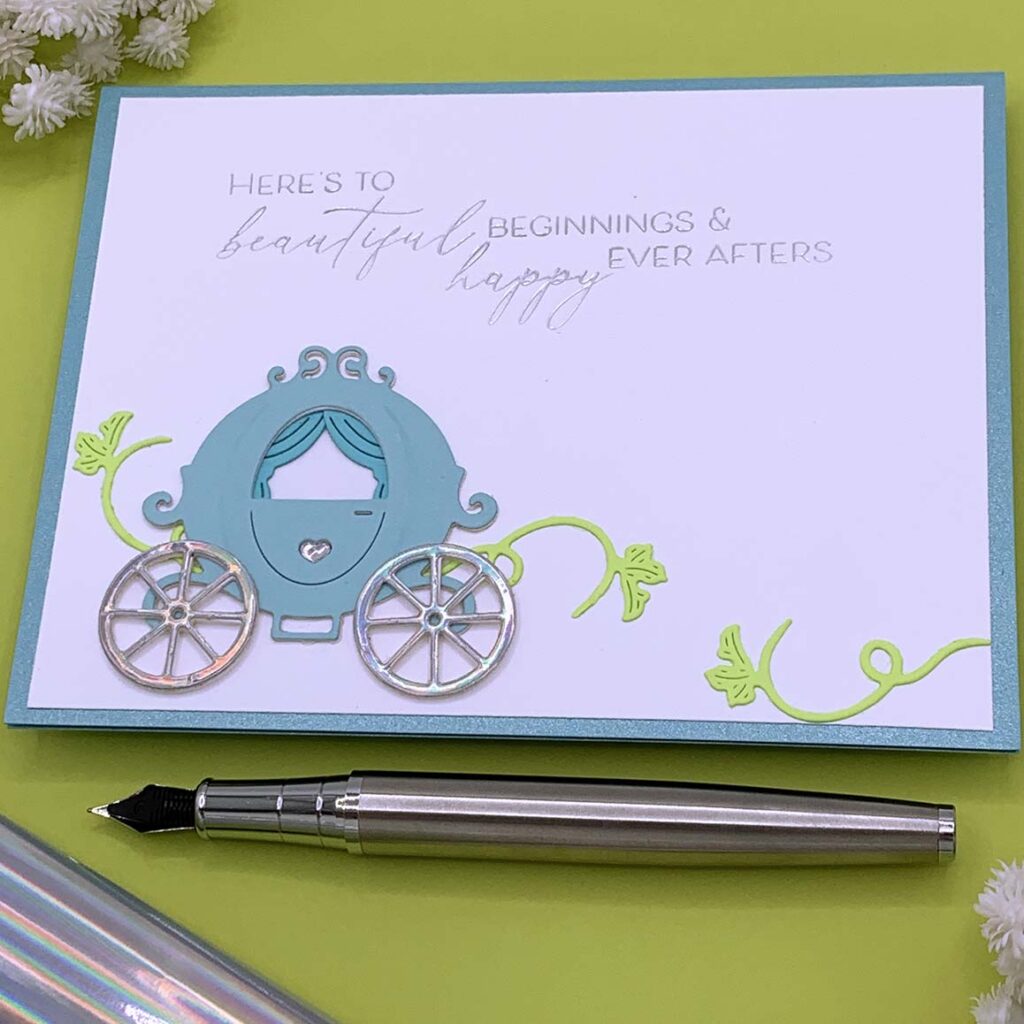
- Hot foil a sentiment onto a 4” x 5 ¼” white panel using a press plate included in the Spellbinders “New Beginnings Timeless Sentiments” press plates set.
- Die cut and assemble a carriage using metal plates included in the Spellbinders “Fairy Tale Carriage” die set.
- Die cut pumpkin leaves using metal plates included in the Spellbinders “Autumn Scare Crow” die set.
- Use the Bealry Art glue to adhere the die cut to the white panel.
- Adhere white panel to the front of a top folding note card that measure 5 ½” wide by 4 ¼” tall
- Create a pocket shape envelope with Stampendous “A2 Gift Card Holder and Envelope” die set.
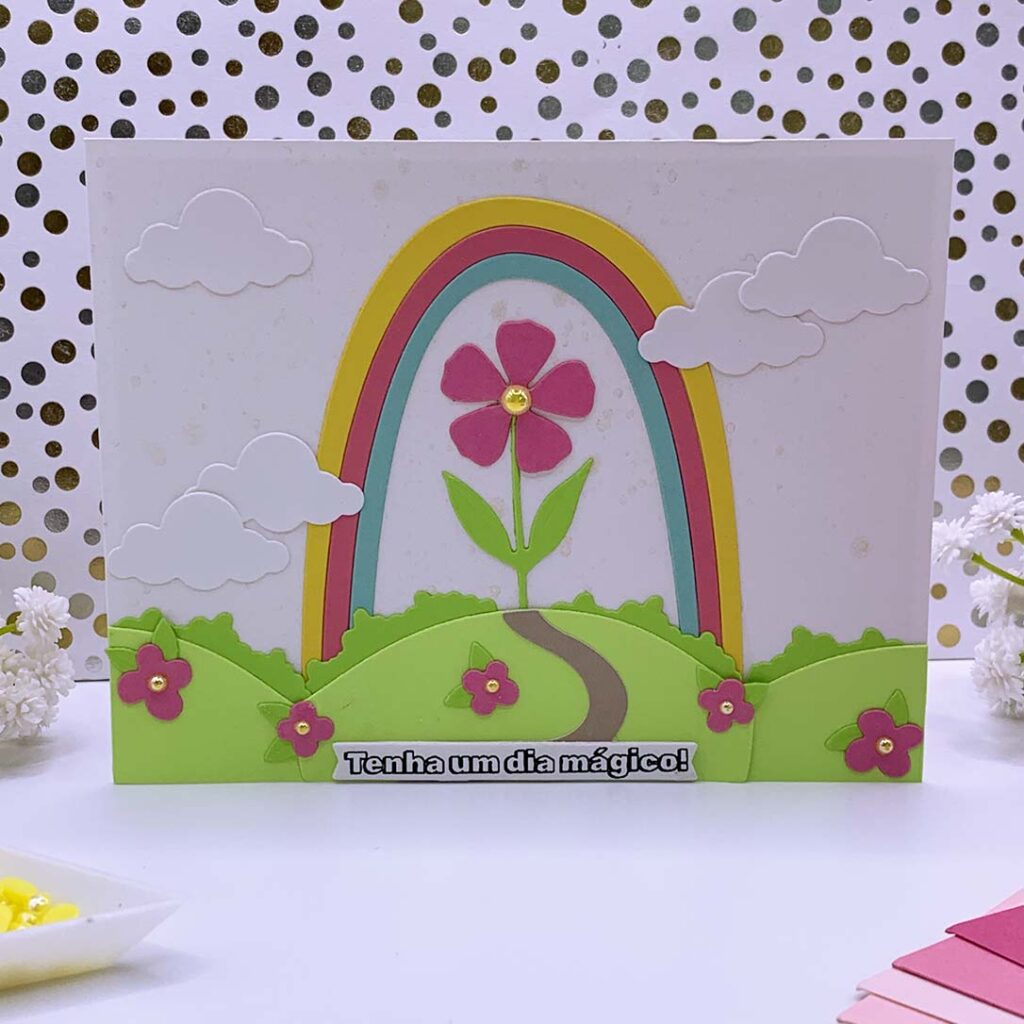
Magical Rainbow Note Card
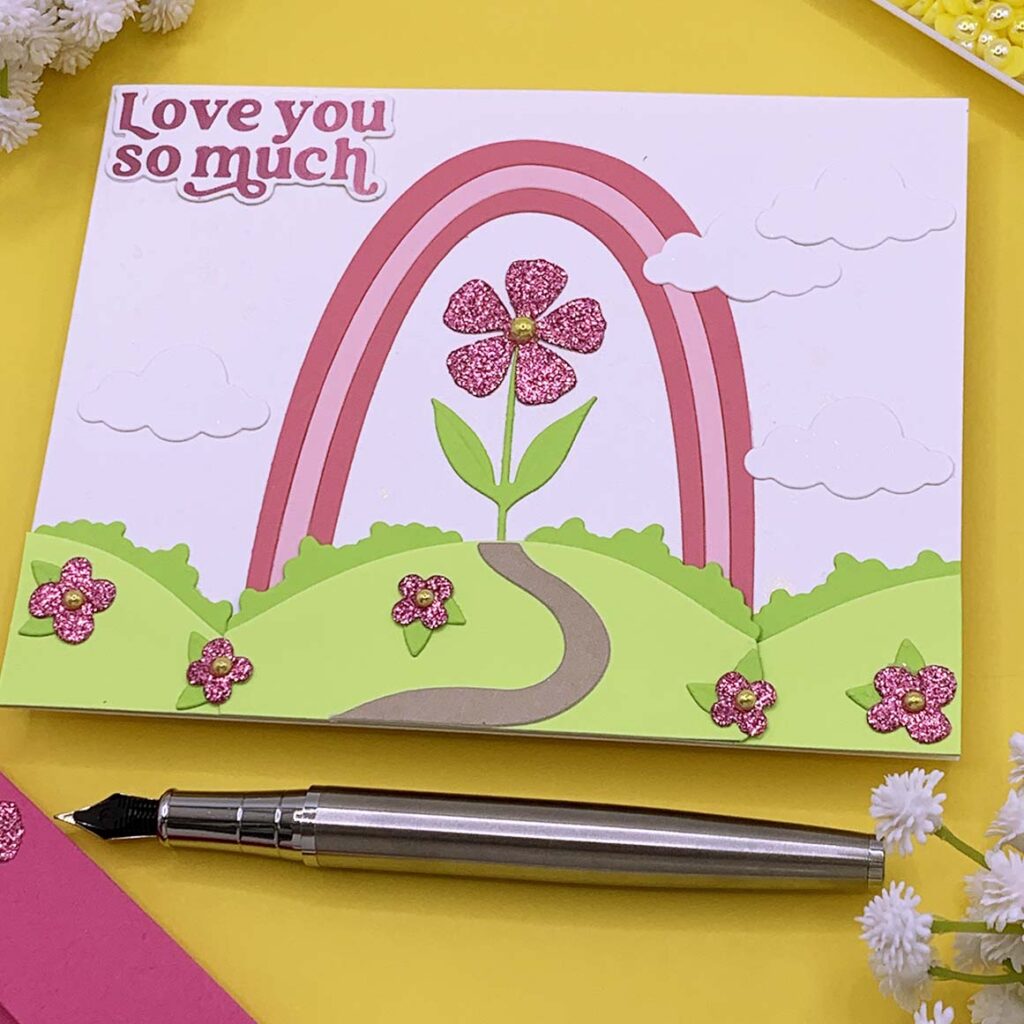
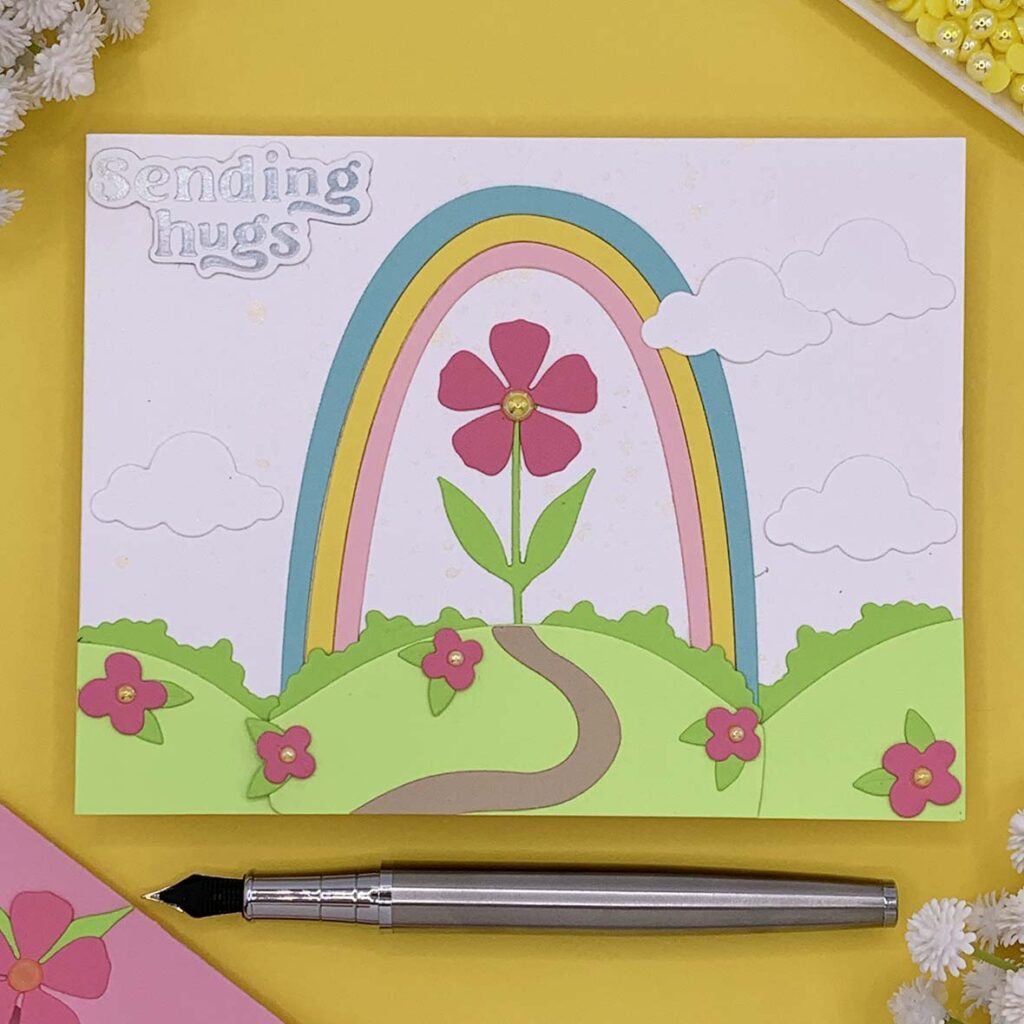
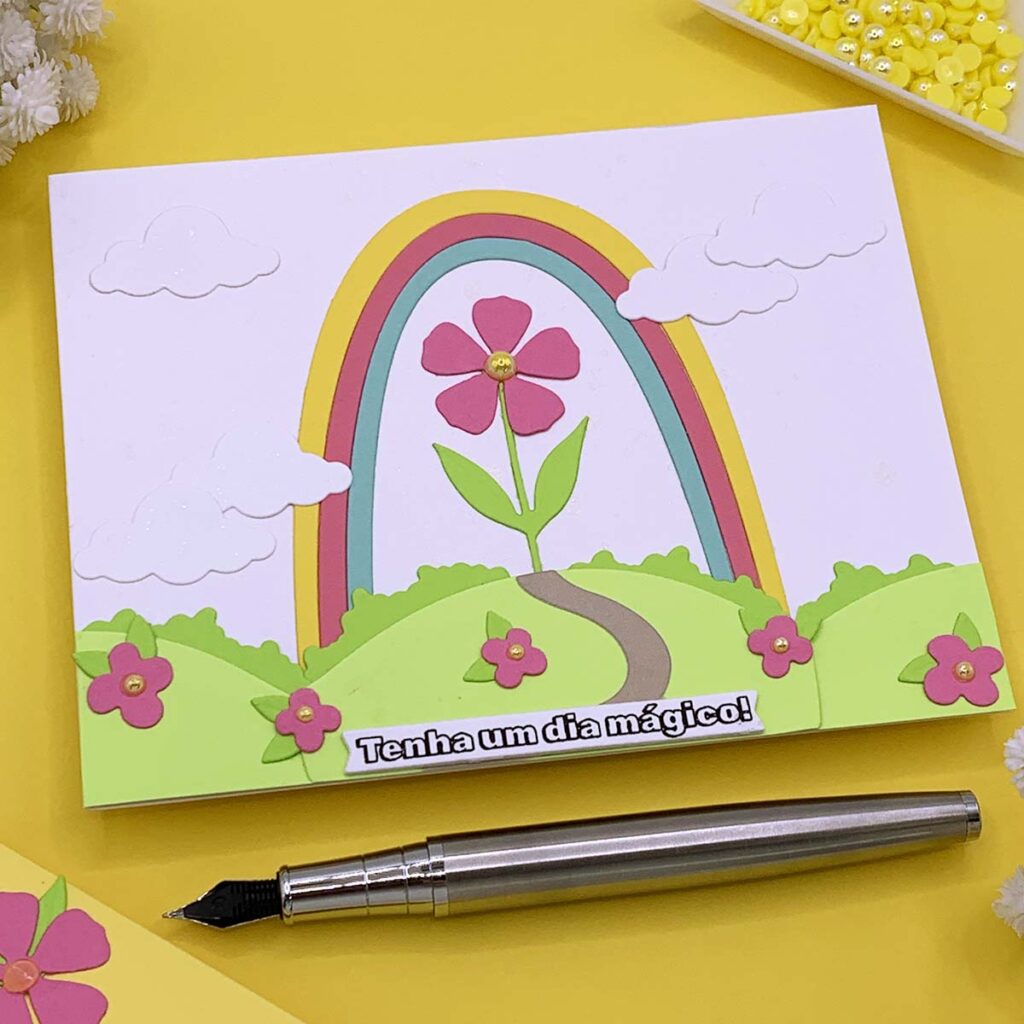
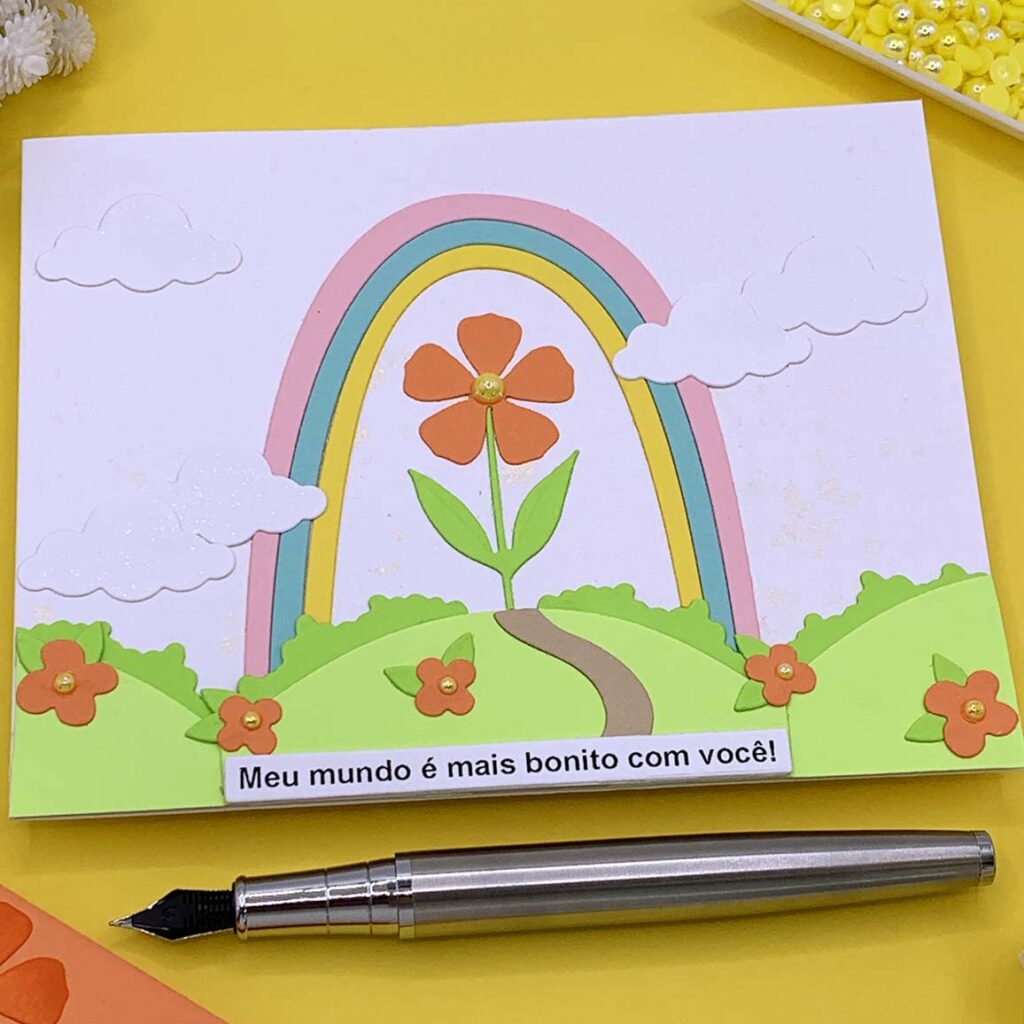
- Die cut the pieces to make a rainbow, clouds, flowers and hill using metal plates included in the Spellbinders “Over the Rainbow” die set.
- Add shimmer to the front of the note card with a golden shimmer spray.
- A die cut to the front of the note card using the Bearly Art glue.
- Add shimmer to the white clouds with Nuvo “Aqua” shimmer pen.
- Hot foil a sentiment with the Spellbinders “Must-Have Sentiments” Glimmer and die set.
- Create a pocket shape envelope with Stampendous “A2 Gift Card Holder and Envelope” die set.
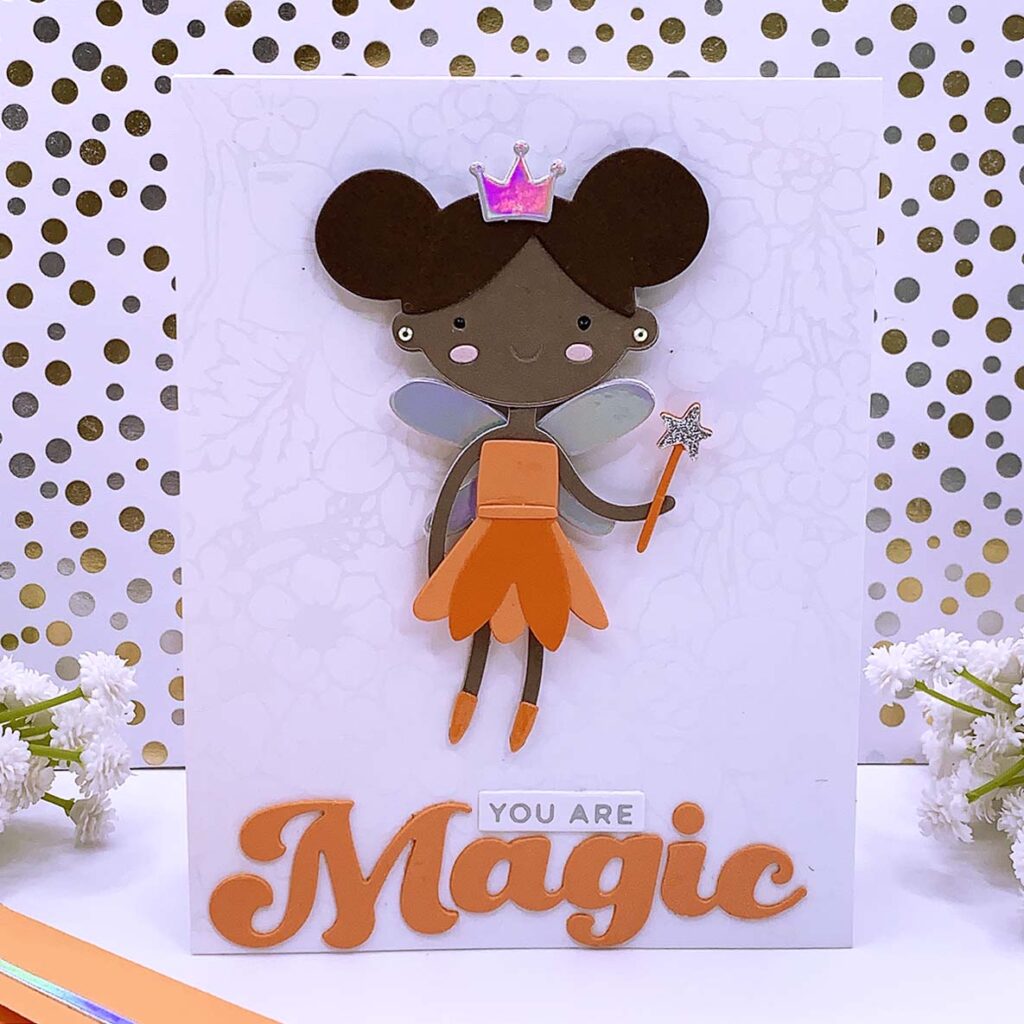
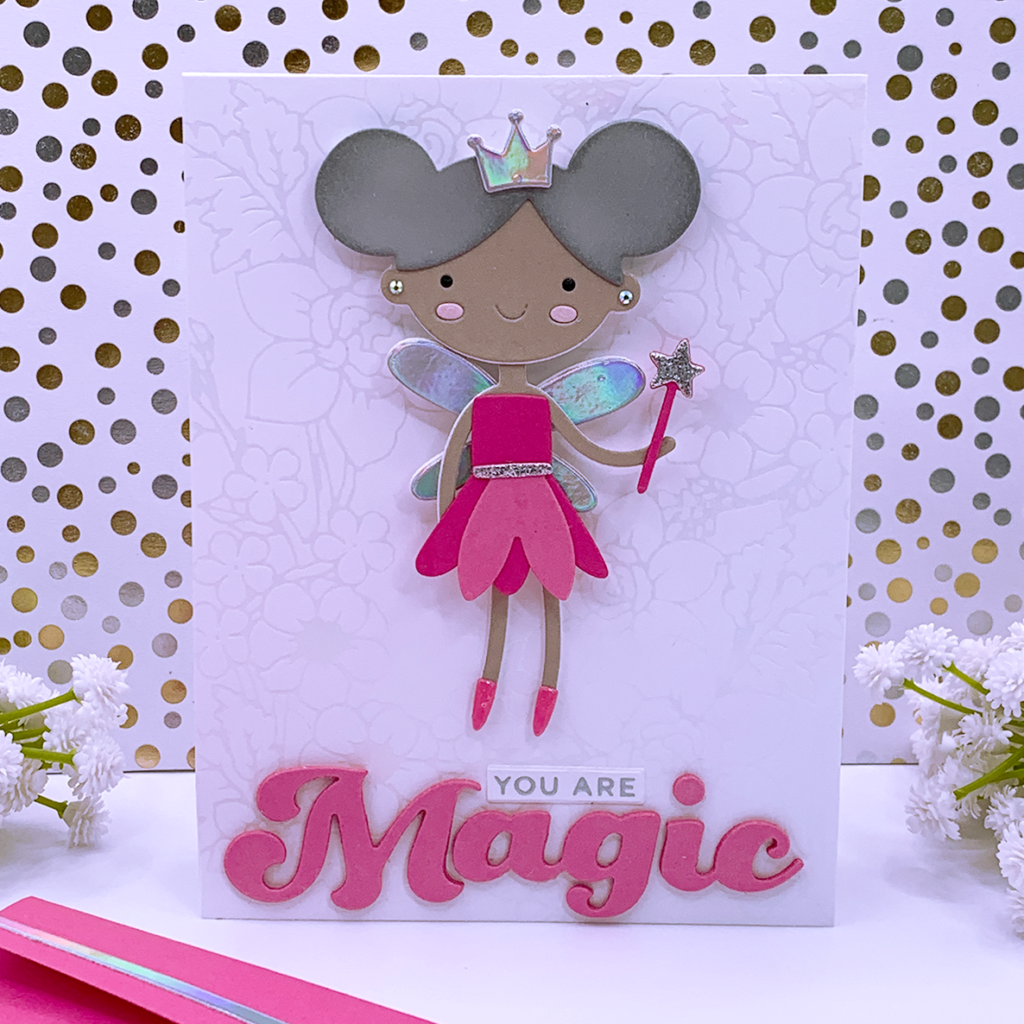
Magical Fairies Note Card
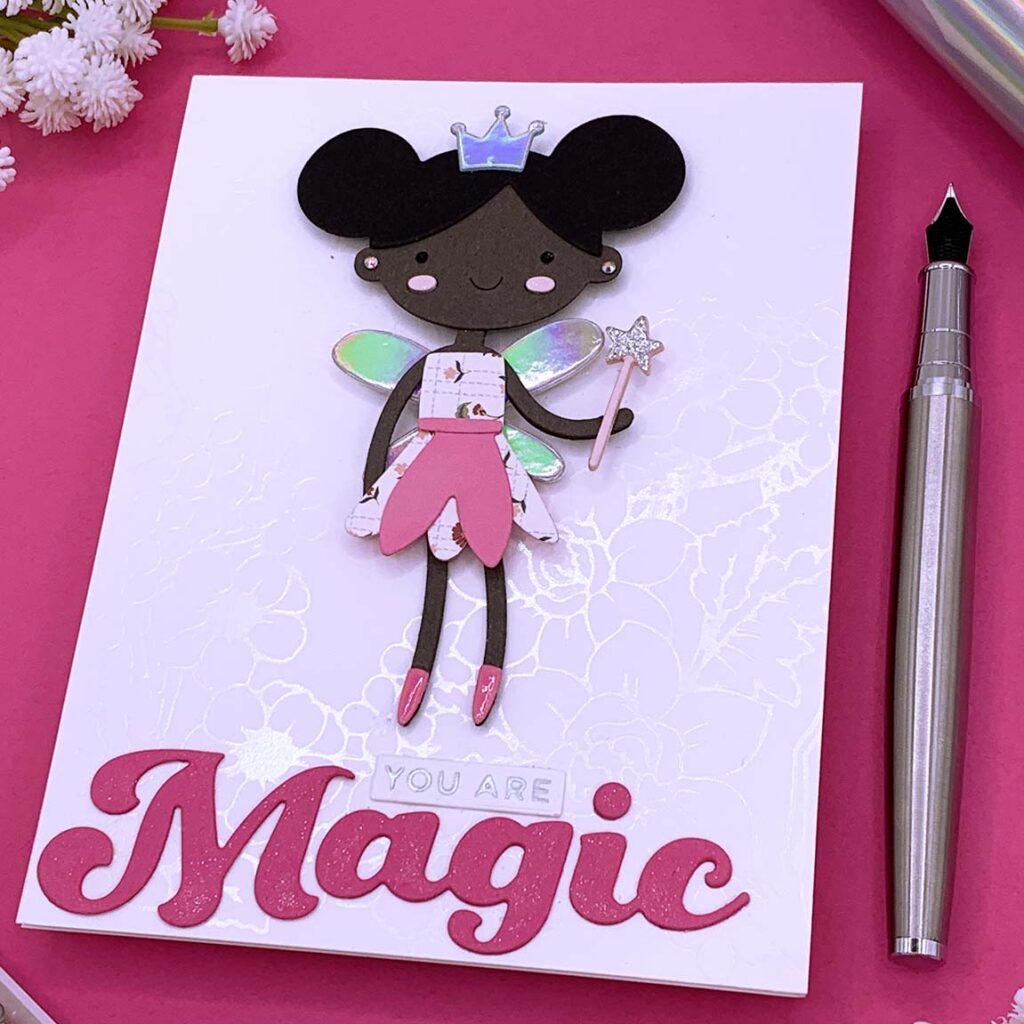
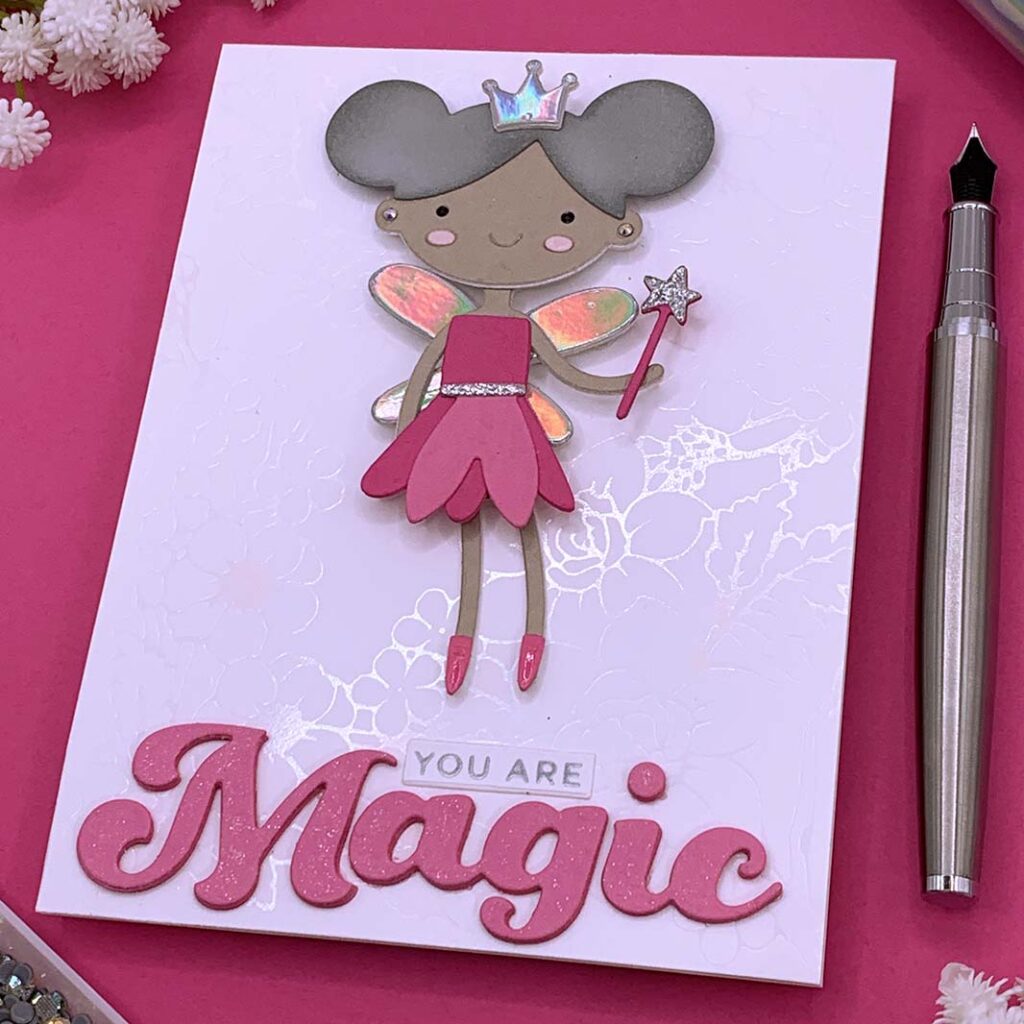
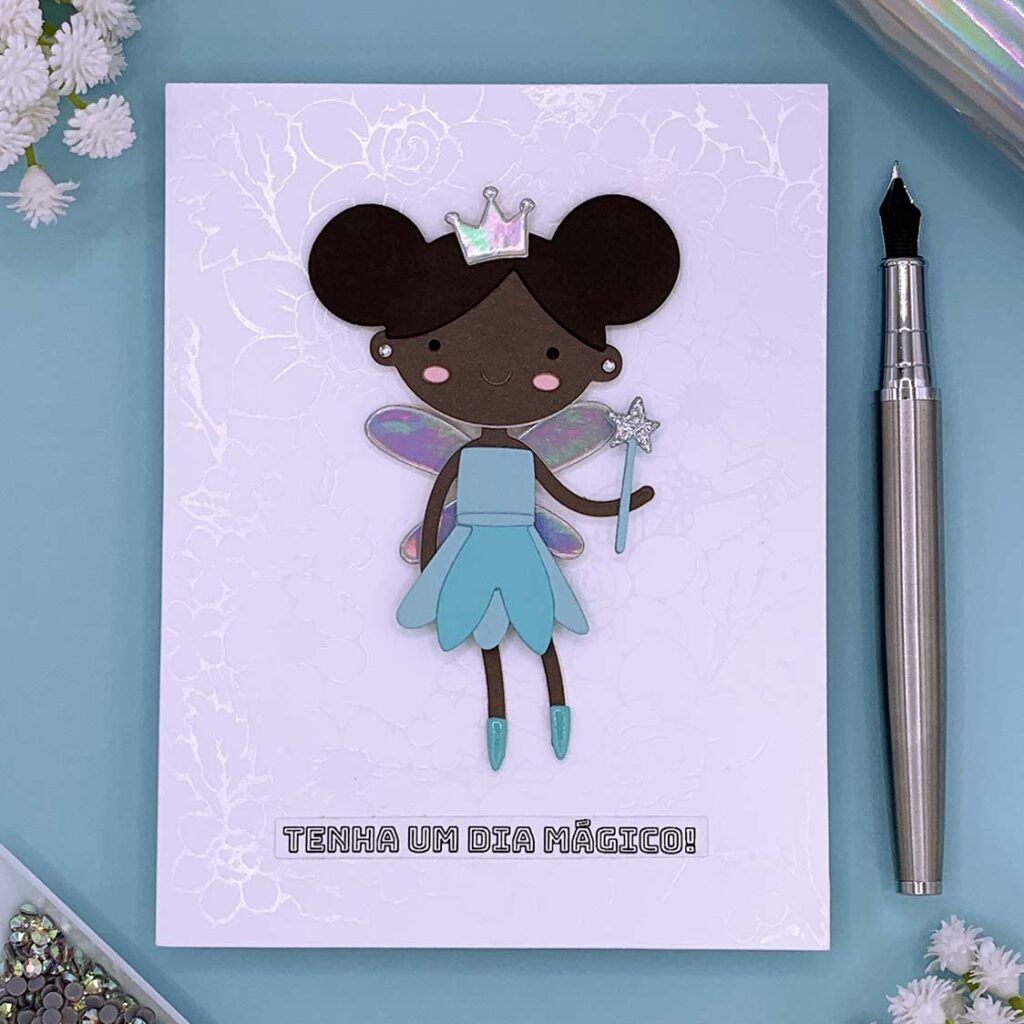
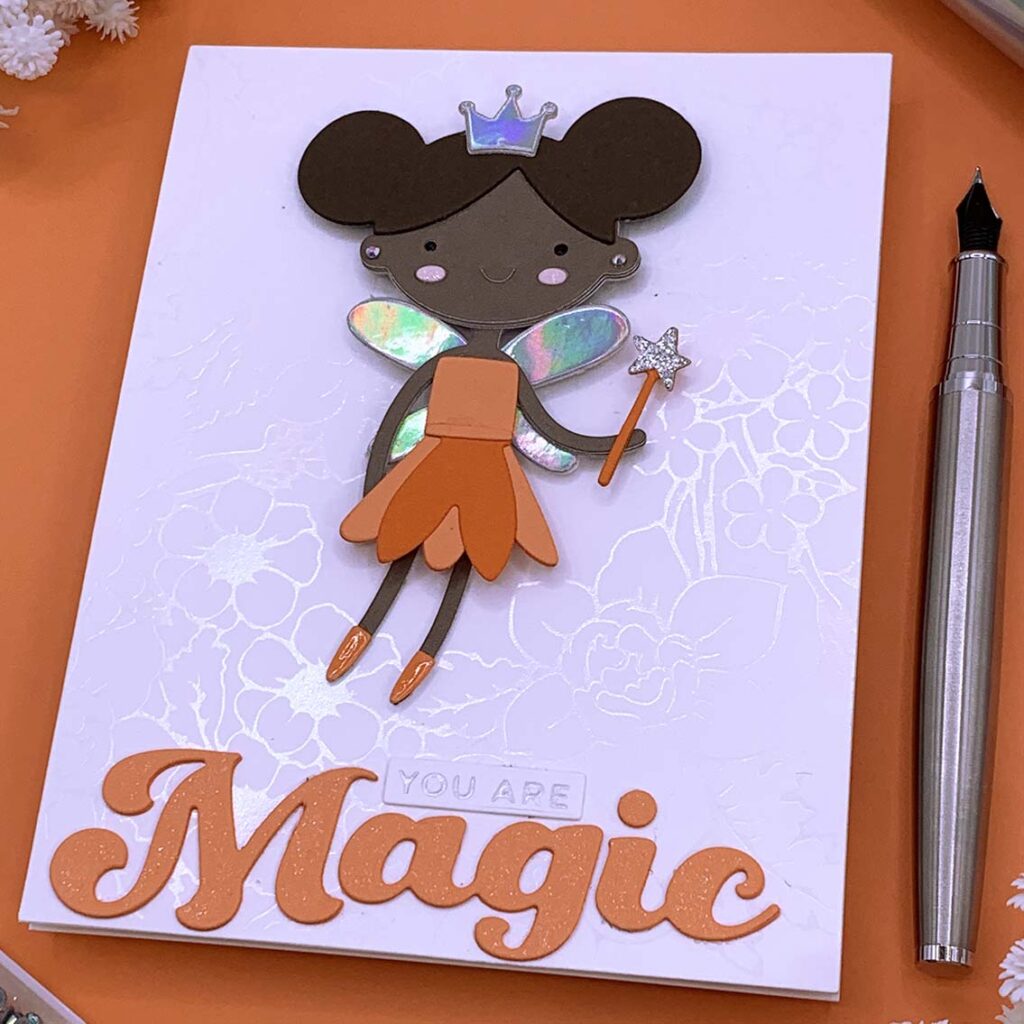
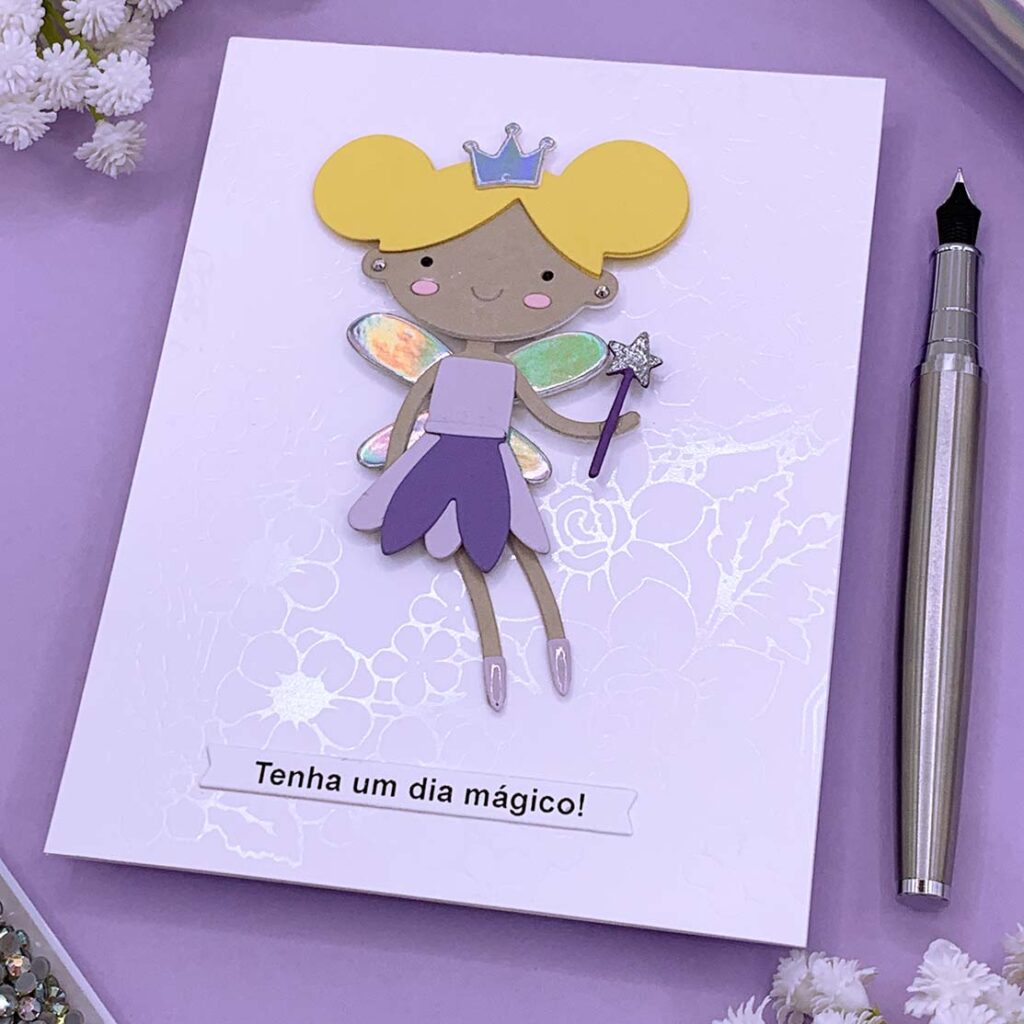

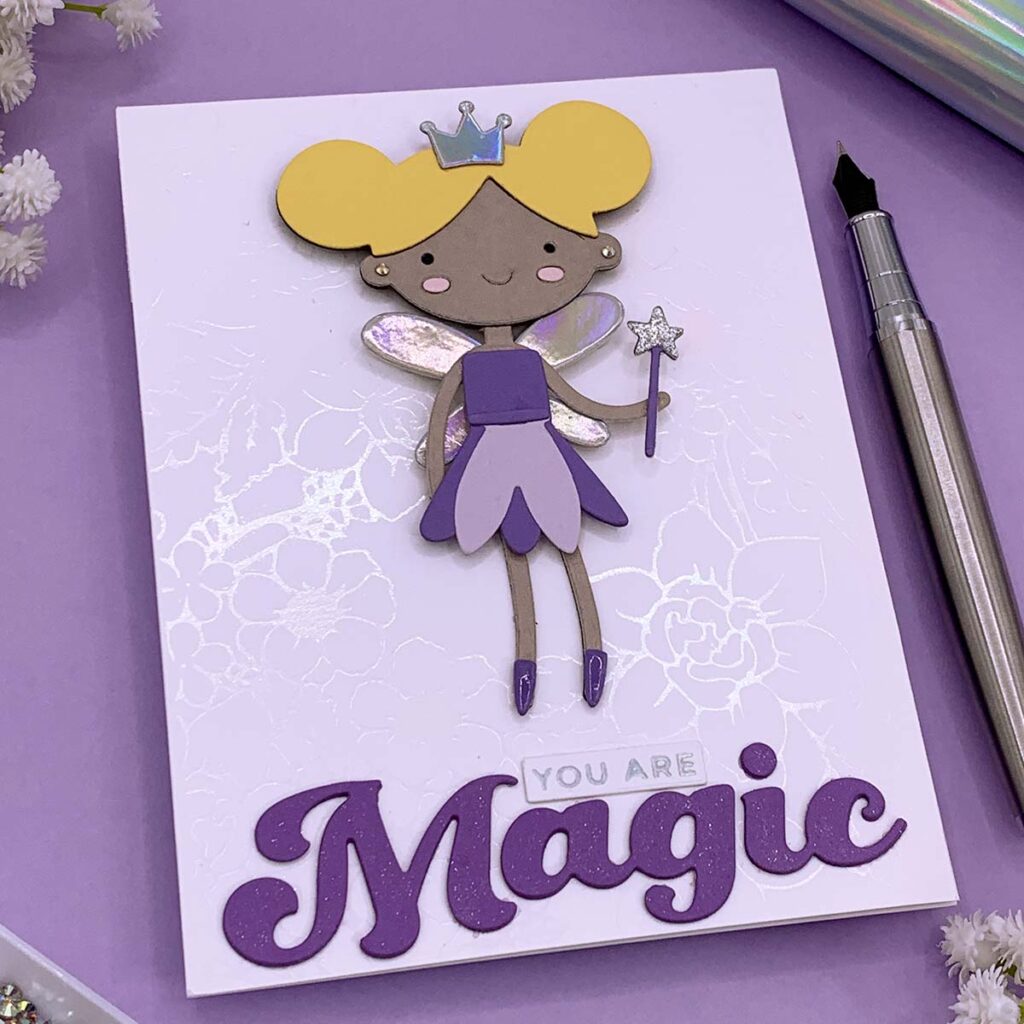
- Die cut and assemble a fairy using metal plates included in the Spellbinders “Dancin’ Fairy Twinkle” die set.
- Die cut the word magic using the Spellbinders “Magic” die set. Stack a few pieces for dimension.
- Hot foil the words “You Are” using any sentiment hot foil plate. I used an old set. Then, cut it into a small sentiment strip.
- Hot foil a 5 ½” tall by 4 ¼” wide panel using any hot foil background plate. I used an old plate (Spellbinders Flower Patterns), unfortunately not available at Spellbinders shop. Use Opal foil for a subtle effect.
- Adhere the die cut fairy to the center of the note card using foam dots. Use the Bearly Art Glue to adhere to the sentiment.
- Use flat back rhinestones as eartings!
- Die cut a crown using a plate included in the Spellbinders “Fairy Tale Carriage” die set.
- Add gloss to her die cut shoes with Ranger Glossy Accents.
- Create a pocket shape envelope with Stampendous “A2 Gift Card Holder and Envelope” die set.
Tips:
- Use a pair of self lock tweezers to hold the small die cut pieces.
- Use a glue eraser to remove excess glue without tearing the cardstock!
I hope you felt inspired and some of this information was helpful to you! If you create something inspired by this post, make sure to tag me on instagram! Thank you for visiting and happy crafting!
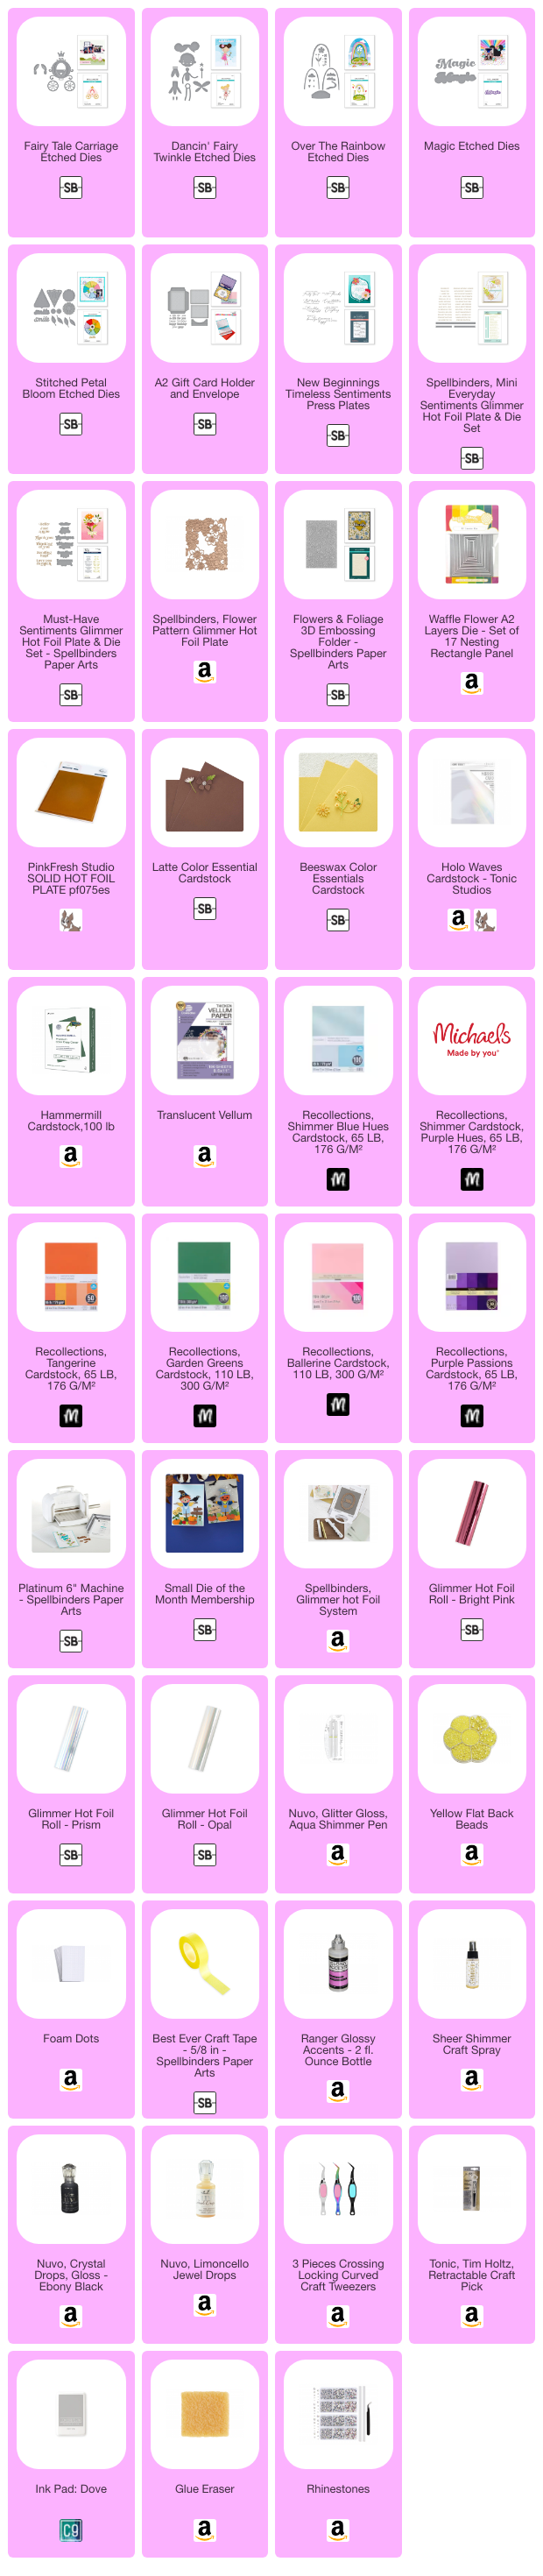
SUPPLIES
I have listed below all of the products that I used to make today’s note cards. Compensated affiliate links may be used at no cost to you, and I only use and recommend products that I love! As always, thank you for your support!
-
-
3 weeks
Tagged Surprise window note cards