Water Bottle Note Cards!
Easel Card Designs
Hello craters! Today I have lots of card examples featuring a really fun set by Concord and 9th called “H2 Hello”. This set was released a couple of months ago, however I am only now finding the time to share my projects with you. In this post I will teach you how to create an easel card base, which is a fun surprise for the recipient, and I hope you give it a try!
- Create an A2 size top folding note card by scoring a piece of cardstock that is 4 ¼” wide x 11” long in half, at 5 ½”.
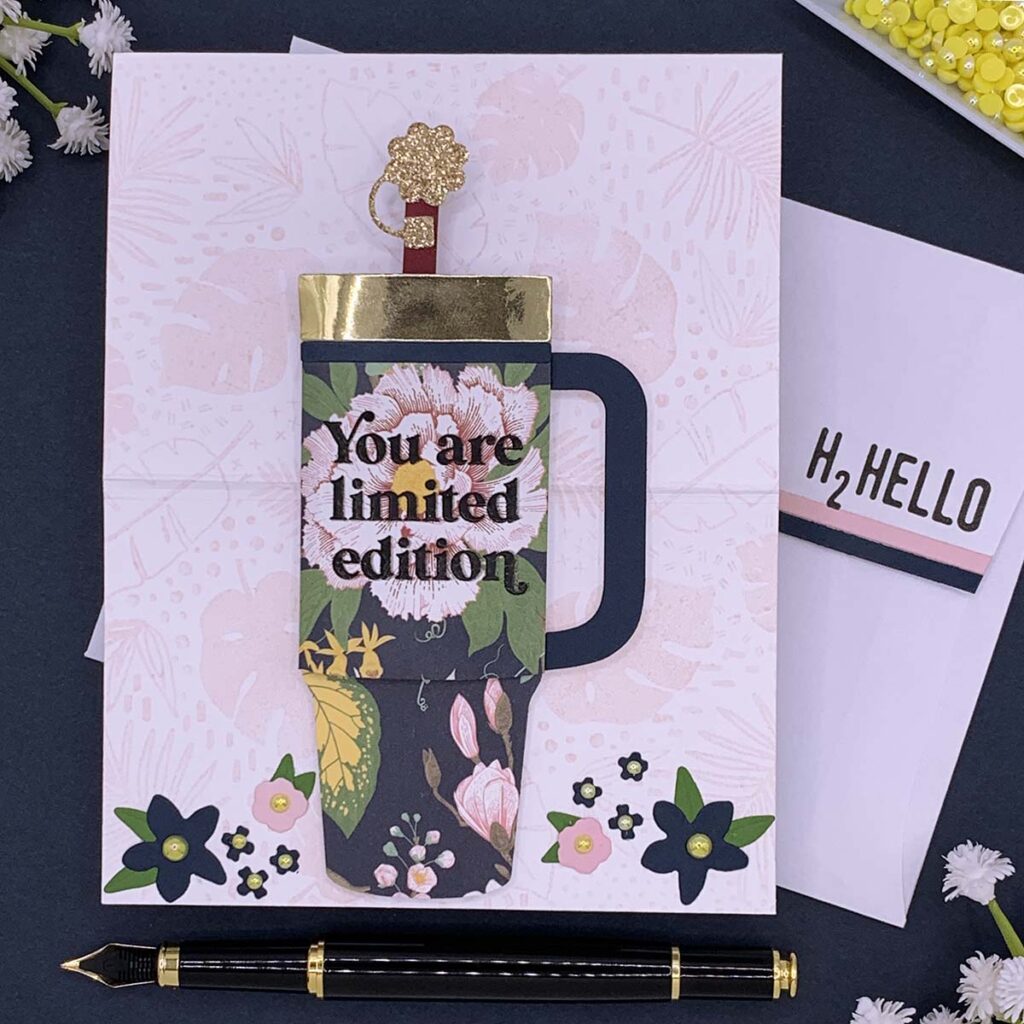
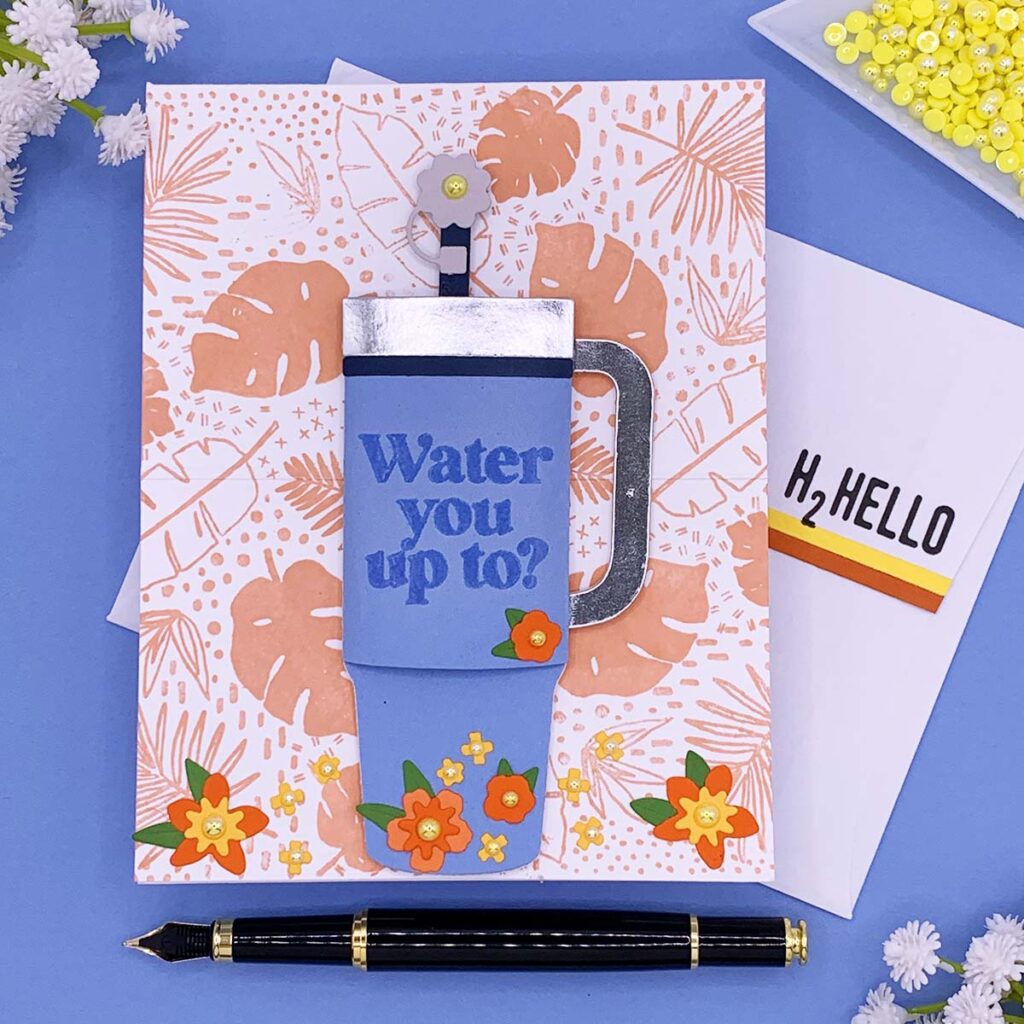
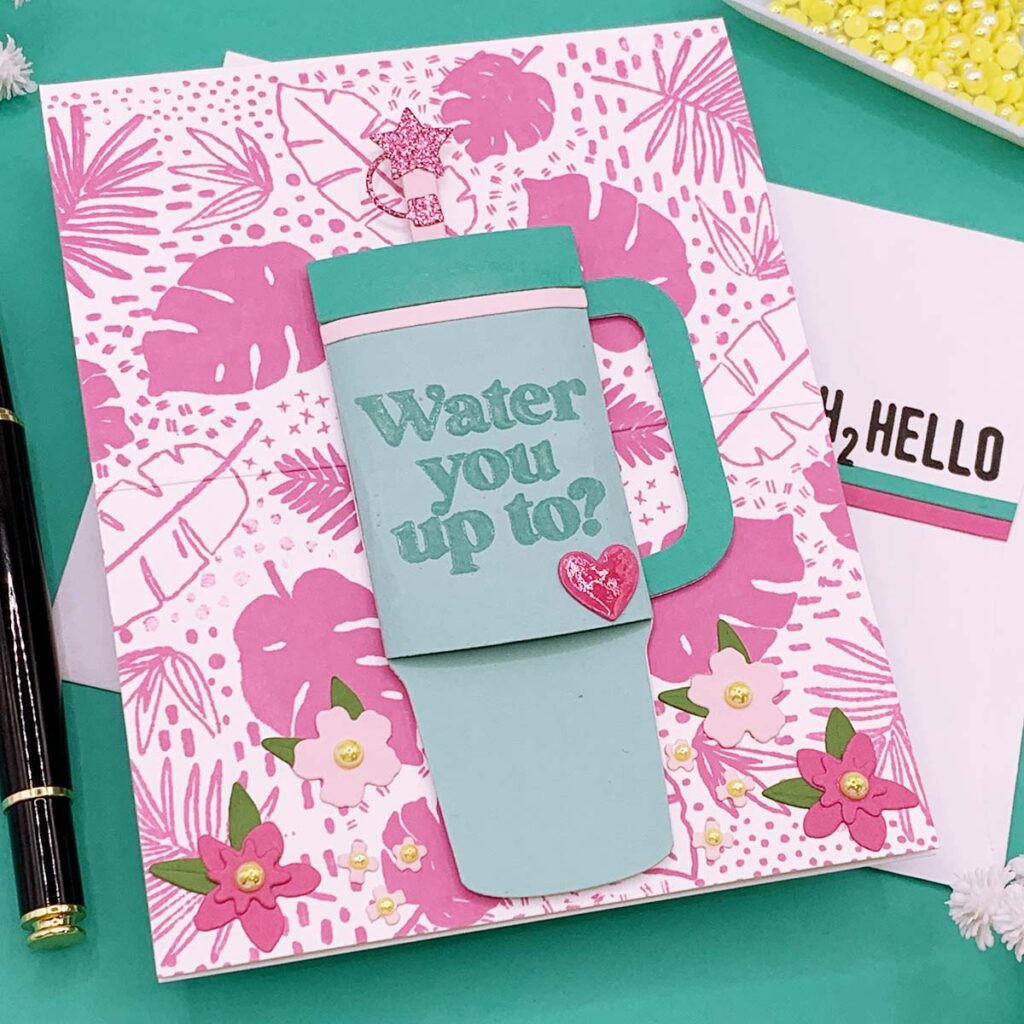
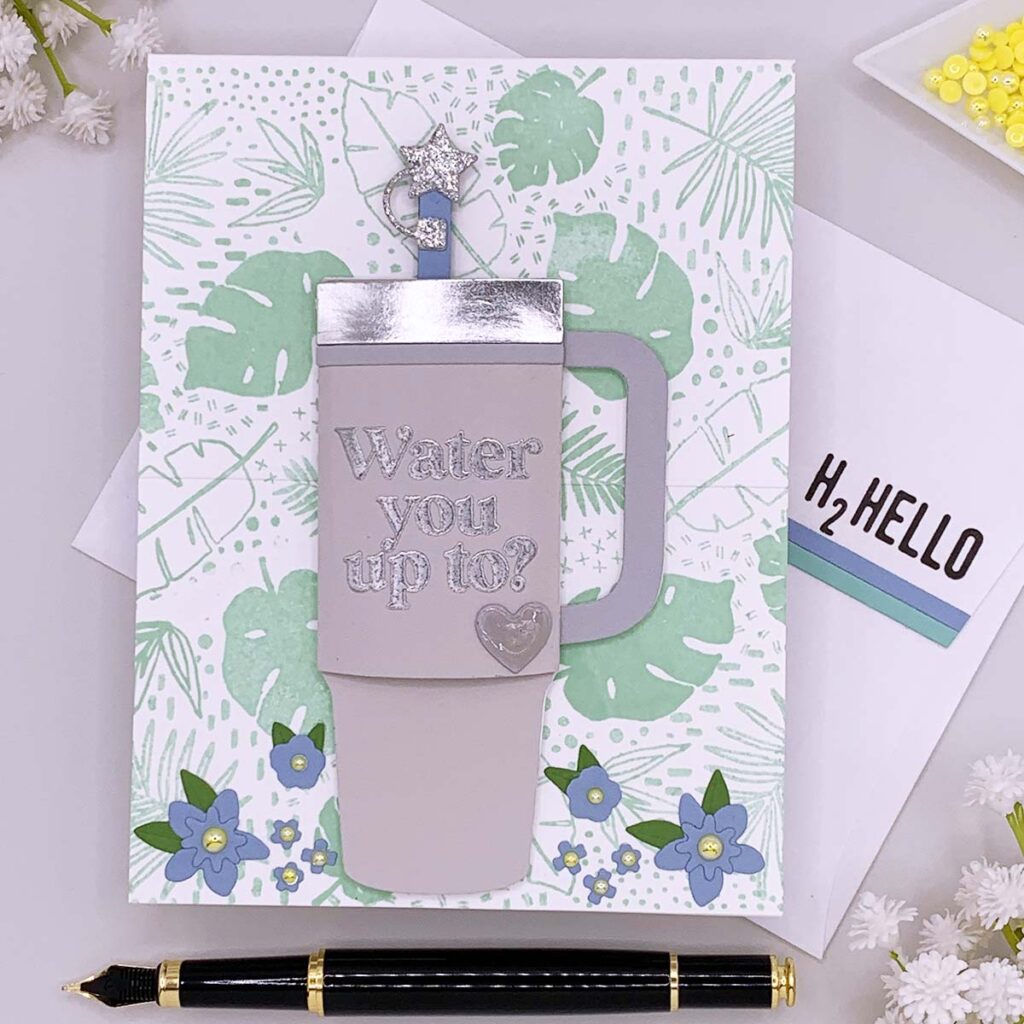
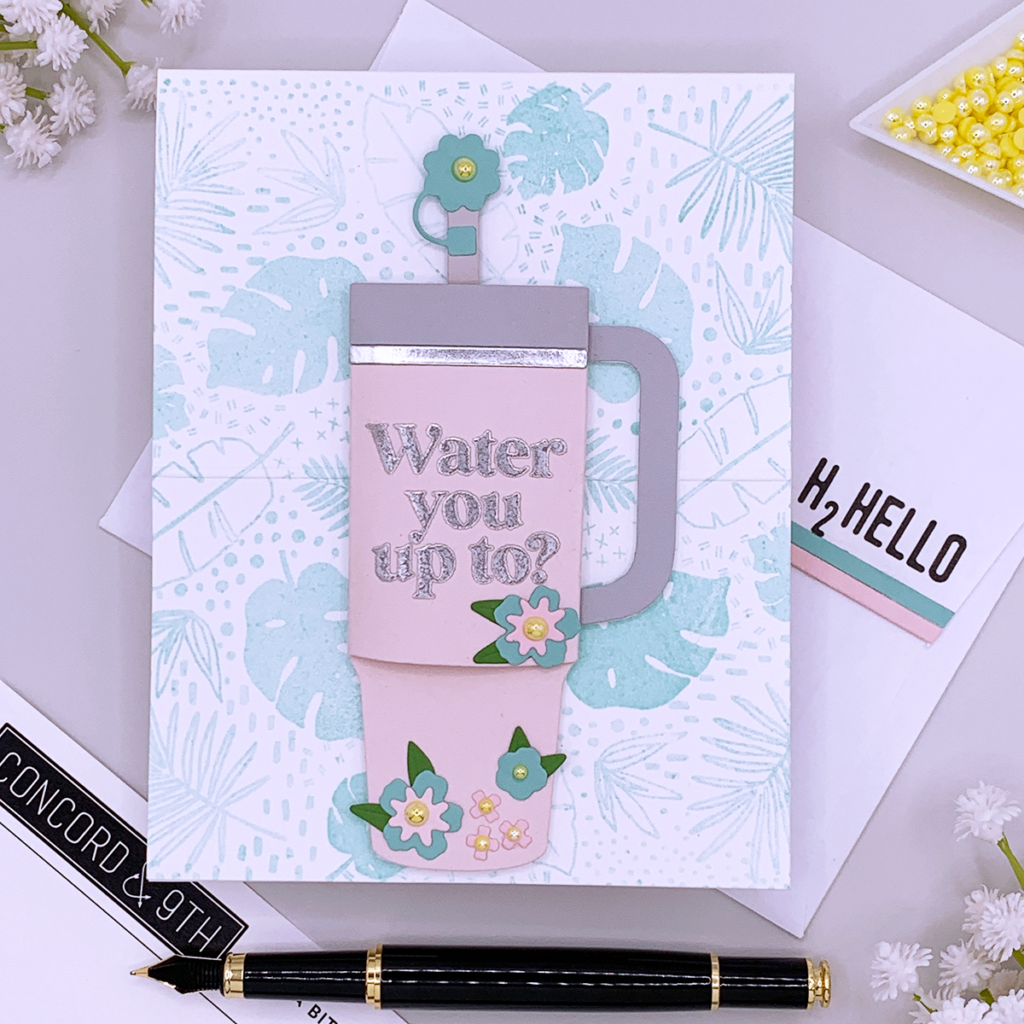
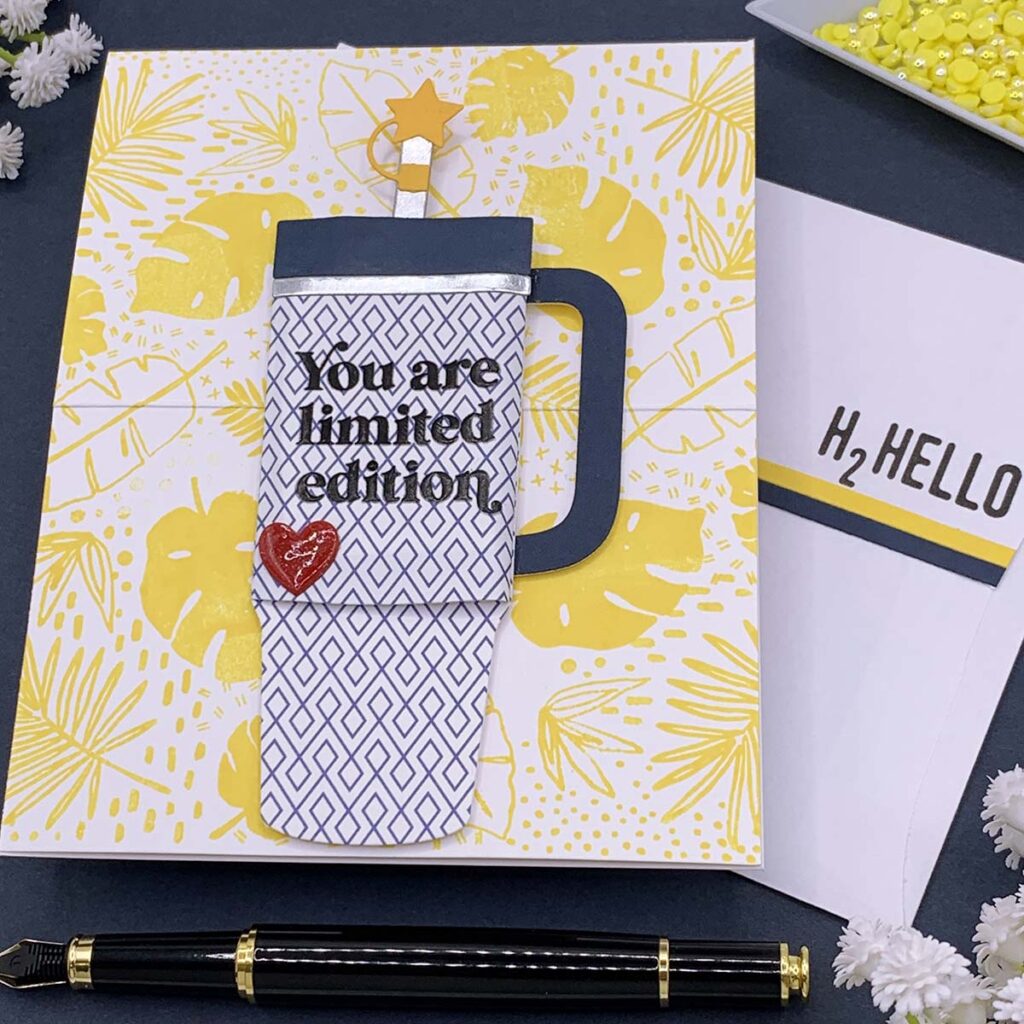
- Add interest to the front of the note card with Concord and 9th “A Bit Of Paradise” turnabout stamp set.
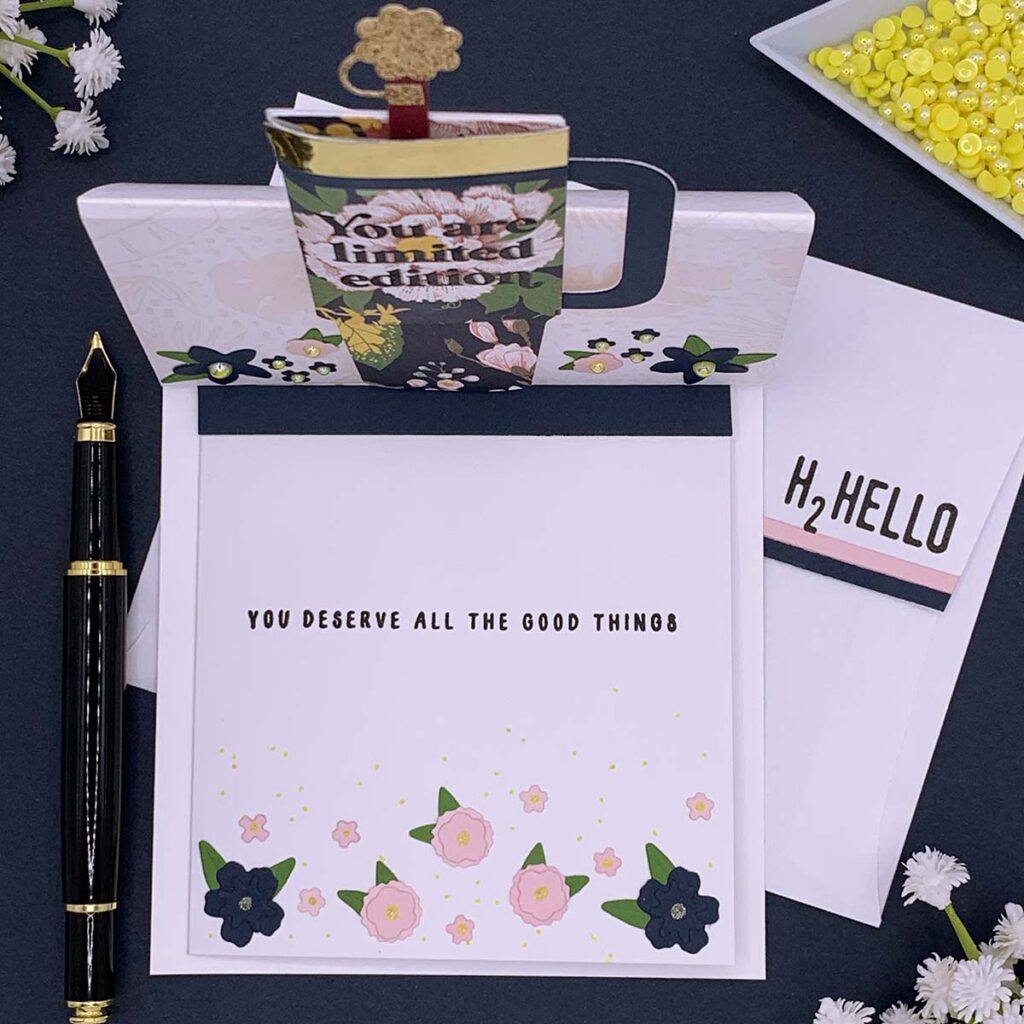
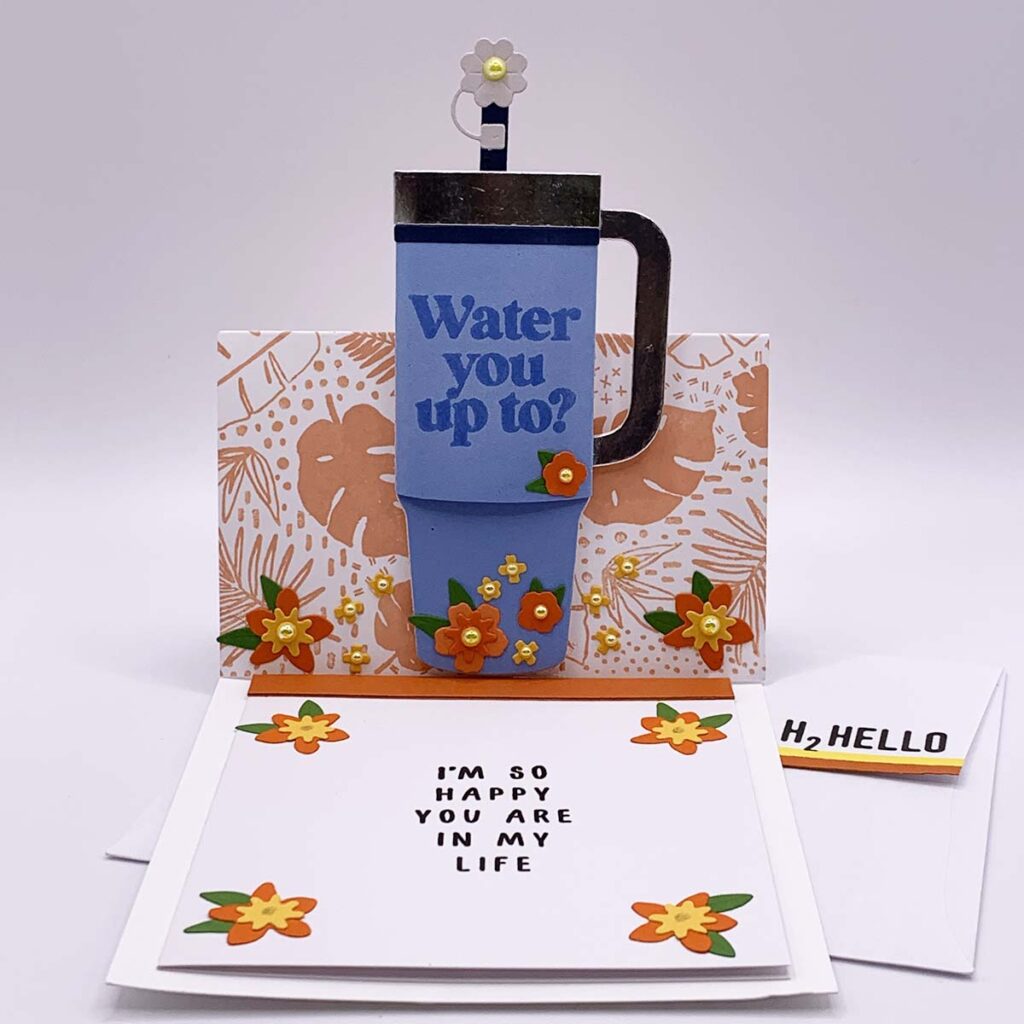
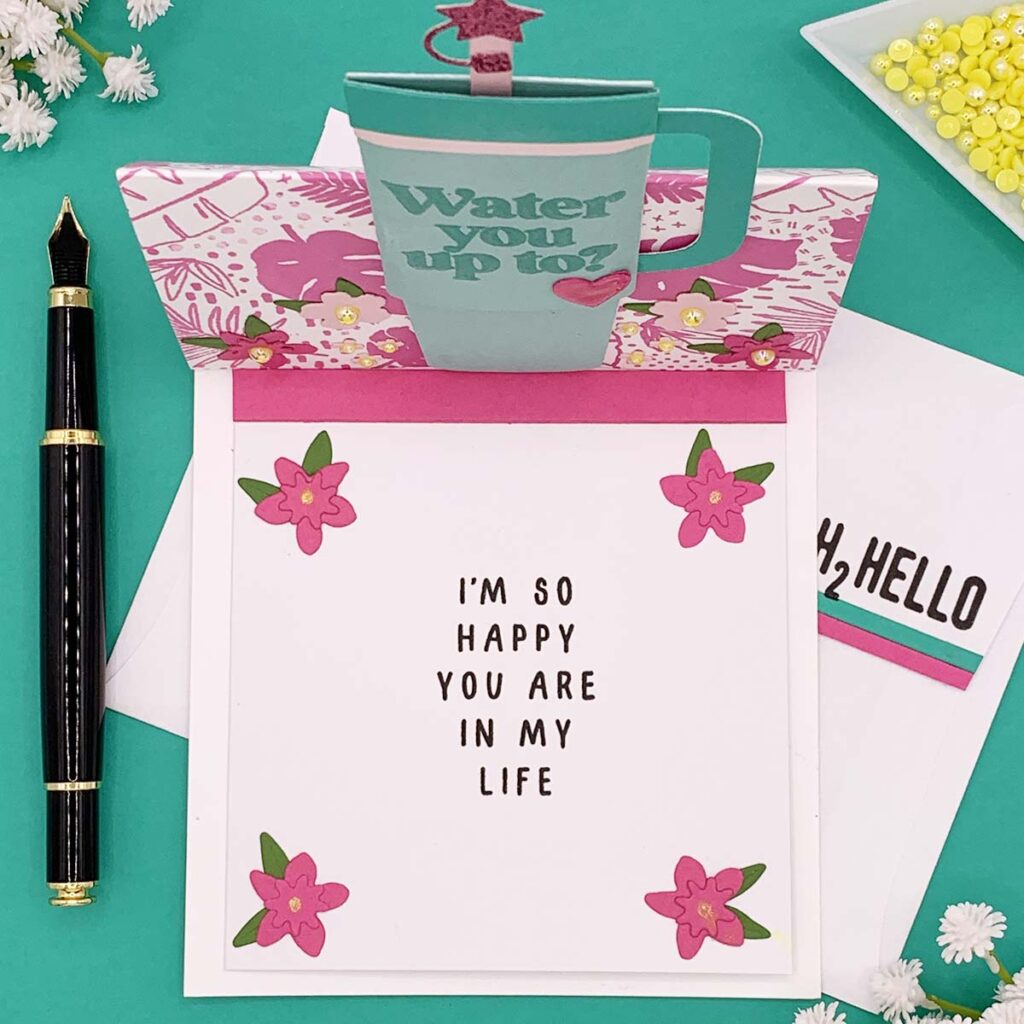
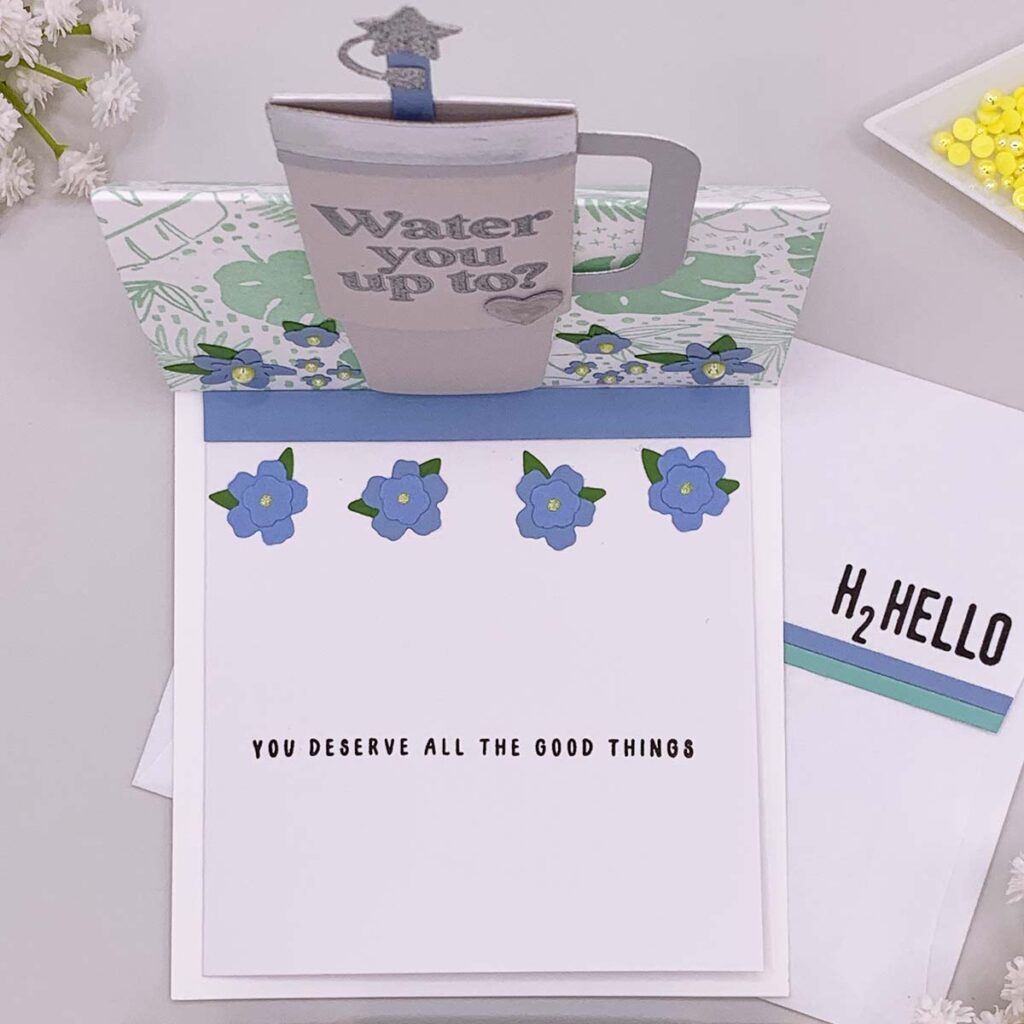
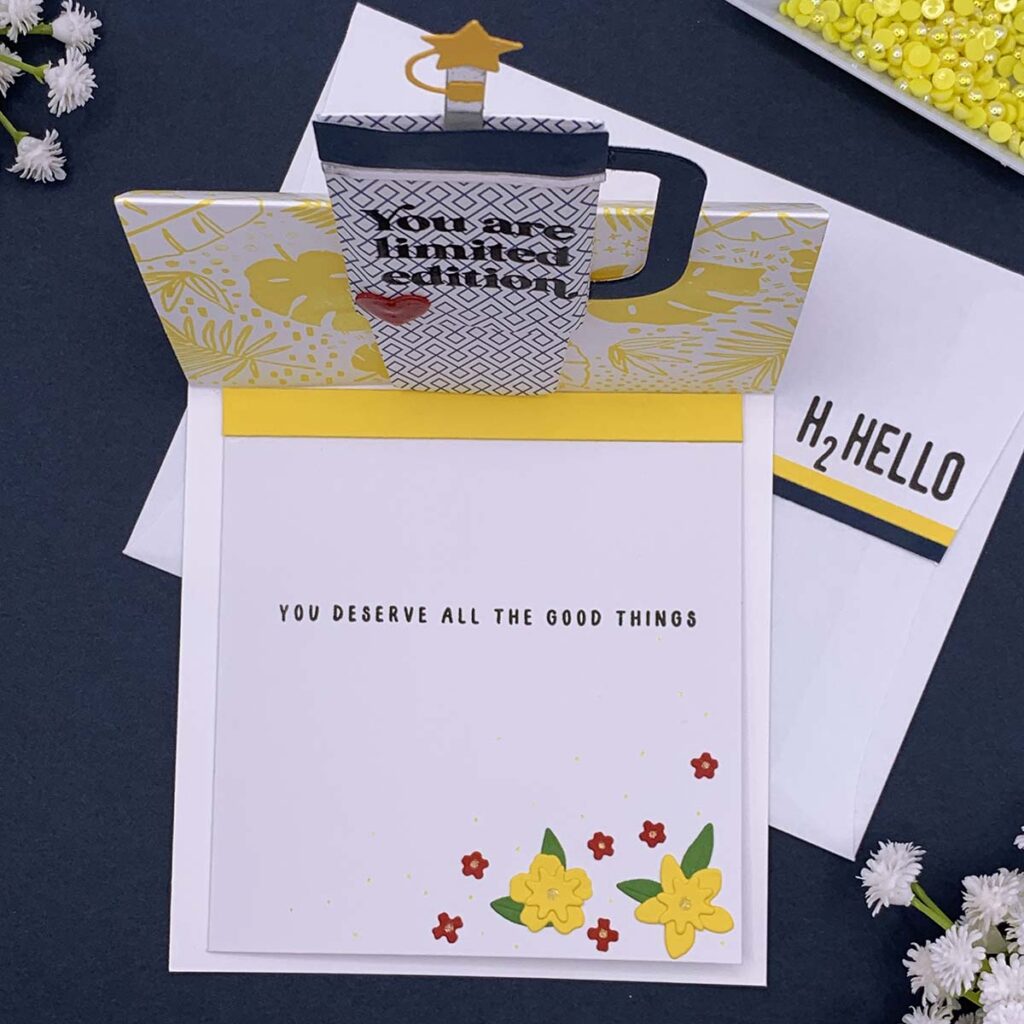
- Score a horizontal line and fold the front of the note card in half, at 2 ¾”, to create an easel shaped note card.
- Die cut water bottles, hearts, flowers and leaves with metal plates included in the Concord and 9th “H2 Hello” die set.
- Adhere the large die cut water bottle to the center of the note card. Make sure to only add liquid adhesive to the section that will be placed below the score line. The section of the die cut that will be placed above the score line should not have liquid adhesive.
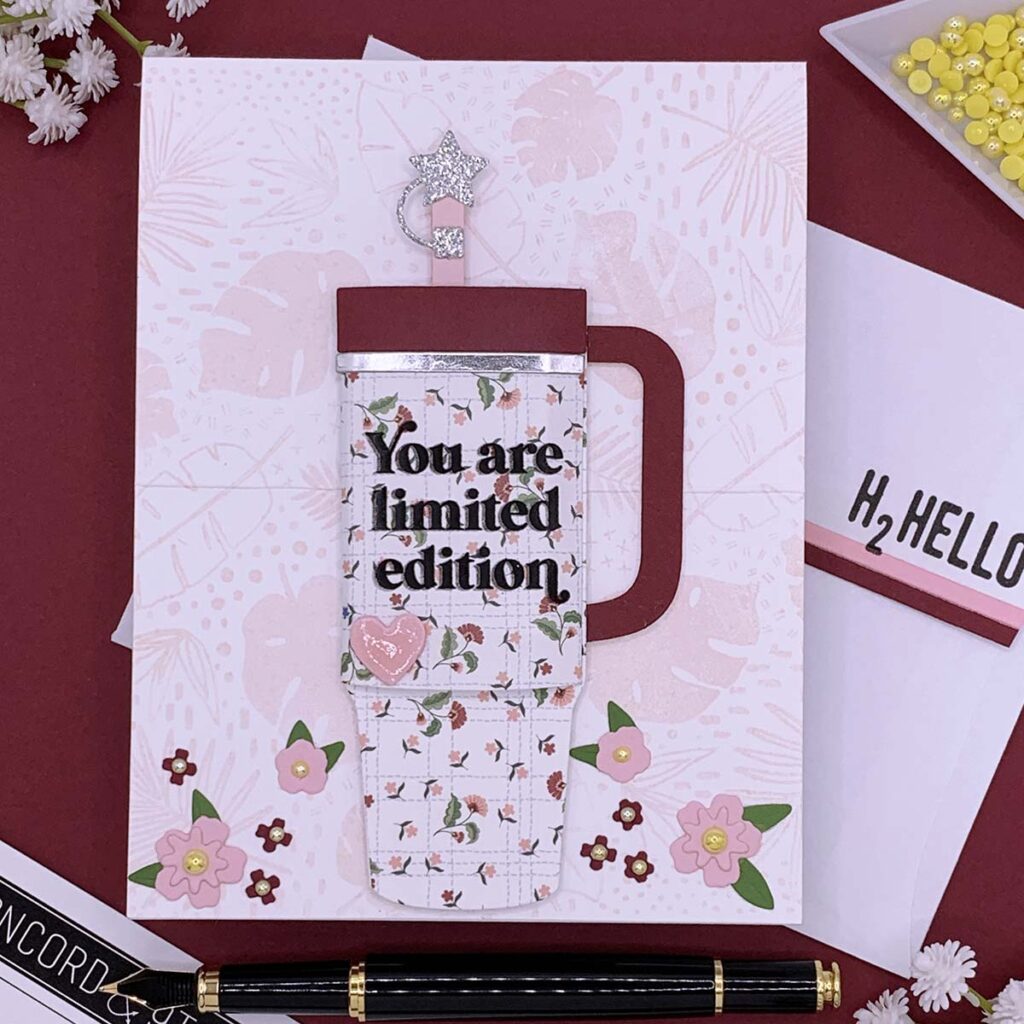

- Use small die cut flowers and leaves to decorate the water bottle or the front of the note card. Make sure to not adhere any small pieces over the scoreline on the front of the note card.
- Create a side folding note card that is 5 ¼” tall x 4” wide. Later this note card will be glued to the inside of the easel card base.
- Stack two cardstock strips and adhere it one inch from the top edge of the 5 ¼” x 4” note card. This cardstock strip will work as a stopper for the easel mechanism.
- Decorate the front of the 5 ¼” x 4” note card with die cut leaves and flowers, and stamp any sentiment you like with Concord and 9th “H2 Hello” stamp set.
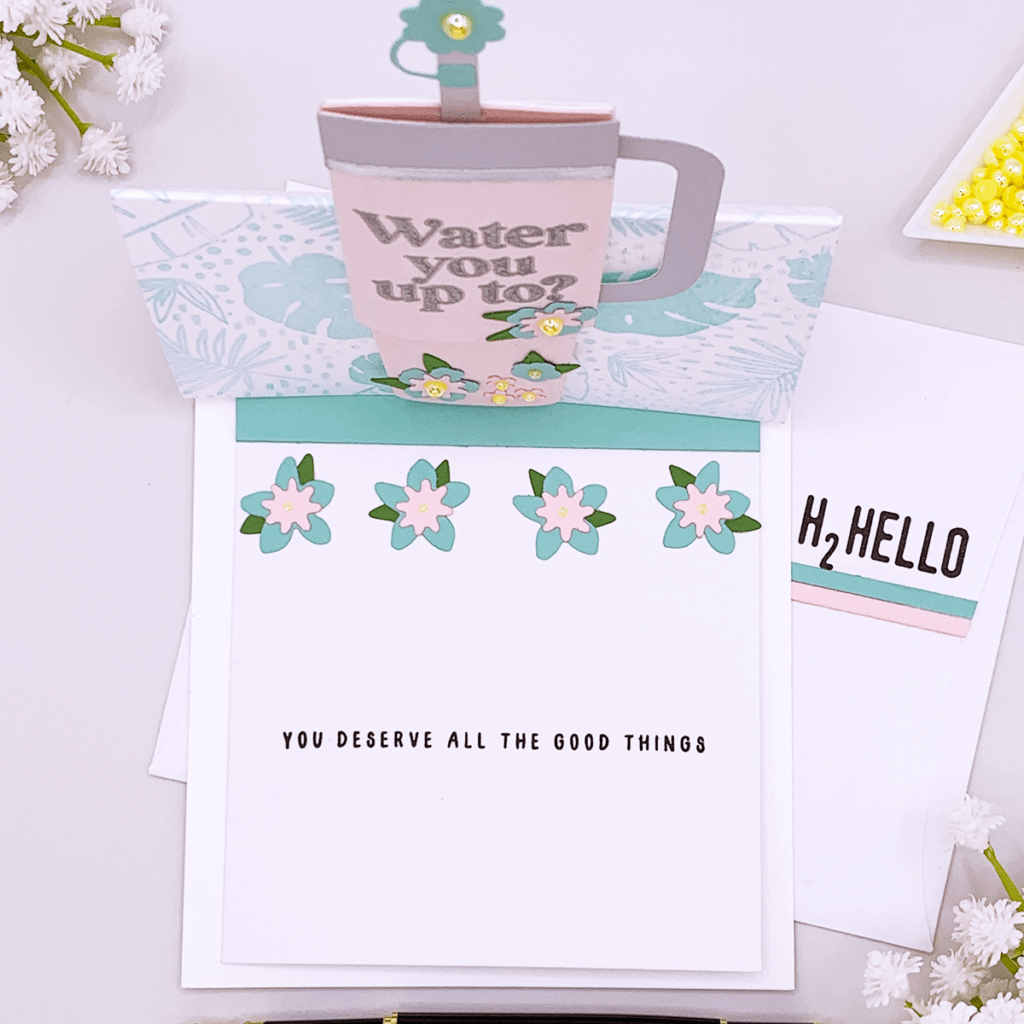
- Adhere the 5 ¼” x 4” note card to the inside of the Easel note card.
- Decorate the envelope with thin cardstock strips to make it match the note card and stamp the sentiment “H2 Hello” on the bottom right corner of the flap of the envelope.
Tips:
Tip 01: if you plan on stamping a sentiment to the die cut water bottle, as I did, make sure to do so before gluing the die cut pieces together. I used versamark ink and heat embossed it with either clear or silver embossing powder.
Tip 02: to make the die cut heart glossy, apply Ranger Glossy Accents.
Tip 03: stack about 3 die cut bottles to give it some dimension.
Tip 04: if you like adding flat back beads to the center of die cut flowers make sure to so for the ones glued to the front of the note card. The inside of the note card should be as flat as possible so you can easily fold the note card closed.
I hope you felt inspired and some of this information was helpful to you! If you create something inspired by this post, make sure to tag me on instagram! Thank you for visiting and happy crafting!
SUPPLIES
I have listed below all of the products that I used to make today’s note cards. Compensated affiliate links may be used at no cost to you, and I only use and recommend products that I love! As always, thank you for your support!

-
-
2 weeks
Tagged Surprise window note cards