Fun Pop Up Shadow Box Note Cards
With Spellbinders “Sitting Pretty” Die Set
Hello crafters! Today I have a fun shadow box card design to share with you, featuring the Spellbinders “Sitting Pretty” die set. I had a lot of fun creating these note cards and I hope you give it a try!
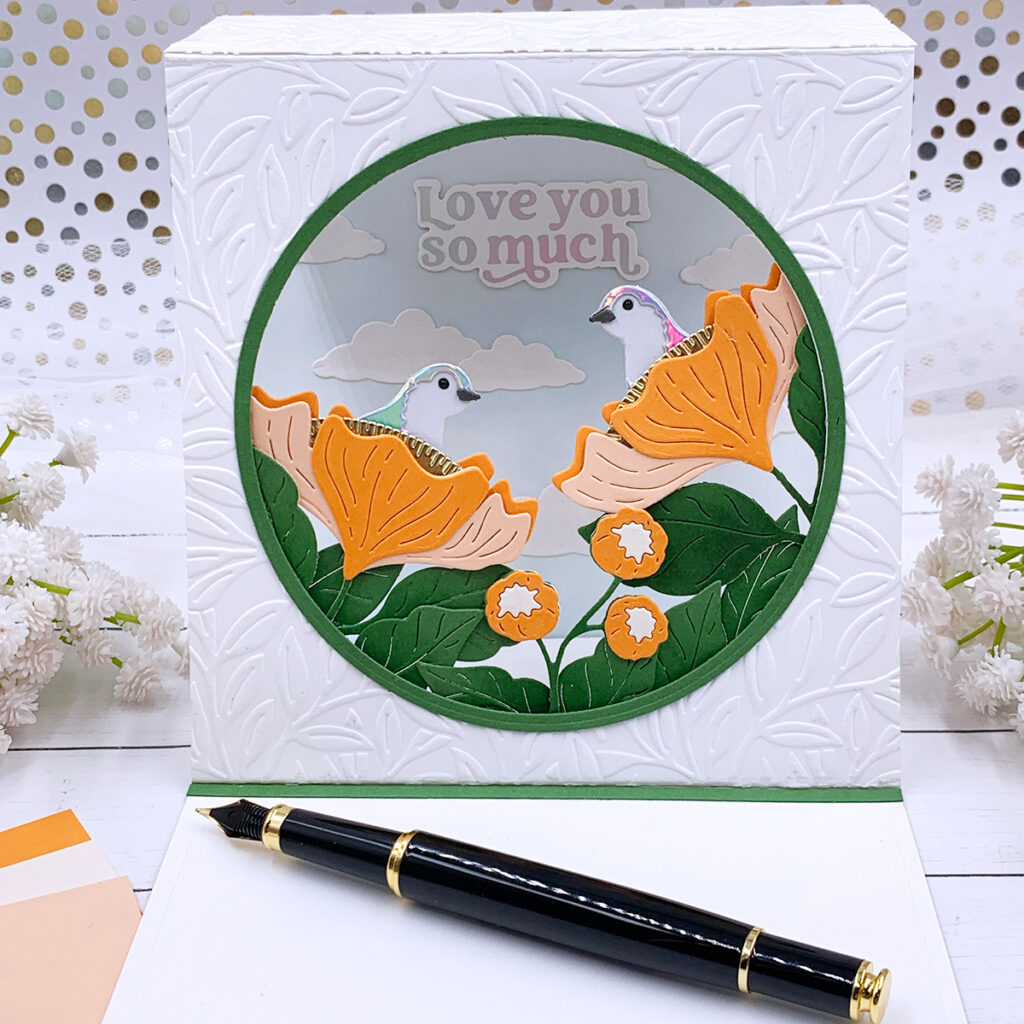
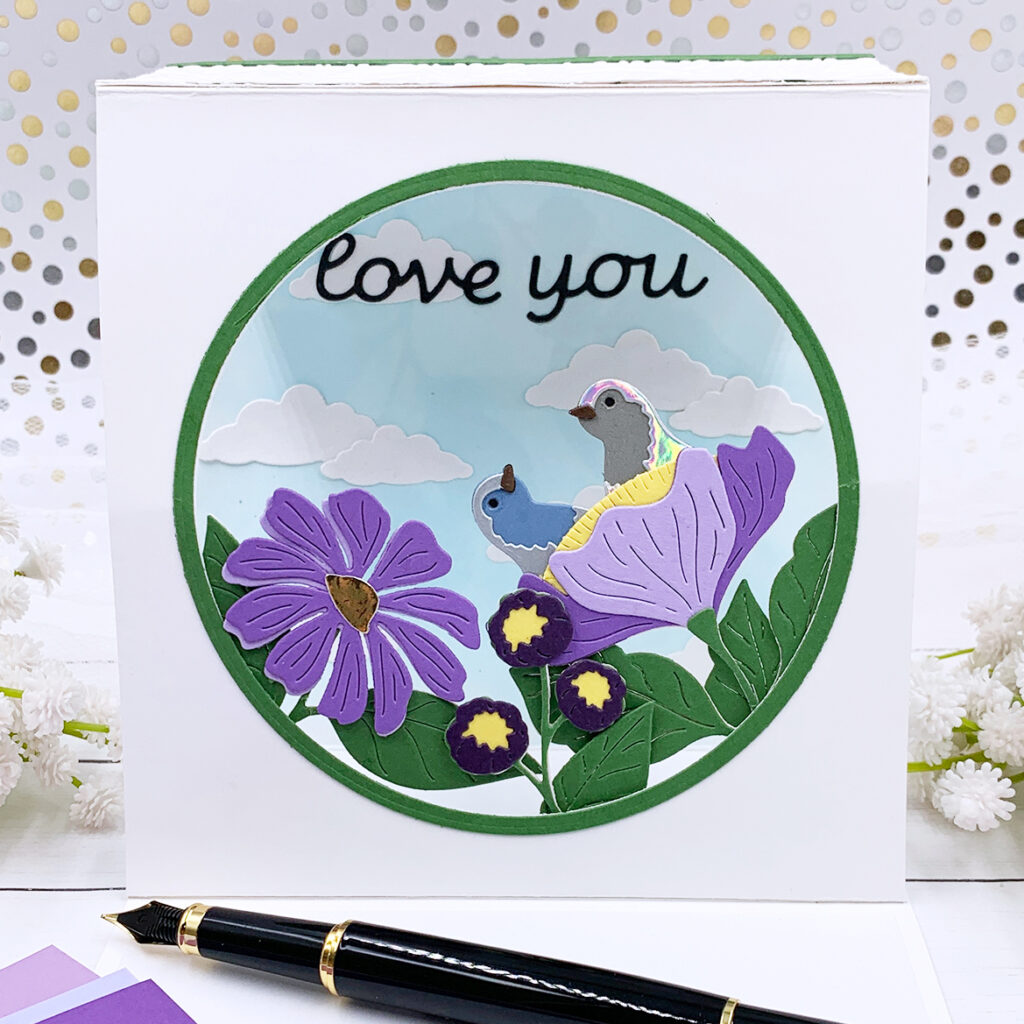
To create a shadow box A7 size note card we will need one 5” x 7”, one 6” x 5” and one 5” x 9” panel. We will need to score the 6” x 5” panel at ½” and then at 5 ½”. Then, we will score the 5” x 9” panel at 2” and then at 7”. The next step is to cut out a window from the center of the 6” x 5” panel. I chose a circle die but you can use any shape for your window!
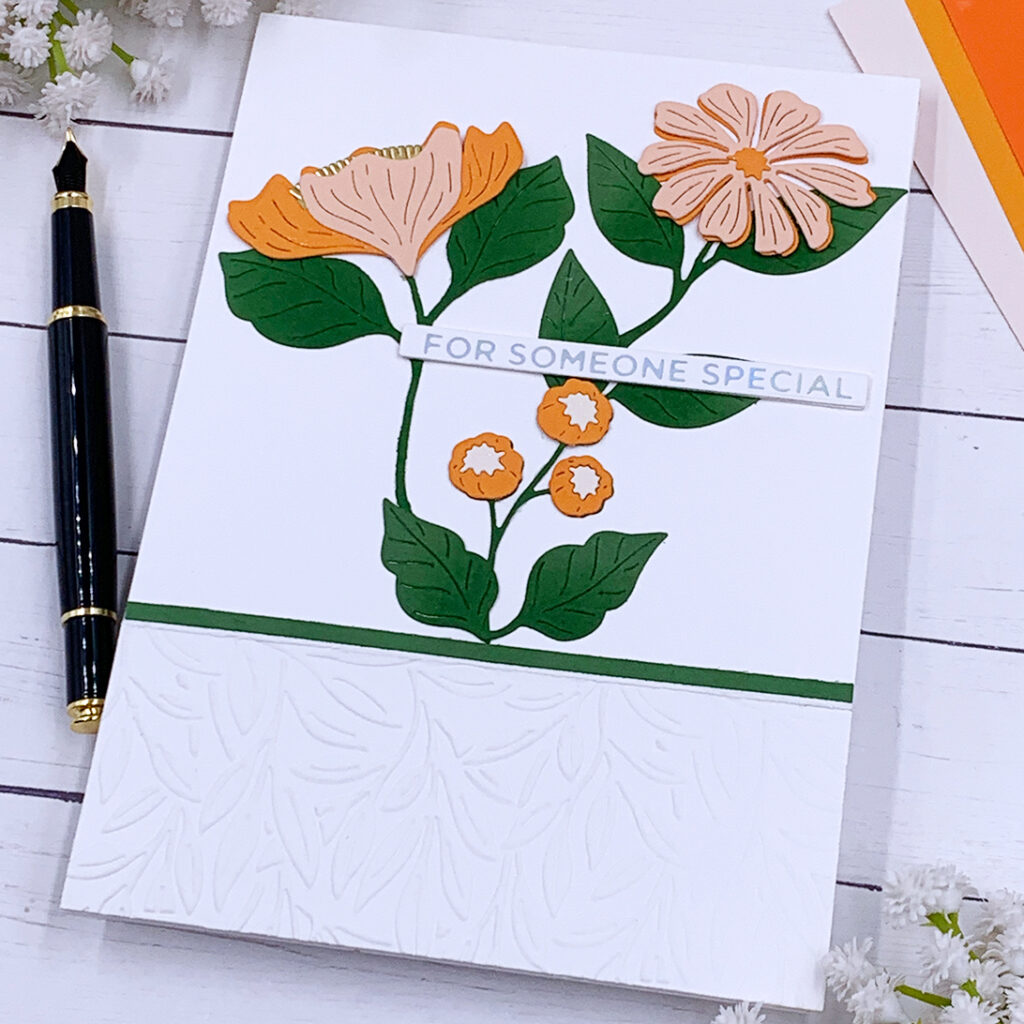
If you plan on dry embossing your panels, make sure to do so before assembling your card base!
To adhere these panels together begin by applying liquid adhesive to one folded 2” flap of the 5” x “9 panel and adhere it to the 5” x 7”. Then apply liquid adhesive on one ½” folded flap of the 6” x 5” panel and adhere it to the other end of the 5” x 7” panel. The last step is to unfold the other ½” flap of the 6” x 5” panel, apply liquid adhesive below the score line and fold the note card closed. When you open the note card a fun shadow box will pop up! Make sure to click here to watch me creating this card base and for more information!
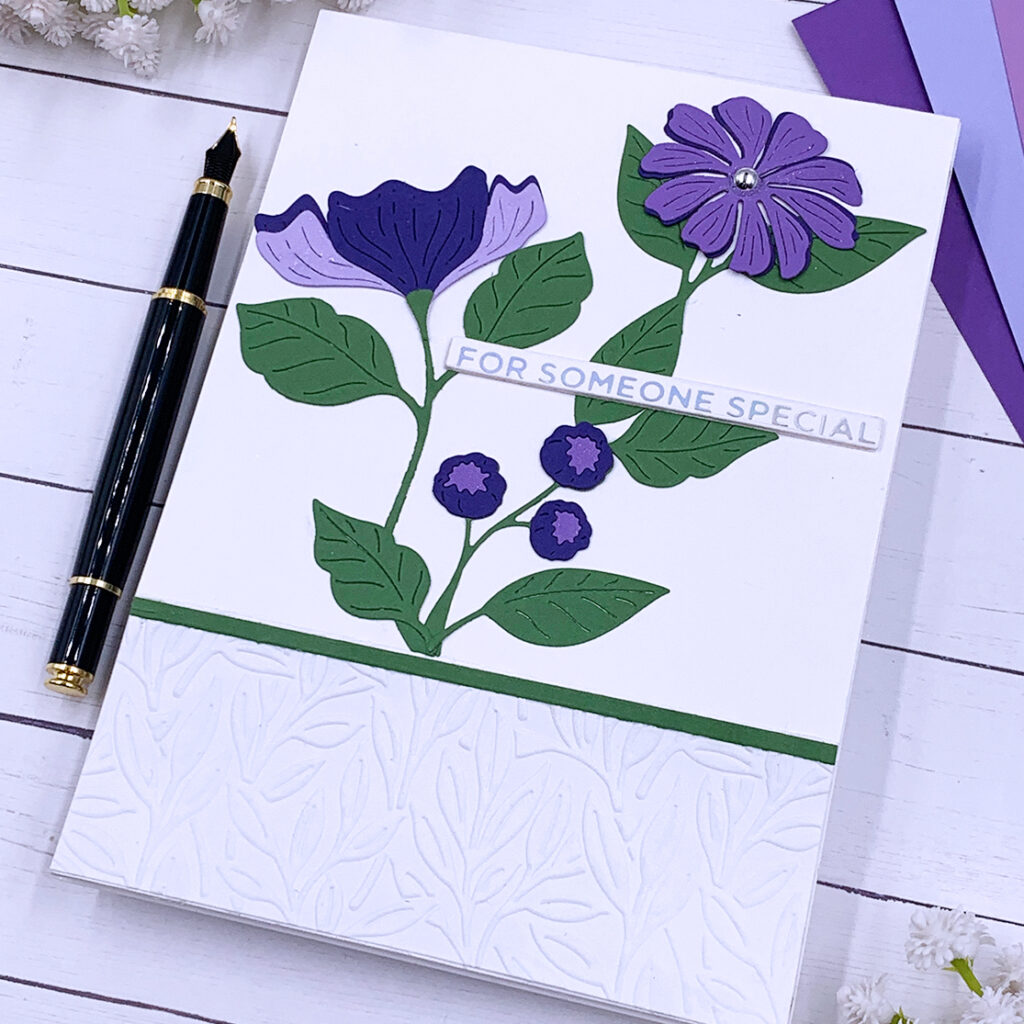
To decorate my note cards I used the Spellbinders “Sitting Pretty” die set. I absolutely love this one! I cut my pieces out of colored cardstock by Spellbinders, and I used the Bearly Art glue to adhere these pieces together. To add some sparkle to my note cards, I chose to hot foil my sentiments, and to decorate my envelopes I used some leftover die cut flowers!
At the end of this post there is a list of all supplies used to make these cards. Make sure to watch the tutorial video and happy crafting!
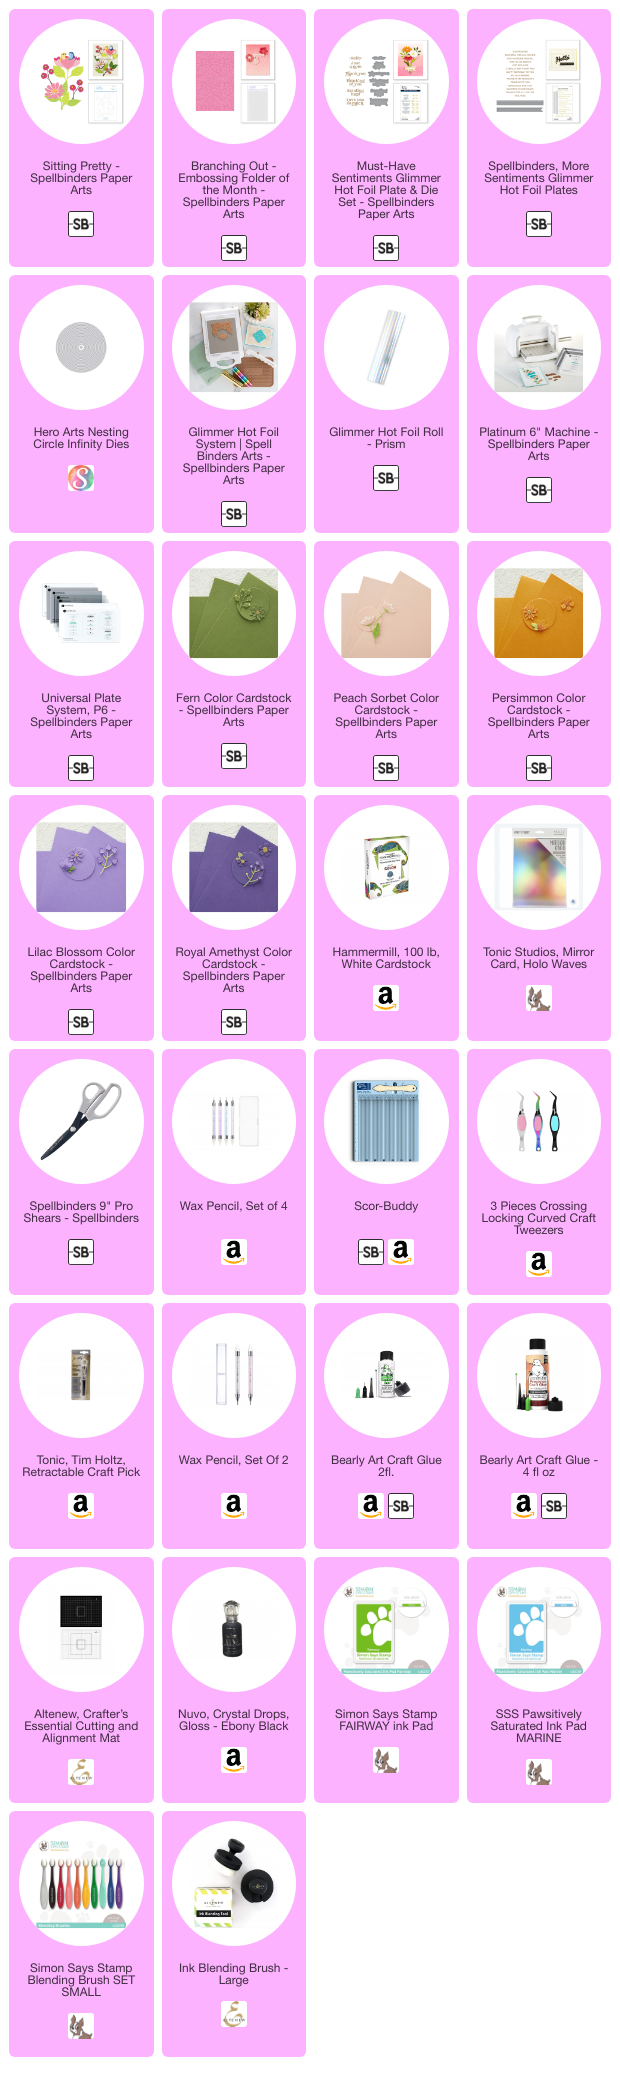
SUPPLIES
I have listed below all of the products that I used to make today’s note cards (if they are still available). Compensated affiliate links may be used at no cost to you, and I only use and recommend products that I love! As always, thank you for your support!
-
-
13 hours
Tagged Surprise window note cards